


DIY Rainbow Headboard
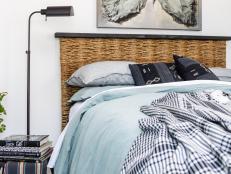
This whimsical headboard is budget-friendly, renter-friendly and so incredibly cute.
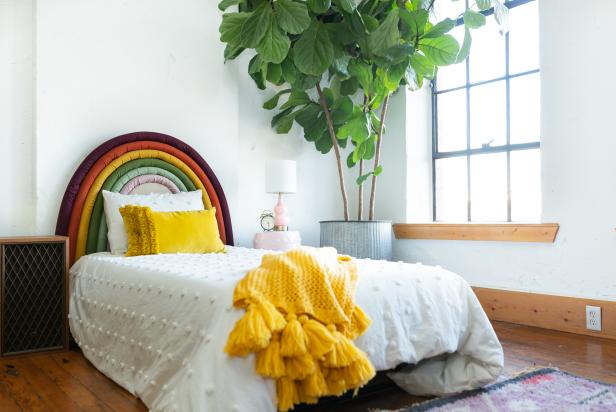

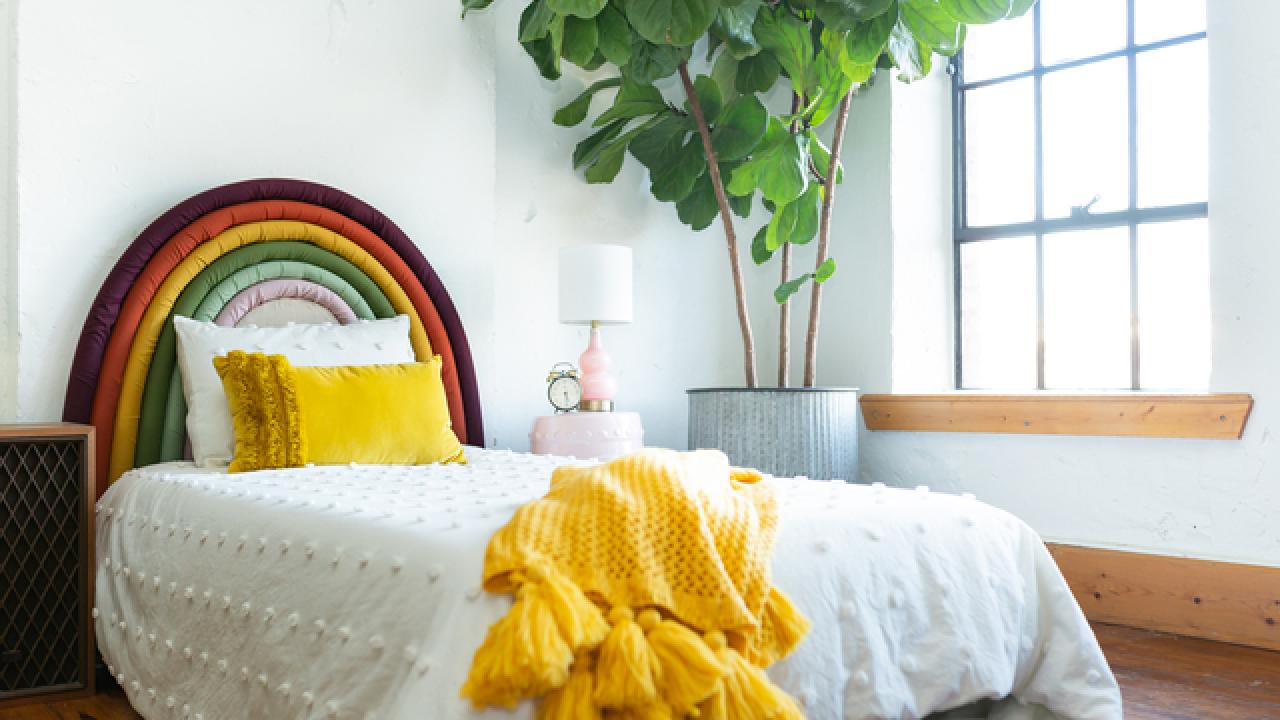
Rainbows are trending everywhere in decor right now and HGTV Handmade’s Jill Tennant has a clever, budget-friendly hack for creating a padded twin headboard that looks ultra-chic and expensive. The secret: pipe insulation! And this headboard is also renter-friendly because you only need removable adhesive strips for mounting. It’s a win-win-win. Watch the video below and read on for the full how-to for your own adorable rainbow headboard.
Materials Needed:
- 7 standard 6' pipe insulation tubes for 1" pipes
- masking tape
- fabric
- 8' insulation foam board (2" thickness)
- low-temp hot glue gun
- hot glue sticks
- tacky glue spray adhesive
- scissors
- serrated knife
- heavy-duty removable adhesive strips
- poster board
- project foam (2" thickness)
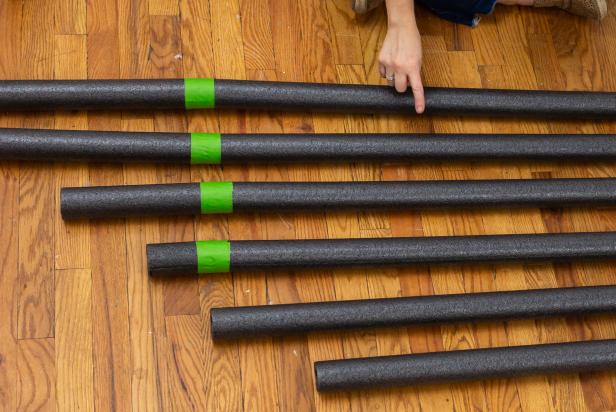
Prep the Rainbow Bands
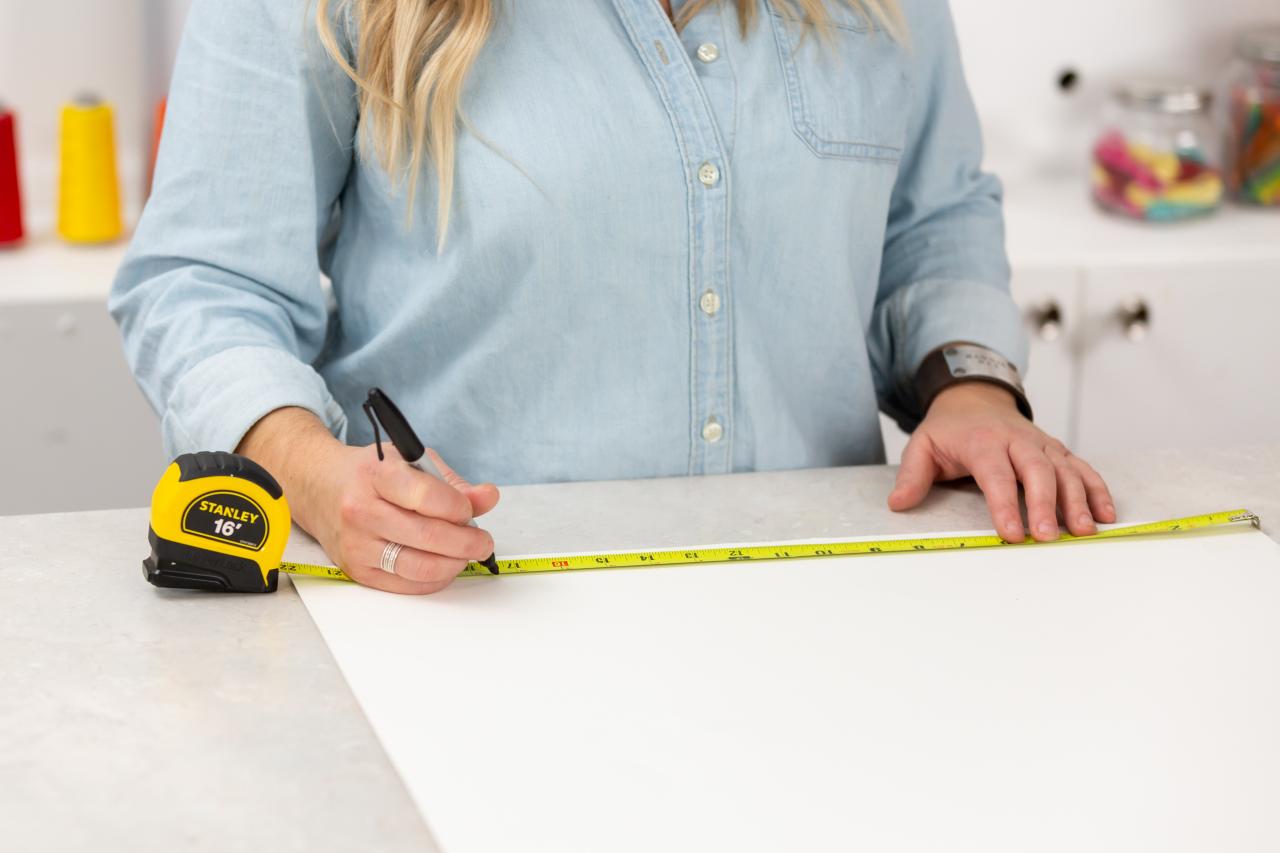
Cut six of the foam tubes to the following lengths for each rainbow color band: 65", 72", 76", 82", 88" and 96" (Image 1). Cut the seventh, spare tube into pieces if you need to make any of the six bands longer. Just use masking tape to hold the pieces together (Image 2).
Cassidy Garcia
Cassidy Garcia
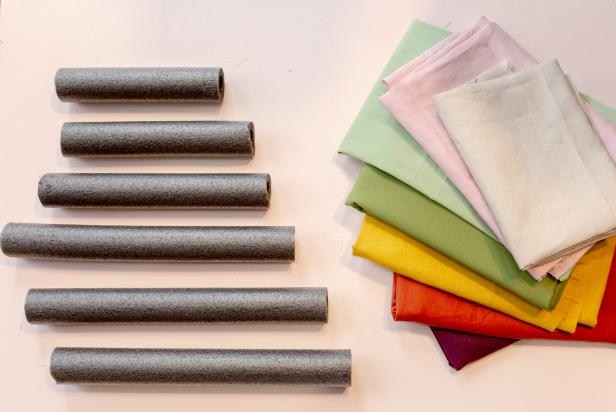
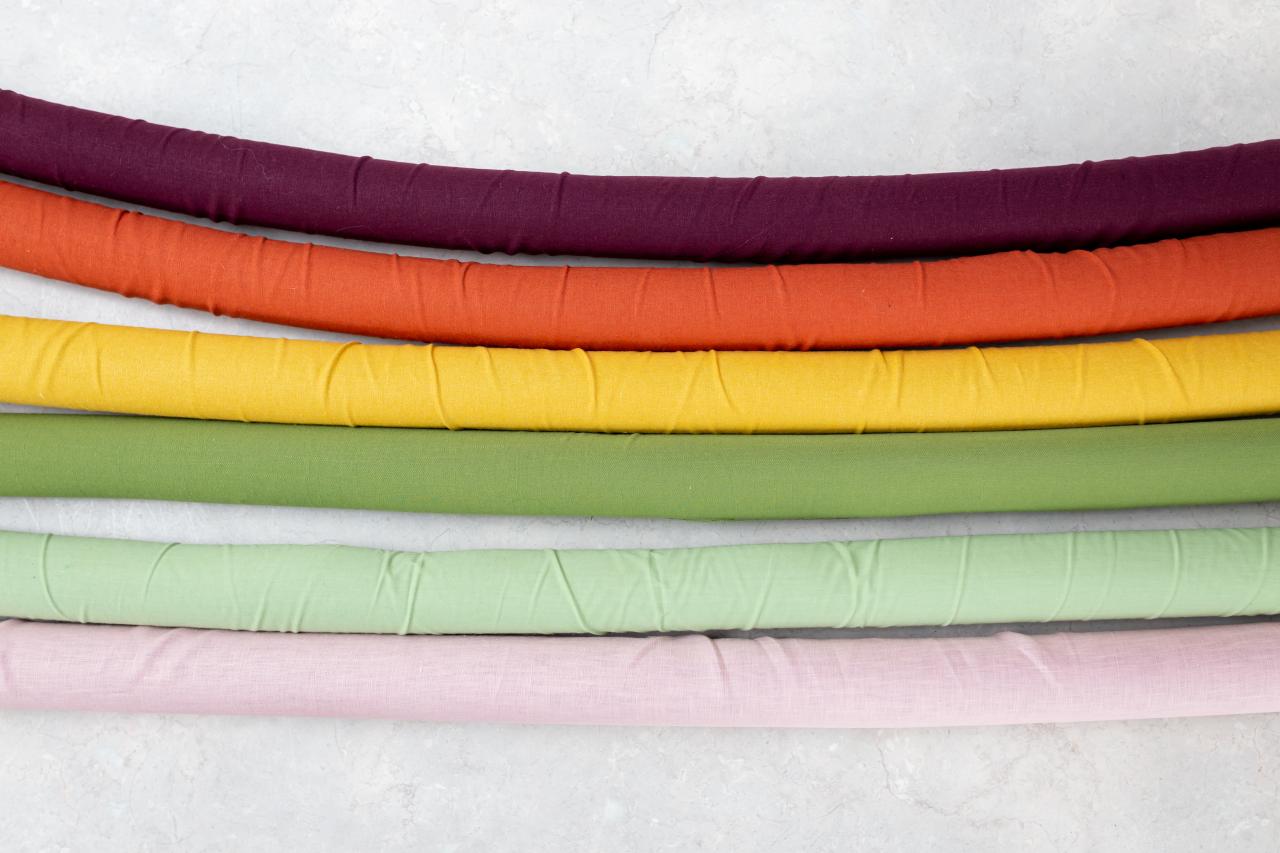
DIY Rainbow Headboard: Materials
To make this colorful headboard, you'll need pipe insulation, fabric, foam and a lo-temp hot glue gun.

Photo By: Cassidy Garcia
DIY Rainbow Headboard: Gather Materials
For this project, you'll need seven pieces of pipe insulation. If you can't find pieces long enough, just cut and attach with masking tape.
Photo By: Cassidy Garcia
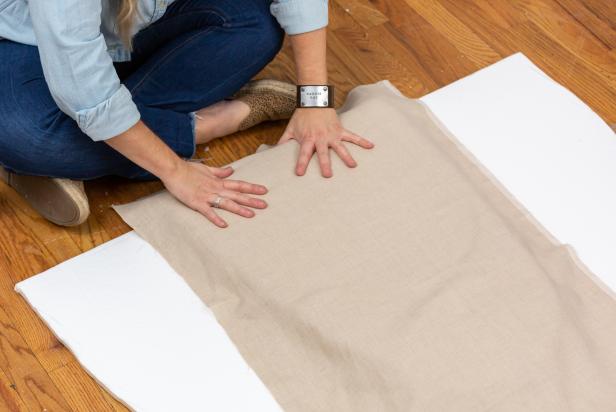
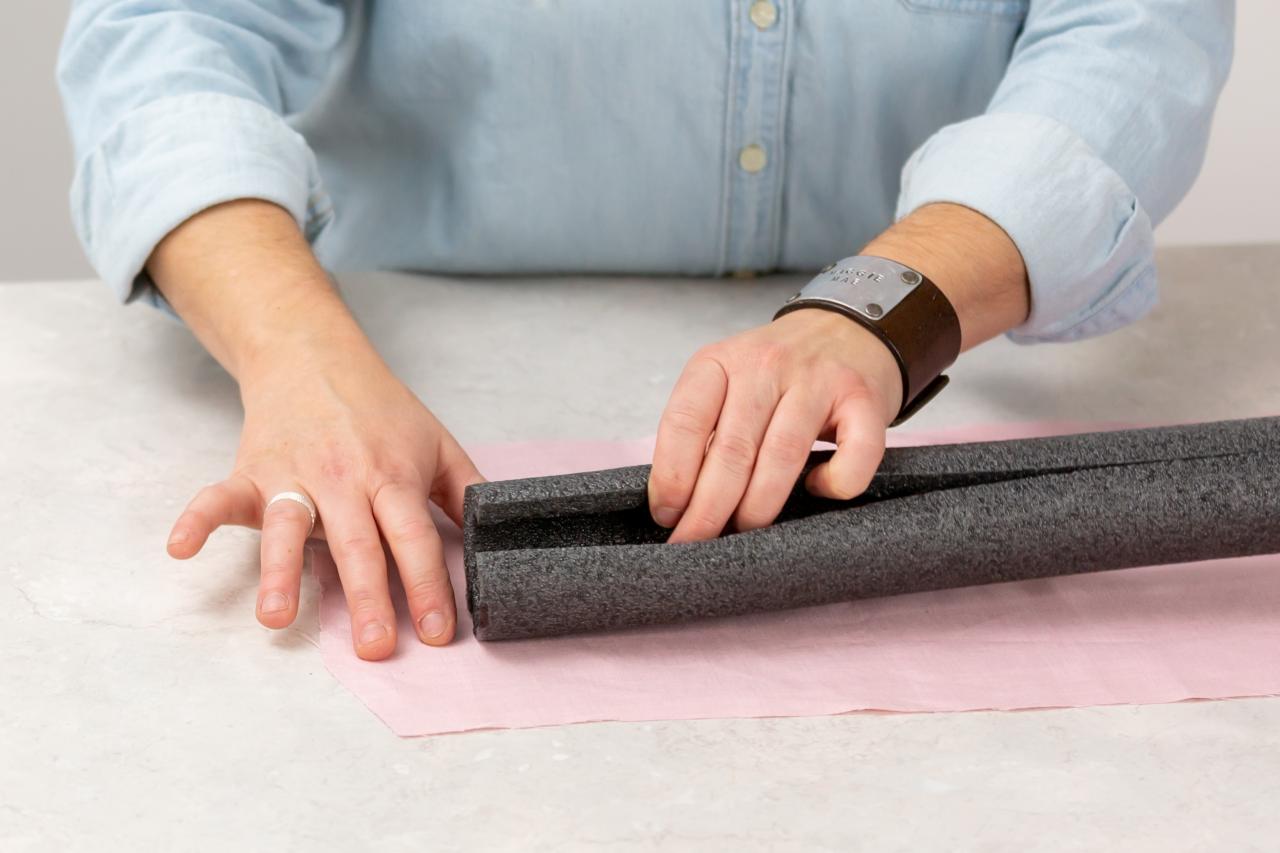
Attach Fabric
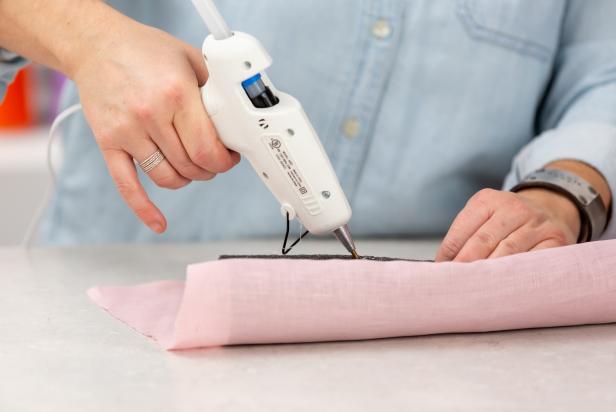
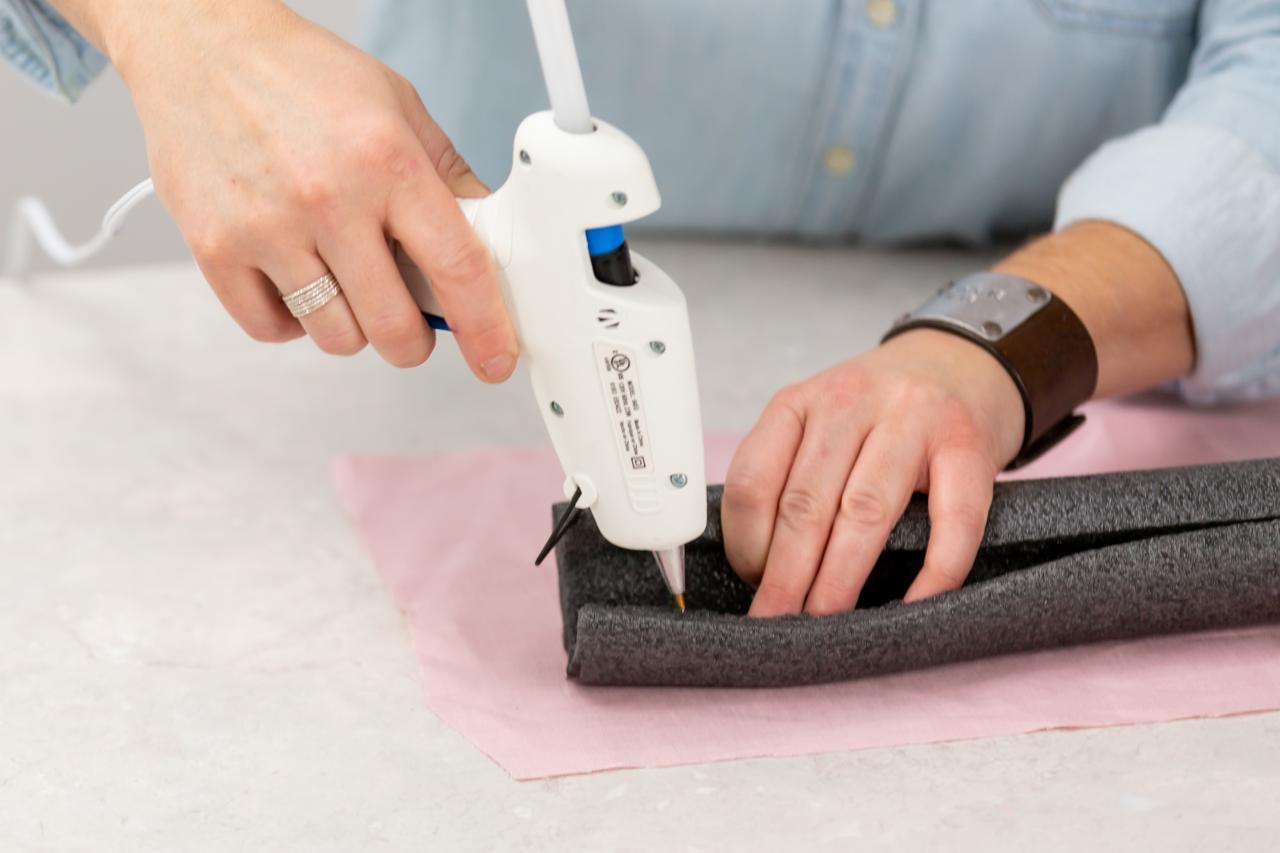
Wrap a tube with a fabric of your choice (Image 1). Using a low-temp hot glue gun, glue the fabric to the tube, hiding the fabric seam in the pipe insulation slit (Image 2 + 3). Repeat for each tube (Image 4).

Cassidy Garcia

Cassidy Garcia
Cassidy Garcia

Cassidy Garcia
DIY Rainbow Headboard: Glue Fabric
Using a lo-temp hot glue gun, wrap the fabric around the pipe insulation and glue to attach at the seam. Make sure to use a lo-temp hot glue as anything hotter will melt the foam.
Photo By: Cassidy Garcia
DIY Rainbow Headboard: Glue Fabric
Using a lo-temp hot glue gun, wrap the fabric around the pipe insulation and glue to attach at the seam. Make sure to use a lo-temp hot glue as anything hotter will melt the foam.
Photo By: Cassidy Garcia
DIY Rainbow Headboard: Glue Fabric
Using a lo-temp hot glue gun, wrap the fabric around the pipe insulation and glue to attach at the seam. Make sure to use a lo-temp hot glue as anything hotter will melt the foam.
Photo By: Cassidy Garcia
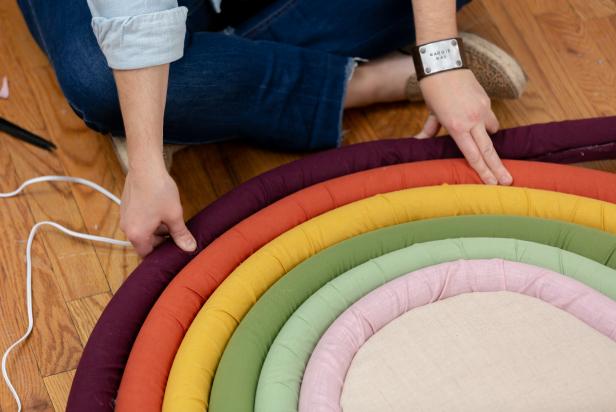
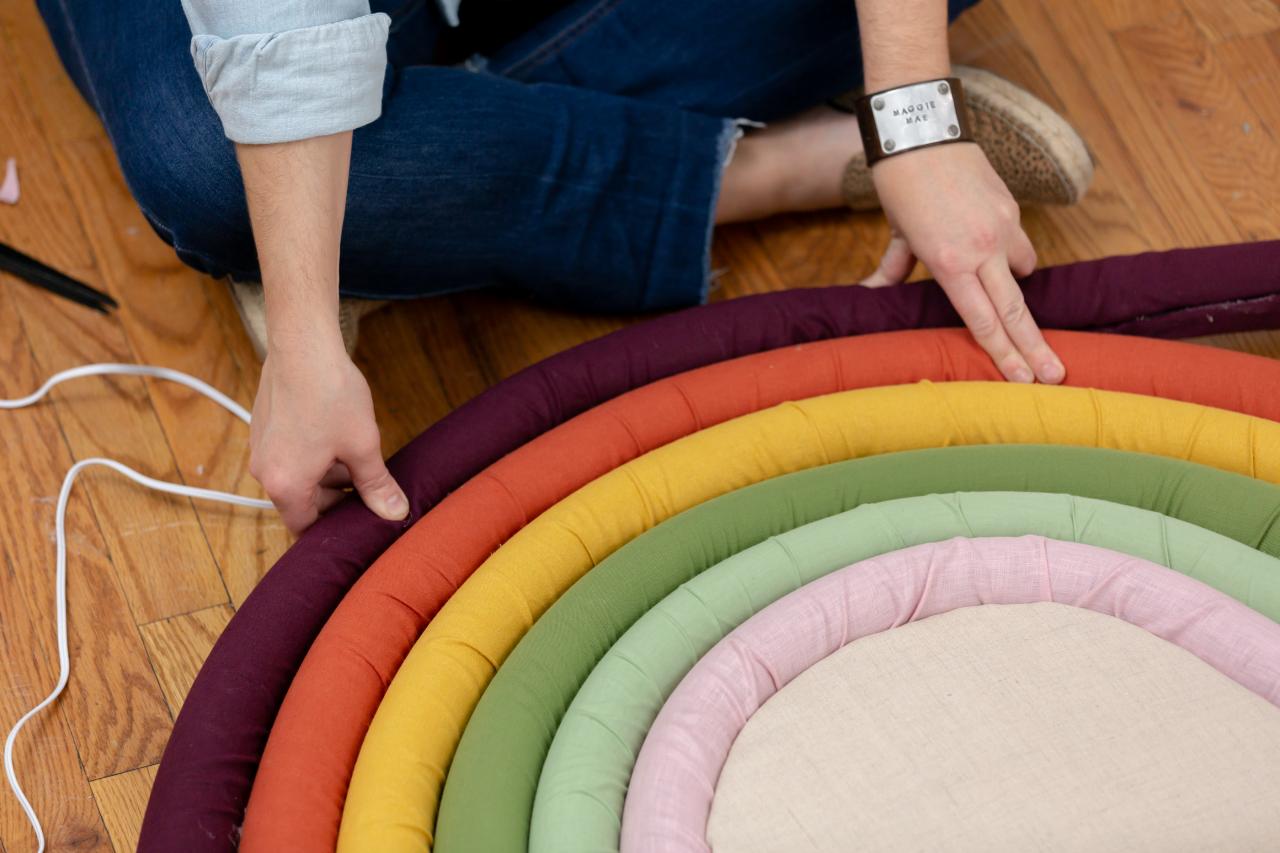
DIY Rainbow Headboard: Arrange Bands
Once each band has been covered in fabric, arrange in the order in which you'll attach to the headboard.
Photo By: Cassidy Garcia
Make the Headboard
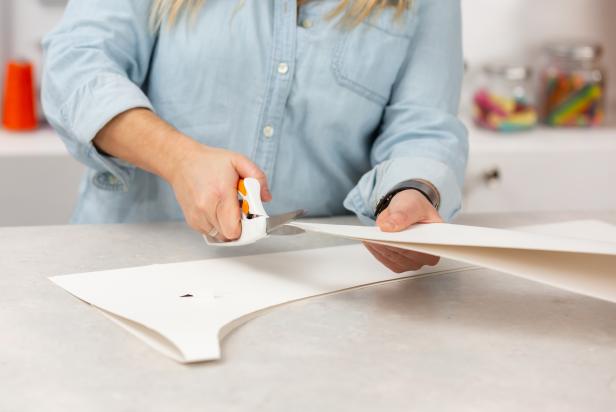
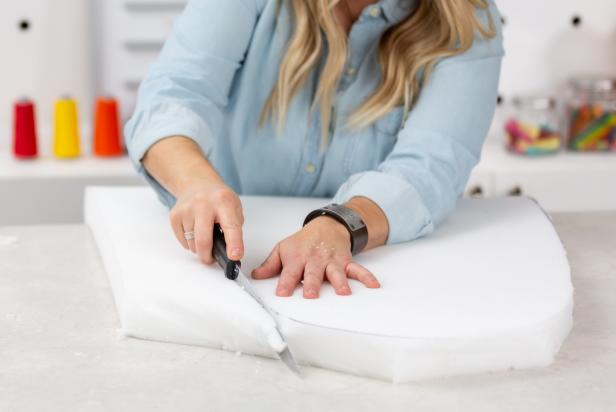
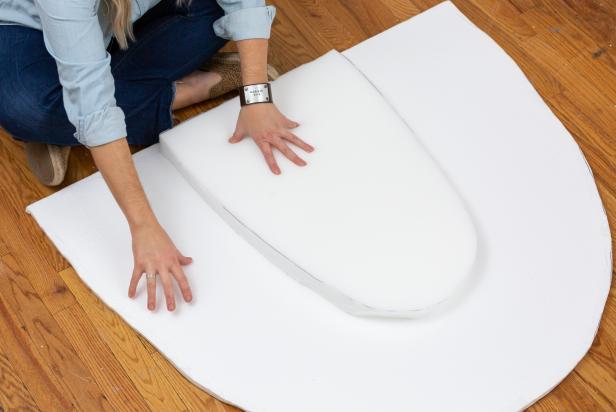
To make the giant arched backing for the headboard, measure and mark an arch on the foam insulation board that is 42" wide and 37.5" tall. Using scissors, cut out an arch. Don’t worry if it’s not perfect. The rainbow tubes will cover it. For the smaller, center arch inside the rainbow, create an arch template with a standard poster board. Measure and cut the poster board to 17.5" wide and 26.5" tall. Fold the piece in half to cut the arch (Image 1 +2). Using the poster arch template as a guide, cut the shape out of the project foam with a serrated knife (Image 3 + 4).

Cassidy Garcia
Cassidy Garcia

Cassidy Garcia
Cassidy Garcia
DIY Rainbow Headboard: Measure Board
Mark the poster board before cutting. The arch should be 17.5 inches wide and 26.5 inches tall.
Photo By: Cassidy Garcia
DIY Rainbow Headboard: Cut Board
Once you have marked your measurements, fold the board in half and cut out an arch template.
Photo By: Cassidy Garcia
DIY Rainbow Headboard: Trace
Trace the arch shape from the poster board template onto the foam.
Photo By: Cassidy Garcia
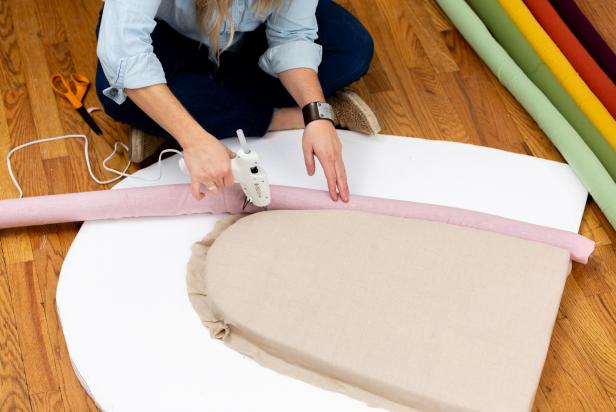
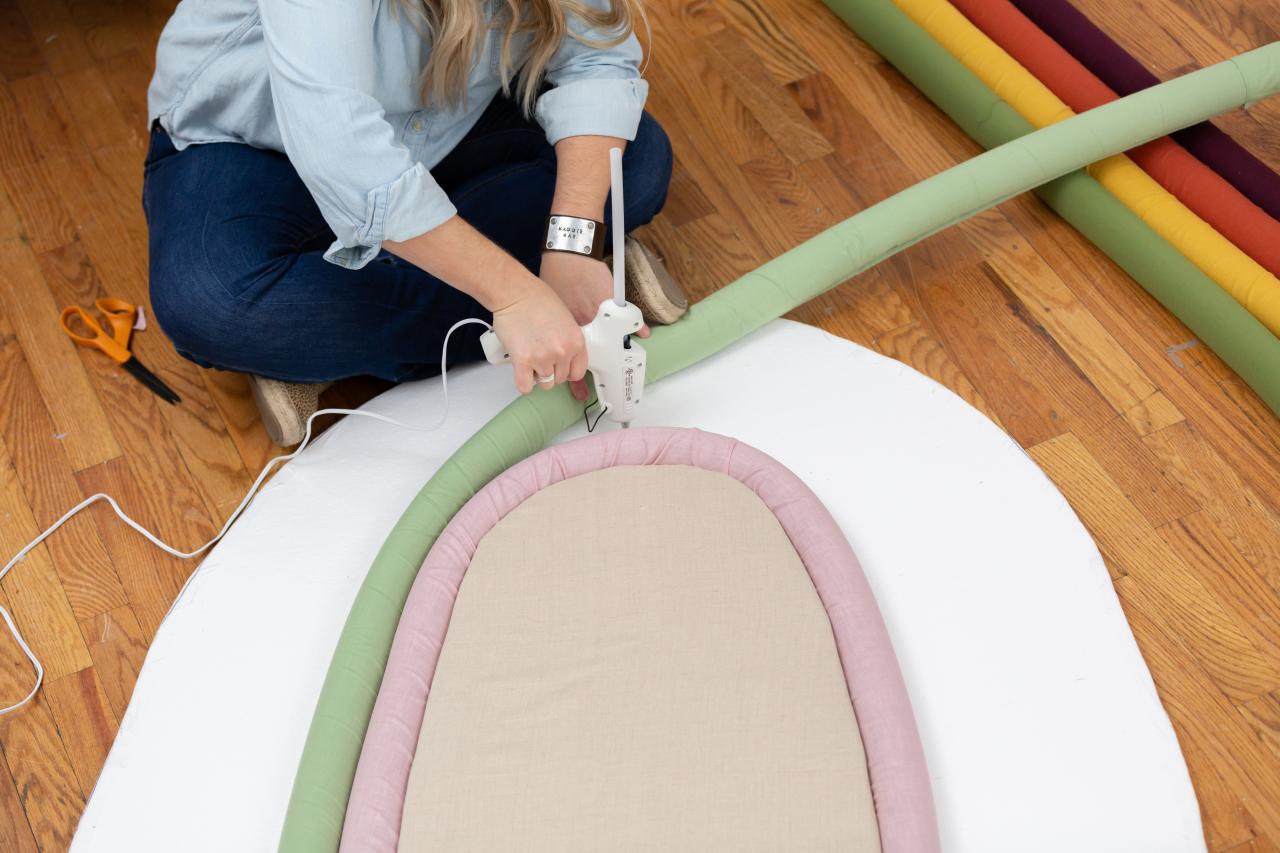
Assemble the Headboard
Attach the center foam arch to the foam board with spray adhesive (Image 1). Once attached, spray the top of the foam arch with spray adhesive and cover with fabric of your choice (Image 2). Using a low-temp hot glue gun, glue and secure the fabric on the sides and edges. To attach the rainbow bands, start with the shortest tube. Wrap the tube around the foam arch, hot gluing to secure as you go (Image 3). Make sure to keep the tube seam hidden in the back as you glue. Repeat with the next shortest tube (Image 4). Continue until all six tubes are attached (Image 5). Once finished, trim any loose threads or extra material with scissors.
Cassidy Garcia
Cassidy Garcia
Cassidy Garcia

Cassidy Garcia
Cassidy Garcia
DIY Rainbow Headboard: Glue Fabric
Using spray adhesive, cover the foam arch with your choice of fabric. The spray adhesive will be tacky long enough to adjust the fabric if you need to connect.
Photo By: Cassidy Garcia
DIY Rainbow Headboard: Glue Bands
Using a lo-temp hot glue gun and starting with the shortest piece, glue the rainbow bands together and to the foam board. Make sure that the fabric seam is hidden and glued to the back.
Photo By: Cassidy Garcia
DIY Rainbow Headboard: Glue Bands
Using a lo-temp hot glue gun and starting with the shortest piece, glue the rainbow bands together and to the foam board. Make sure that the fabric seam is hidden and glued to the back.
Photo By: Cassidy Garcia
DIY Rainbow Headboard: Glue Bands
Using a lo-temp hot glue gun and starting with the shortest piece, glue the rainbow bands together and to the foam board. Make sure that the fabric seam is hidden and glued to the back.
Photo By: Cassidy Garcia
Mount Headboard on Wall
To mount the headboard, use heavy-duty removable adhesive strips on the back of the foam board.

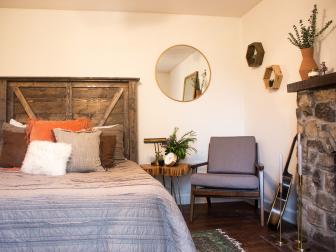
DIY Rainbow Headboard
Make a trendy rainbow headboard with some unexpected items: pipe insulation and a hot glue gun. Jill Tennant has a clever how-to that is budget-friendly and rental-friendly.
Photo by: Cassidy Garcia
Cassidy Garcia
DIY Headboard Ideas

29 DIY Headboards You Can Make This Weekend 74 Photos
A one-of-a-kind headboard doesn't have to cost you a lot of money or time.
DIY Barnwood Headboard
A faux barnwood headboard is the perfect piece to turn any room into a relaxing getaway.

70 DIY & Upcycled Headboard Ideas 74 Photos
Give your boring bedframe a boost with one of these budget- and beginner-friendly headboard projects and DIY design ideas.


