


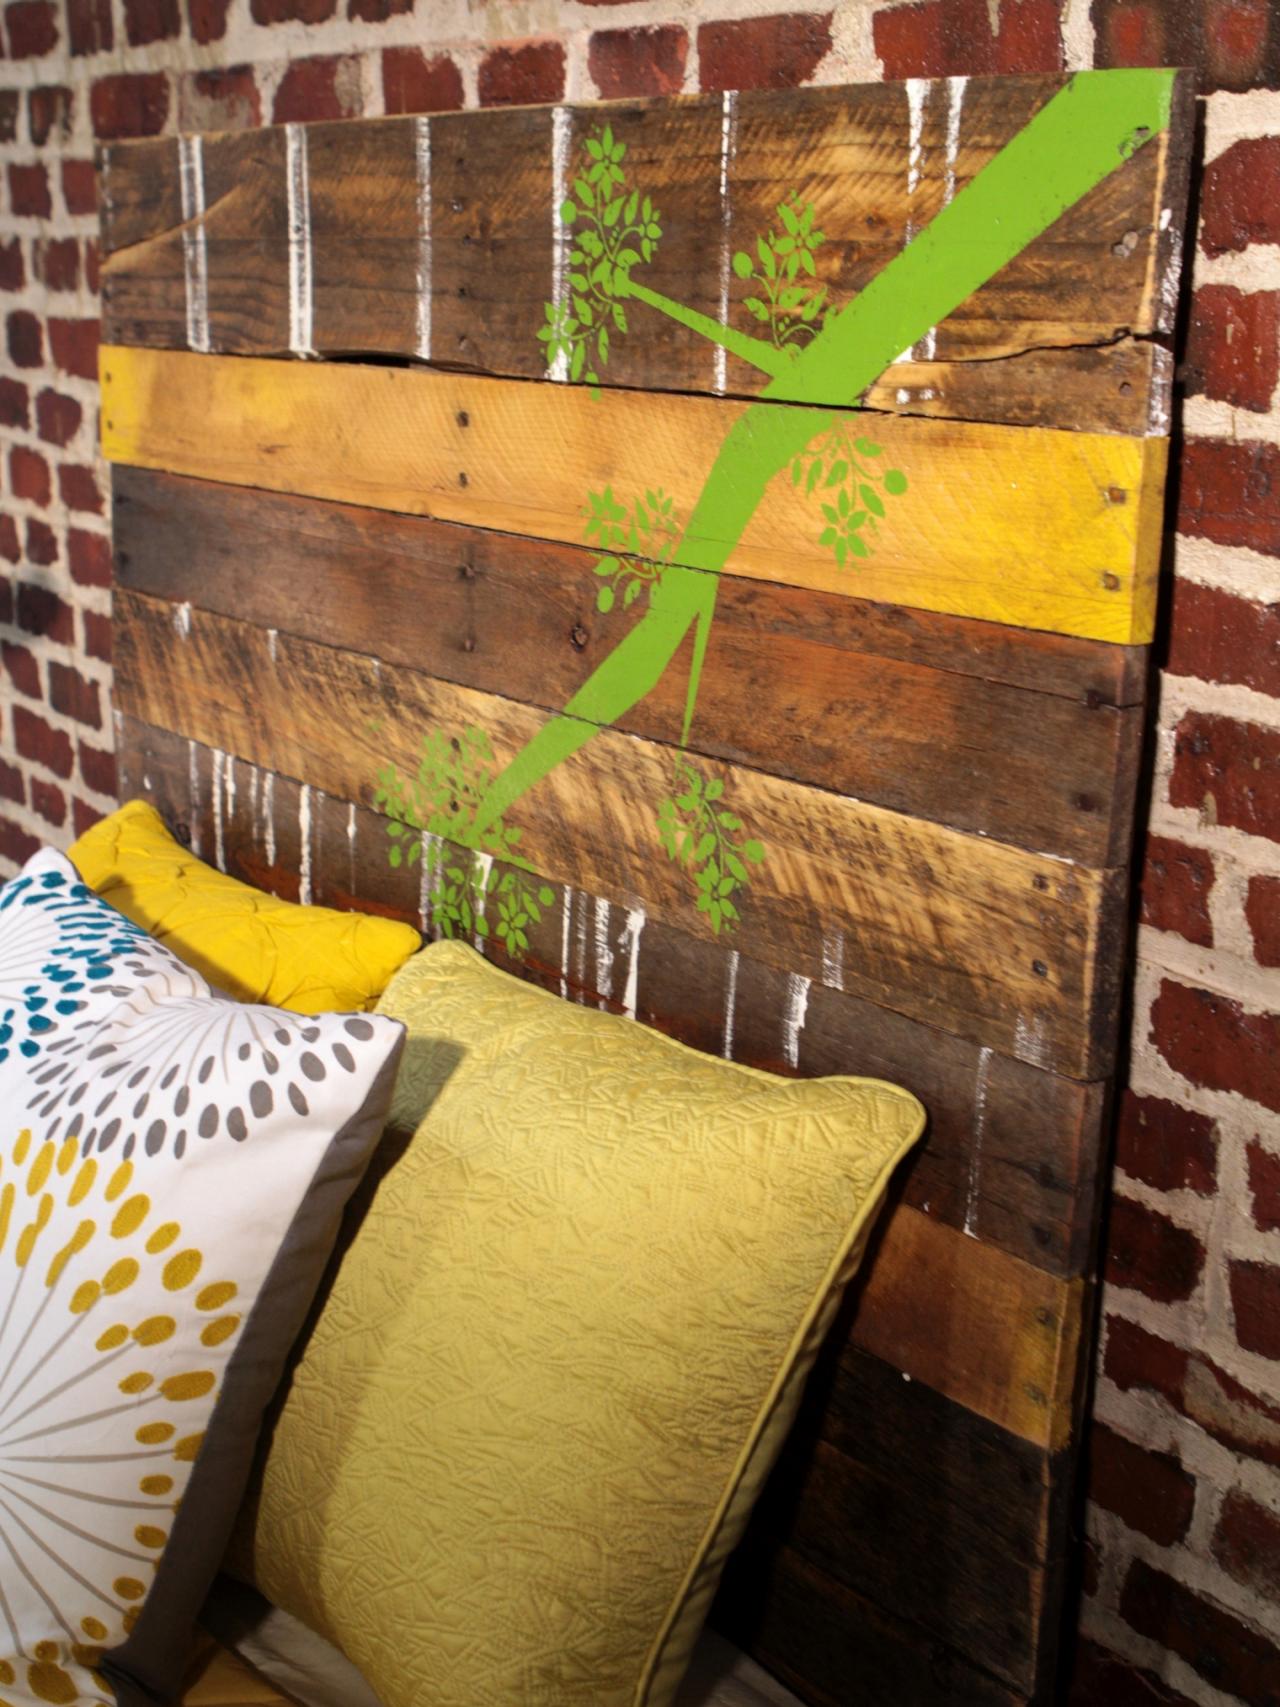
How To Make a Rustic, Upcycled Headboard From a Wood Pallet
This easy DIY pallet headboard project costs about $20 to build and can be finished in just a few hours.

Tools + Materials
- finish nailer with 1-1/4" 18-gauge finish nails
- orbital sander with 80- and 220-grit sanding discs
- painter's tape
- paint brushes or paint sponges
- stencils
- denatured alcohol
- circular or chop saw
- drill with bit set
- 2 to 3 salvaged pallets
- (2) salvaged boards for legs (approximately 1" x 6")
- construction adhesive
- paint
- shellac or polyurethane
Warehouses, contractors and large shippers are good sources for used pallets. They are very often thrown out, so chances are someone will be happy to save on the disposal fees by giving them to you. Make sure the wood is not contaminated with any toxic or degradable materials. The wood should be intact but otherwise imperfect and varying in patina.
Gather the Wood
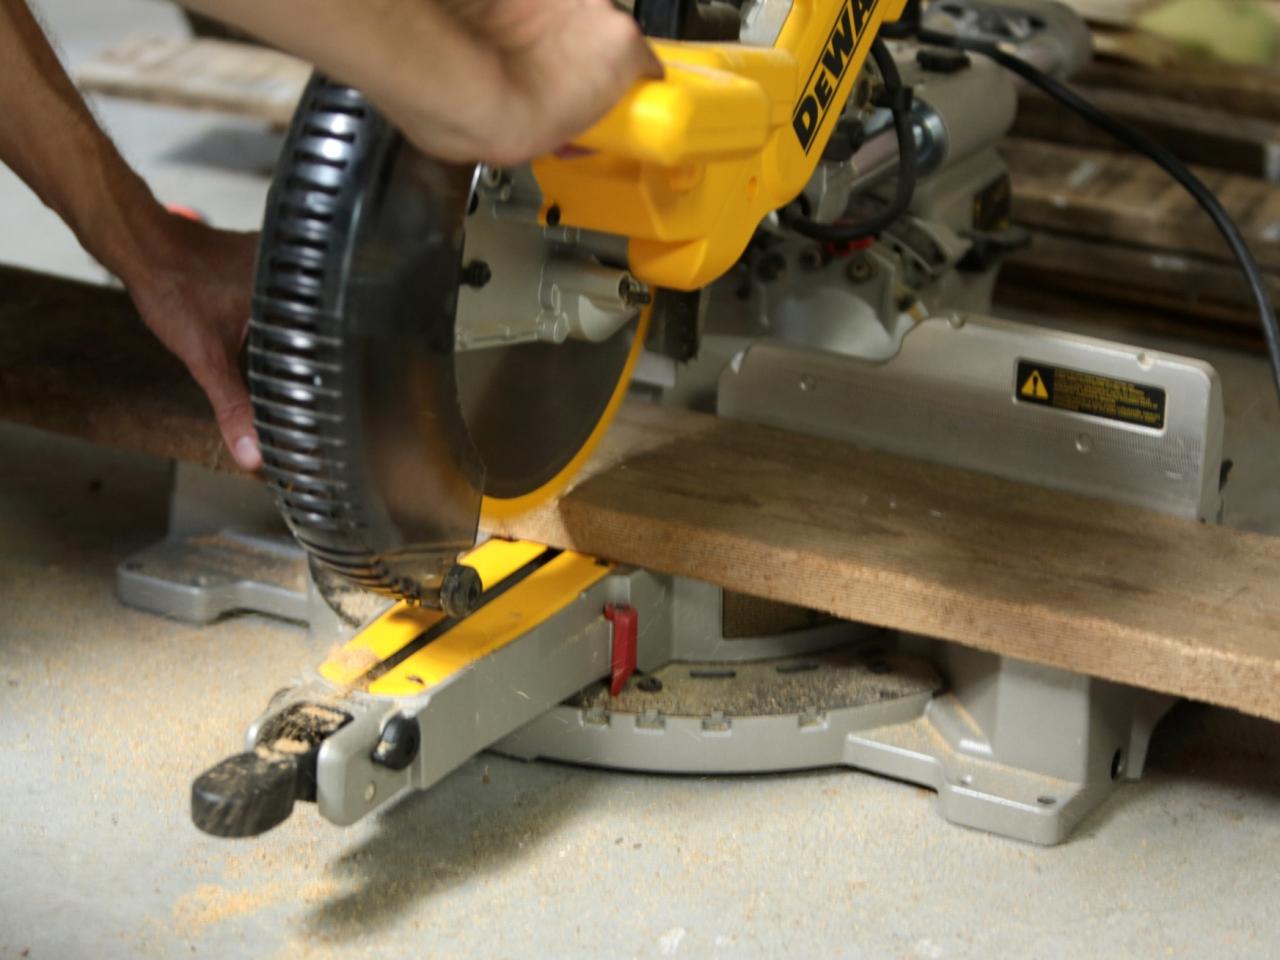
Use a reciprocating saw to cut right behind the planks and through the nail shanks (Image 1). Be sure to use a fresh blade and this step will go quickly. For this twin-size headboard, we used eight planks of varying widths (Image 2). Even if one pallet provides enough wood, break down several pallets so that you can mix up the planks and have a varied look.


Determine Height
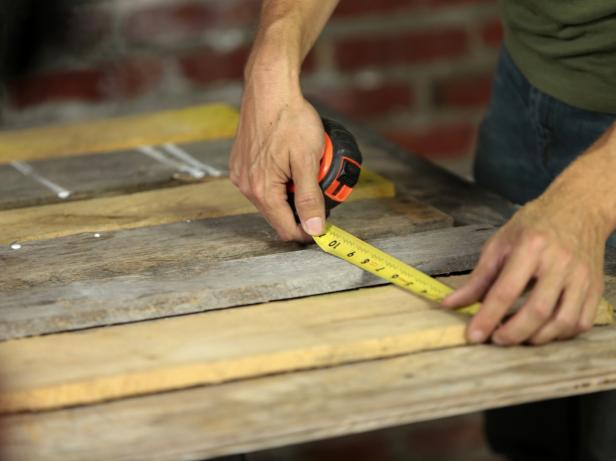
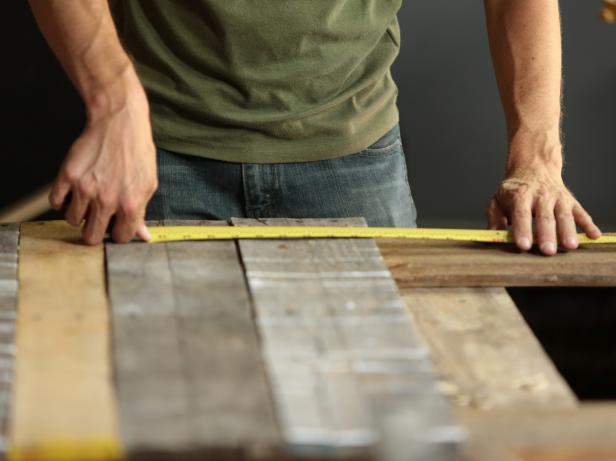
Measure the combined height of the bed frame, box spring and mattress and then add 32 inches. Ours was 24 inches plus 32 inches, making our bed frame 56 inches tall (Image 1). Mix different planks from different pallets so you will create a more interesting headboard (Image 2).

Make the Legs
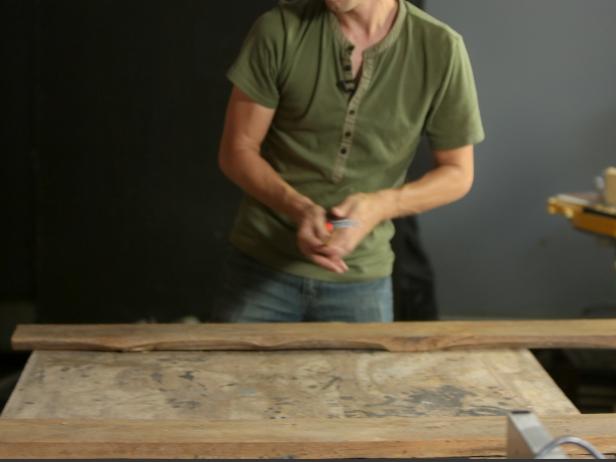
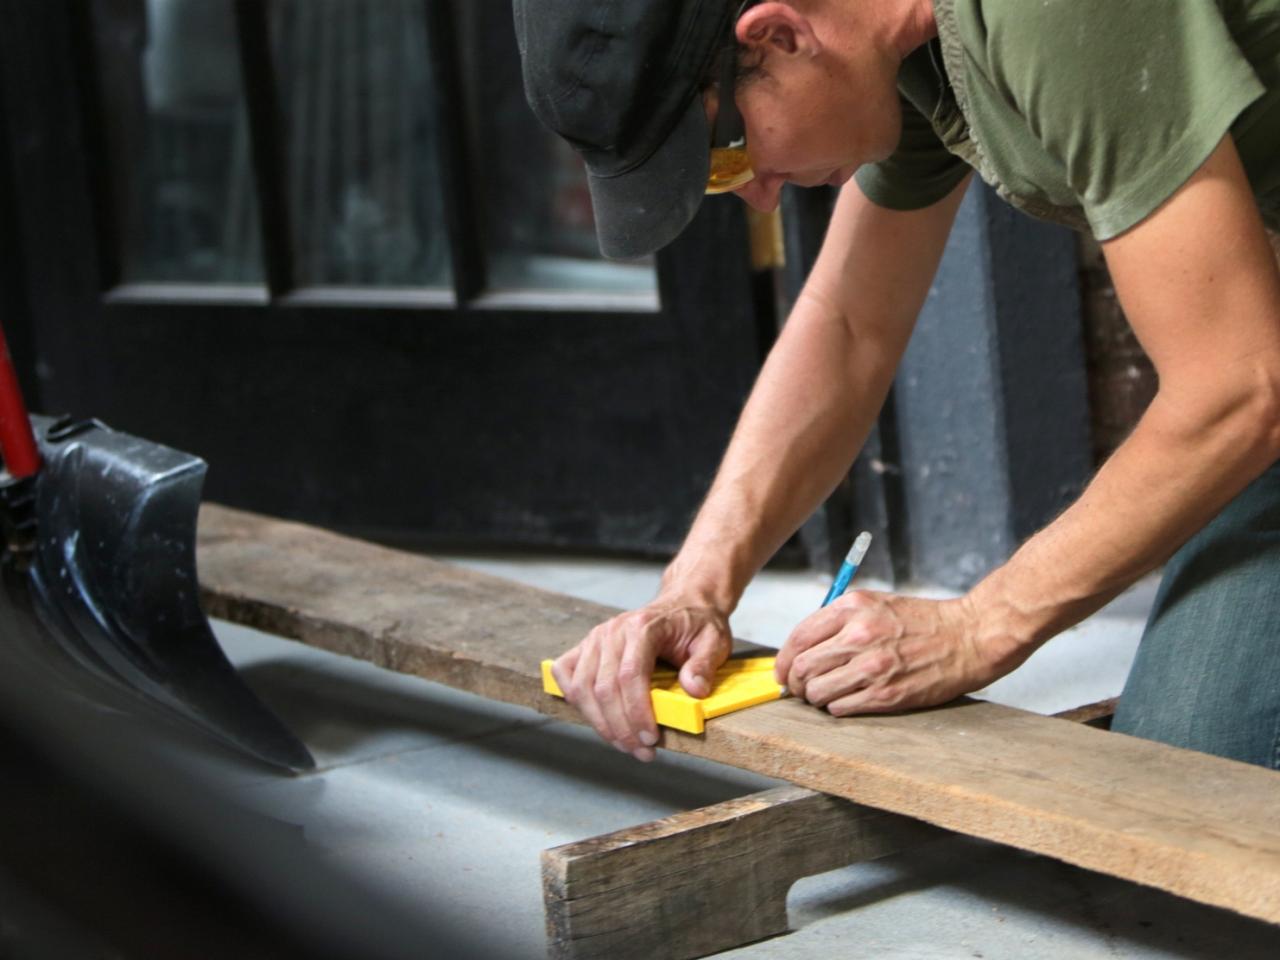
Cut two legs to the correct height. We scored some salvaged barn wood to use for the legs. Also, cut an intermediate support to 32 inches (Image 1). Position the two legs on a work surface and square them up so that they are 2 inches narrower in width than the finished headboard (Image 2).

Add Middle Support Piece
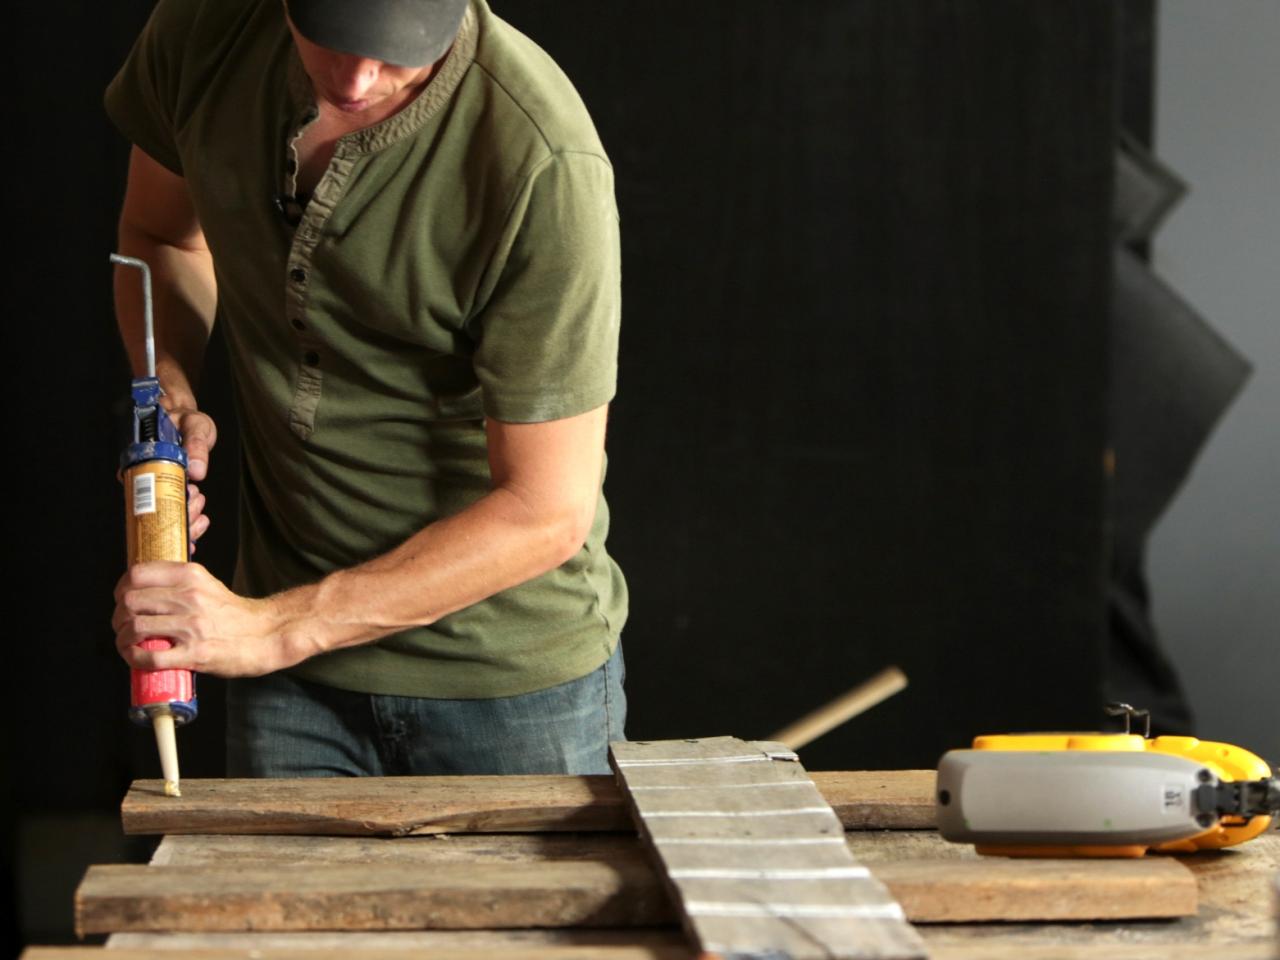
Center the intermediate support between the two legs and apply construction adhesive at the top row.

Begin Attaching Planks
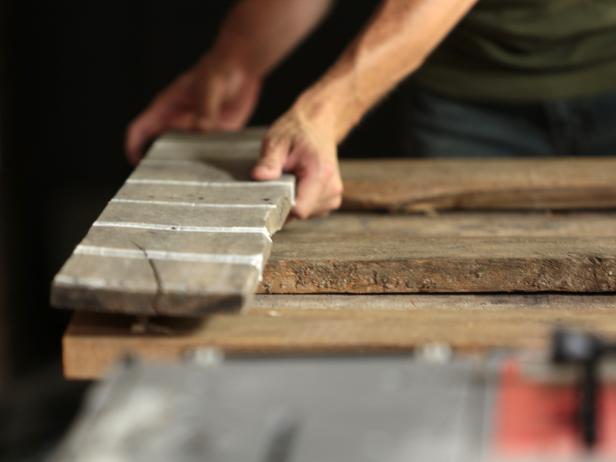
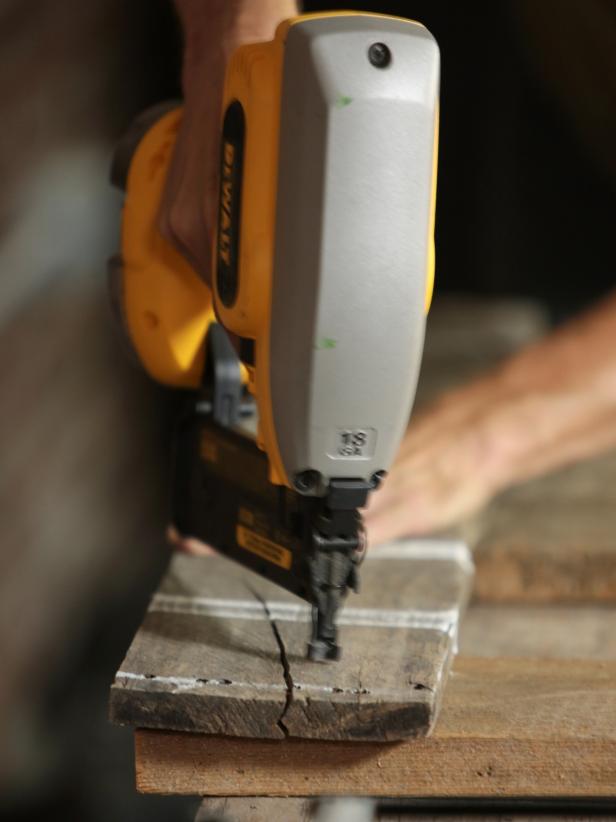
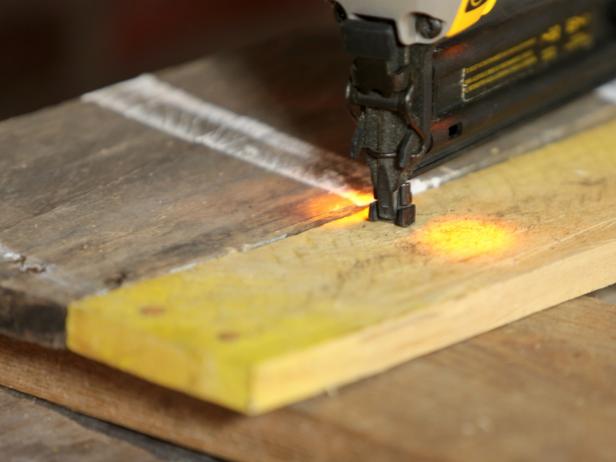
Position the first plank so that it is slightly higher than the tops of the legs (Image 1). Make sure that both sides of the plank extend 1 inch beyond the legs on each side (Image 2). Using firm downward pressure, shoot two 1-1/4-inch 18-gauge finish nails into each leg and the intermediate support piece (Image 3). If there is a crack or split in the plank, be sure to fasten on each side of it (Image 4). Apply construction adhesive and insert nails for each subsequent row and continue installing planks tight to the previous row (Image 5). Discard any planks that have excessive curvature.


Finish Attaching Planks
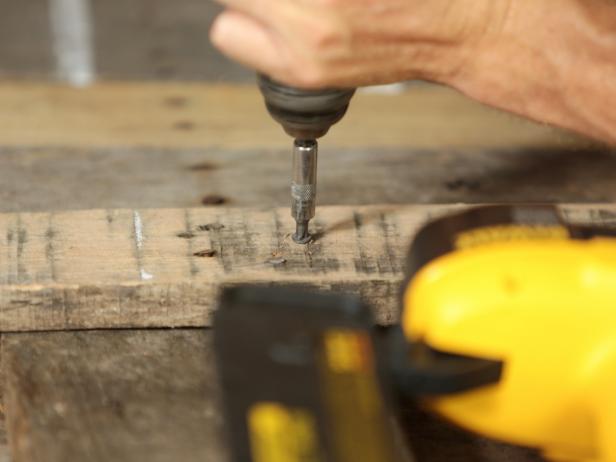
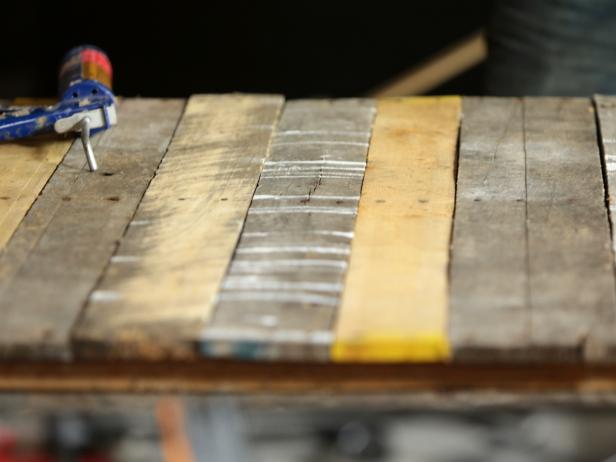
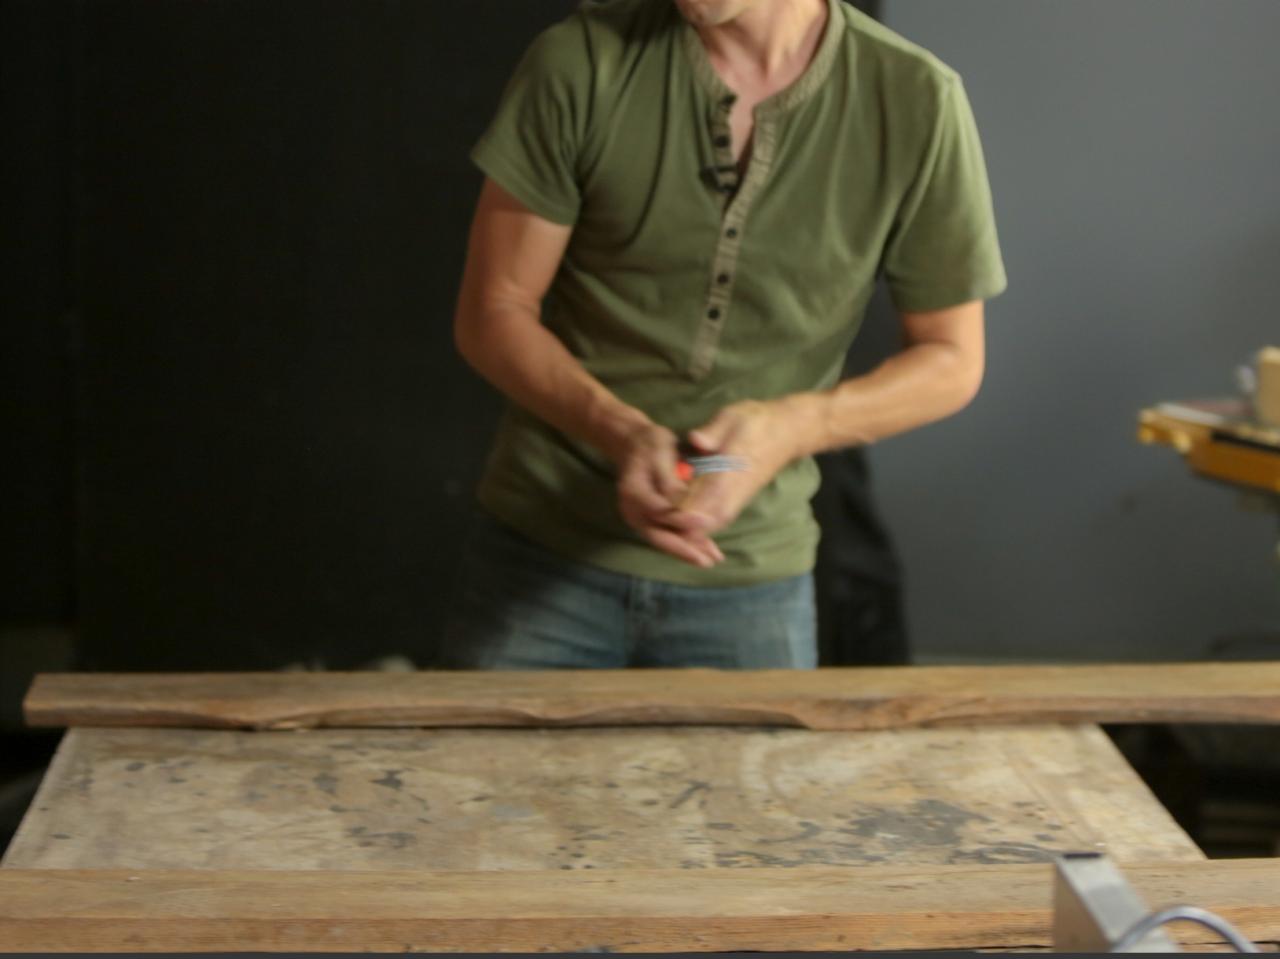
Pallet planks are thin and usually have seen better days, so it's not uncommon for them to be warped. Use coarse-thread drywall screws as necessary to pull these in tighter before nailing (Image 1). Continue installing planks in a random pattern (Image 2). Make sure the last board finishes just below the top of the mattress (Image 3).
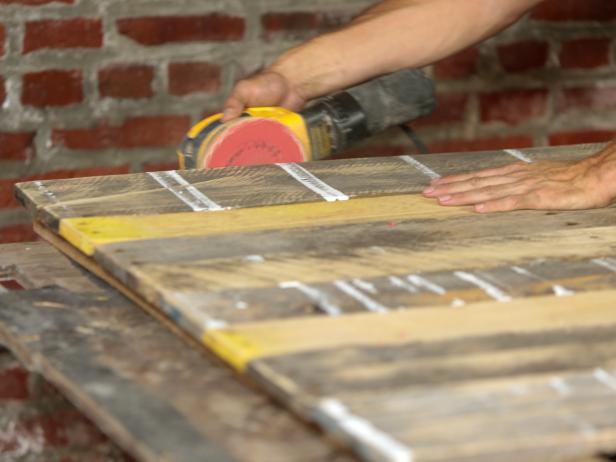
Sand It Smooth
Use an orbital sander to smooth the roughest spots with 80-grit sandpaper and then lightly sand the entire surface with 220-grit paper (Image 1). Sand the edges, top, and rear overlaps on each side (Image 2).

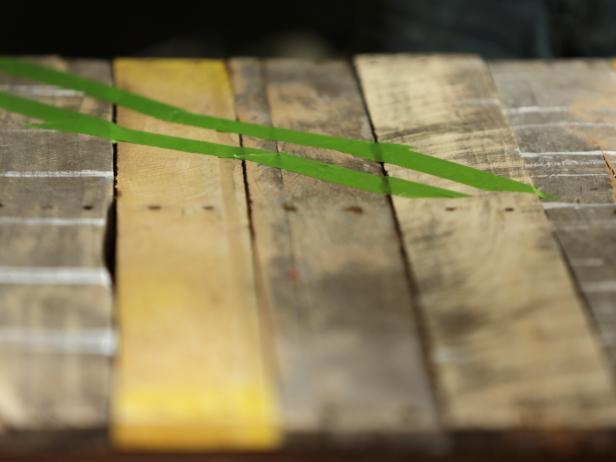
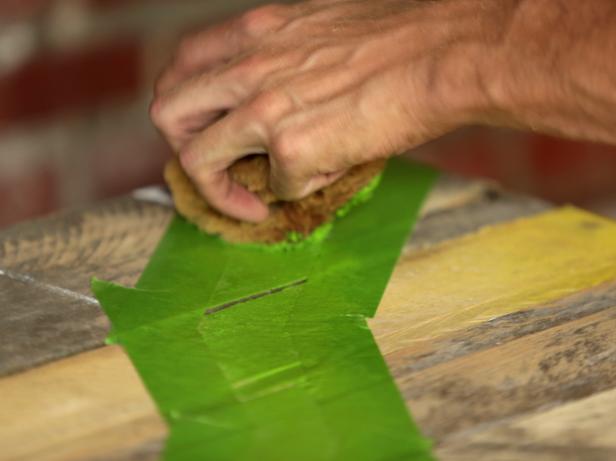
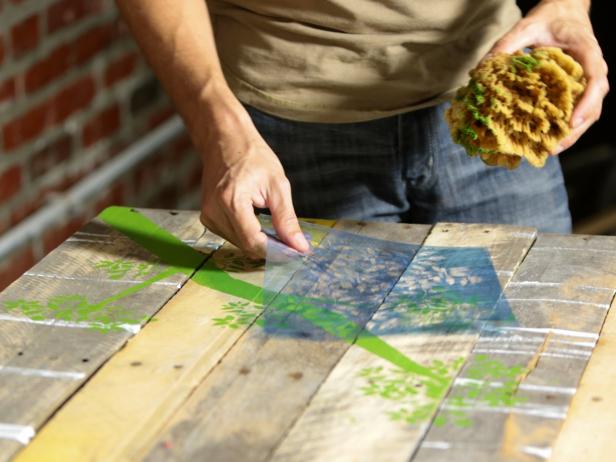
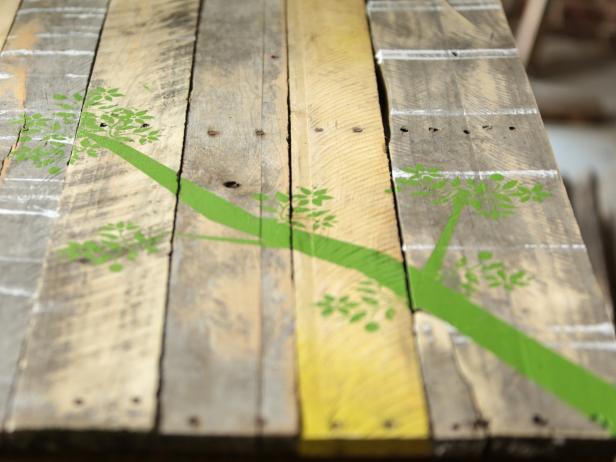
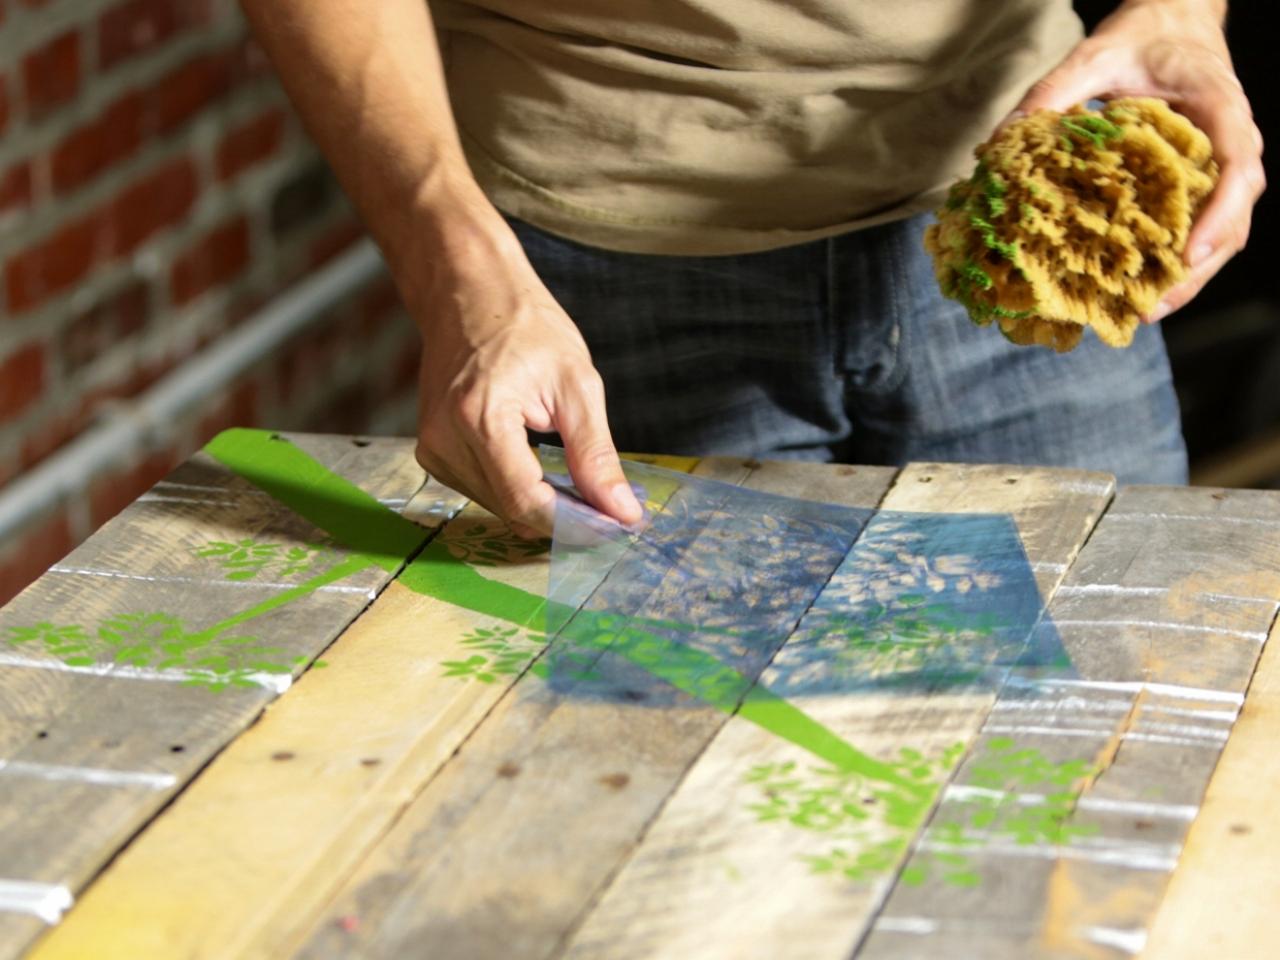
Personalize With Art
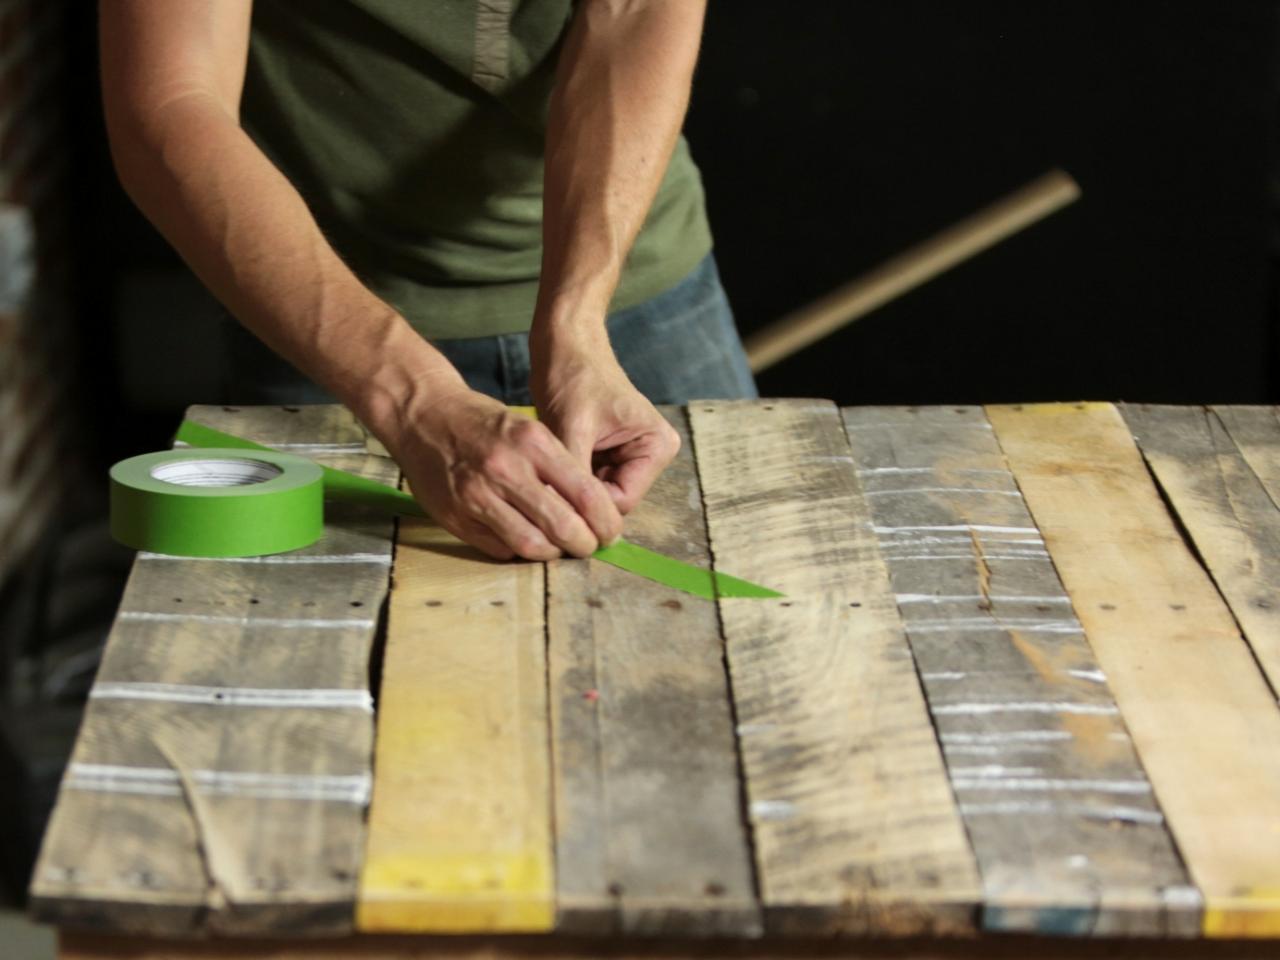
Give the rustic wood some flair with a custom design. We added a pop of green with a free-hand tree branch (Image 1). Trace your pattern in pencil first or free-hand it with painter's tape. Be sure the tape is tight and firmly adhered to prevent paint bleed (Image 2). We wanted the design to have some imperfection, so a sponge was used to apply the paint (Image 3). A stencil was used to create the leaf pattern (Image 4). Allow the paint to dry (Image 5).

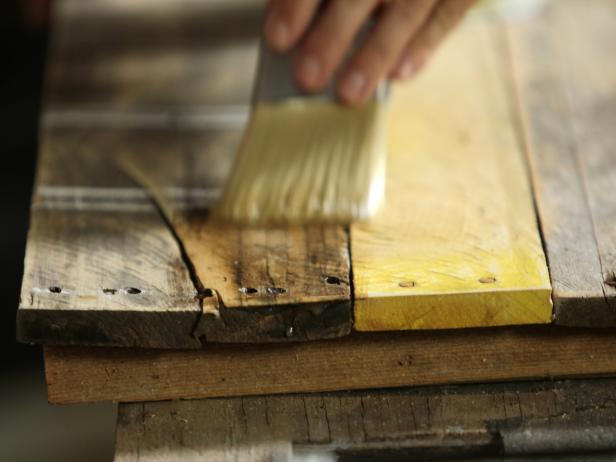
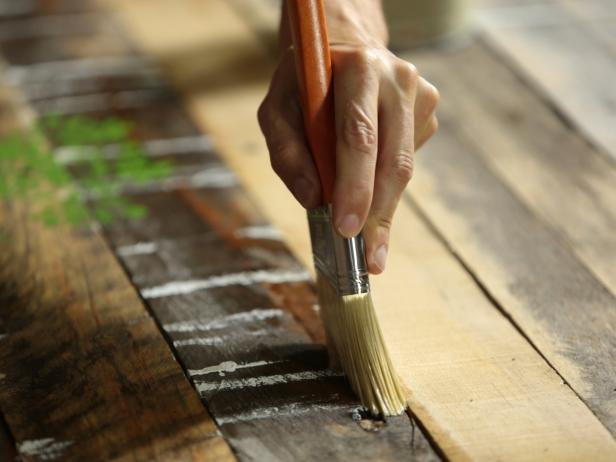
Seal the Headboard
We used shellac because it is a natural product, is easy to touch up and dries super fast which means less time between coats (Image 1). When the first coat is dry, lightly sand the entire surface to remove any lifted wood grain. Apply the second coat heavier and work it into any cracks and crevices (Image 2). The clear coat will accentuate the colors and textures on the slats such as these original mill lines and paint.
Finish Up
Mount the headboard to the bed frame by using small carriage bolts or attach the headboard directly to the wall using a cleat.


