


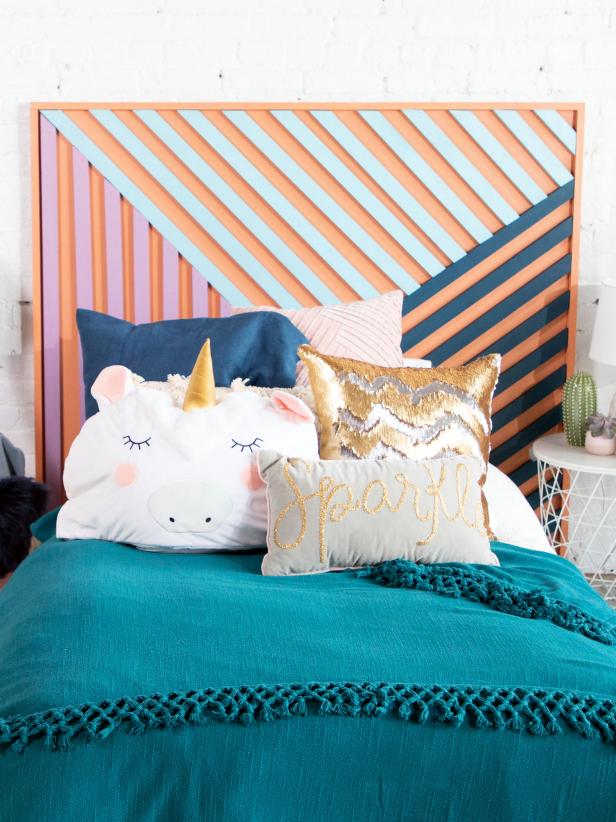
How to Make a Geometric Wood Headboard
If you're looking for a stylish way to add personality and color to your bedroom, then this DIY modern art headboard is the perfect project for you.
It's simple to build and customize to fit any bedroom in your home, and you can make it over a weekend. Our headboard was created in three triangular sections, use this design or come up with your own look.
DAN WHITEHEAD
Tools and Materials
- (1) 4' x 8' x 3/4" plywood
- (15) 1x2 x 8'
- miter saw
- brad nailer with 1-1/2" nails
- protractor
- pencil
- wood glue
- paint (we used four colors)
- (2) 12" French cleats
- Drill with a Robertson drill bit
- 2" wood screws
- (6) clamps
- safety glasses
Cut List:
These measurements are for a twin-sized bed. All measurements are the longest side of the strip.
- Backerboard: (1) 48" x 54" plywood (PIECE A)
- Side Frame Pieces: (2) 1x2 @ 46-1/2" side frames (PIECES B,C)
- Bottom Frame Pieces: (2) 1x2 @ 54" top and bottom frames (PIECES D,E)
- Section 1 (dark blue): all at 52° miter at the top and 35° miter at the bottom
(1) 1x2 @ 12" (PIECE F)
(1) 1x2 @ 18-1/4" (PIECE G)
(1) 1x2 @ 25" (PIECE H)
(1) 1x2 @ 30-3/4" (PIECE I)
(1) 1x2 @ 37-1/2" (PIECE J)
(1) 1x2 @ 44" (PIECE K)
(1) 1x2 @ 50-1/2" (PIECE L)
(1) 1x2 @ 56-3/4" (PIECE M)
(1) 1x2 @ 66-7/8" (PIECE N) - Section 2 (light blue): all at 10° miter at top and 35° miter at bottom
(1) 1x2 @ 6 -1/4" (PIECE O)
(1) 1x2 @ 10-1/2" (PIECE P)
(1) 1x2 @ 13" (PIECE Q)
(1) 1x2 @ 16" (PIECE R)
(1) 1x2 @ 18-1/2" (PIECE S)
(1) 1x2 @ 21-1/4" (PIECE T)
(1) 1x2 @ 24" (PIECE U)
(1) 1x2 @ 26-1/2" (PIECE V)
(1) 1x2 @ 29-1/4" (PIECE W)
(1) 1x2 @ 32" (PIECE X)
(1) 1x2 @ 34-1/2" (PIECE Y) - Section 3 (purple): all at 35° miter at top and 45° miter at bottom
(1) 1x2 @ 8-1/4" (PIECE Z)
(1) 1x2 @ 14" (PIECE AA)
(1) 1x2 @ 18-3/4" (PIECE BB)
(1) 1x2 @ 24" (PIECE CC)
(1) 1x2 @ 29-1/4" (PIECE DD)
(1) 1x2 @ 34-1/8" (PIECE EE)
(1) 1x2 @ 39-1/2" (PIECE FF)
(1) 1x2 @ 45-1/2" (PIECE GG)
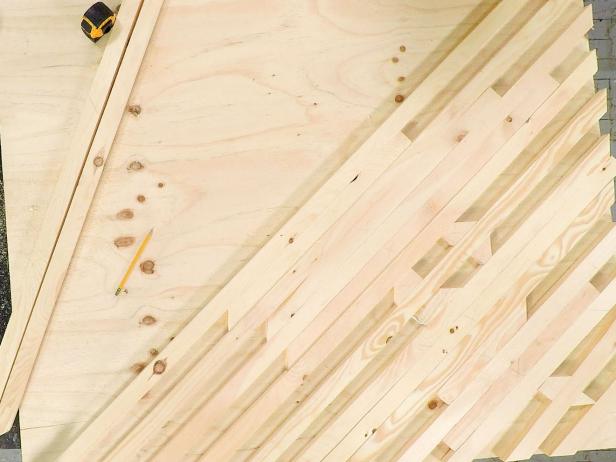
Step 1: Determine Design


DAN WHITEHEAD
Lay one 1x2 x 8' board (F) across the middle of the plywood (A) (this is the longest board on the dark blue section). Use a pencil to draw a line underneath where the 1x2 ends on the plywood, on both ends. This will be your cut line. Cut the wood using a miter saw. These are the measurements for the dark blue section on our headboard (measuring from longest point to longest point).
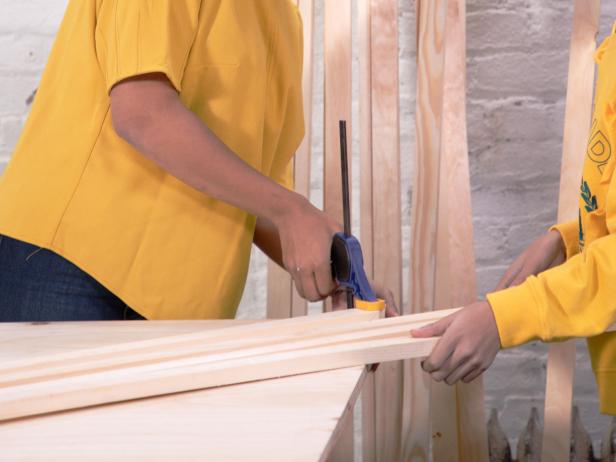
Step 2: Lay Out First Section Boards
DAN WHITEHEAD

DAN WHITEHEAD
Clamp the center board down (F) on both ends to ensure it doesn't move. This piece will act as a guide for the rest of your headboard design. Continue placing each 1x2 piece on the plywood, working towards the first corner. To ensure proper spacing, use scrap 1x2 pieces as spacers in between each board. Continue this step until you've worked all the way to the first corner (Pieces G,H,I,H,J,K,L,M,N). Mark the back of each board so you don't mix up the sections.
Step 3: Lay Out Second Section
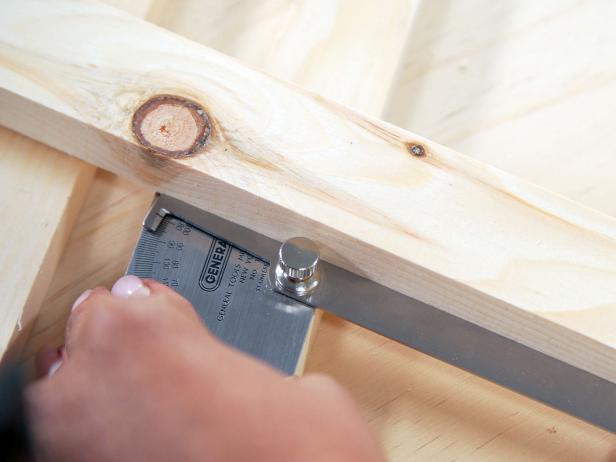
Determine the layout for the next color section. Use a protractor to determine the inside miter cuts. Use a pencil on the edge of the plywood sheet to determine the cuts on the outside. Continue these steps, working across until you've created the next color section. These are the measurements for the light blue section on our headboard (measuring from longest point to longest point). Mark the back of each board so you don't mix up the sections.
Step 4: Lay Out Last Section

Again, use a protractor to determine the miter cuts for the last section of your headboard. These are the measurements for the purple section on our headboard (measuring from longest point to longest point). Mark the back of each board so you don't mix up the sections.
Step 5: Paint

Paint each piece of the headboard including the plywood sheet and four frame pieces. For our project, we used peach for the plywood and frame pieces, dark blue for the largest section, light blue for the second largest section and purple for the smallest section. For all inside 1x2 pieces, no need to paint the back sides because they will be facing the plywood sheet. For the frame pieces (B,C,D,E), paint all sides except the one short edge that will face the wall.
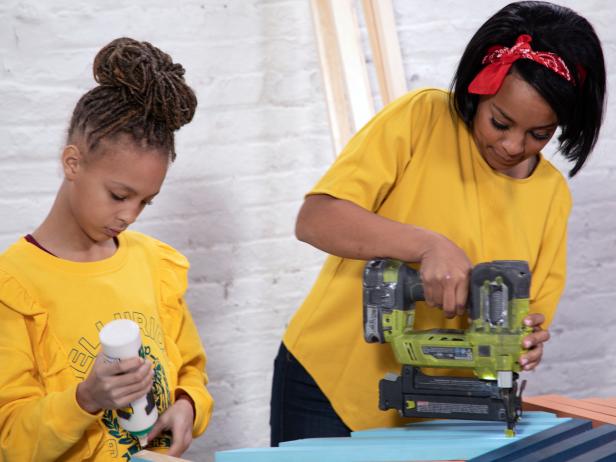
Step 6: Assemble

DAN WHITEHEAD
DAN WHITEHEAD

DAN WHITEHEAD
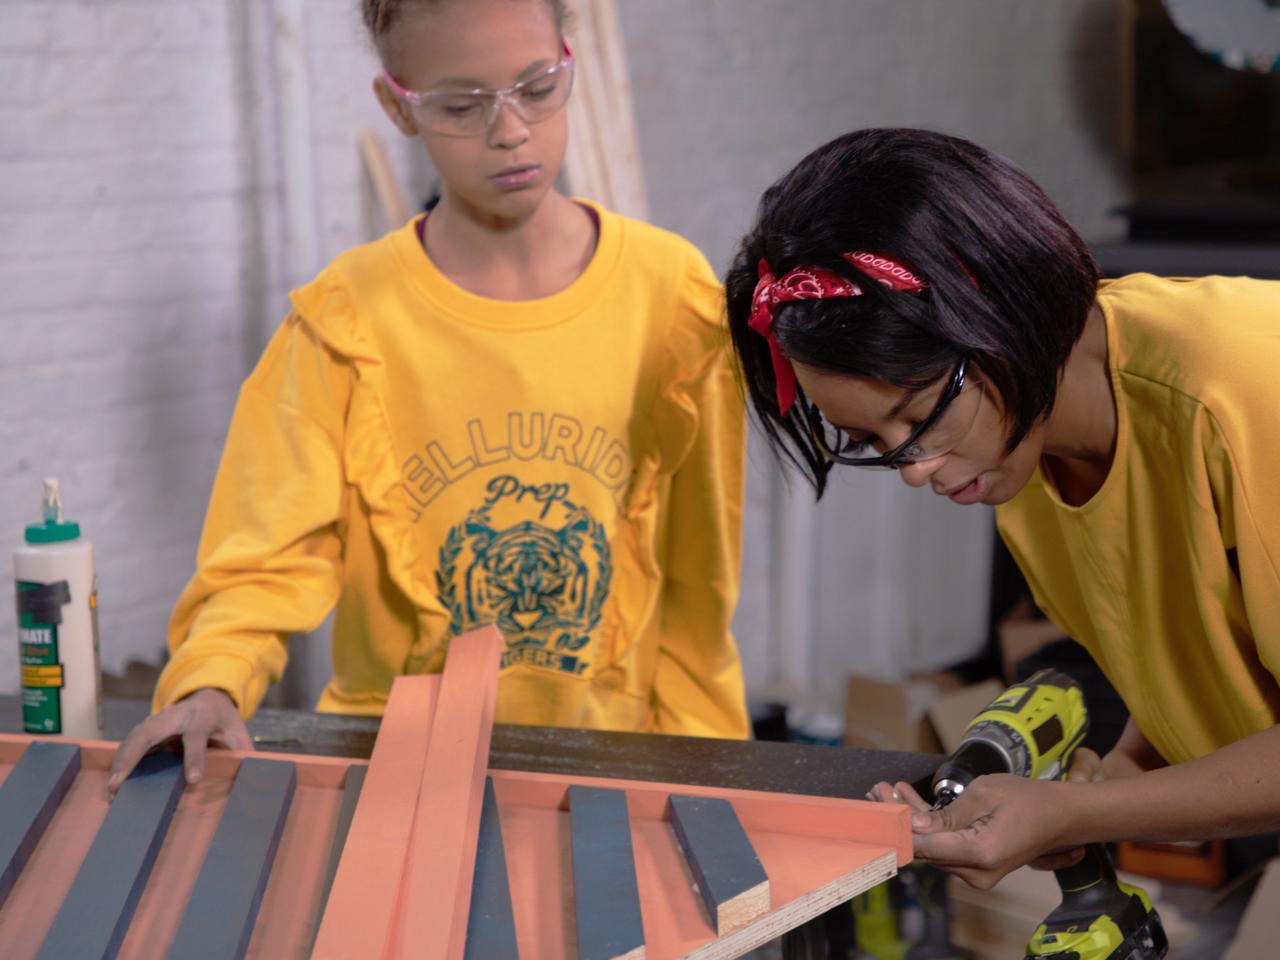
Use wood glue and 1-1/2" brad nails to secure the 1x2s onto the plywood. Insert the nails on both sides and the middle of each piece. Start with the longest piece (F), work through each color, using 1x2 spacers between each board to keep your design straight. Continue until the entire headboard has been covered. If glue squeezes out from the boards, simply use a damp rag to wipe away.
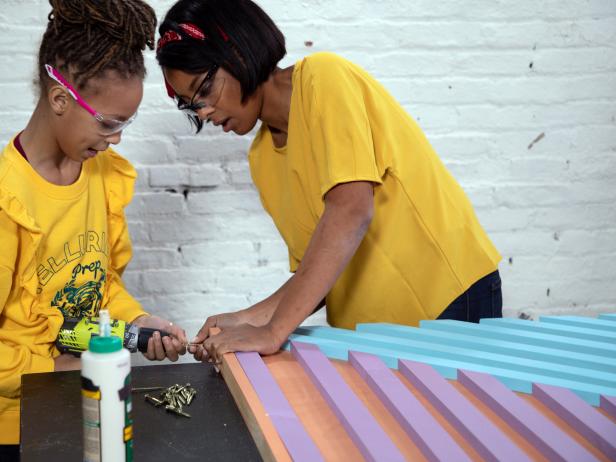
Step 7: Attach Outer Frame
DAN WHITEHEAD

DAN WHITEHEAD

DAN WHITEHEAD
Secure the outside frame pieces (B,C,D,E) using wood glue and 2" wood screws. Use four screws per side.
Step 8: Hang It

DAN WHITEHEAD

DAN WHITEHEAD
We used two 12" French cleats to hang our headboard. This will make it very secure and allow it to be easily moved if needed. We fastened the cleats to the plywood about six inches down from the top. Read the instructions on your packaging to ensure you attach the proper side to the project and the wall.

DAN WHITEHEAD


