


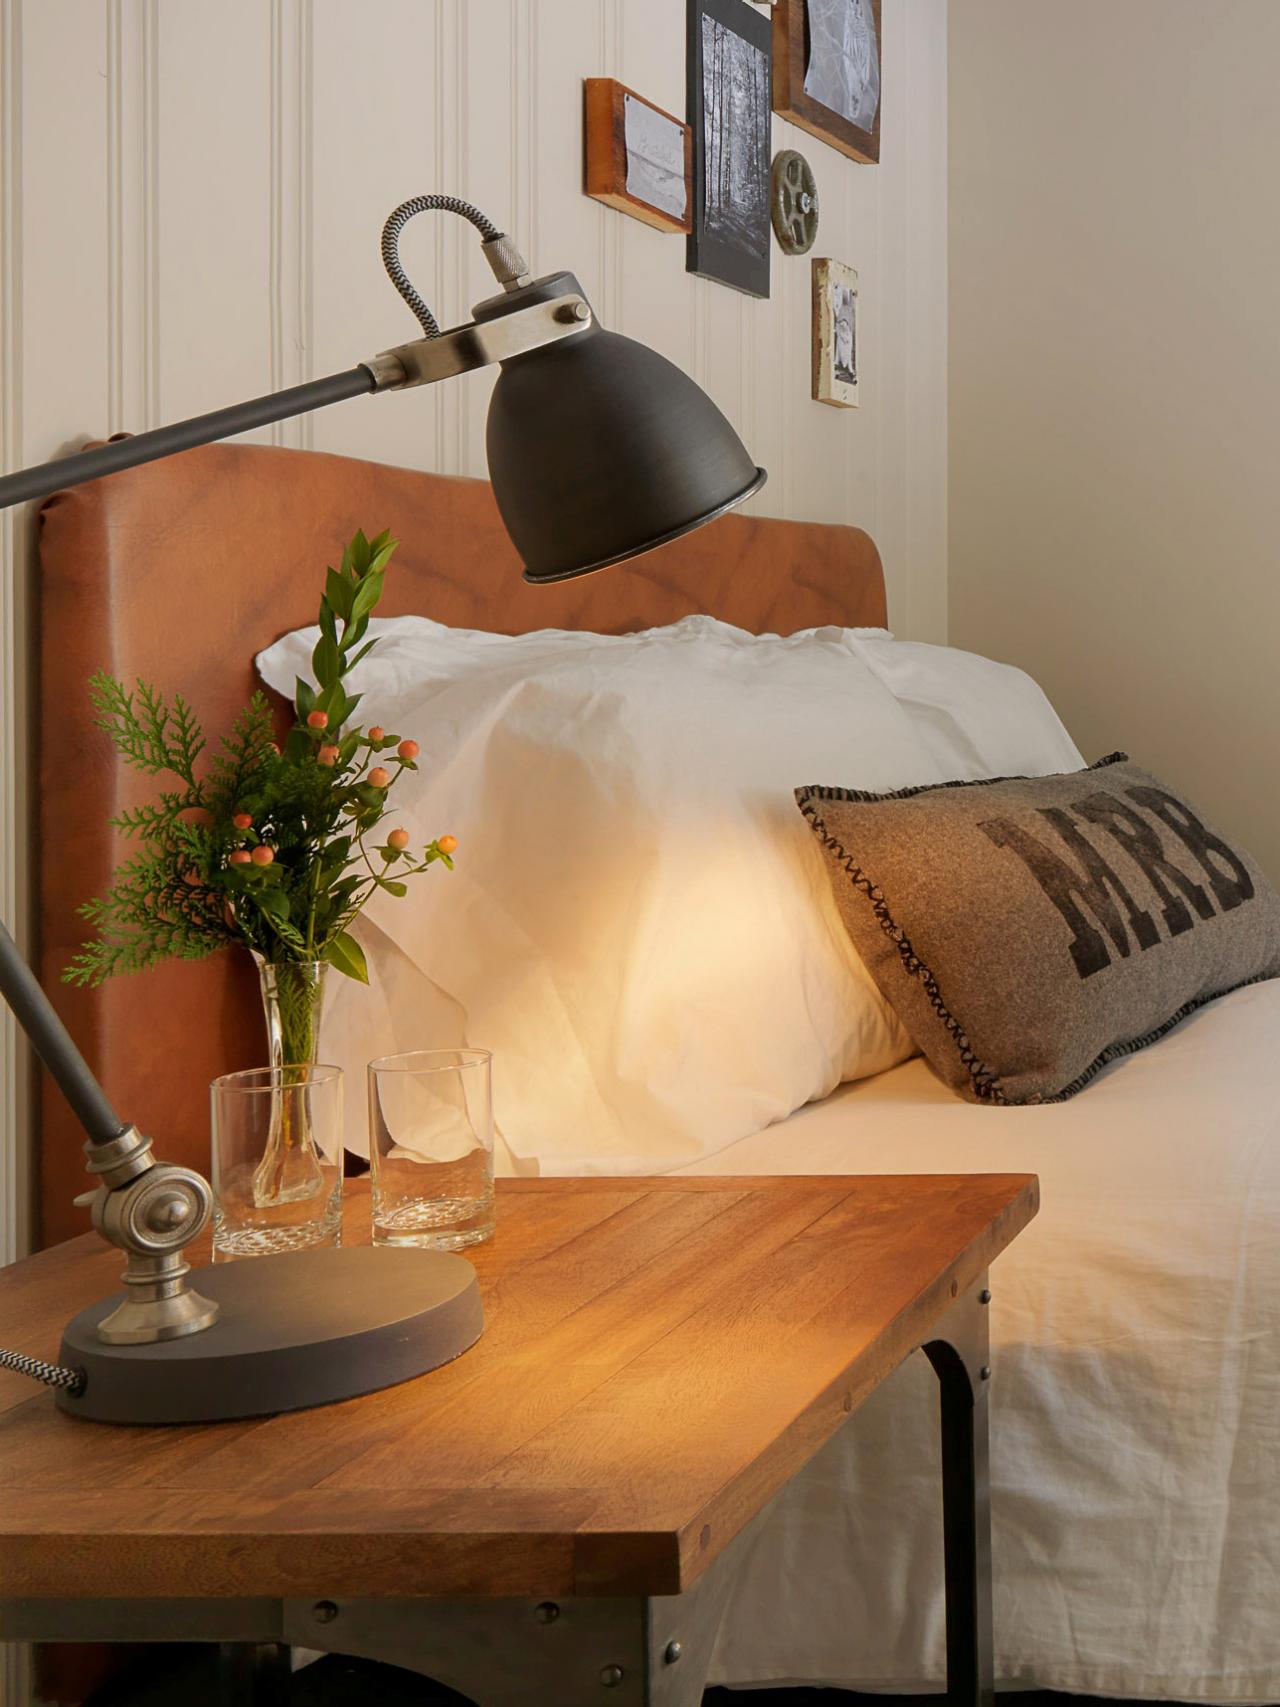
How To Make a Faux-Leather Headboard
Love the look of leather furniture but can't afford it? This beautiful leather-like headboard is easy on the budget but looks like it cost a fortune.

Susan Teare
Project Overview
- Cost: ⚫⚪⚪⚪
- Skill Level: ⚫⚪⚪⚪
- Time to Finish: Less than half a day
Tools
- staple gun and staples
- glue gun
- jigsaw
- level
- measuring tape
- scissors
- drill and drill bits
- hammer
Materials
- 3/4" plywood the size of the headboard (Ours is 5' x 4' for a queen-size bed.)
- faux leather or vinyl at least 4" bigger than the plywood
- carpet padding at least 5" bigger than the plywood
- batting at least 3" bigger than the plywood
- 1x6 x 4' board or a store-bought cleat
- wood screws (1" screws for the headboard and 2-1/2" for attaching the cleat to the wall)

Round the Corners
Use a compass or round object to mark the radius of the curved headboard corners. To make it easy, we just used a roll of tape.

Cut Plywood
Use a jigsaw to cut the arc on the top two corners; leave the bottom two corners at 90 degrees.

Cut the Layers
Cut the carpet padding at least three inches wider than the plywood on all sides. Don't skimp on the extra inches. It is better to start with a larger piece than a piece that's too small. Save the excess pieces of carpet padding for later.

Make French Cleat
Make a French cleat to hang the headboard on the wall. Cut a 1x6 in half lengthwise at a 45-degree angle. Determine how high you want the headboard to hang. Mark the wall and the back of the headboard. Attach one piece to the wall with the long end of the angle facing up on the outside. Use a level to make sure it is straight, and then fasten it to a wall stud using at least 2-1/2" screws. Double check that both pieces of the cleat will slide together before you attach the other piece to the back of the headboard. Use 1-1/2" screws to attach the other piece of 1x6 to the back of the plywood. Position it so the long end is on the outside facing down (Our cleat was placed about 5" down from the top of the plywood).

Layer It
On a clean work surface, lay the vinyl face down, then the batting and then the carpet padding. Finally, center the plywood on top of the padding.

Add Extra Padding to the Back
When attaching the padding to the back of the plywood, you'll want double thickness around all the edges. This will give the headboard a great padded look and will also allow the headboard to sit off the wall so that it is vertically level with the French cleat. This way, it won't wobble or lean downward. The easiest way to do this is to use the cut strips of the carpet padding and attach it to the plywood on all four sides. Use hot glue to adhere the strips.

Fasten Two Inner Layers
Start in the middle of one of the long sides. Pull the carpet padding and batting taut and staple them to the plywood. If you're having trouble with the layers sliding, apply hot glue on the underside of the carpet padding and attach it to the plywood. Then lay the batting over the padding and staple to the plywood. Cut out some of the padding in the corners so they will lay smooth.

Add Top Layer
Anchor each side of the vinyl to the plywood before you staple it all the way around the board. Start in the middle of one of the long sides, pull the vinyl snug and fasten to the back of the plywood using one or two staples. Move to the opposite side and repeat. Then add a staple or two to the two shorter sides. Before you continue, flip the board over to make sure the vinyl is positioned exactly how you want it. If not, remove the few staples and start over. Continue stapling on the sides and work your way out to the corners. If the material is bunching up in the corners, cut some of it off to get it to lay flat. Use a hammer or mallet if the staples don't penetrate the wood all the way.

Susan Teare, Joanne Palmisano
Hang it Up
Slide the headboard over the wall cleat. Make sure it is level and centered.


