


Upcycle Dollar Store Tins Into Trendy Gift Containers
Get multiple uses from budget tin boxes with this easy decorating hack.

Cassidy Garcia

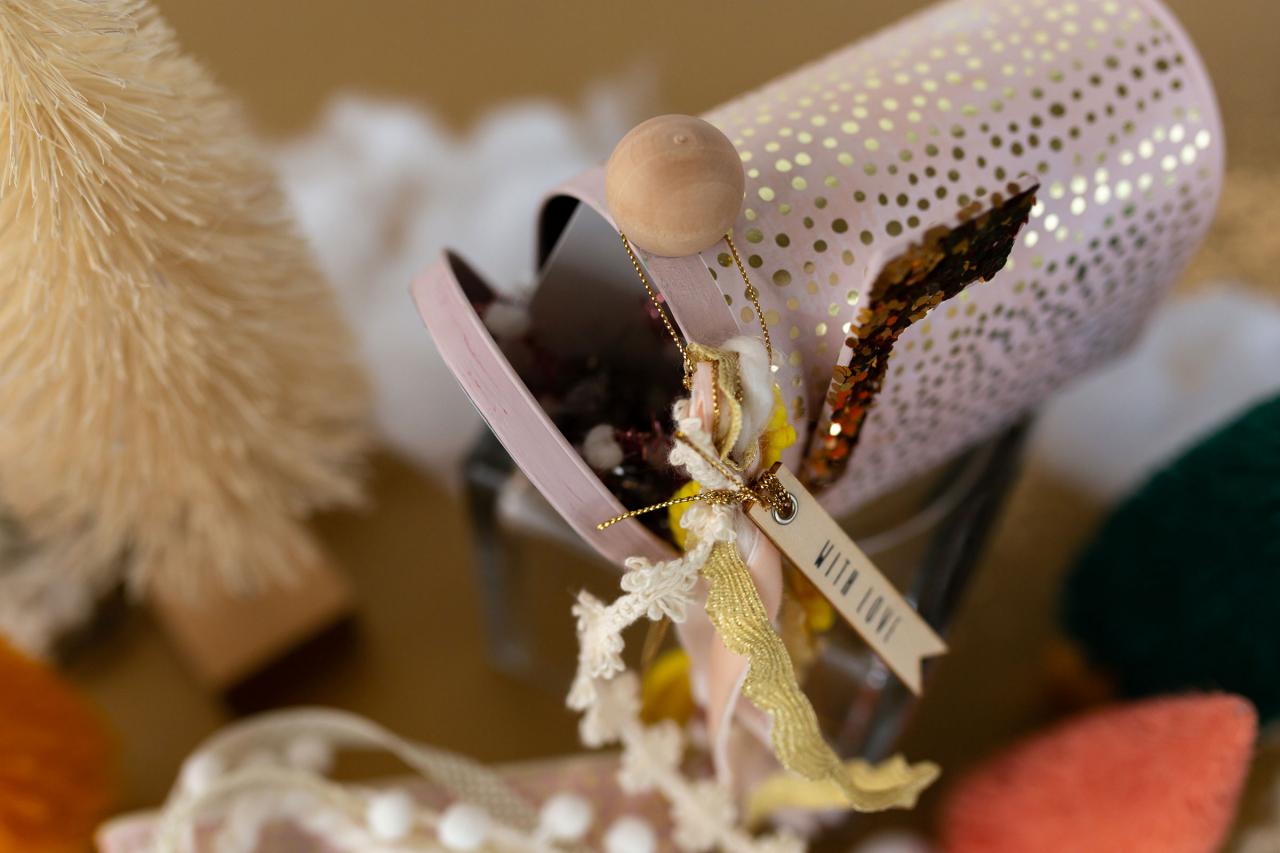
It’s that time of year: gifting season. Round up a few of those holiday tin boxes you’ve been collecting and give them a trendy makeover. See how HGTV.com stylist Cassidy Garcia turns dollar store Christmas tins into festive, fun containers perfect for any occasion.

Cassidy Garcia
Materials + Tools
- tin lunchbox
- tin mailbox
- decoupage glue
- chalk paint
- card stock
- assorted ribbons, yarn
- wood ball knob
- glitter
- adhesive glitter sticker
- scissors
- low-temp hot glue gun
- pencil
Tin Mailbox Makeover

Cassidy Garcia
Paint + Decorate
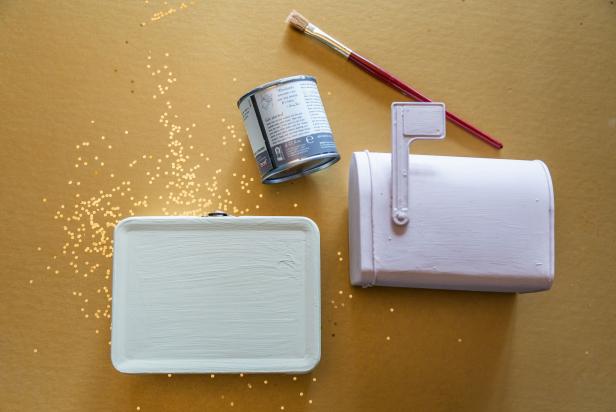
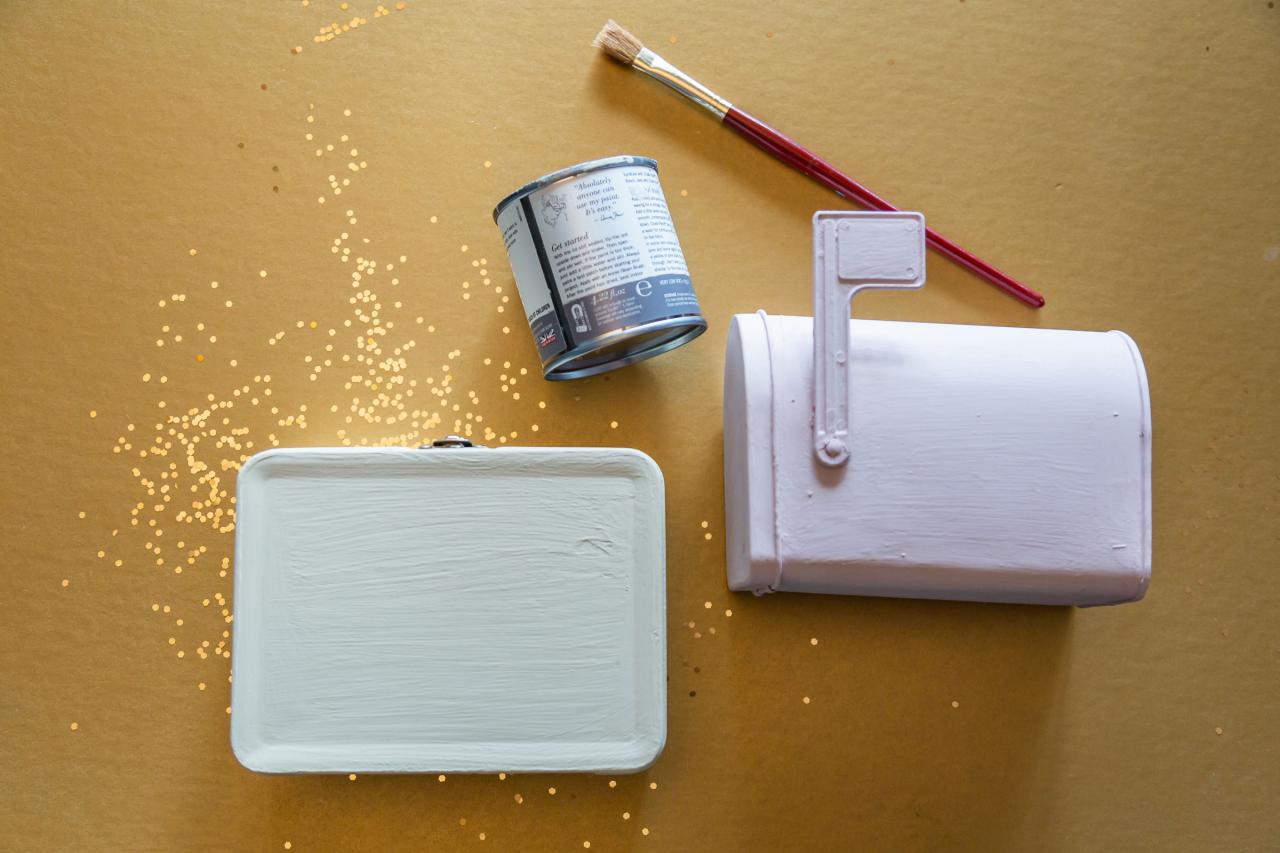
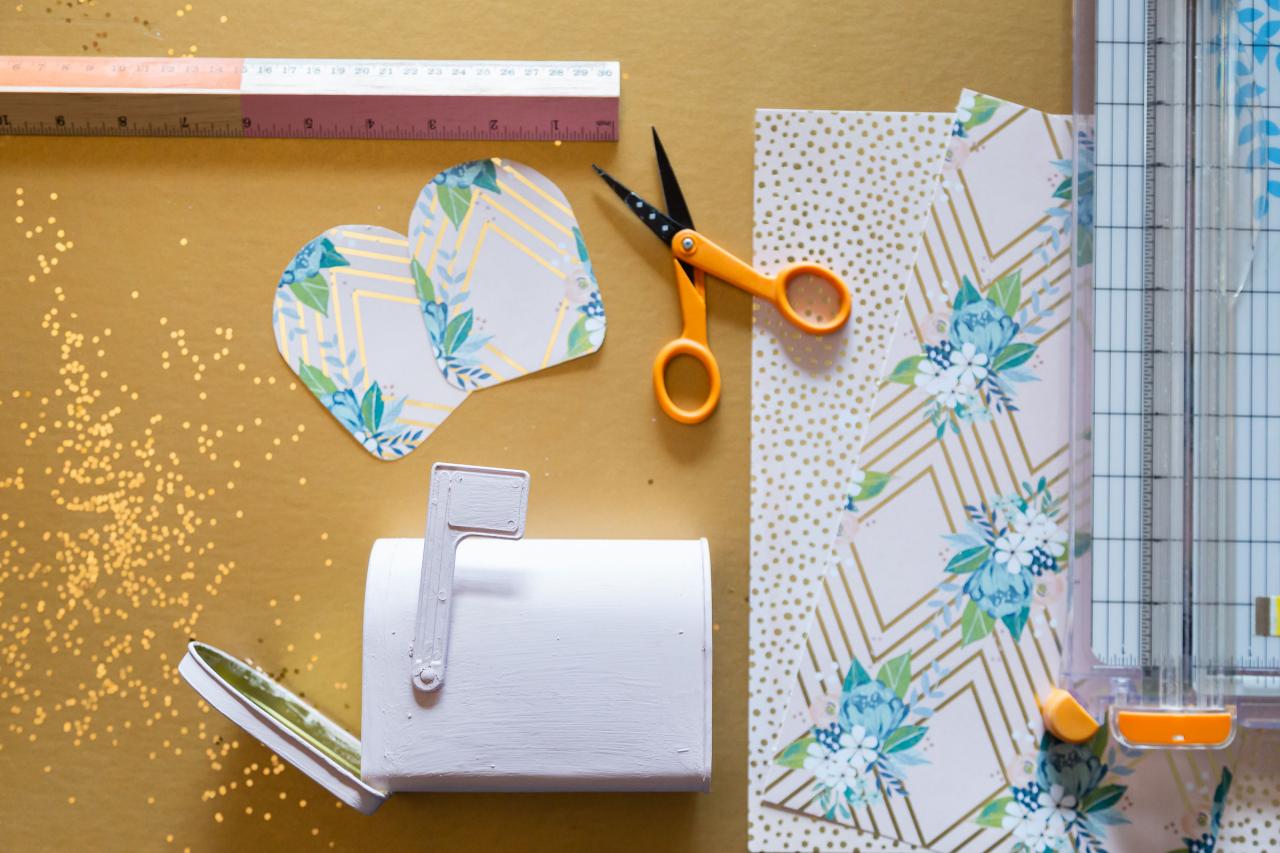
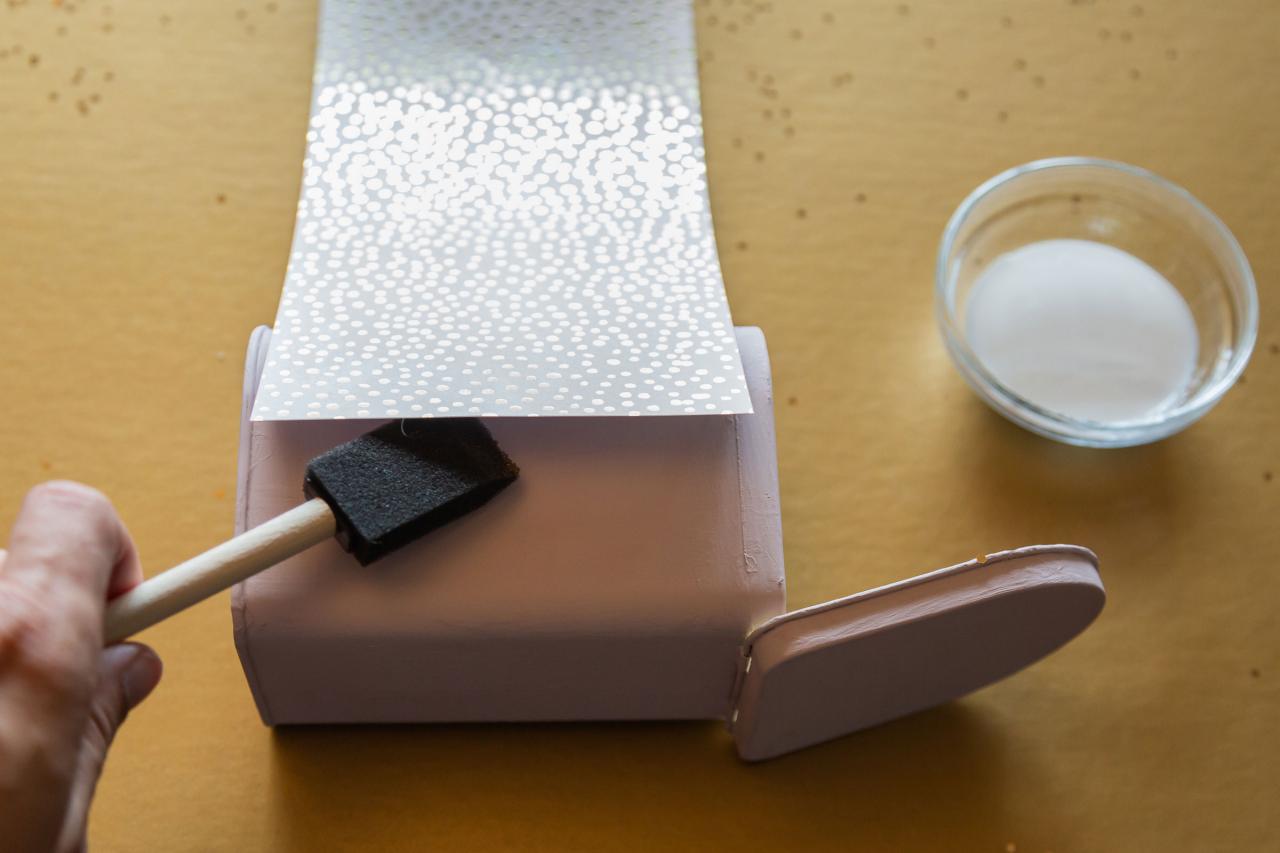
Paint the tin mailbox with a coat of white chalk paint (Image 1). Let dry according to the instructions on the paint. Create a cutting template by placing a sheet of decorative card stock onto the mailbox and tracing the shape with a pencil. Then use scissors to cut out the shapes. Tip: Use a ruler or paper trimmer for extra accuracy (Image 2). Next, add a coat of decoupage glue to the mailbox and affix the trimmed, decorative card stock to the tin (Image 3). Once in place, add another coat of decoupage glue over the decorative card stock to seal. Repeat the steps above until the tin is fully covered and sealed. Let dry for several hours or overnight.
Cassidy Garcia

Cassidy Garcia

Cassidy Garcia
Glitter Flag + Gift Tag
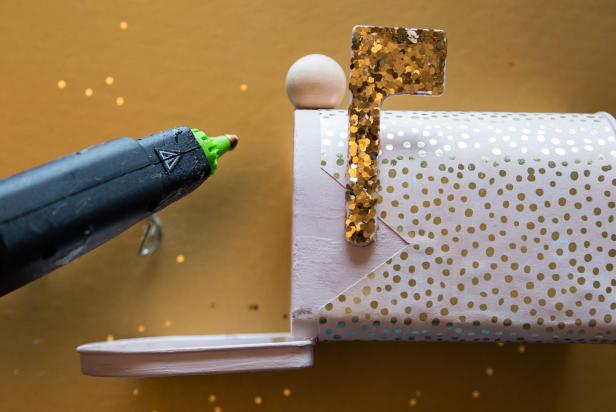
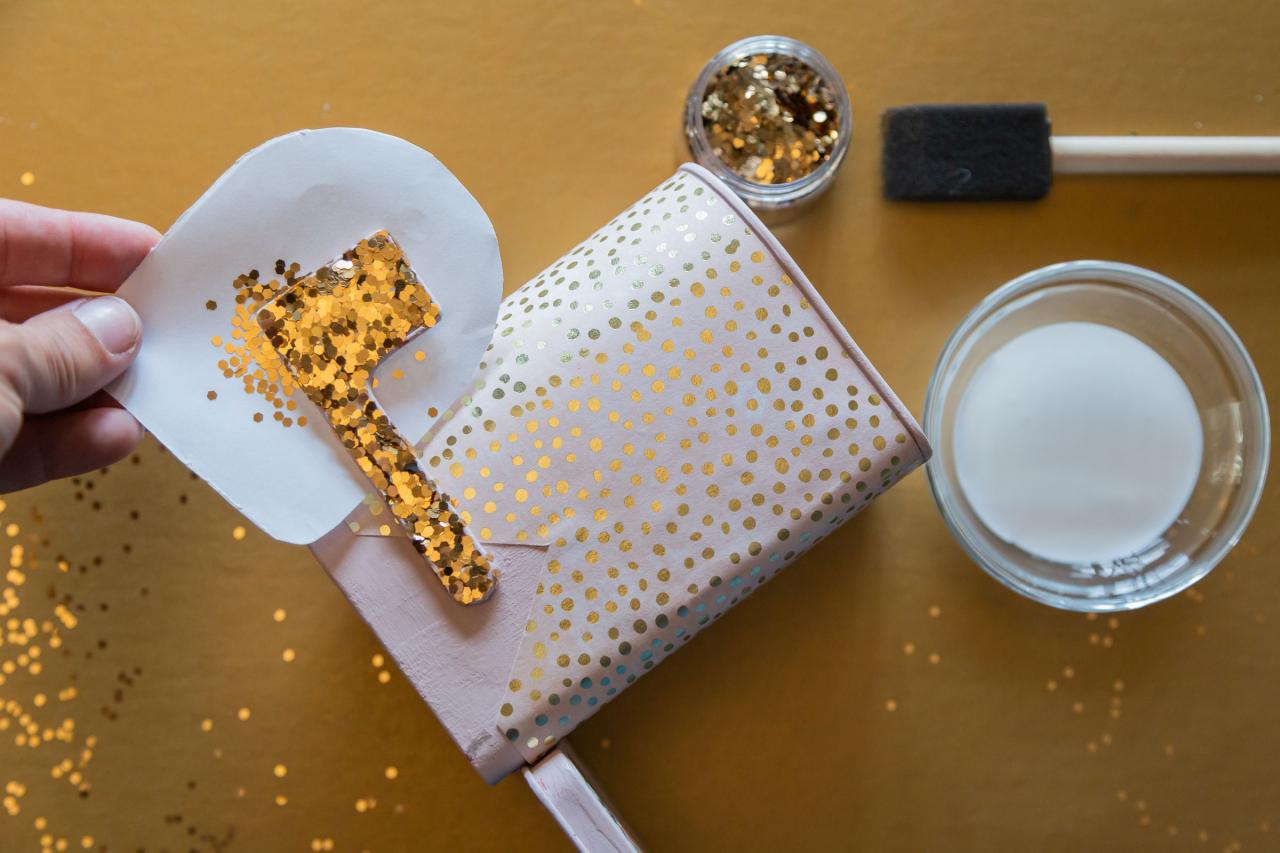
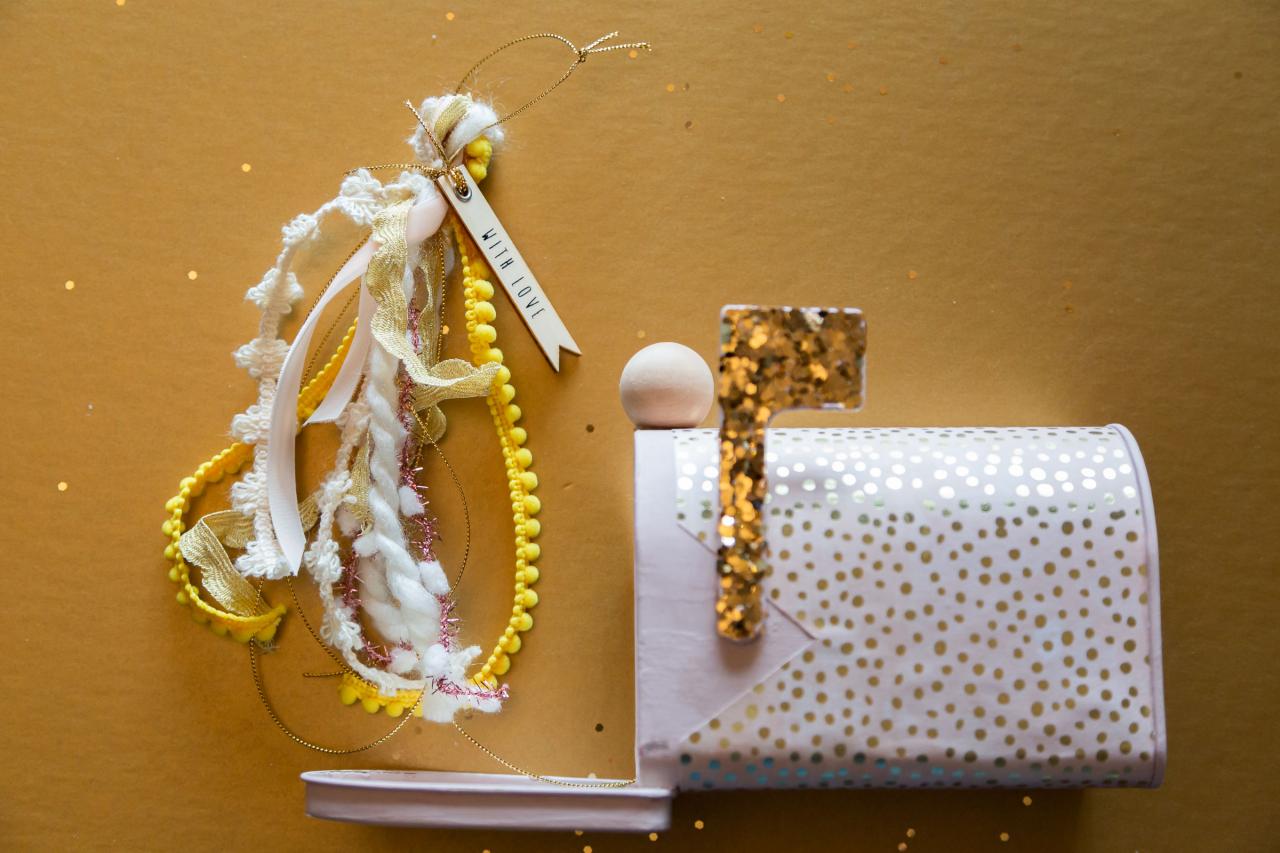
Lay the mailbox on its side with the flag side facing up. Add a coat of decoupage glue to the flag. Then hold a spare piece of paper beneath the flag while sprinkling on a generous amount of glitter (Image 1). Tip: Sprinkle the excess glitter back onto the flag to ensure good coverage. Next, use a low-temp hot glue gun to adhere a wood ball knob to the top of the mailbox (Image 2). Next, tie together a few pieces of leftover ribbon, yarn or ball fringe trim to make a personal gift tag (Image 3) and loop around the wooden ball. Place a cute gift inside and surprise a friend (Image 4).

Cassidy Garcia
Cassidy Garcia

Cassidy Garcia
Cassidy Garcia
Tin Lunchbox Makeover

Cassidy Garcia
Paint + Decorate
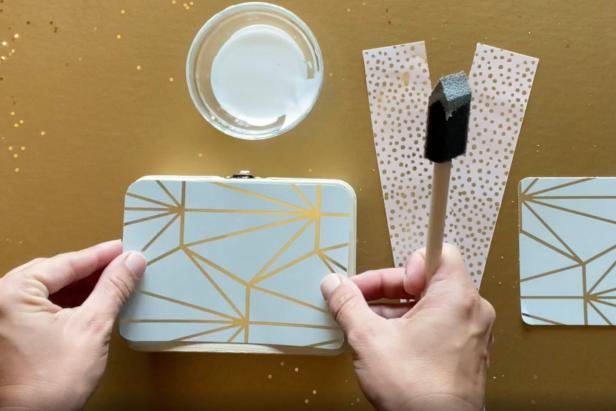
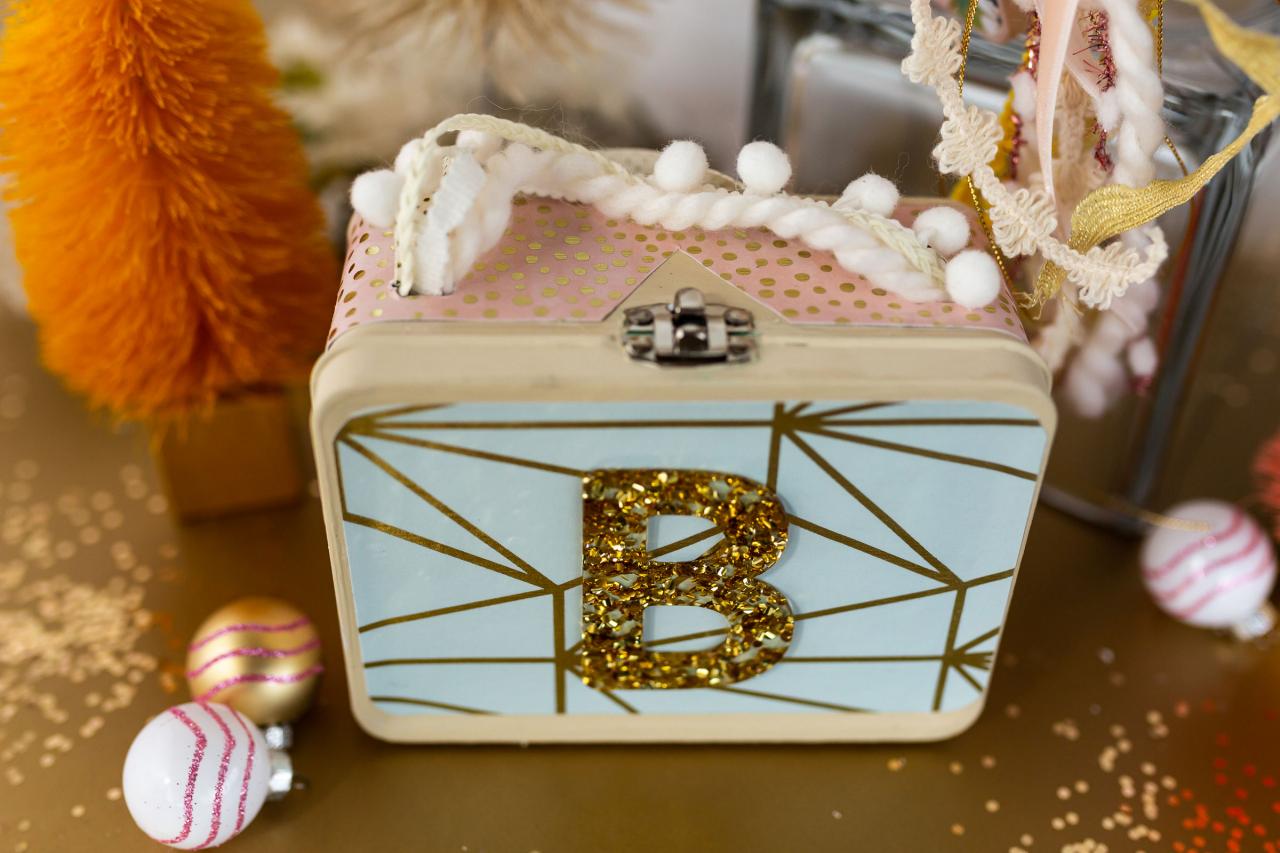
Remove the handle from the lunchbox. Paint the tin with a coat of white chalk paint. Let dry according to the instructions on the paint (Image 1). Create a cutting template by placing a sheet of decorative card stock onto the lunchbox and tracing the shape with a pencil. Then use scissors to cut out the shapes. Tip: Use a ruler or paper trimmer for extra accuracy (Image 2). Add a coat of decoupage glue to the lunchbox and affix the trimmed, decorative card stock to the inside (Image 3) and outside of the tin (Image 4). Once in place, add another coat of decoupage glue over the card stock to seal. Continue until the tin is fully covered and sealed. Let dry for several hours. Then, add an adhesive glitter sticker to the lunchbox to give it personalized flair.
Cassidy Garcia
Cassidy Garcia

Cassidy Garcia
Cassidy Garcia
Make Ribbon Handle
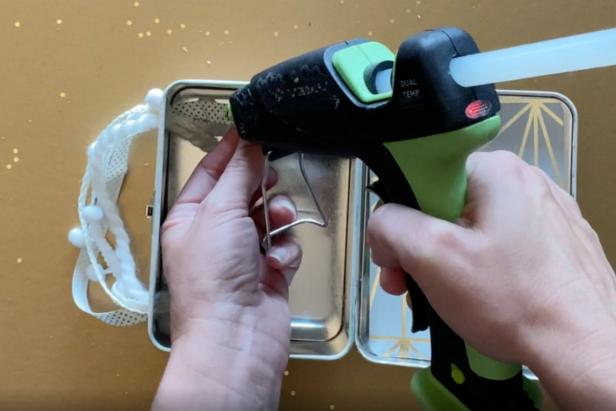
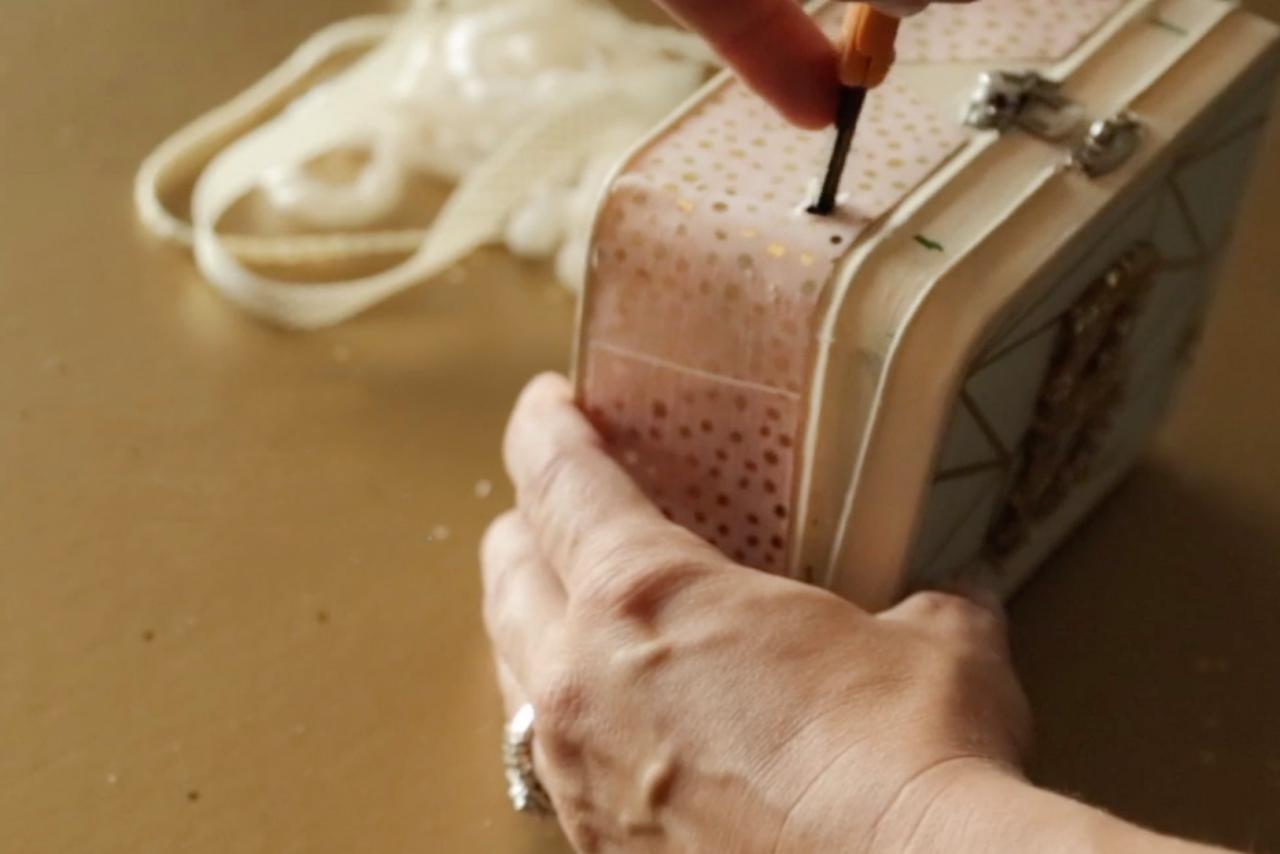
Carefully press the sharp end of the scissors through the holes from the previous handle, piercing the decorative paper (Image 1). Combine leftover ribbon and yarn to make a new handle. Push the ends of each through the two holes in the tin and use scissors to trim the inside excess. Then use a low-temp hot glue gun to affix the ends to the inside of the lunchbox (Image 2). Fill with a thoughtful gift and send some glittery cheer (Image 3).

Cassidy Garcia
Cassidy Garcia

Cassidy Garcia

DIY Gift Wrap Ideas

9 Ways to Turn Garbage Into Gift Wrap 19 Photos
Raid your recycling and trash cans for commonly discarded items and transform them into creative, inexpensive gift wrap.

75 Gift Wrap Ideas 91 Photos
These clever do-it-yourself ideas are sure to impress everyone on your Christmas gift list without breaking the bank.

3 Gifts You Can Make With Dollar Store Finds 23 Photos
In a pinch? On a budget? Revamp these everyday dollar store items into thoughtful, quality gifts in no time.


