


How to Make Plaster Easter Eggs
Plaster bandage strips offer up an easy paper mache alternative to create larger-than-life Easter egg vases and terrariums. Fill them with houseplants or flowers from your yard to create a beautiful Easter tablescape.


Who else is egg-cited for Easter? Take a crack at making a stunning, nature-inspired spring tablescape with this easy Easter decorating craft project. All you need are a few inexpensive materials from the drug store to create a plaster Easter egg you can fill with flowers or festive tchotchkes to match your spring decor.
Materials + Supplies
- plaster bandage strips
- balloons
- tarp or butcher paper
- drinking glasses
- scissors
- painter's tape
- tray or bowl filled with water
- small rocks, pebbles or uncooked rice
- flowers
- small Easter decorations or miniatures (optional)
- vase of fresh or faux flowers (optional)
Prep Workstation + Materials
Lay down a tarp or brown butcher paper on your work surface. You’ll want to work quickly while making this project and have all the materials within arms reach. This craft can get a little messy, and that’s the fun part!
Blow up balloons to the desired egg size, then tie the end to seal. If making multiple eggs, blow up a wide variety of different sizes for a stunning impact. Tip: If making multiple eggs, use a balloon blower air pump.

Unroll and cut down the plaster bandage into smaller strips, making a wide variety of different sizes, thickness and lengths. Cut more than you think you’ll need; any remaining dry pieces can be saved and used for another project.
Tape Balloons to a Glass
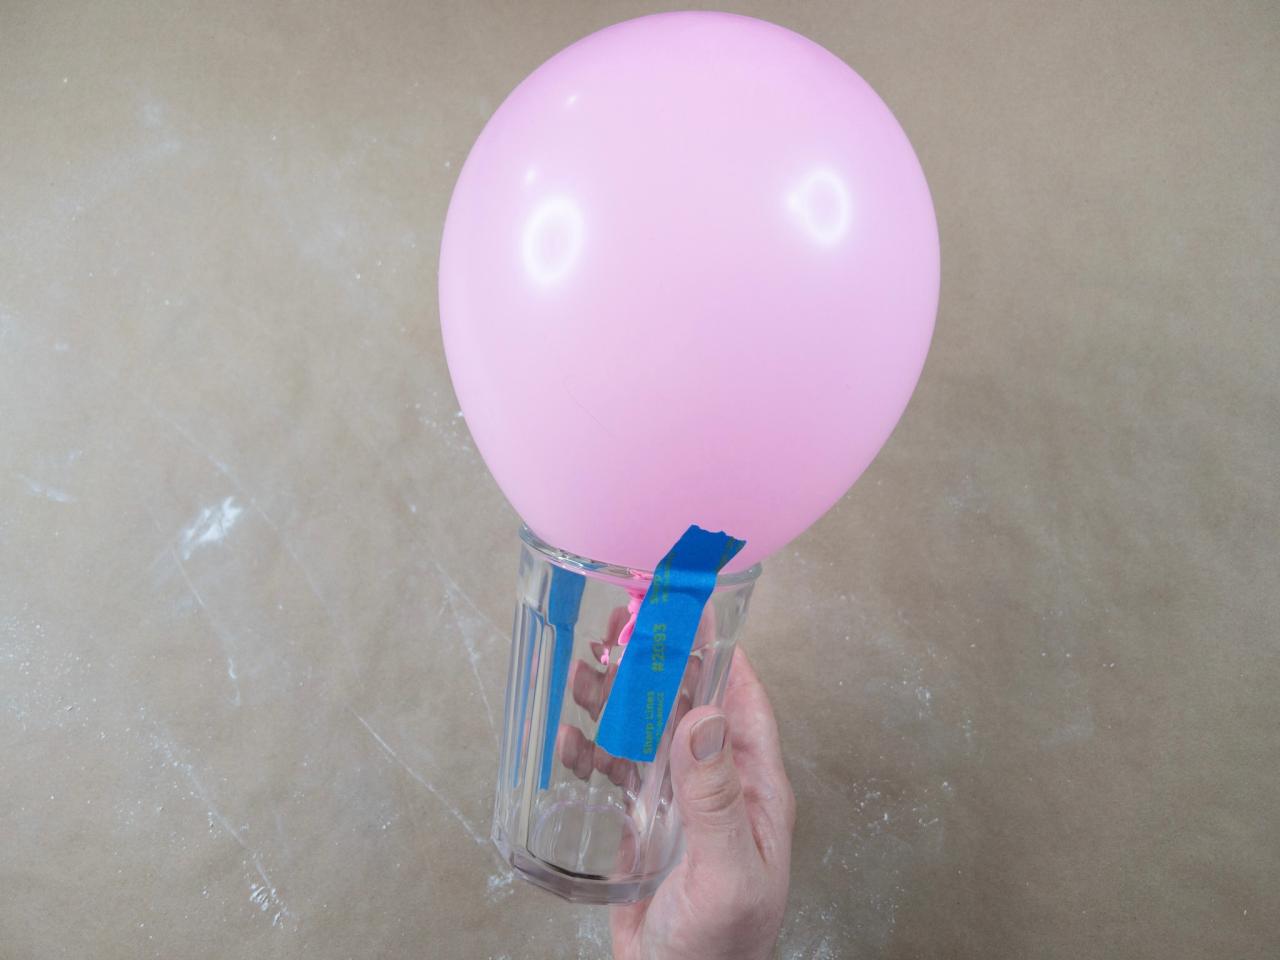
Place each balloon into a drinking glass or cup with the knot inside the glass. Cut six inch strips of painter's tape and tape the balloon to the glass. This will help keep the balloon stable while working and drying.

Wet Badges and Layer
Work with one bandage at a time. Dip a bandage into the water for a few seconds and squeeze out any excess water with two fingers. Starting from the top, begin layering the bandages onto the balloon, smoothing them out across the surface of the balloon (Image 1). Tip: Try not to overlap the bandages too much or the egg shape will look lumpy. When placing a bandage onto the balloon, rub your pointer finger in a swirling motion on top of the bandage (Image 2). Doing this will help seal any holes that form and will also help keep the bandages down. Continue to add bandages around the balloon, leaving a hole where the balloon meets the cup (Image 3).


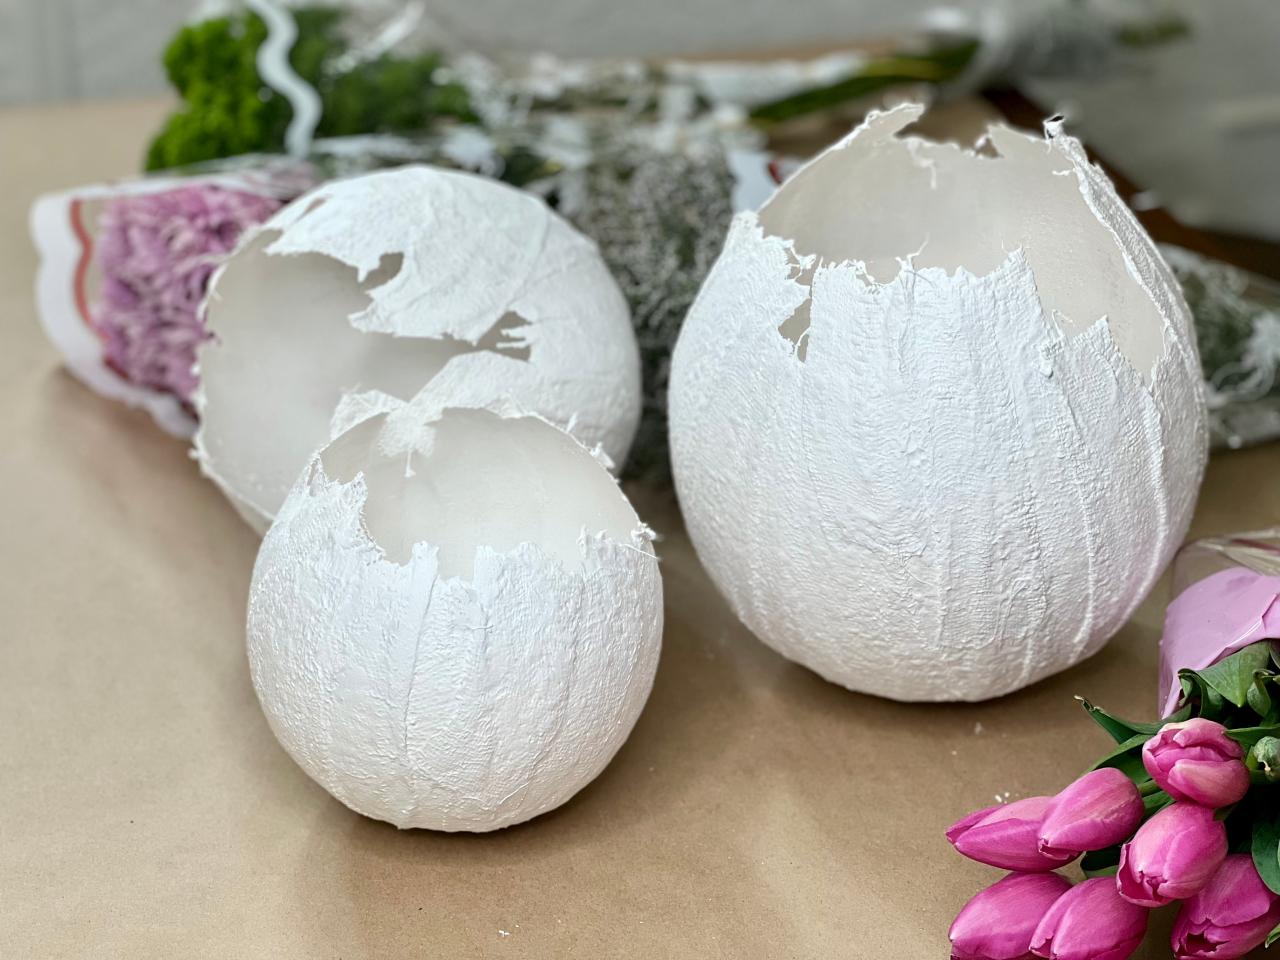
Keep the plaster-covered balloons attached to the cups and let them dry for at least 24 hours. As the eggs dry, the plaster will turn from a slight gray color to a vibrant white color.
Pop Balloons
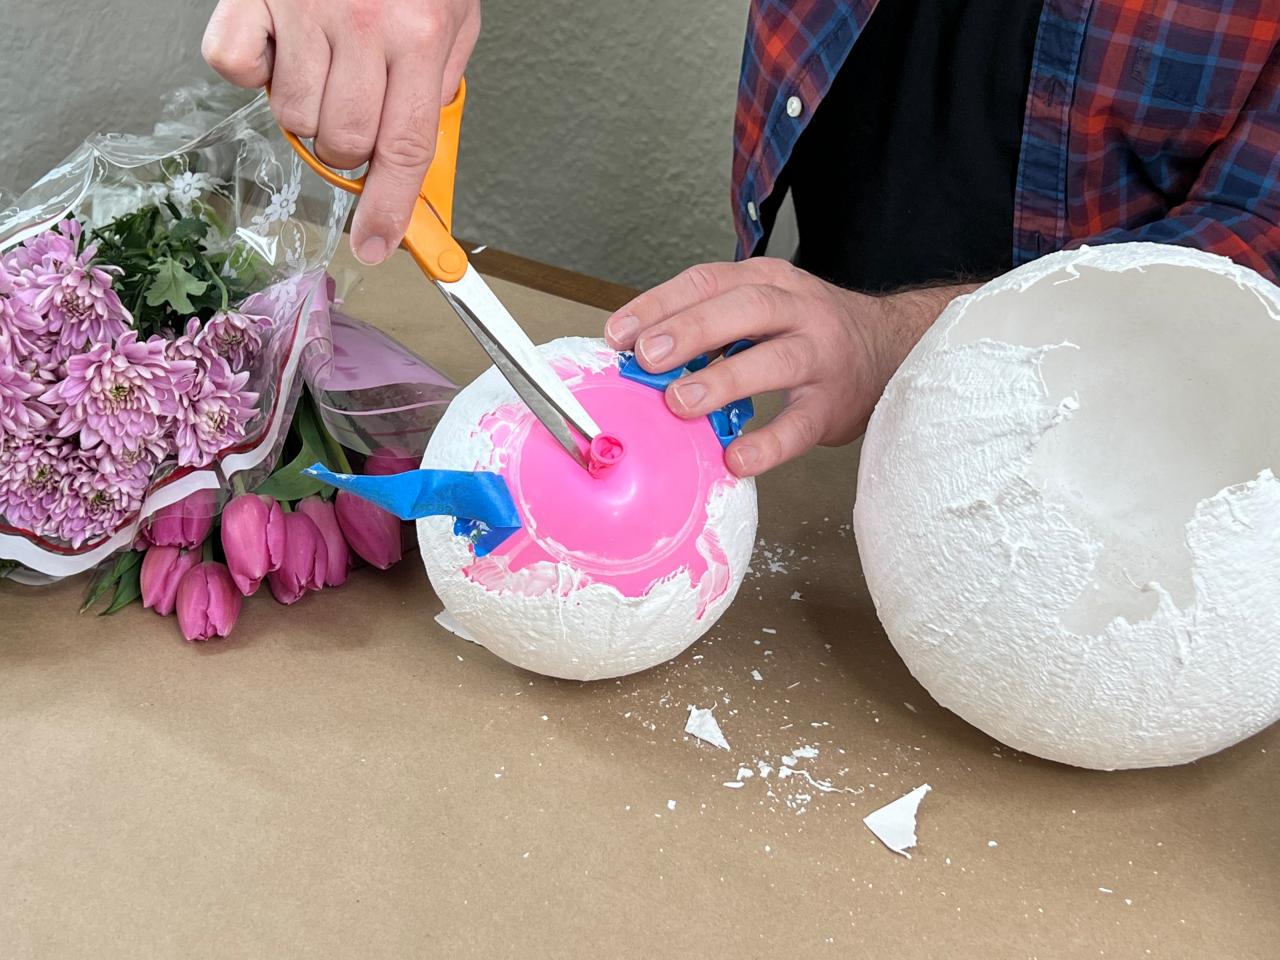
Once the eggs are completely dry, remove them from their cups, take off the tape and pop the balloons.

Trim Edges
The edges of the hole should look like a hatched egg. You can leave as-is for an organic look, or trim the edges with a pair of scissors for a more classic cartoon look.

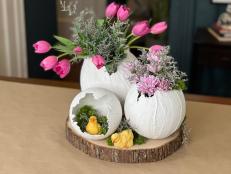
Add Flowers and Flourishes
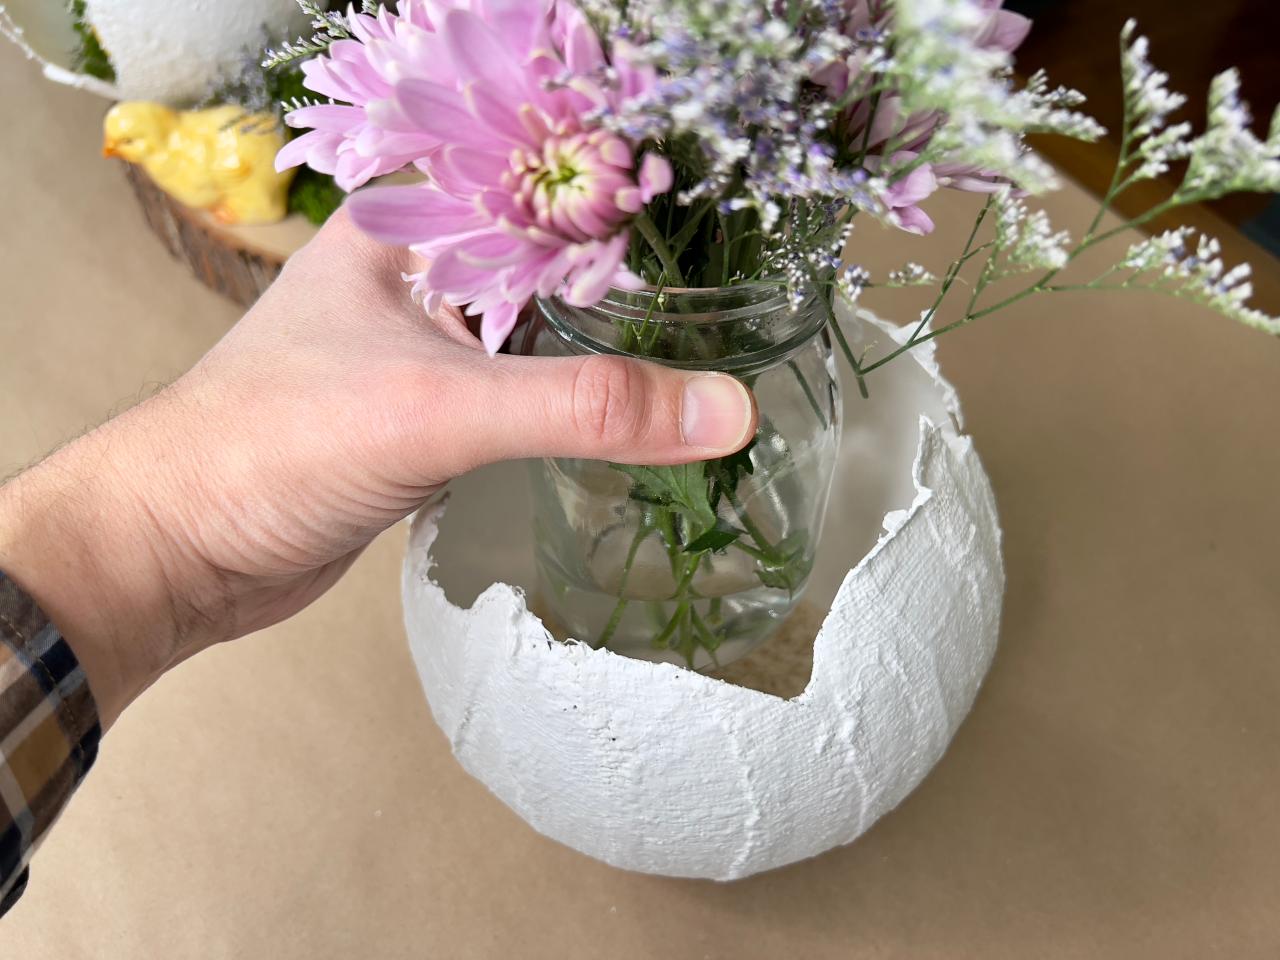
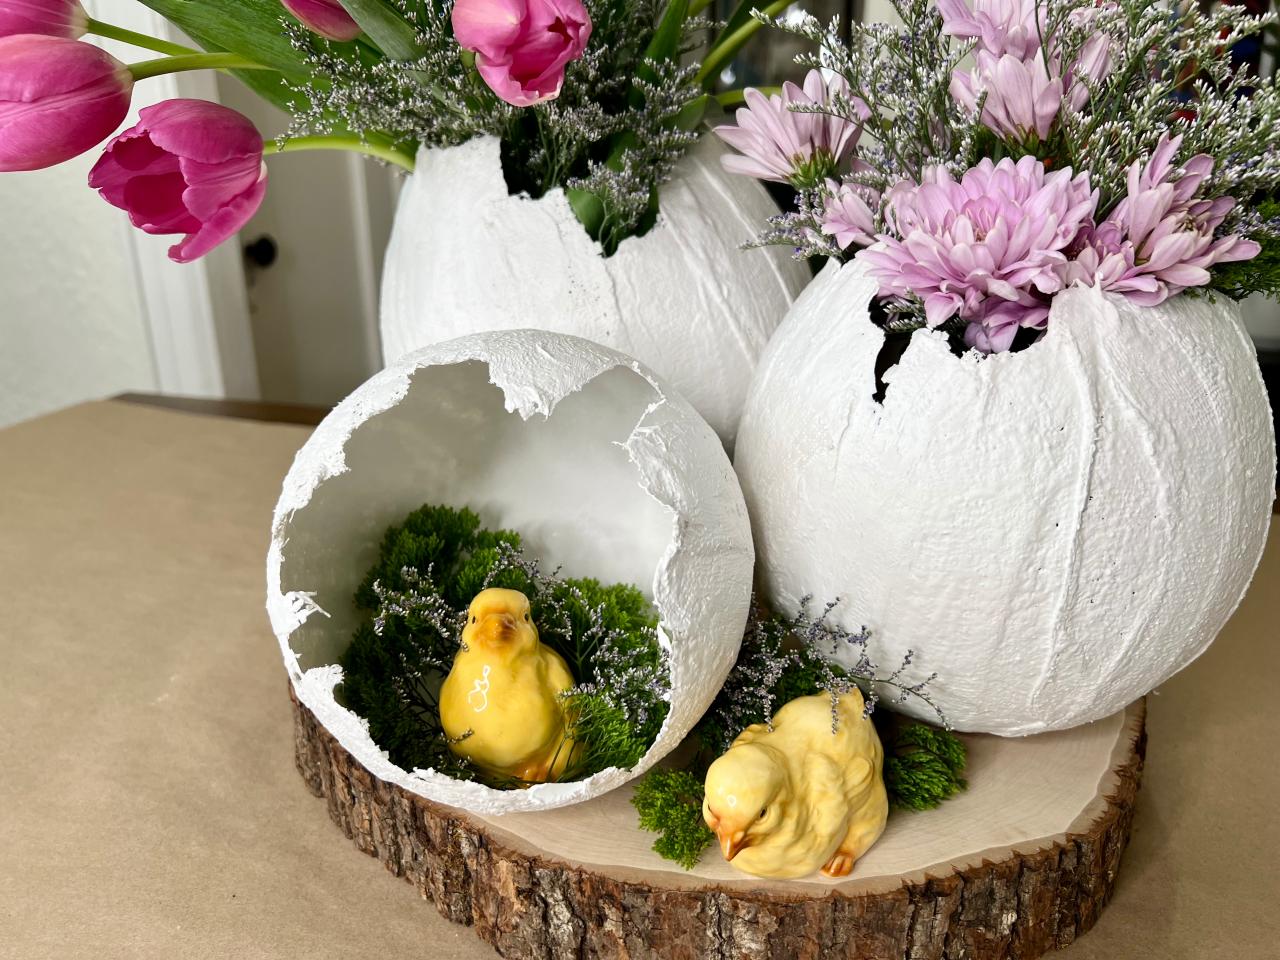
Add dry rice, beans or small rocks to the inside of the egg to keep it from rolling or tipping over (Image 1). Find a jar or vase that is small enough to fit inside the egg without being seen. Create a fresh or faux flower arrangement, ensuring that the cut stems are long enough to pop out of the hole of the plaster egg, and place it inside the egg (Image 2). Alternatively, you can turn an egg on its side and fill with Easter miniatures like baby chick figurines and moss or Easter grass (Image 3) with other eggs and Easter embellishments. Try arranging multiple plaster Easter eggs to create a display worthy of your Easter brunch table (Image 4 + 5).


Easter Craft Ideas

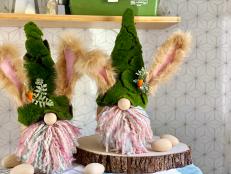
DIY Easter Egg Bunny Gnomes
It’s time to hop into some spring crafting. Use everyday craft materials and a sheet of moss to turn a plain paper mache egg into an adorable Easter Bunny gnome.


