


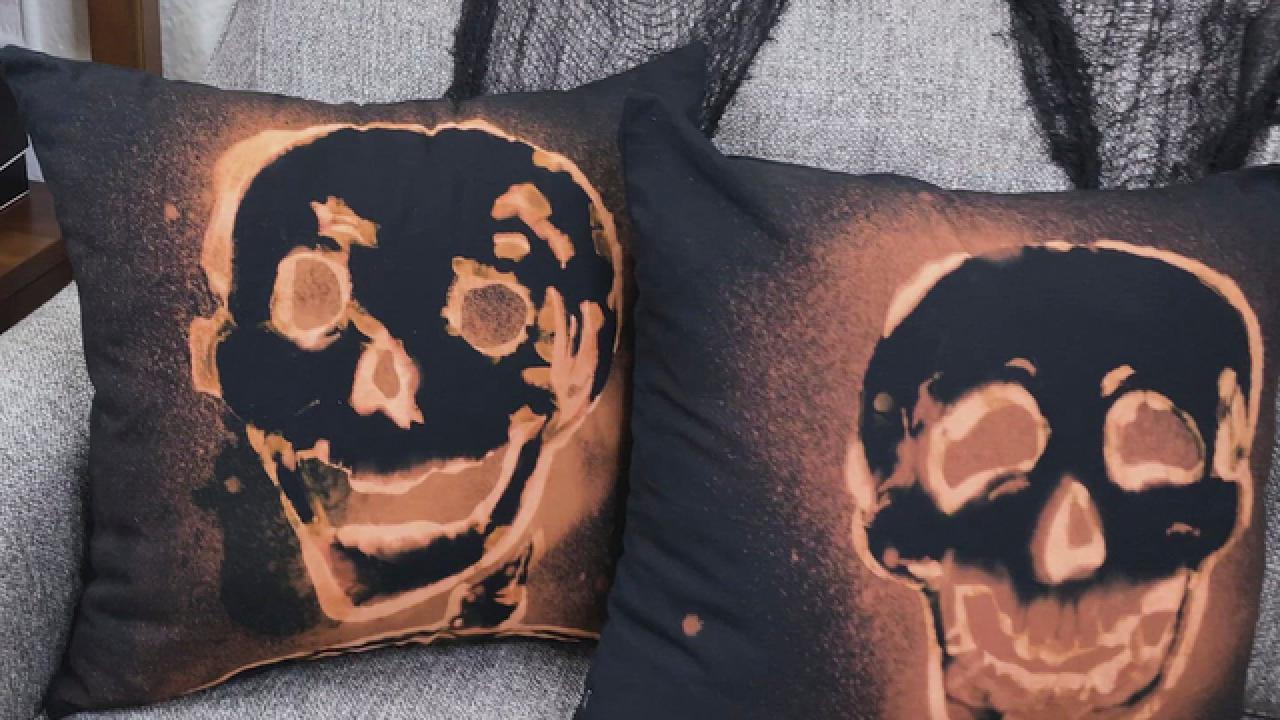
How to Make Bleach-Dyed Halloween X-Ray Pillow Covers
Give your couch a creepy touch this Halloween with one-of-a-kind throw pillows created from materials borrowed from your bathroom cabinets.

Crafty Lumberjacks

Leave no spot unhaunted in your home this Halloween by turning a plain throw pillow into a creepy work of art. Follow this multilayered bleach dye technique to create eerie, whimsical x-ray vibes using basic cleaning products already in your cabinets. Guests will be shrieking with fright (or delight) when they find out how you made them.
Materials + Tools
- 100 percent cotton black pillowcases
- pillow insert
- craft knife and cutting mat
- vinyl or contact paper, sized to your pillow
- brayer
- bleach
- hydrogen peroxide
- gel toilet bowl cleaner with bleach
- 2 clean, empty spray bottles fitted with misting nozzles
- gloves + mask
- tarp, parchment paper and/or scrap cardboard to protect work surface
Caution: Wear a mask and gloves when handling the bleach and toilet bowl cleaner. Protect surfaces and keep the materials out of reach of children and pets while working on the project.

Crafty Lumberjacks
Create Stencil
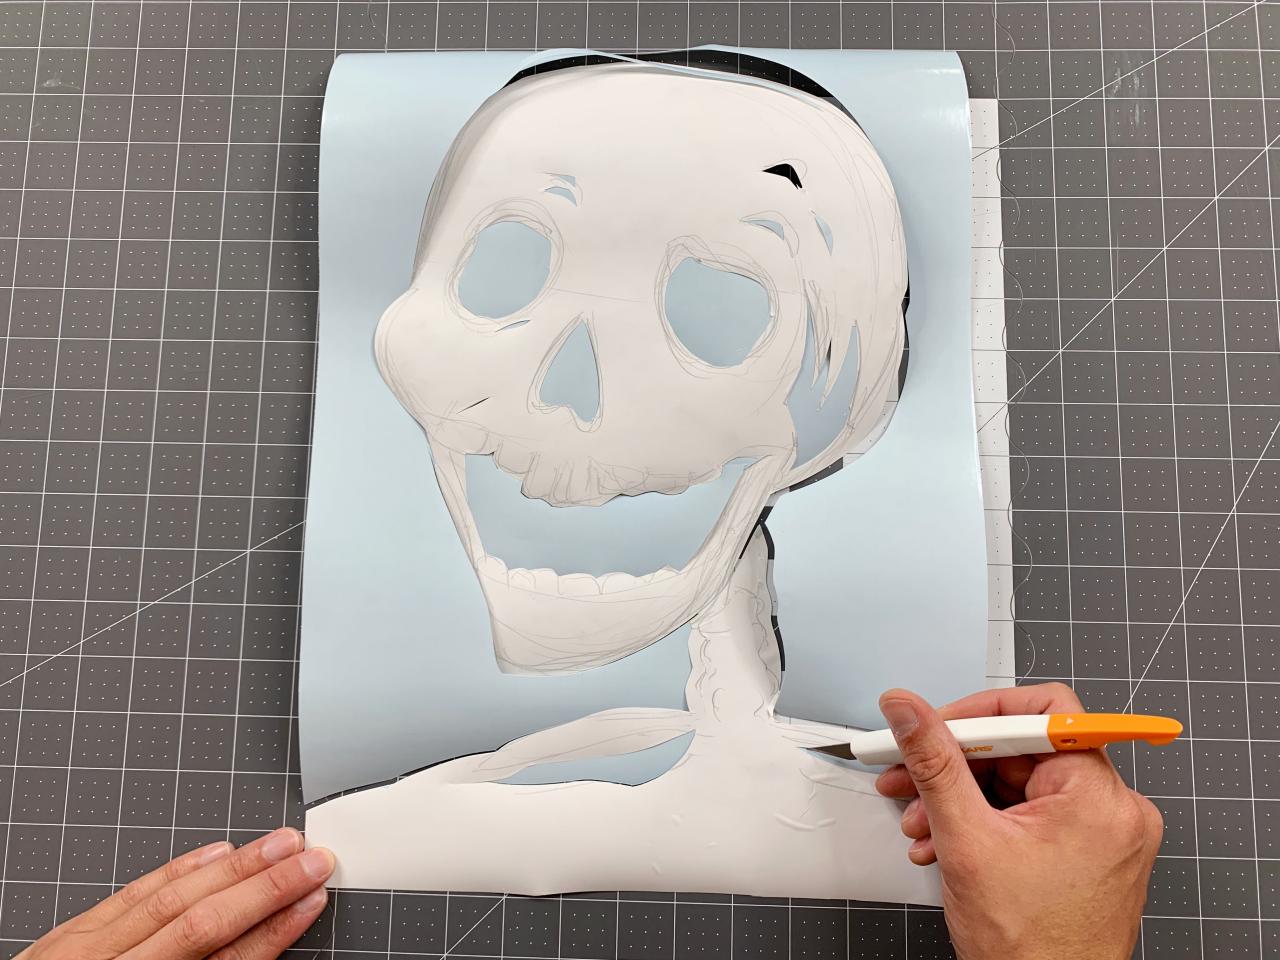
Cut down a piece of contact paper or vinyl to match the size of the pillowcase. With a pencil, freehand draw a spooky image on the piece of contact paper (Image 1) and then use a craft knife to cut it out (Image 2 + 3). Don’t worry too much about the details. Get creative with this step — choose any image that will match your aesthetic. Not a great artist? Use free clip art!

Crafty Lumberjacks

Crafty Lumberjacks

Crafty Lumberjacks
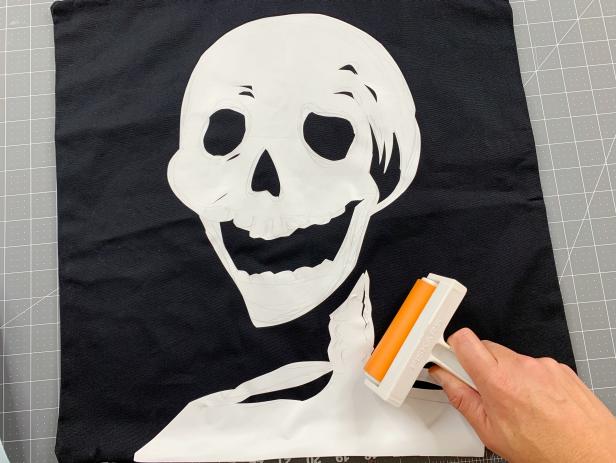
Add Stencil to Pillowcase
Gently peel the image off the contact paper backing and center onto the pillowcase and press down in place. Use a brayer to press firmly and to remove any air bubbles. Tip: If you don't have a brayer, you can use the back of a credit card to gently smooth out any air bubbles.
Crafty Lumberjacks
Prep Bleach and Hydrogen Peroxide
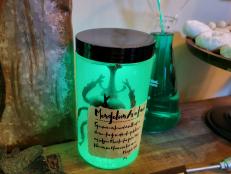
Rinse out an empty spray bottle with a misting nozzle. Place a funnel on top of the empty spray bottle and fill it with bleach. Repeat this step with another spray bottle and hydrogen peroxide (Image 1). Always use caution when using chemicals, wear gloves and protective eyewear and work in a well-ventilated area.
Prepare your working area for the project by laying a tarp outside or in a well-ventilated area. Place a piece of cardboard and parchment paper inside the pillowcase to prevent the back side from getting bleached.

Crafty Lumberjacks
Spray the Bleach
Make sure the spray bottle nozzle is on mist and spray the bleach around the stencil until it is lightly coated (Image 1). It is best to work in light layers rather than oversaturating the stencil. The bleach will begin to change color quickly, the longer the bleach sits the lighter it will get (Image 2).

Crafty Lumberjacks

Crafty Lumberjacks
Neutralize the Bleach
When happy with the coloring, stop the bleaching action by spraying the hydrogen peroxide on top of the sprayed areas. When the hydrogen peroxide mixes with the bleach it will turn a shade of white, this is an indicator that it is working. Once done, wipe off any extra hydrogen peroxide that has puddled on the pillowcase.

Crafty Lumberjacks
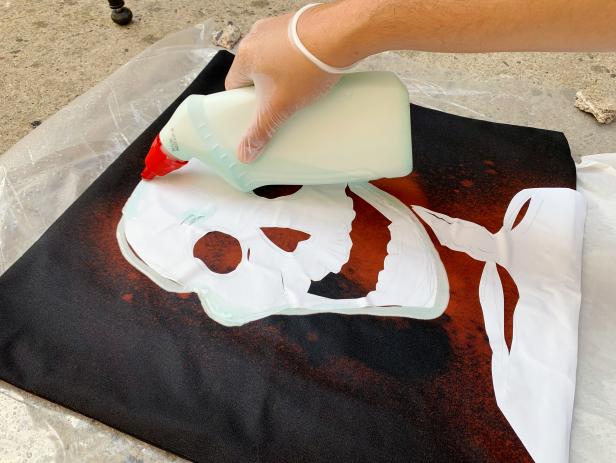
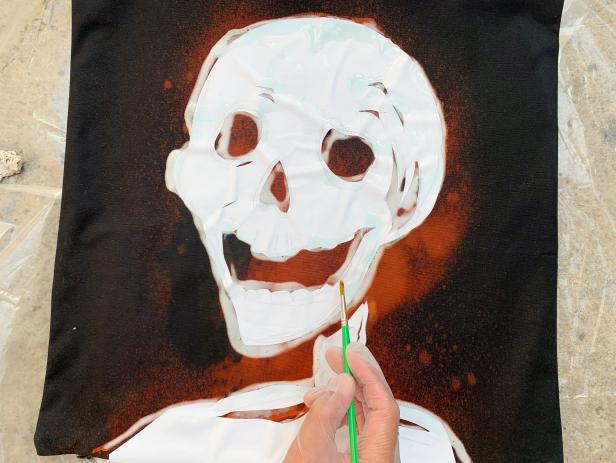
Outline with Bleach Toilet Bowl Cleaner
Keep the stencil on the pillowcase and outline it with the toilet bowl cleaner (Image 1). The toilet bowl cleaner is runny and will create an uneven organic detail. Use a paintbrush to fix any spots (Image 2), but don’t worry too much about any imperfections, this only adds to the creepiness.
Crafty Lumberjacks
Crafty Lumberjacks
Peel Off Stencil and Wash
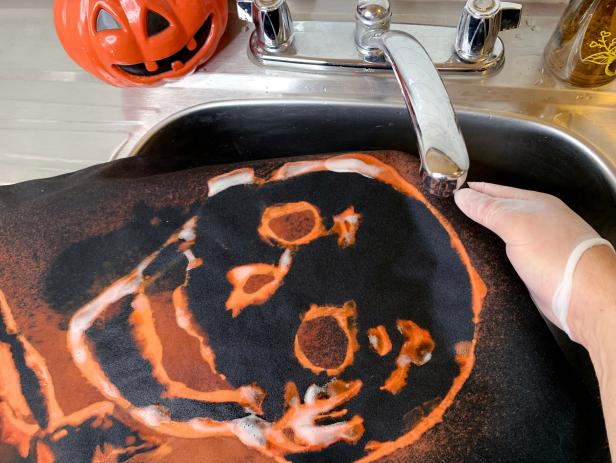
Let the solution sit for about 10-30 minutes depending on the vibrance you’re looking for. Carefully peel off the stencil from the pillowcase (Image 1). Once happy with the look, rinse the pillowcase by hand to ensure most of the bleach is washed out (Image 2). Once rinsed, wash the pillowcase on a cold delicate setting and dry on low heat.

Crafty Lumberjacks
Crafty Lumberjacks
Add Pillow Insert
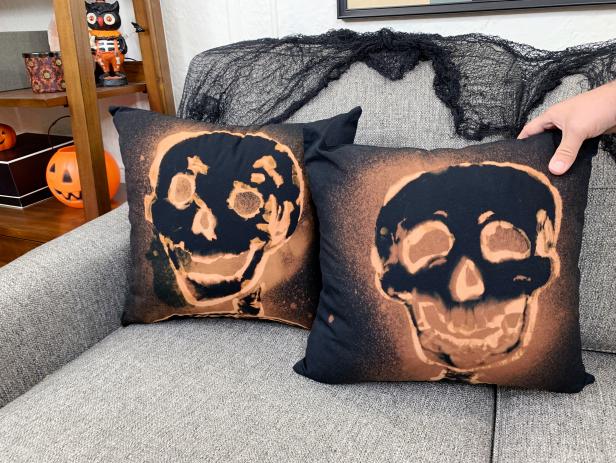
Add a pillow insert inside the pillowcase. Now you’ll be ready to cuddle up during a scary movie!

Crafty Lumberjacks
Crafty Lumberjacks
Crafty Lumberjacks
Crafty Lumberjacks
Crafty Lumberjacks
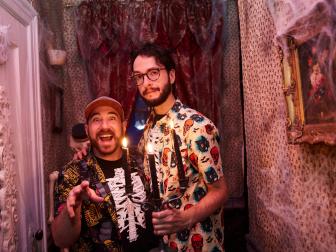
The Crafty Lumberjacks' NYC Apartment Is Haunted Perfection 24 Photos
Join the Crafty Lumberjacks on a tour of their Queens, New York, apartment all decked out for Halloween.
More Halloween Decorating DIYs

Build a Light-Up Haunted House for Your Cat
Get crafty this Halloween by turning old shipping boxes into an epic, light-up haunted house (scratch pad included!) for your cat.

Make Budget-Friendly Felt Bat Decor With a Branch From Your Yard
Going a little batty? Create a colony of cool, colorful creatures of the night to hang out with.

Up Your Halloween Game With This Upcycled Floral Skull Wreath
Round up some shipping Styrofoam, basic crafting supplies and DIY this larger-than-life skull for your front door.


