


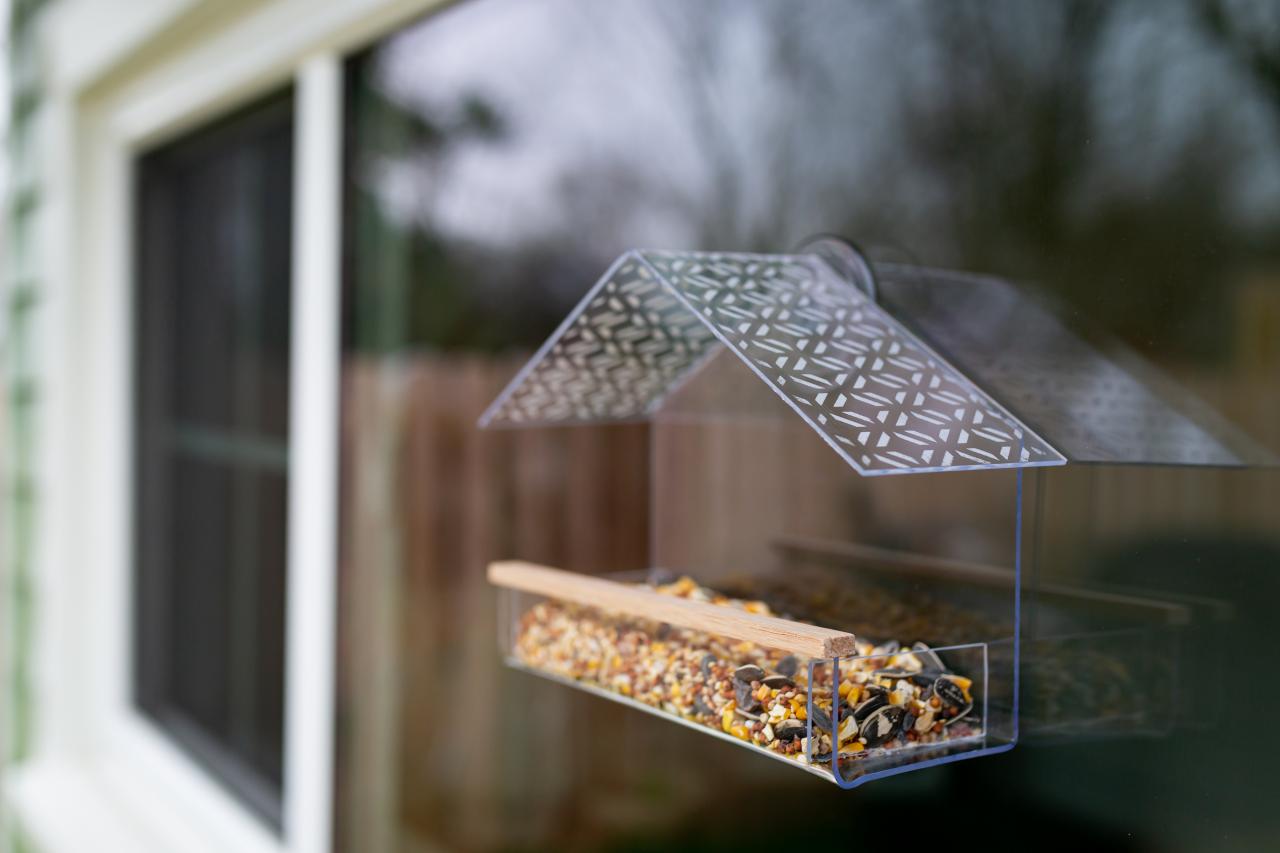
Make This Stylish, Acrylic Bird Feeder With Midcentury Flair
Let all the neighborhood birds know the perfect place to hang out.

Cassidy Garcia

Bird feeders don't have to be basic to get the job done. Why not DIY a trendy, clear bird feeder fit for the poshest of birds. Round up some supplies and learn how to make the cutest little bird feeder ever with these tips and tricks from the Crafty Lumberjacks. And don't forget the bird seed!
Materials + Tools
- (2) 8''x10'' acrylic sheets
- box cutter
- 220-grit sandpaper
- metal ruler
- cutting mat
- painter's tape
- suction cup
- drill with step drill bit
- heat gun
- heat-resistant gloves
- waterproof super glue
- 10'' square wooden dowel
- scrap piece of wood
- wooden crate or box
- white acrylic paint
- paintbrush
- adhesive vinyl stencil
- permanent marker
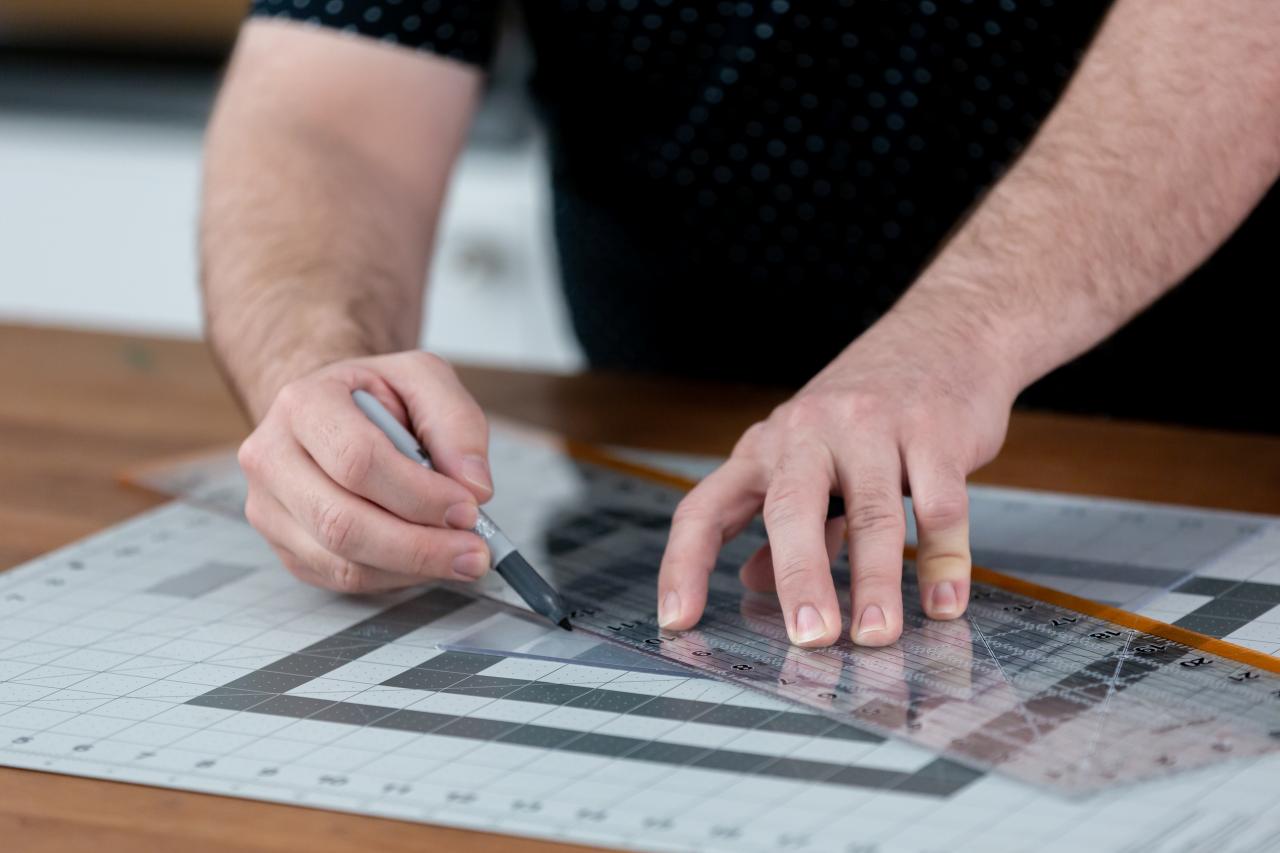
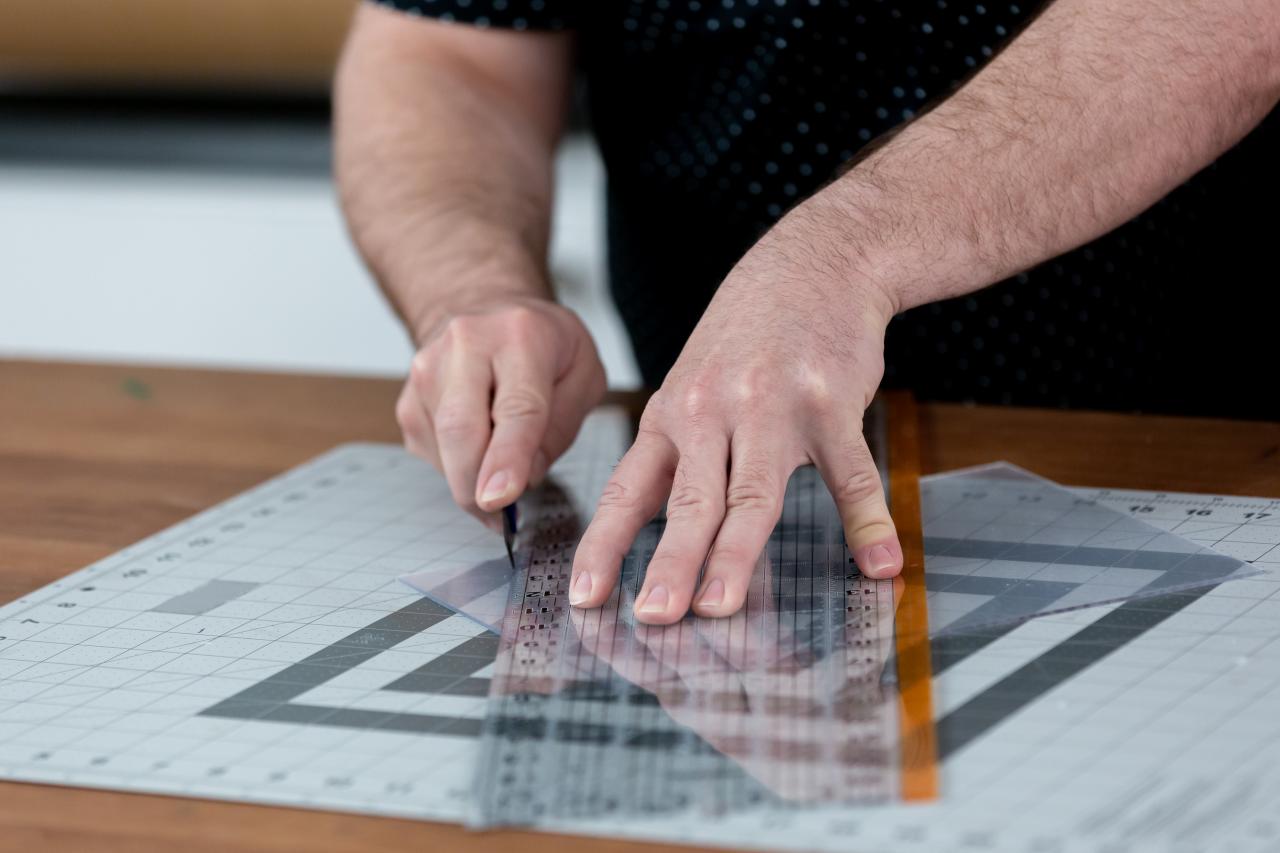
Prep + Score Acrylic Sheets
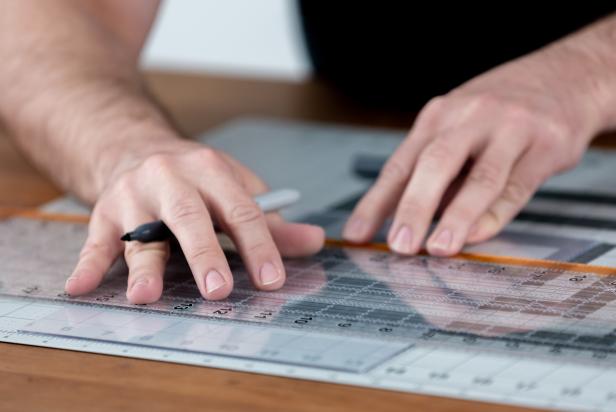
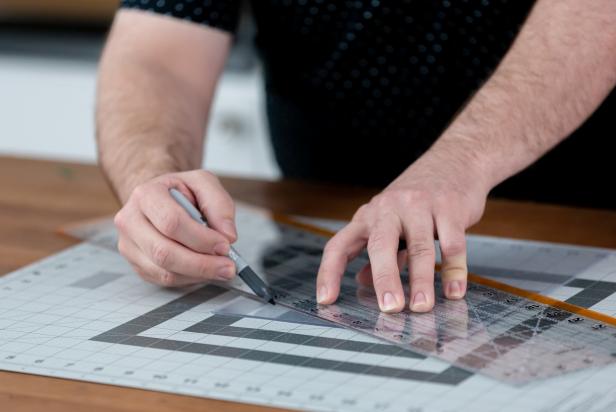
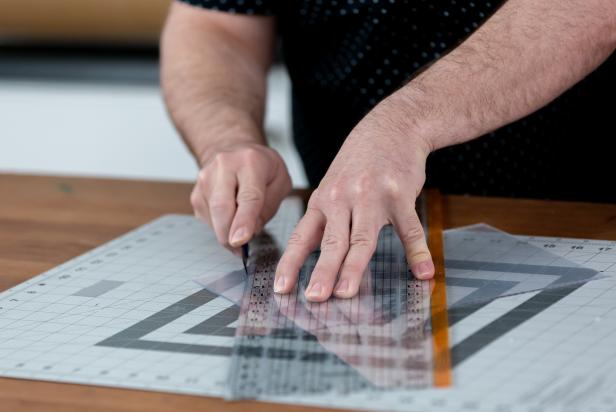
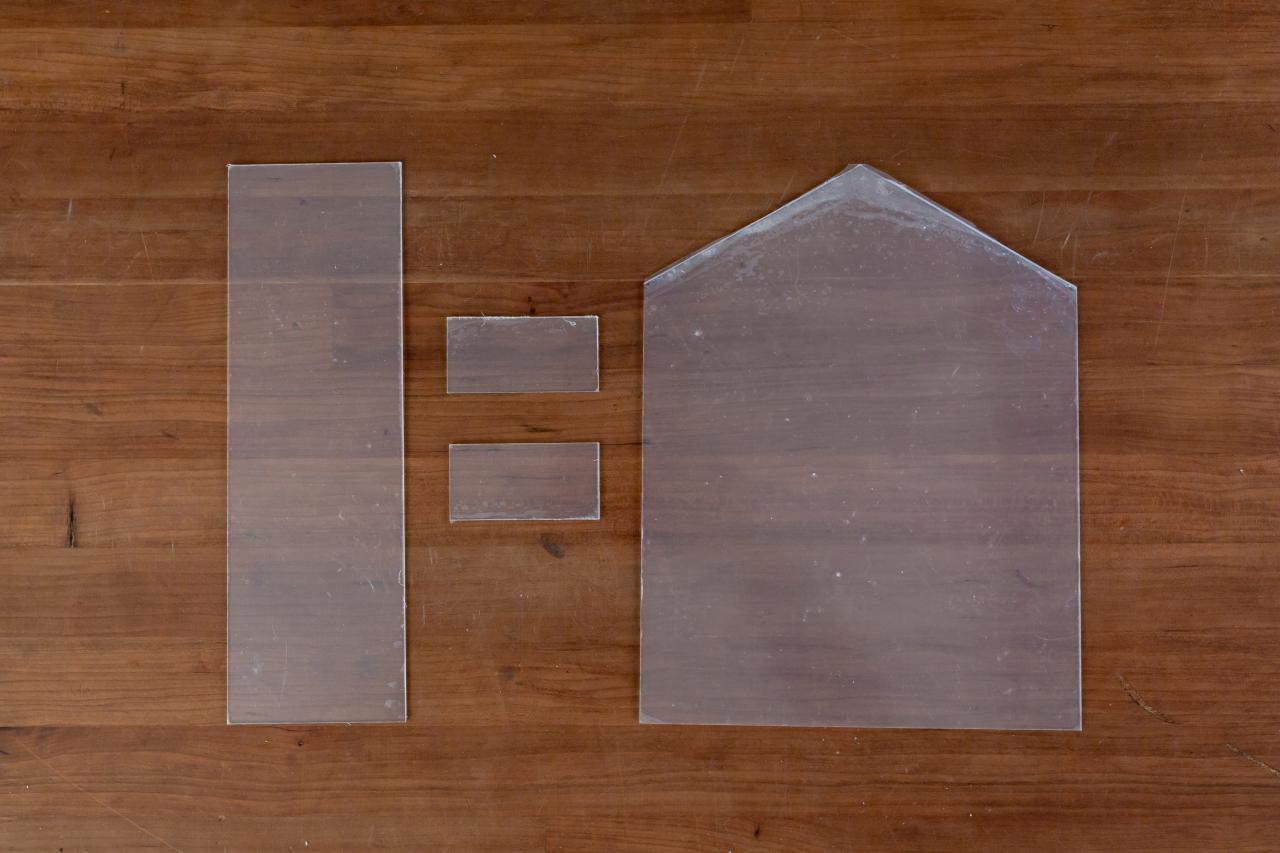
Leave the plastic covering on the acrylic sheets to protect from any scratches. Prepare one of the 8’’x10’’ acrylic sheets by placing it on a cutting mat and finding the center of the sheet using a metal ruler (Image 1). Make the peak of the feeder by measuring 2’’ down on each side of the sheet, like a gable, and marking with a permanent marker (Image 2). Next, take the second 8’’x10’’ acrylic sheet and measure and mark (2) 3’’x1-1/2'' rectangle pieces and (1) 3”x10’’ piece to create the sides of the feeding tray. Last, carefully use a box cutter to lightly score the acrylic sheets at each marking (Image 3). Score the sheets approximately 10 times using light pressure.
Cassidy Garcia
Cassidy Garcia
Cassidy Garcia
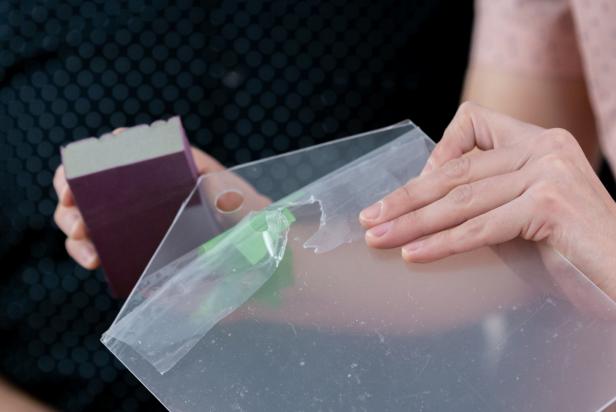
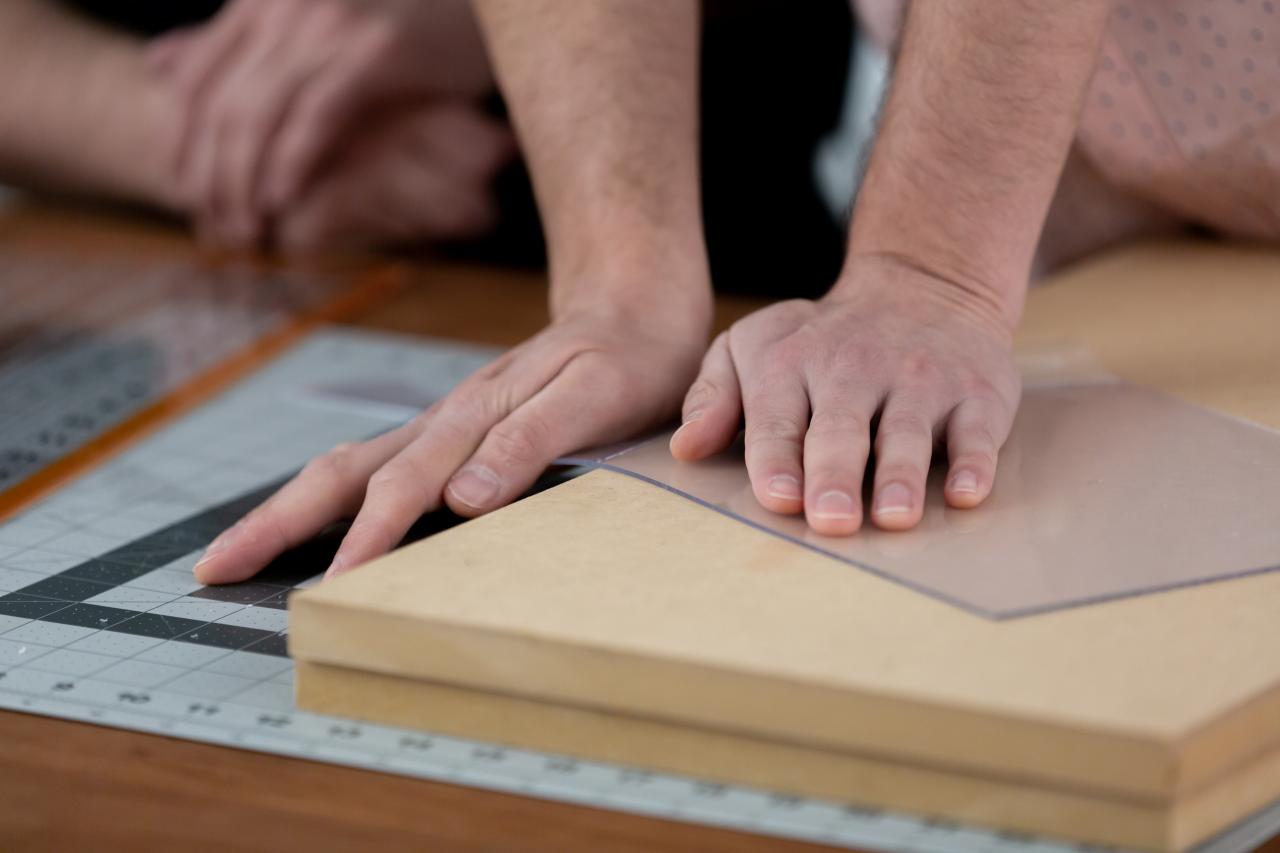
Snap Off Pieces + Sand Edges
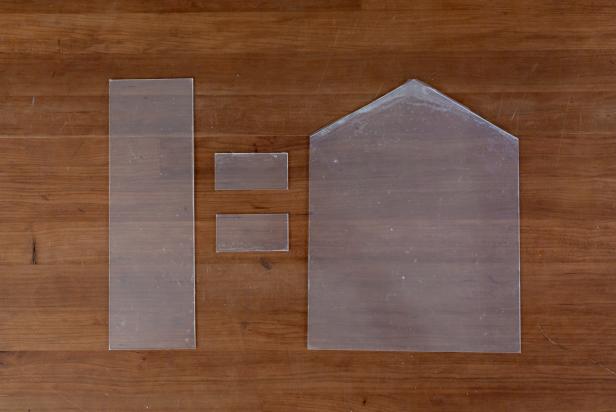
Once the acrylic sheets have been scored, line up a scored sheet on top of the edge of the scrap wood and press down until it snaps off (Image 1). Break off all the scored pieces until you have four cut acrylic pieces (Image 2).

Cassidy Garcia
Cassidy Garcia
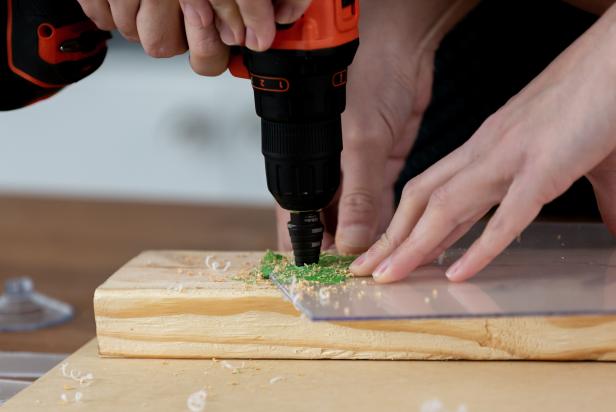
Drill Hole for Suction Cup
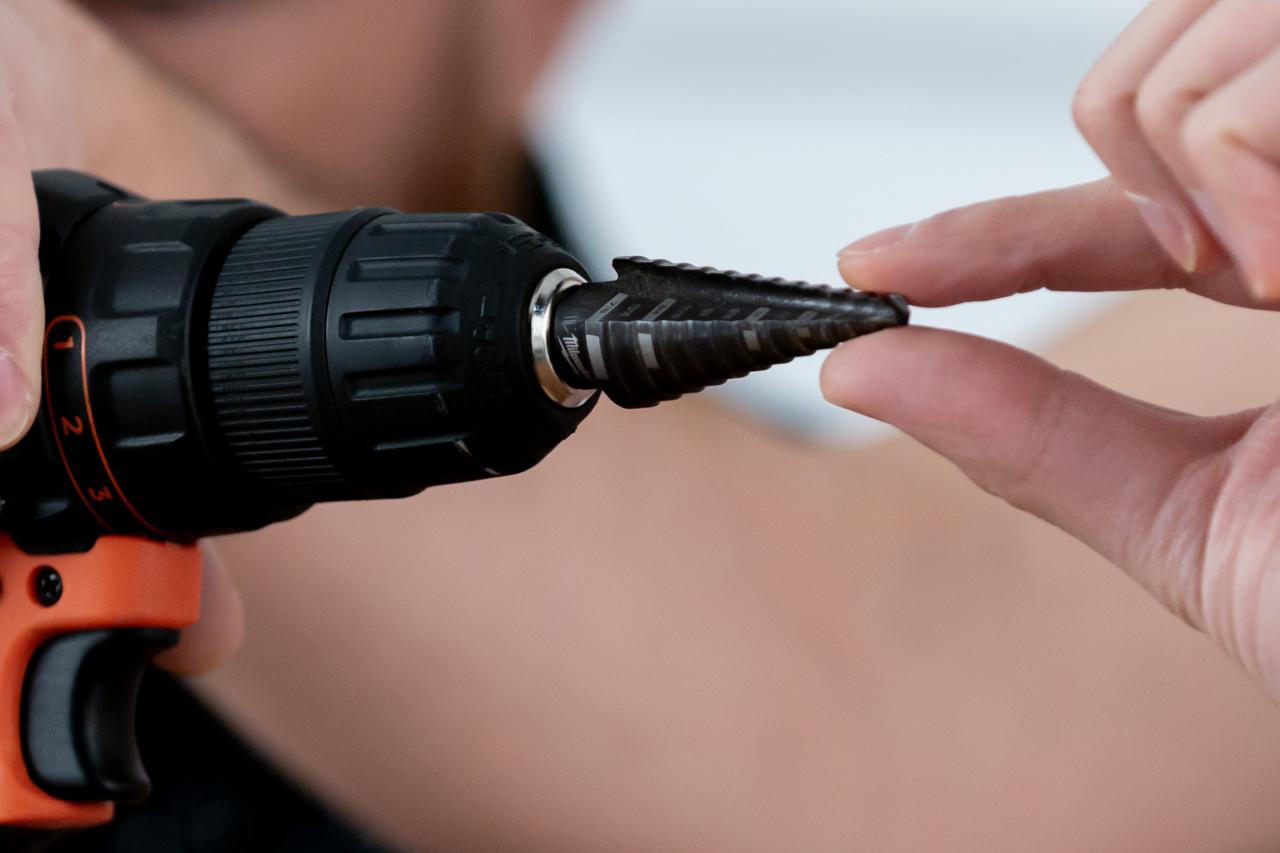
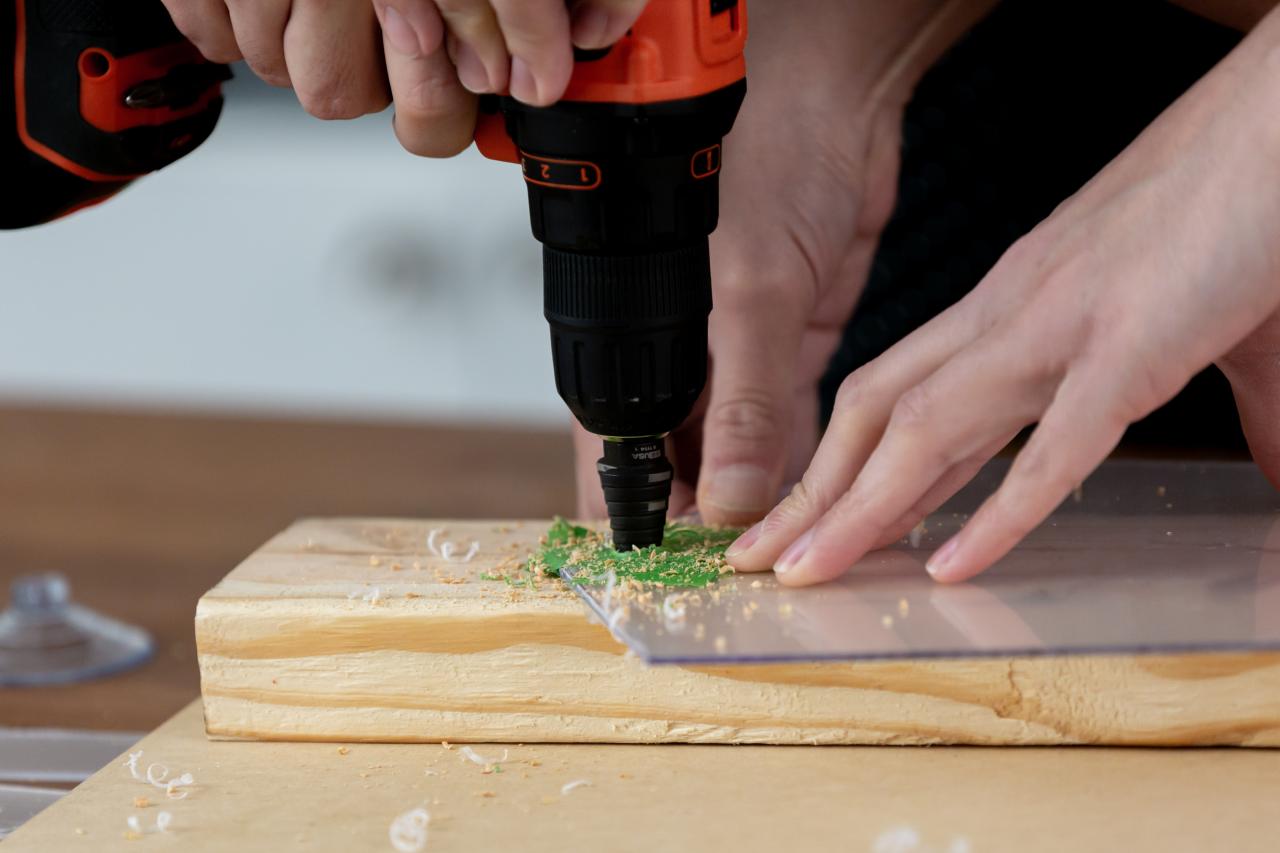
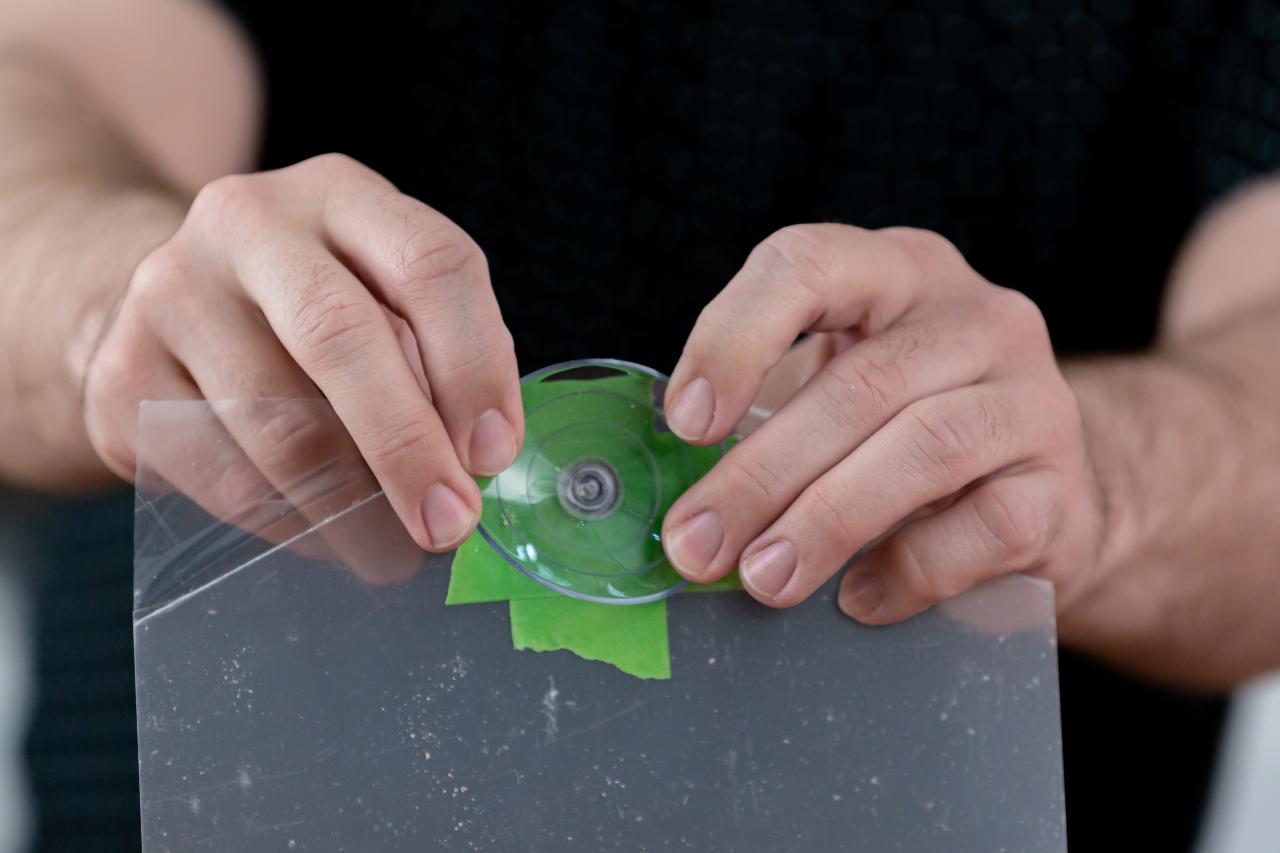
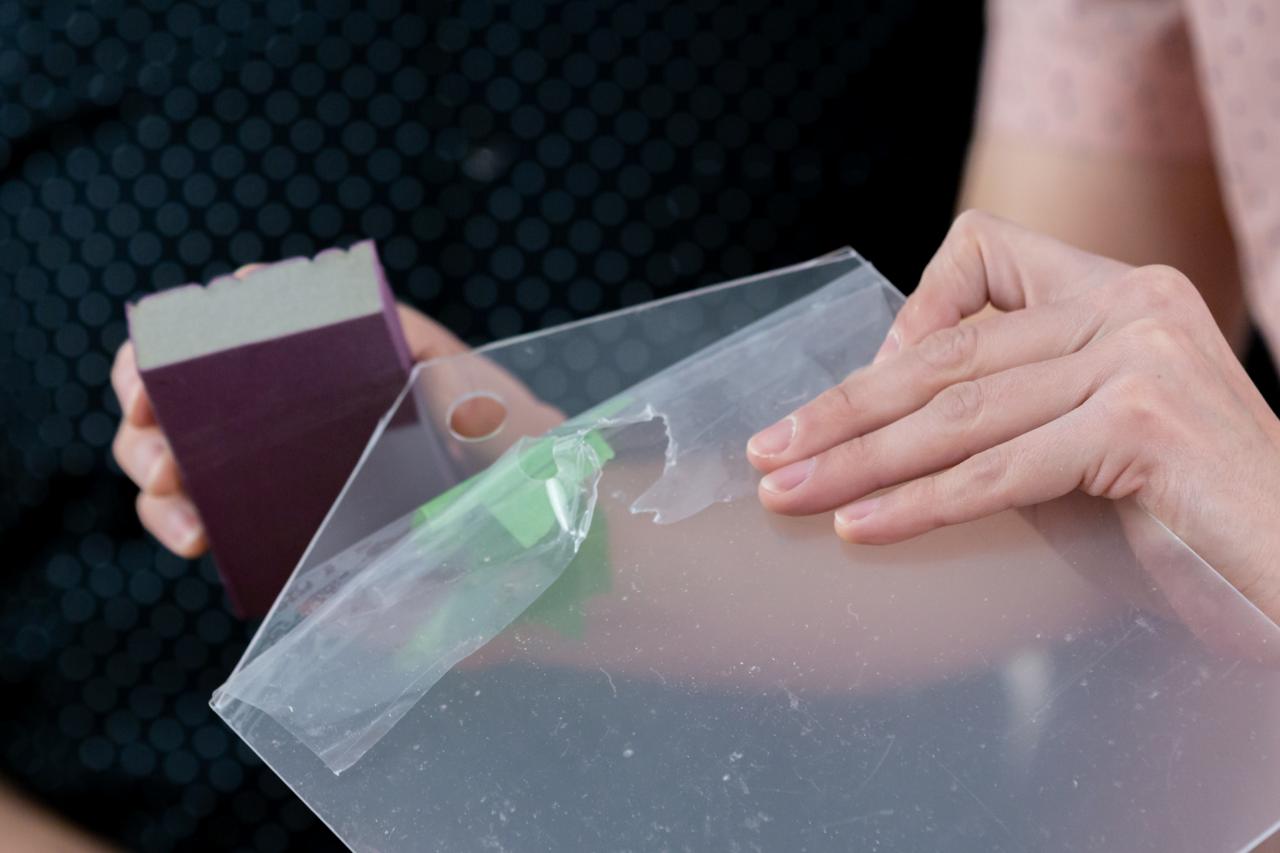
Measure and mark 1'' below the center peak on the acrylic sheet. To ensure the acrylic sheet doesn’t crack while drilling, add a piece of painter’s tape to both sides of the marked spot before drilling (Image 1). Lay the sheet on a piece of scrap wood. Then, use a drill with a step drill bit (Image 2) to make a hole big enough for the back of your suction cup (Image 3). Drill slowly and carefully, checking the size of the hole with the suction cup as you go (Image 4). Lastly, use 220-grit sandpaper to smooth any rough edges (Image 5).

Cassidy Garcia

Cassidy Garcia
Cassidy Garcia

Cassidy Garcia
Cassidy Garcia
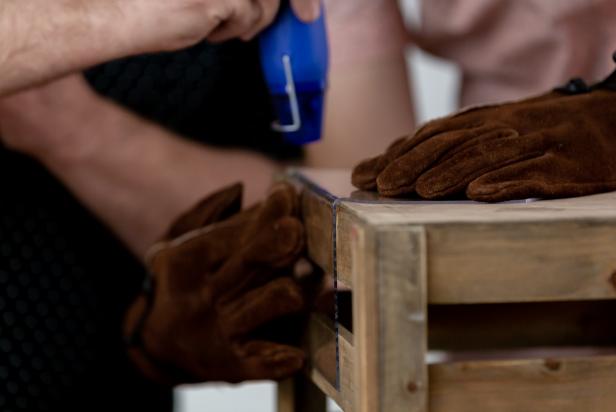
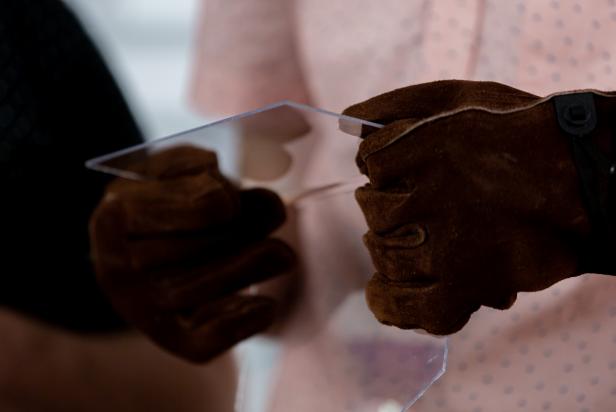
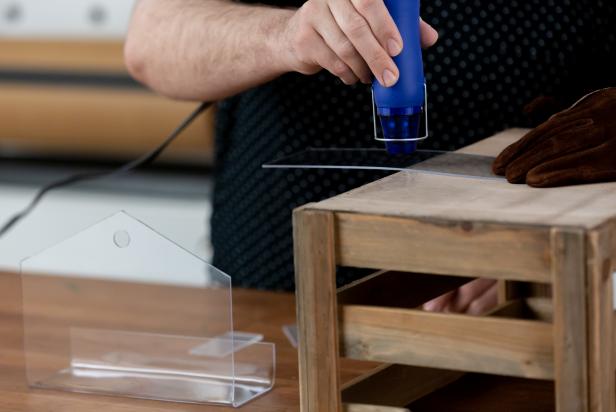
Use Heat Gun to Bend Pieces
Peel off the protective plastic layers from both sides of the prepared acrylic sheets. Now place the largest acrylic sheet on top of a wooden crate. If you don't have a crate, any wooden object with a 90-degree angle and some overhang will work.
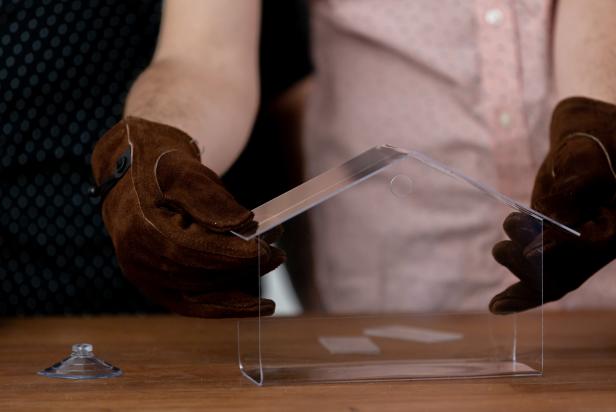
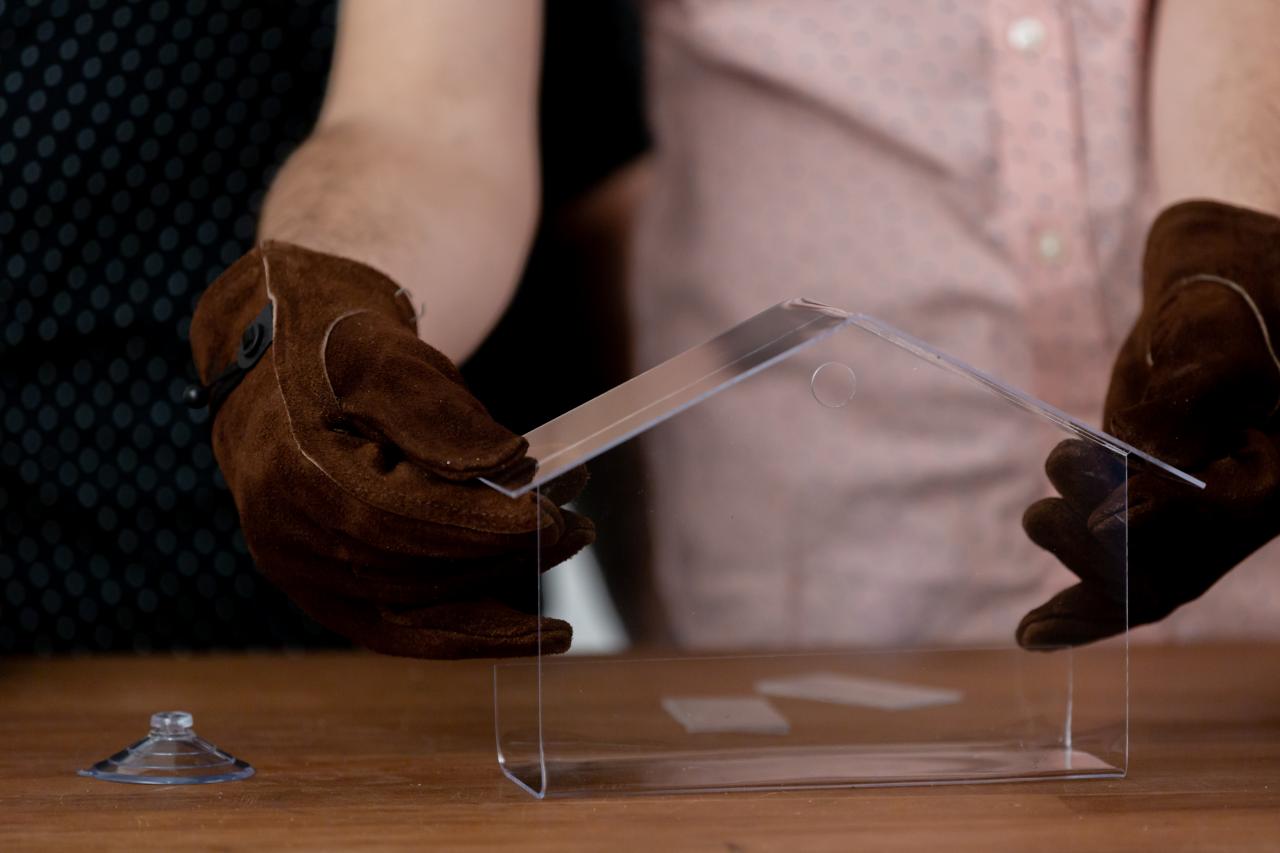
Line up the larger acrylic sheet along the edge of the crate 6-1/2’’ from the top, leaving a 4-1/2’’ overhang. Wearing heat-resistant gloves, use a heat gun to apply heat by slowly waving it back-and-forth along the edge of the acrylic sheet (Image 1). As the plastic starts to heat and become pliable, lightly press down and manipulate the acrylic sheet to a 90-degree angle using your hands and the crate as a guide (Image 2). Let the acrylic sheet cool before starting the next bend.
Now reposition the newly molded piece on the crate and measure up 3’’ from the first bend, leaving a 1-1/2’’ overhang (Image 3). Heat and manipulate using the heat gun to create the second bend. To create the roof, lay the 3’’x10’’ acrylic piece right in the center of the crate at the overhang (Image 4). Once the center becomes hot and pliable, place it on the top peak of the feeder and bend it to match the angle (Image 5). Hold the piece in place until fully cooled and hard.
Cassidy Garcia
Cassidy Garcia

Cassidy Garcia
Cassidy Garcia
Cassidy Garcia
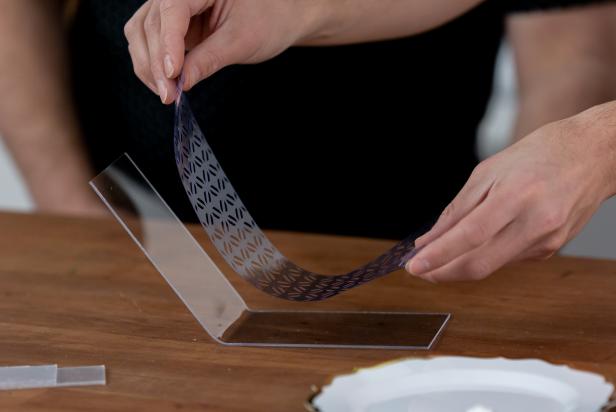
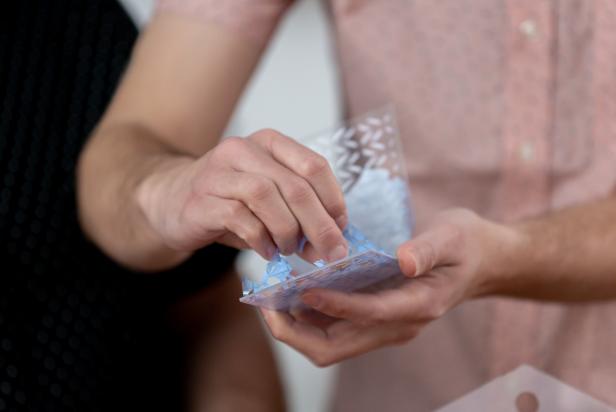
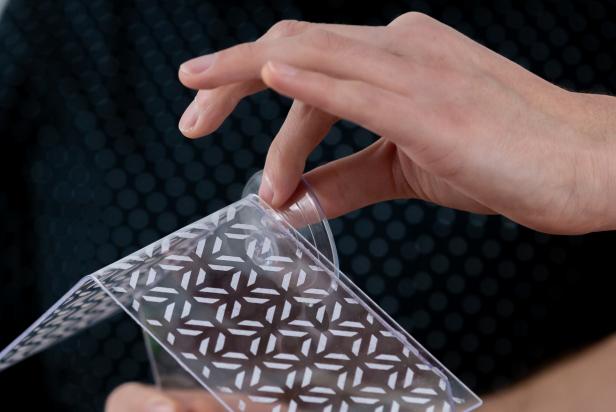
Add + Paint Roof Stencil
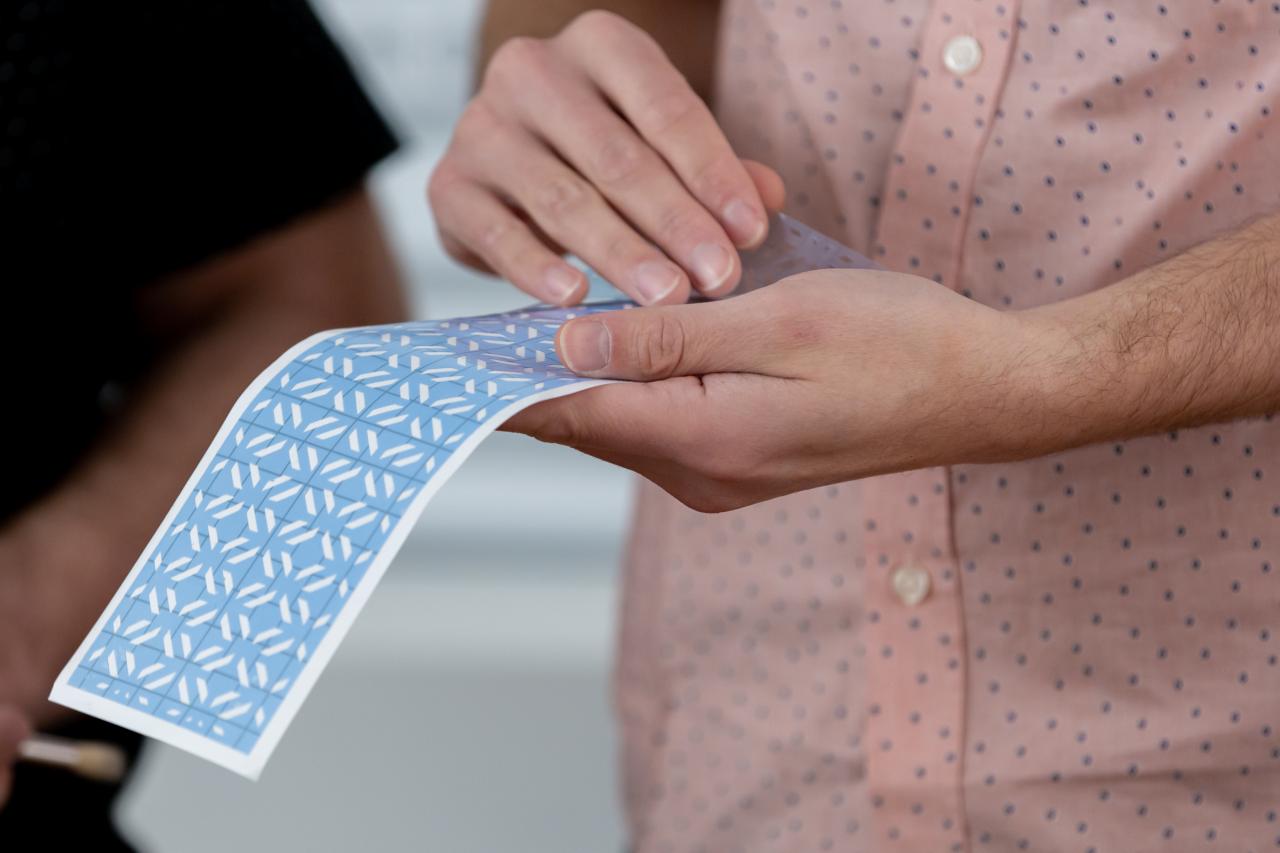
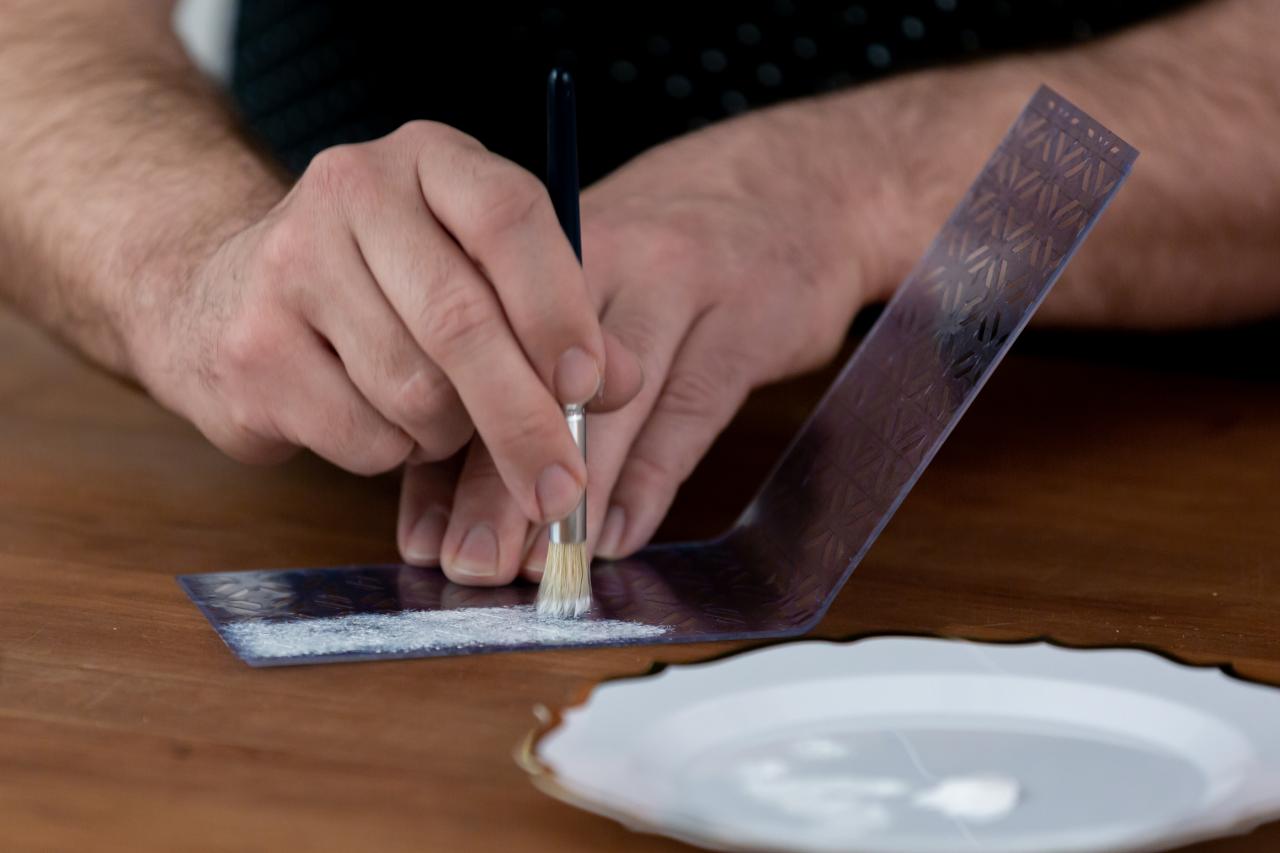
Give your handmade bird feeder midcentury flair. Apply an adhesive, vinyl stencil to the inside of the roof (Image 1 + 2). Then, using a paintbrush in a dabbing motion, cover the inside stencil with white acrylic paint to create a nice, even coat (Image 3). Let the paint dry completely, and remove the stencil before gluing all the pieces together (Image 4).

Cassidy Garcia
Cassidy Garcia

Cassidy Garcia
Cassidy Garcia
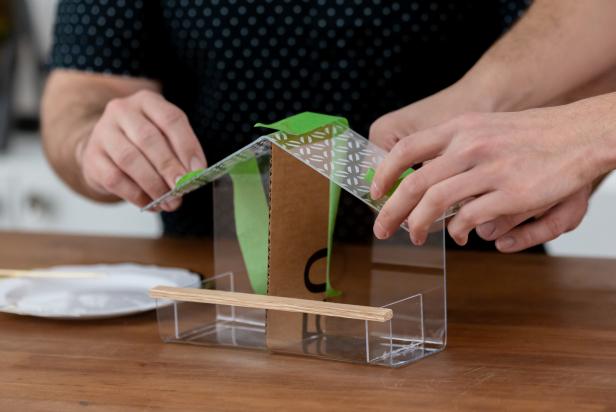
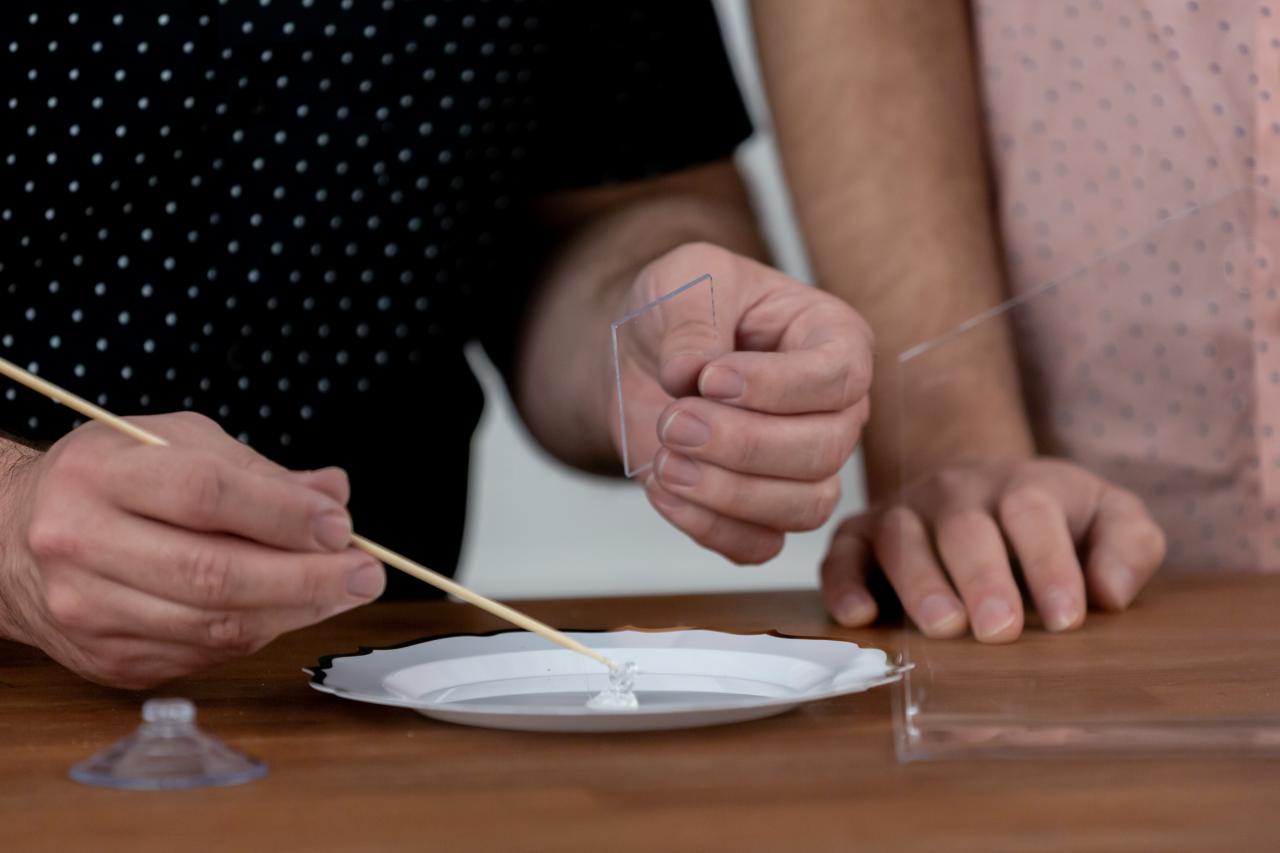
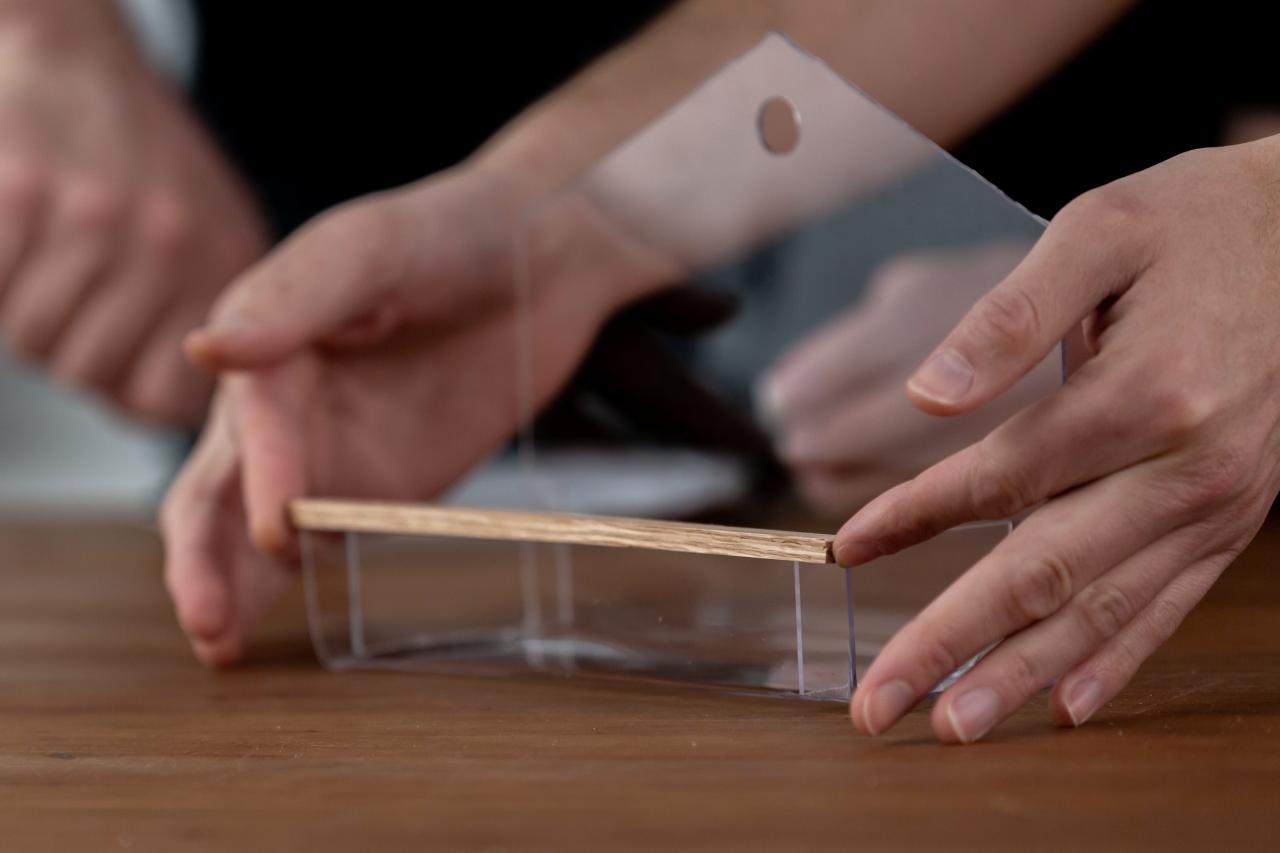
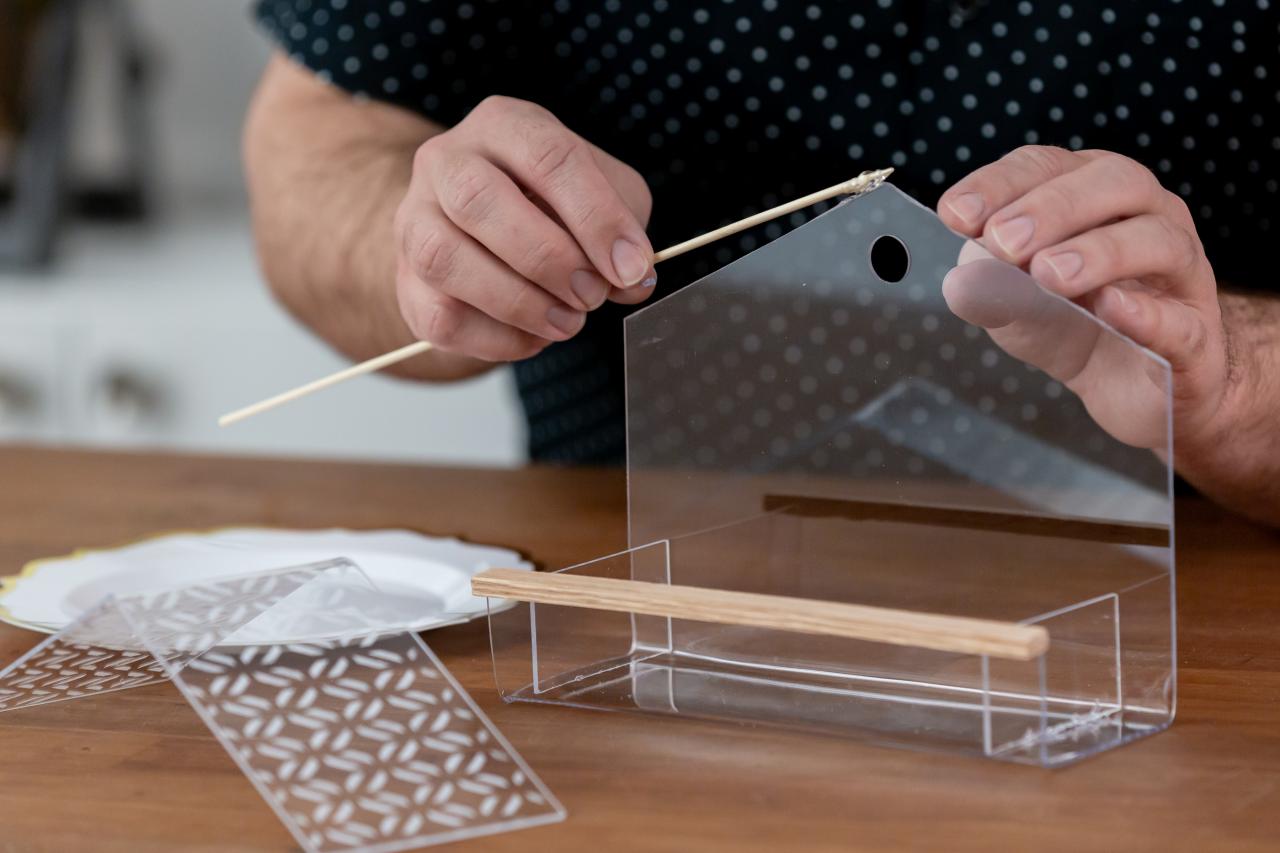
Super Glue Pieces + Perch
Use a wooden skewer to apply a thin coat of waterproof super glue to the sides of the tray (Image 1). Then, adhere the sides of the tray to the main feeder piece (Image 2). Next, make a perch by adding a wooden dowel to the edge of the tray with waterproof super glue (Image 3). Now apply a thin line of super glue to the inside line of the roof and stick it to the feeder (Image 4). Tip: Use painter’s tape and a scrap piece of cardboard to hold the bird feeder in place as it dries (Image 5). Let the bird feeder dry for 24 hours.

Cassidy Garcia

Cassidy Garcia

Cassidy Garcia

Cassidy Garcia
Cassidy Garcia
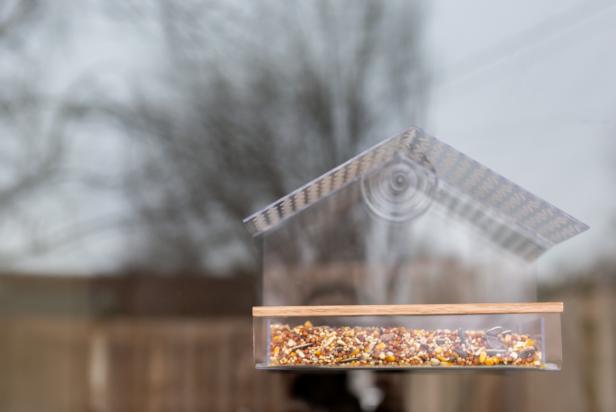
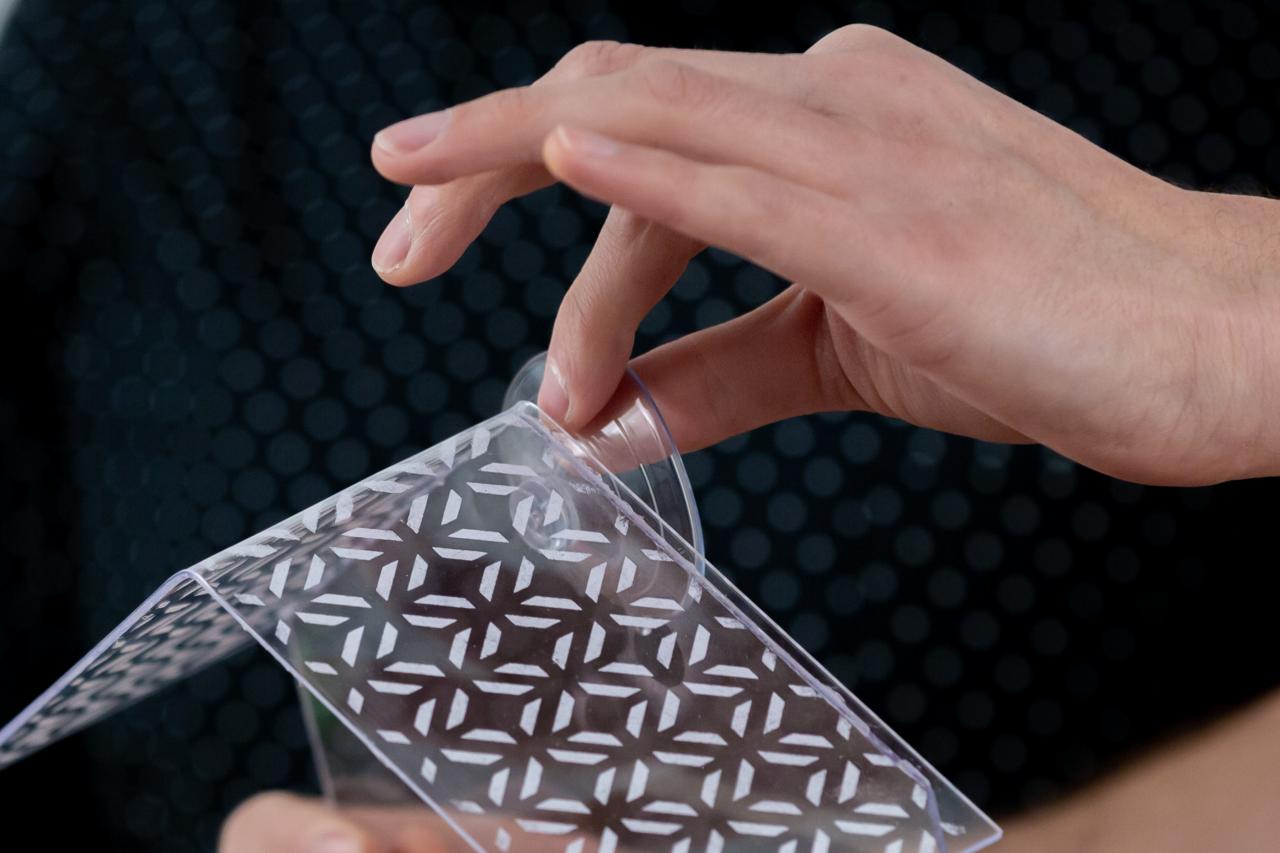
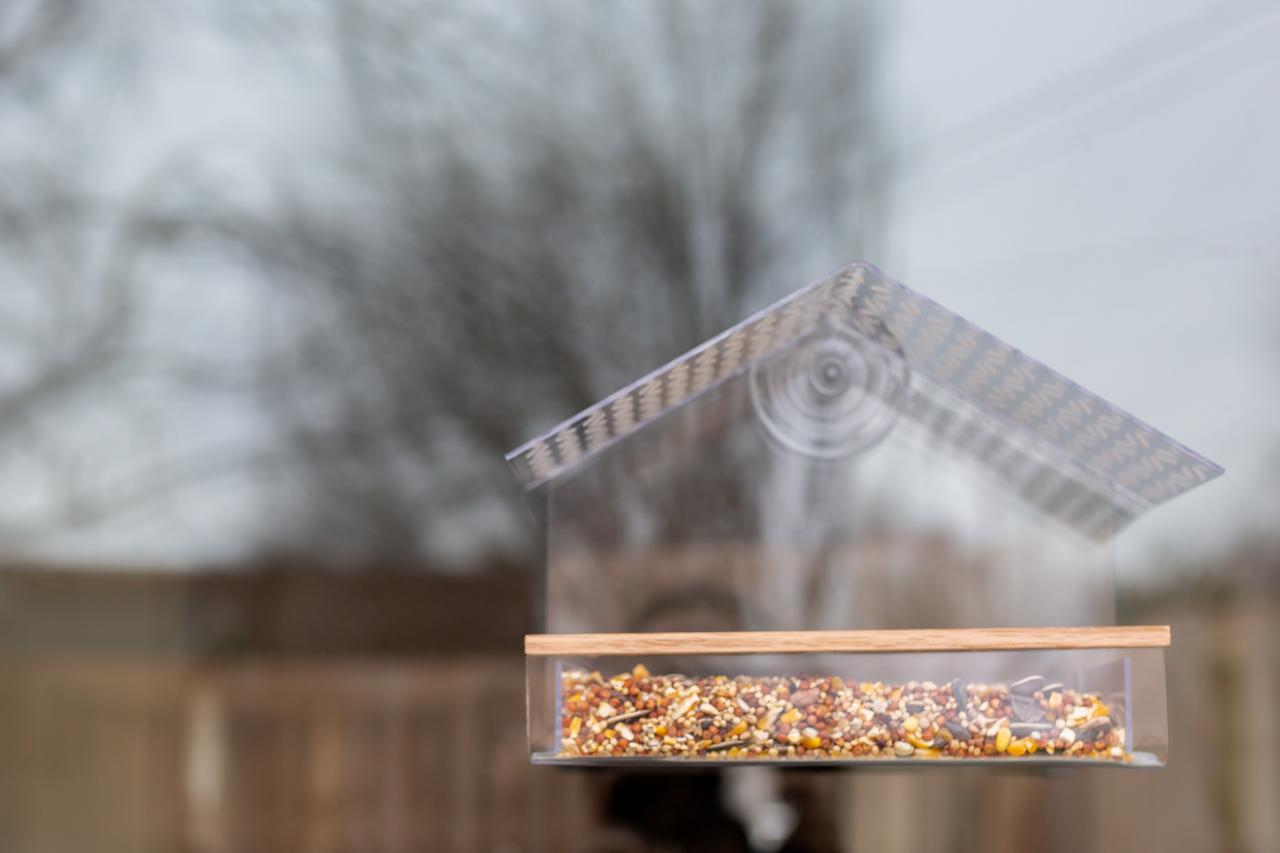
Add Suction Cup + Hang
Once dry, carefully pop in the suction cup (Image 1). Then hang your new bird feeder on a clean, dry window. Add a little bird seed and watch all the birds fly in for a visit.
Cassidy Garcia
Cassidy Garcia
DIY Bird Feeders and Birdbaths
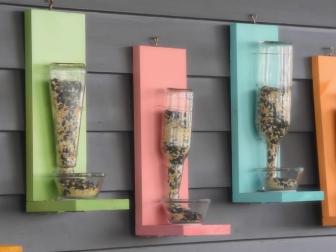
DIY Bird Feeder from Recycled Bottles
A solution for all those wine bottles you've been saving.

Use Gourds to Make a Natural Bird Feeder 15 Photos
Use up your extra gourds to make a simple bird feeder.

Easy Planter Birdbath 10 Photos
Welcome feathered friends into your yard with this bird bath that is as useful as it is pretty.

Create a Birdbath From a Salvaged Sink
Design a unique birdbath out of a vintage, wall-mount sink.


