


How To Use Tea and Cinnamon to Age Artwork for Halloween
Brew some tea, snag this free, printable Halloween art and make your own aged wall art in minutes.

Nikk Alcaraz

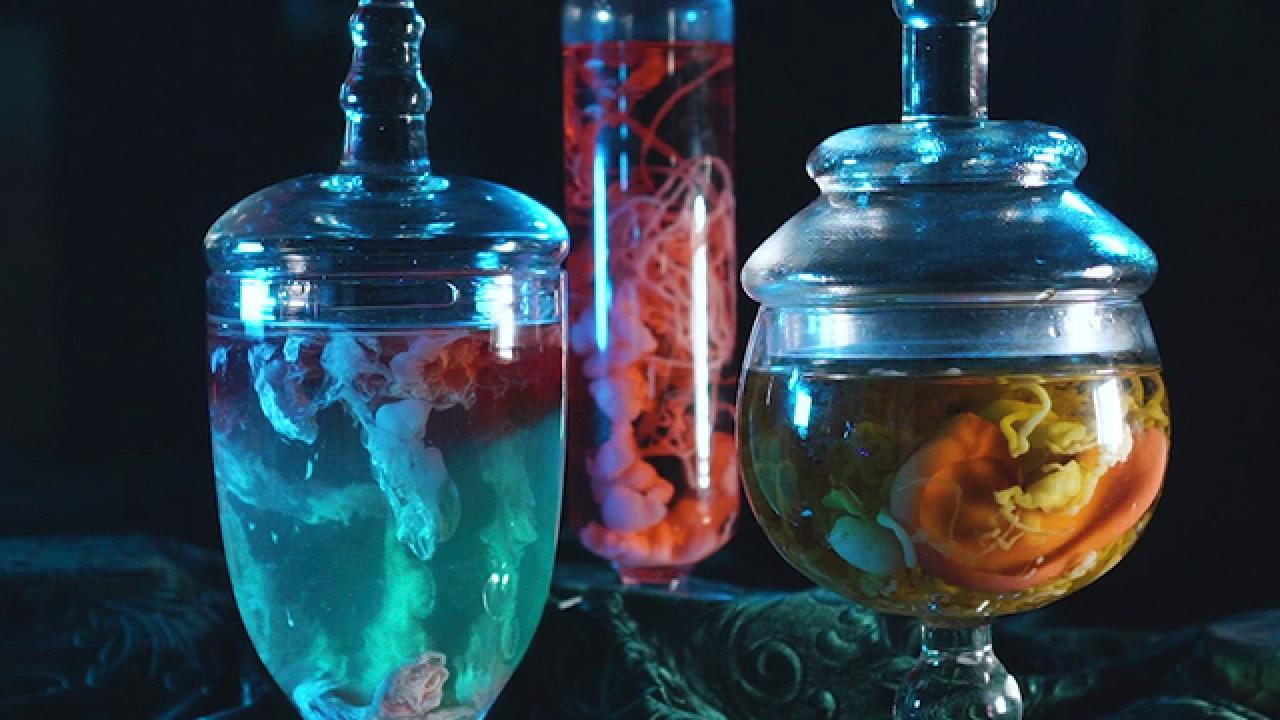
Decorating for Halloween doesn’t have to cost an arm and a leg. In fact, this super-easy, aged art DIY by food artist and content creator Nikk Alcaraz is, dare we say, free. Brew a spot of tea and print this sinister-looking free artwork while you wait. Then, make a faux rusted clipboard with spices to display your new horrific wall art.

Nikk Alcaraz
Materials + Tools
- halloween printables
- clipboard
- twine
- black acrylic paint
- paprika
- cinnamon
- nutmeg
- decoupage glue
- paintbrush
- electric drill
- black tea
- cookie sheet
- parchment paper
- paper towels
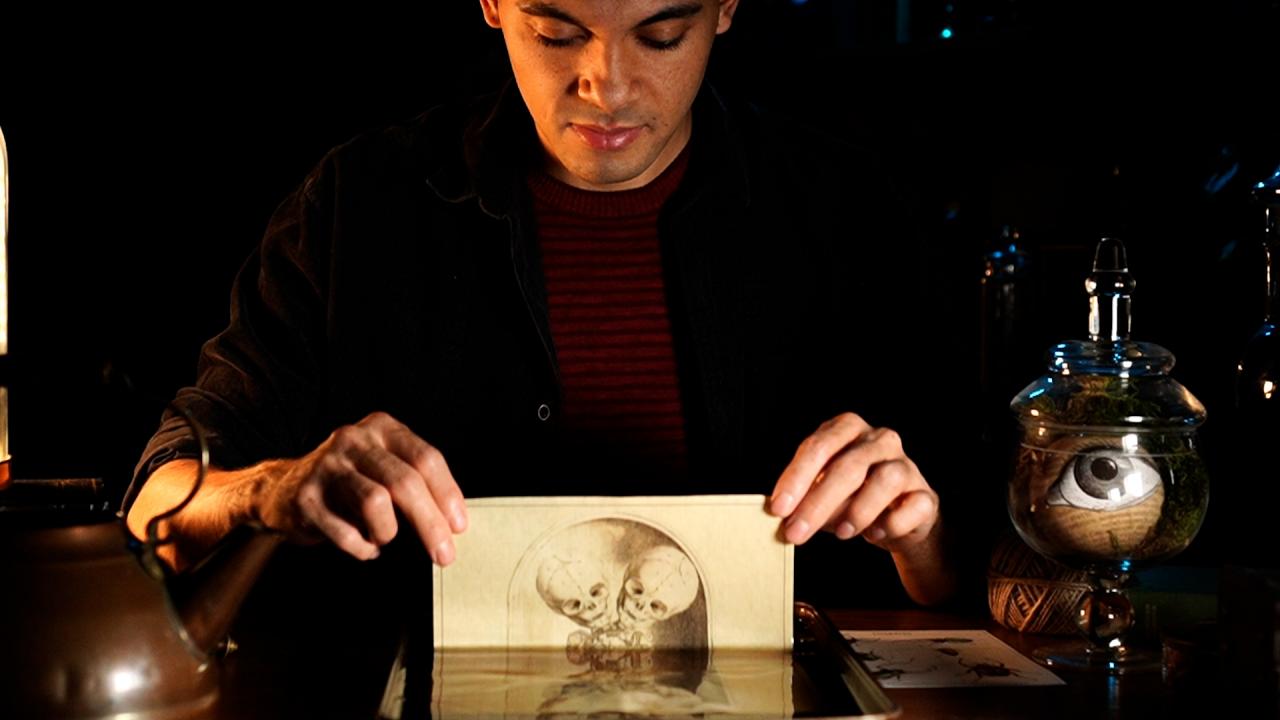
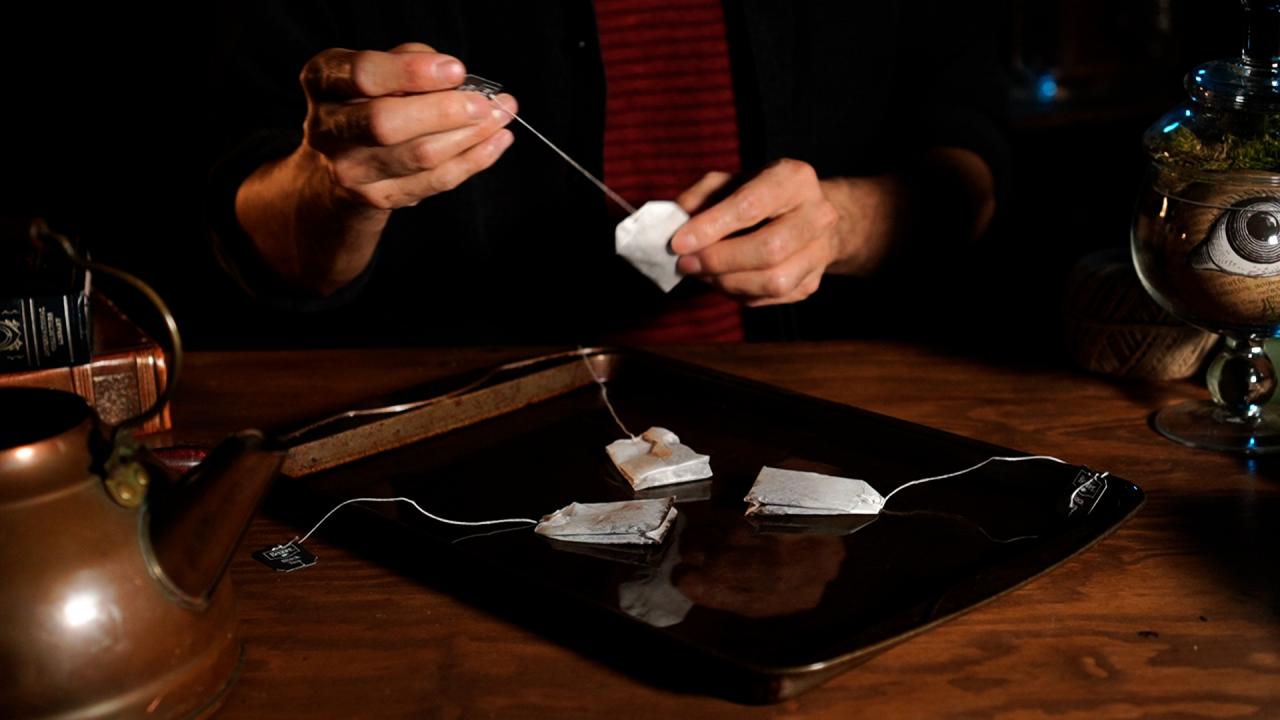
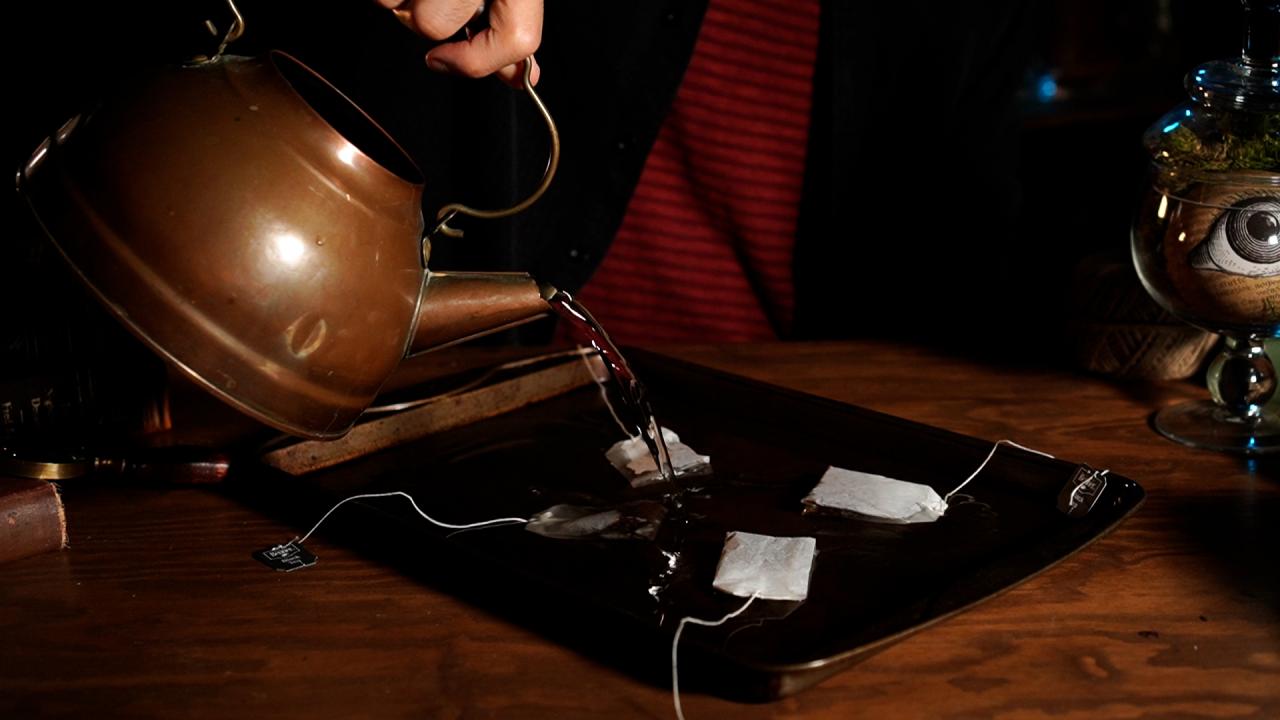
1. Brew Tea + Dip Artwork
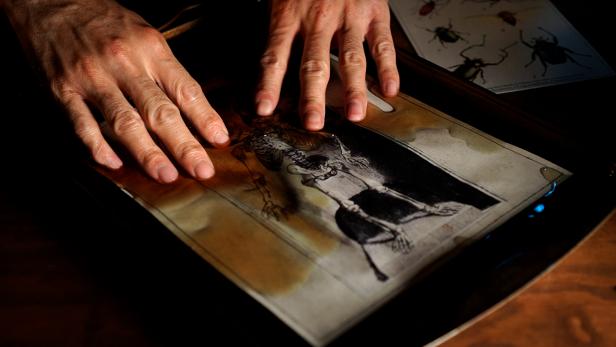
Use tea to give artwork an aged look (Image 1). First, place four teabags of black tea onto a cookie sheet (Image 2); cover with hot water and let brew for 10 minutes (Image 3). Then, dip the free printable artwork into the tea bath, soaking it completely for about 10 minutes (Image 4). Tip: The longer you leave it in, the darker it will be. Remove the artwork from the tea bath and let dry on top of paper towels (Image 5).
Nikk Alcaraz

Nikk Alcaraz

Nikk Alcaraz
Nikk Alcaraz
Nikk Alcaraz
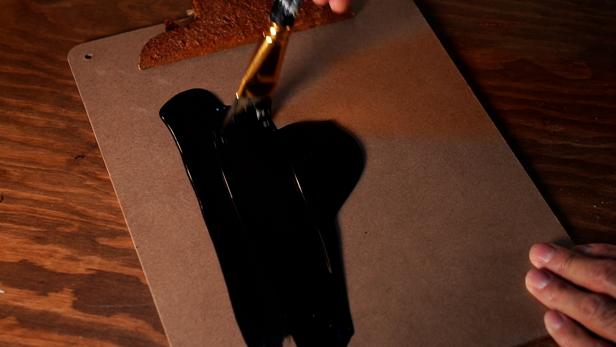
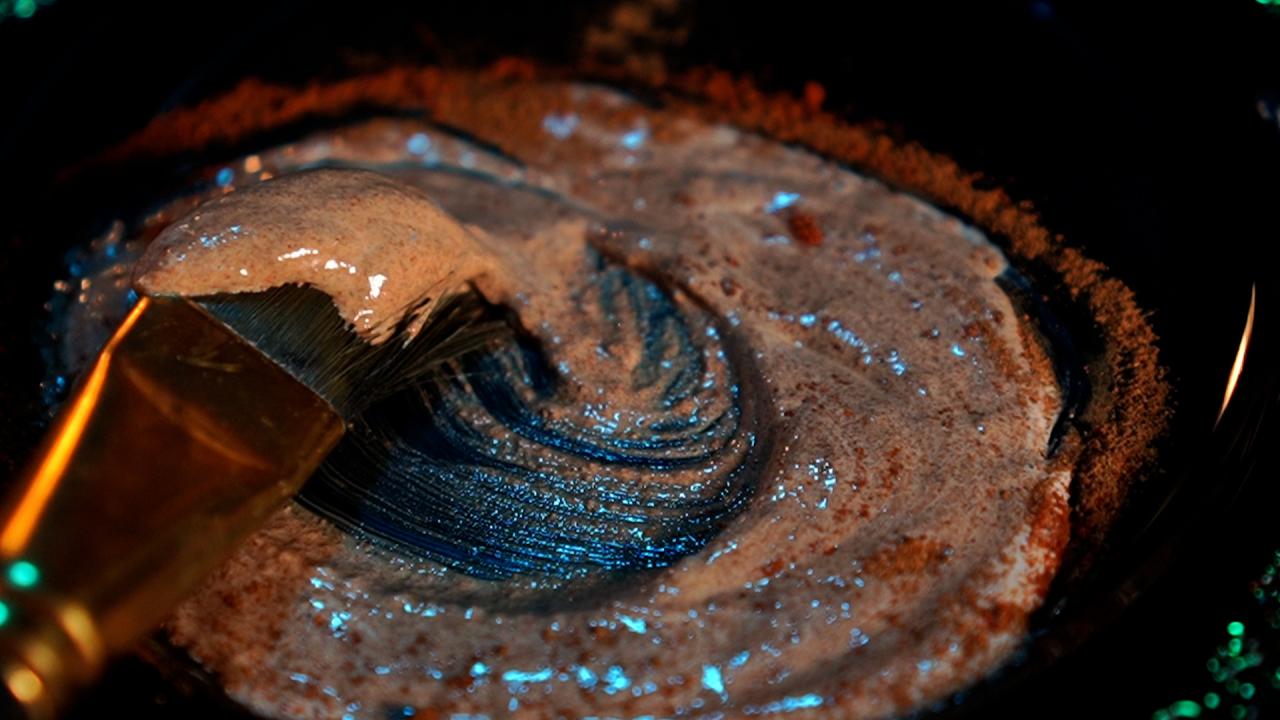
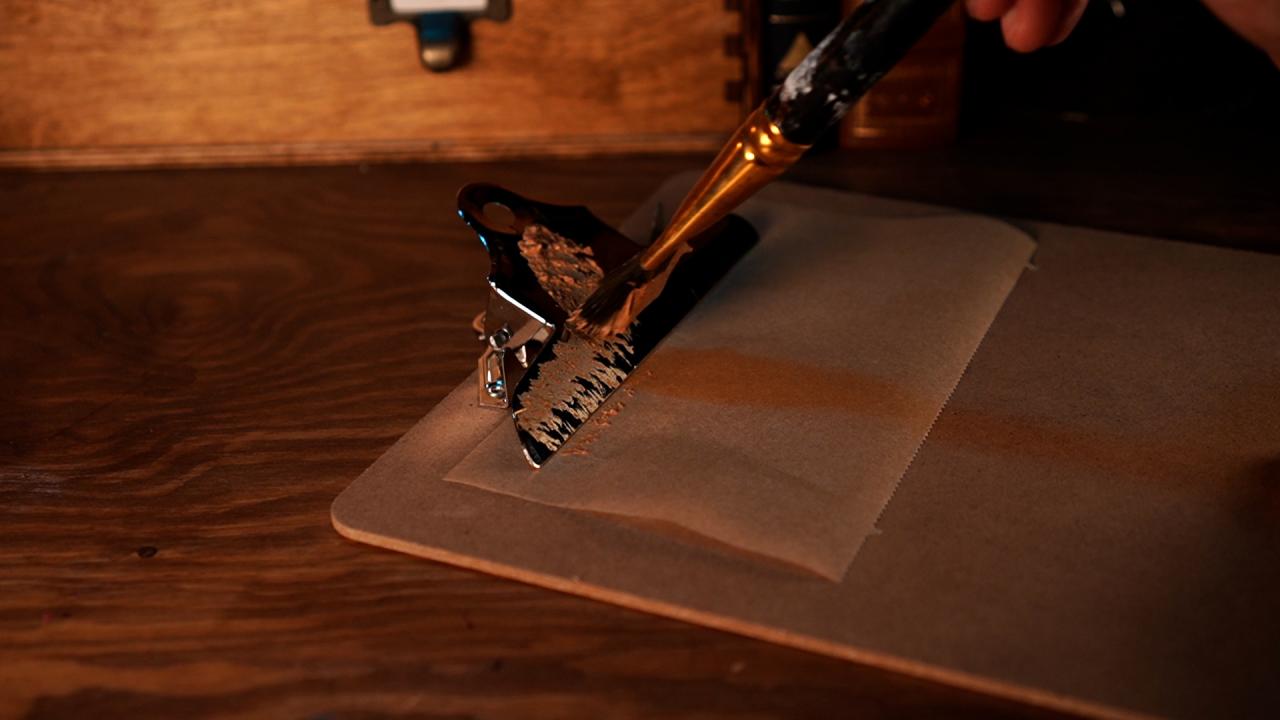
2. Make Faux Rust
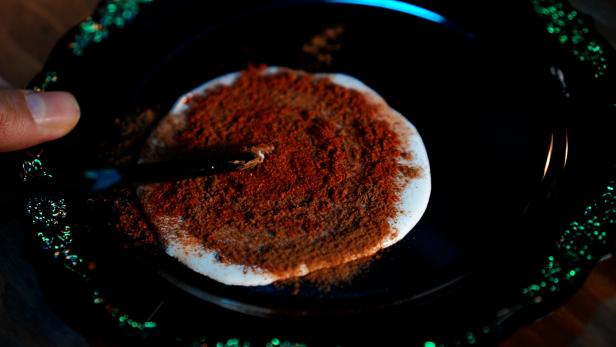
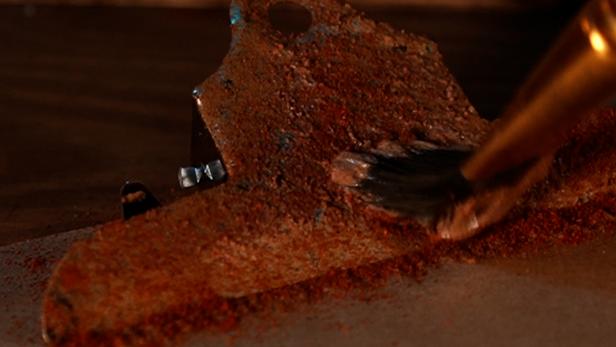
On a plate, add decoupage glue, cinnamon, nutmeg and paprika together (Image 1) and mix with a paintbrush to create a gritty, orange-brown paste (Image 2). Next, place a piece of parchment paper in the clip of the clipboard (Image 3) and use a paintbrush to dot and dab the paste onto the metal clip to create a rough, rusting effect (Image 4). Let dry completely.
Nikk Alcaraz

Nikk Alcaraz

Nikk Alcaraz
Nikk Alcaraz
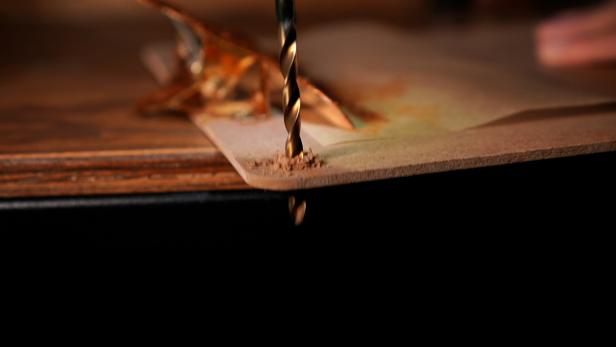
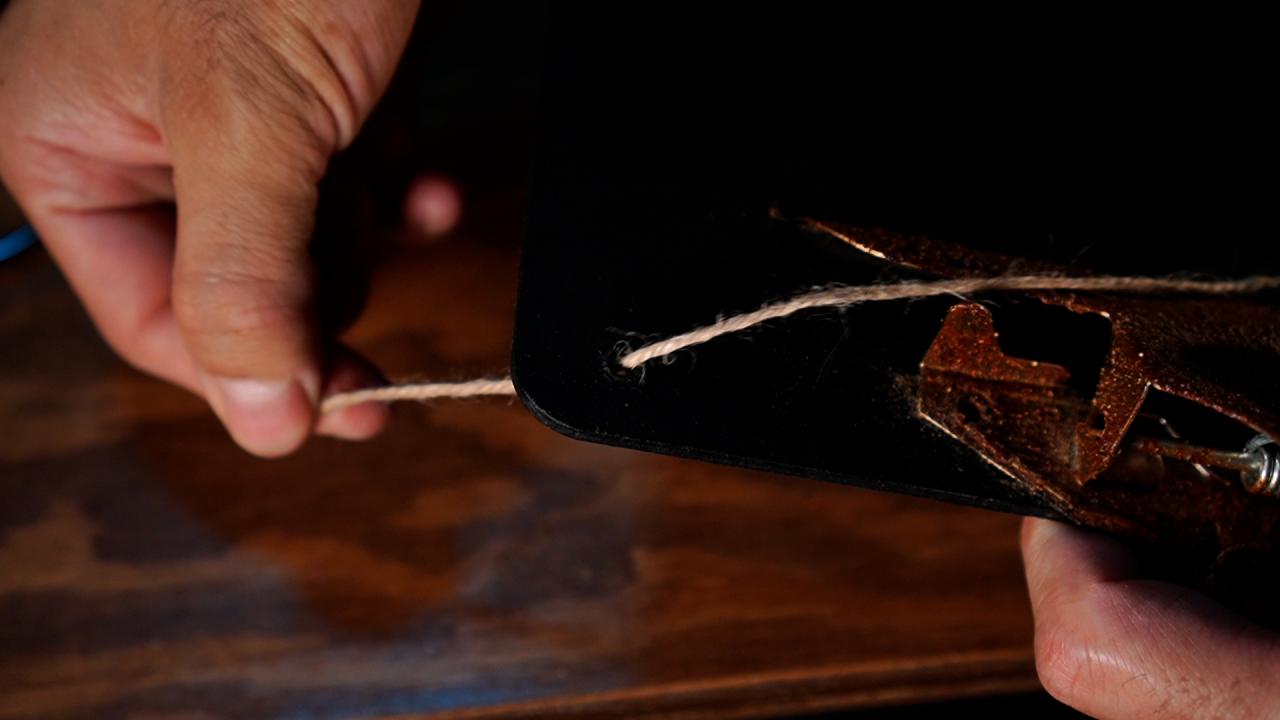
3. Drill + Paint + Display
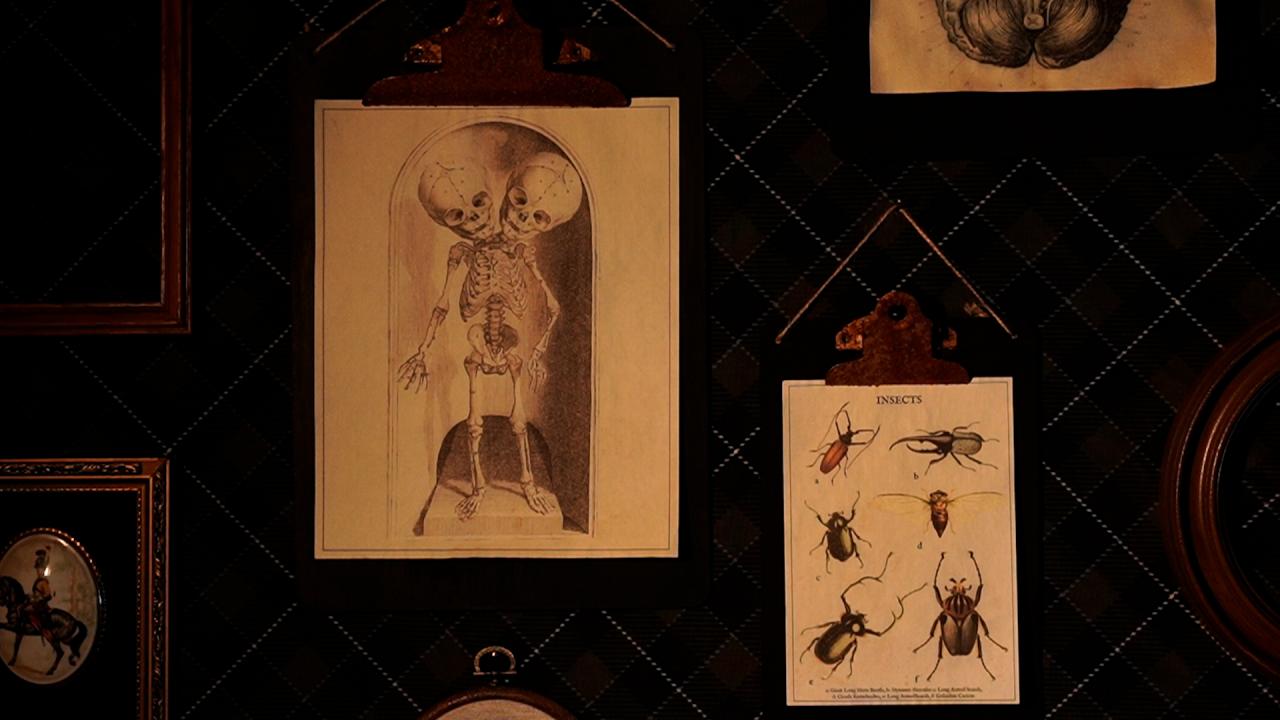
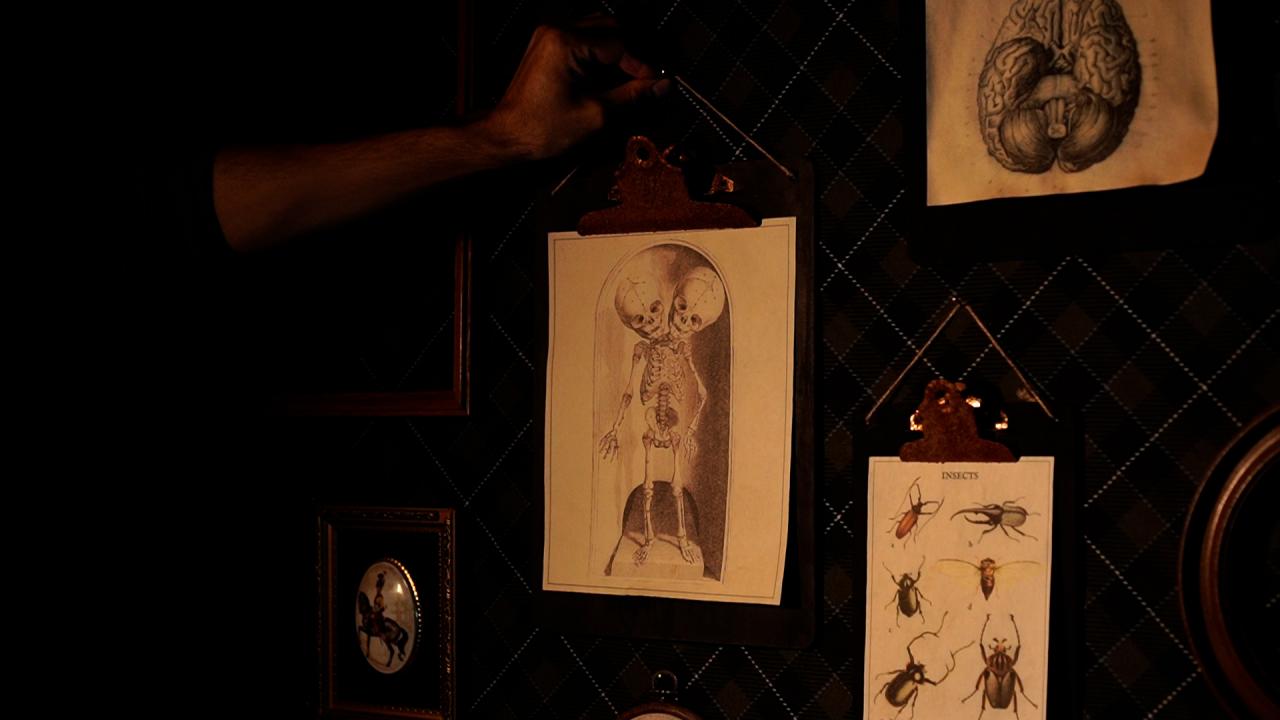
Use an electric drill to make holes on both top sides of the clipboard (Image 1). Then, paint the clipboard black with acrylic paint (Image 2). Let dry completely. Once dry, thread twine through the top holes of the clipboard and tie off in the back to make a hanger (Image 3). Clip in the dried, vintage-looking artwork and hang on your wall for a moody, Halloween vibe (Image 4).
Nikk Alcaraz
Nikk Alcaraz

Nikk Alcaraz

Nikk Alcaraz
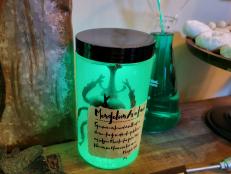
Peculiar Projects From Nikk Alcaraz
Nikk Alcaraz is a DIY and food artist based in Los Angeles, California and founder of Practical Peculiarities, a creative hub for all peculiar food and crafts.


