


How to Paint & Stencil Ceramic Tile
Remodeling on a budget? Give outdated floors a refresh with our step-by-step guide to painting and stenciling ceramic tile. All you need are a few basic supplies and a free weekend to totally transform the look of a laundry room, bathroom or other place in your home that's plagued by old or dirty tile. The best part? You can do it all for less than $75 and without special equipment.

Cassidy Garcia, Styling by Chelsea Faulkner & Jill Tennant

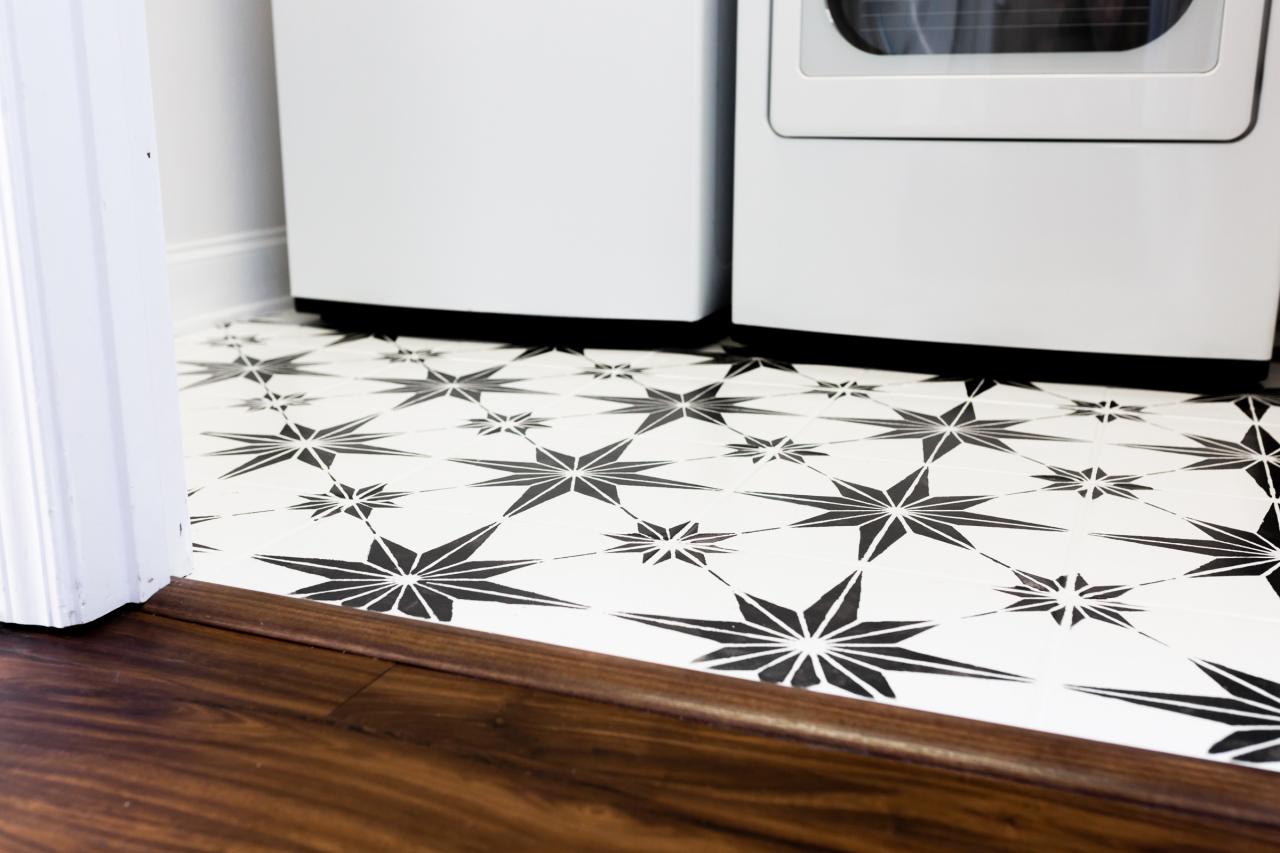
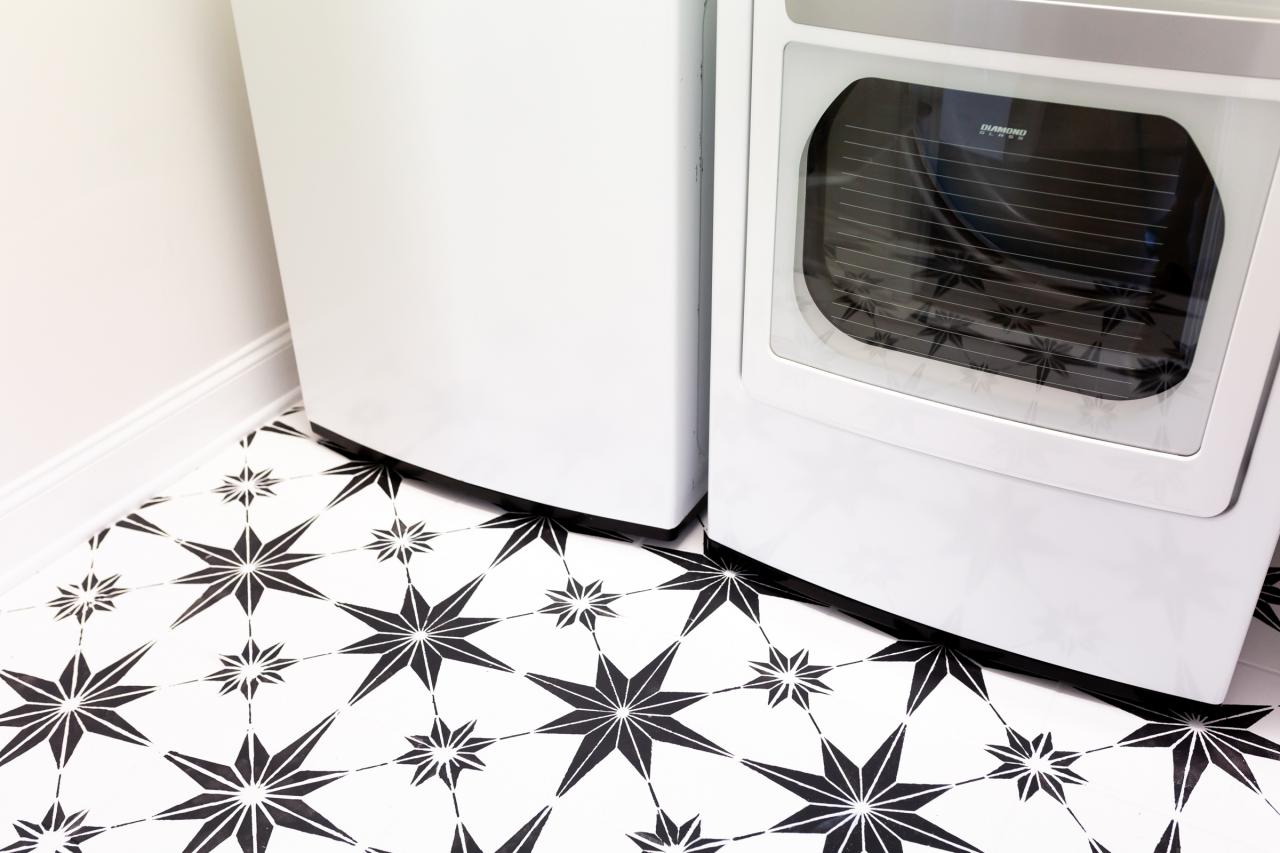
Over the past year, my husband and I have been remodeling our home room by room, ripping up carpet and tile and putting down new hard-surface flooring. But when it came time to give the laundry room a refresh, I wanted to save a little money by not doing a total tear-out. I’ve seen a few creative YouTubers paint and stencil their outdated floors to look like expensive, handmade tiles, so I did my research, talked to the paint pros at my local hardware store and went for it. And the results? Amazing. I updated my tiny laundry room floor for about $75 and three days worth of work. Keep reading to find a full materials list, step-by-step instructions and pro tips to pull off your own tile transformation.
Before & After
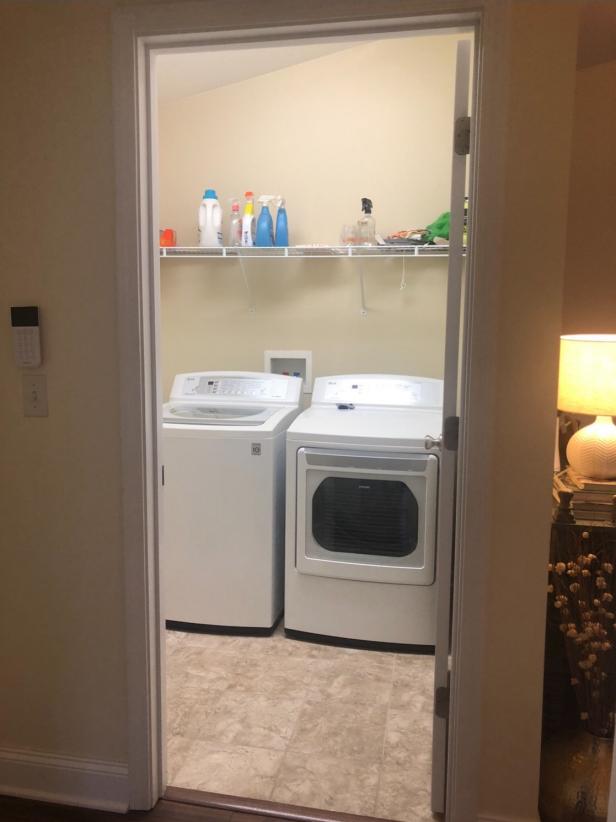
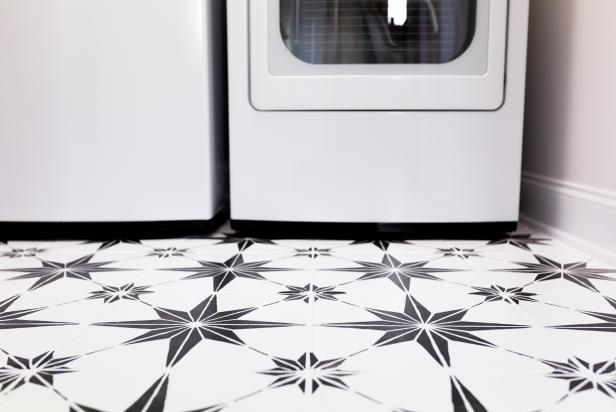
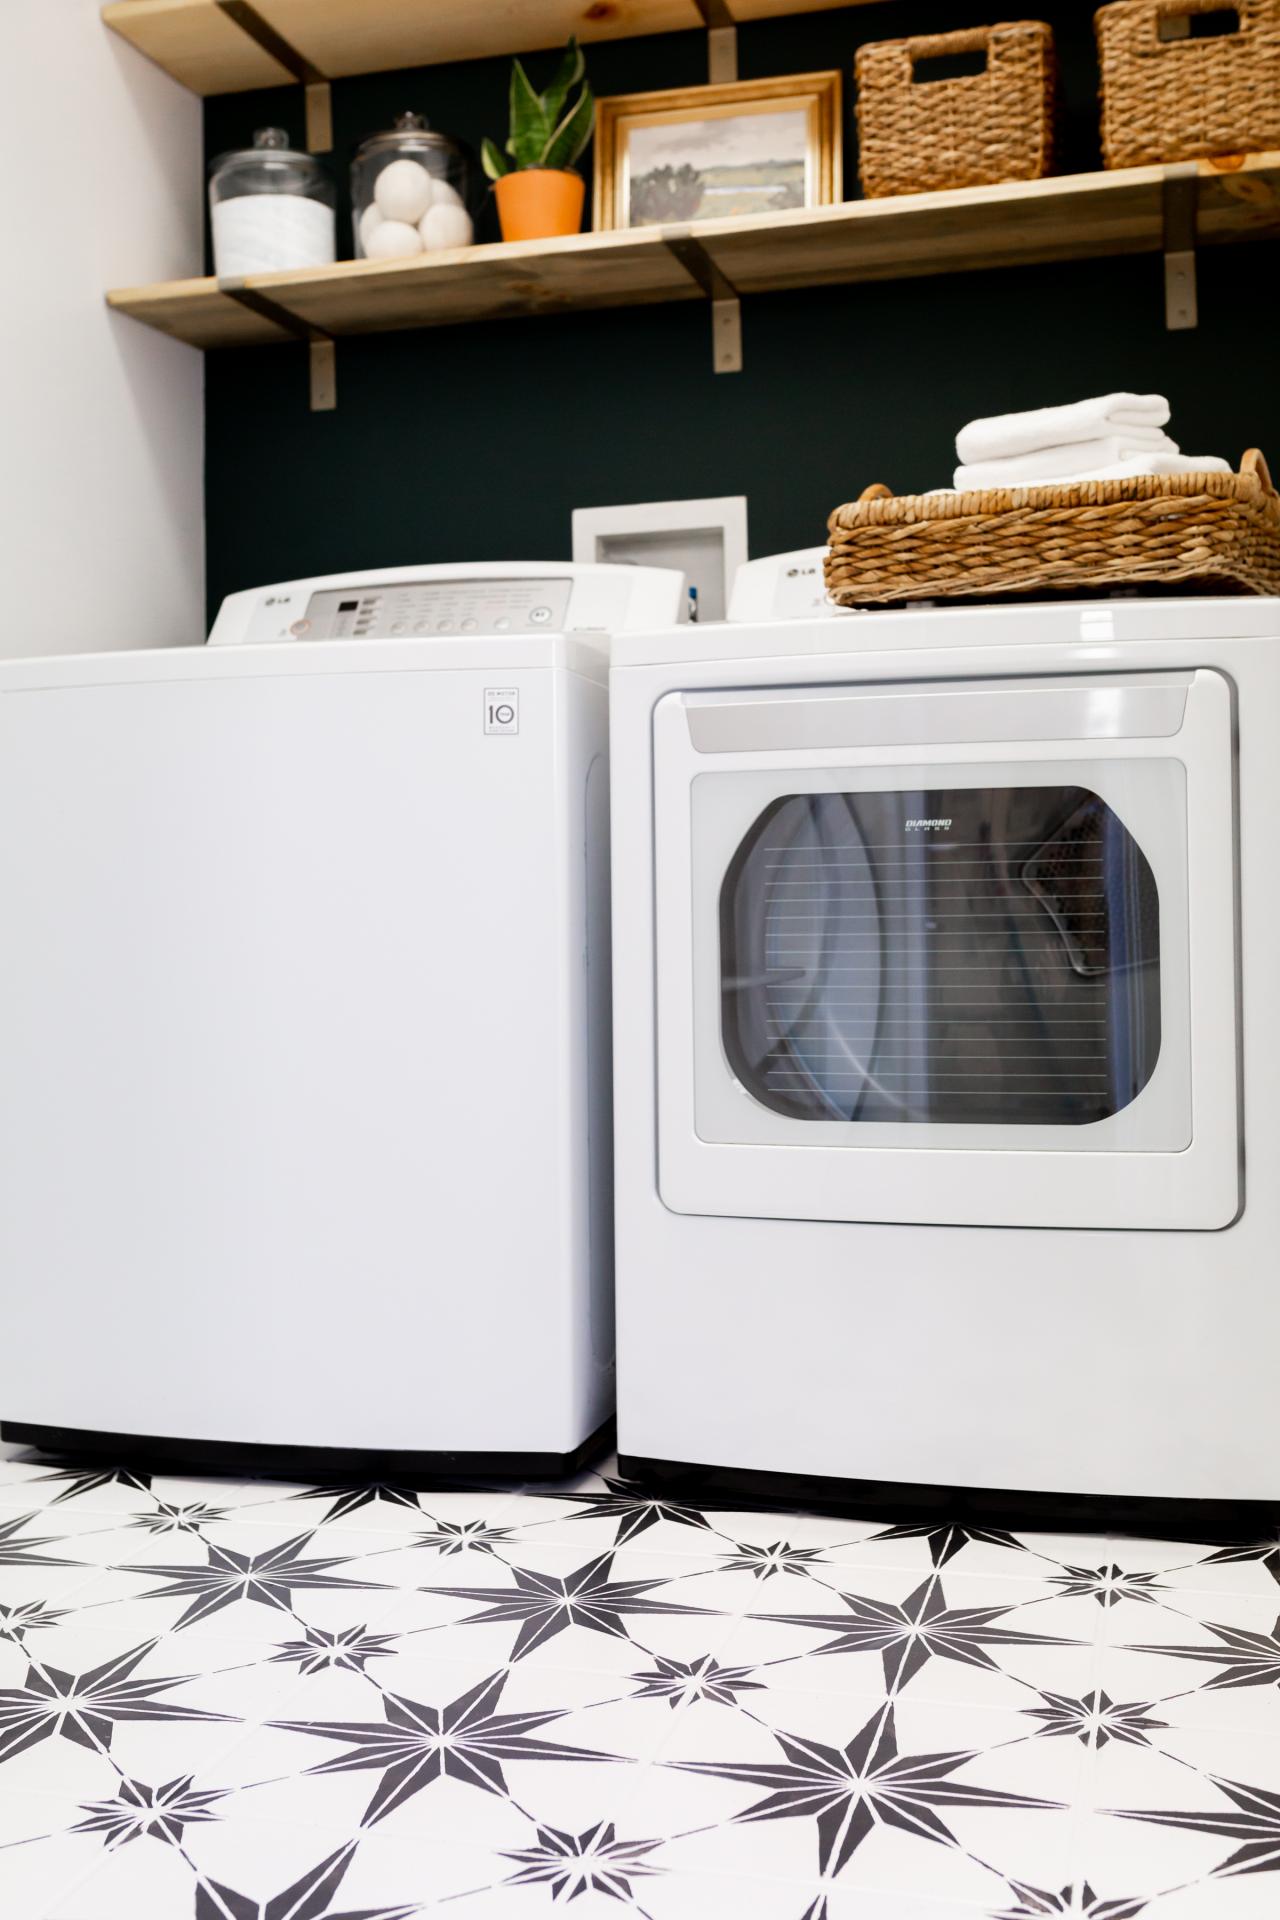
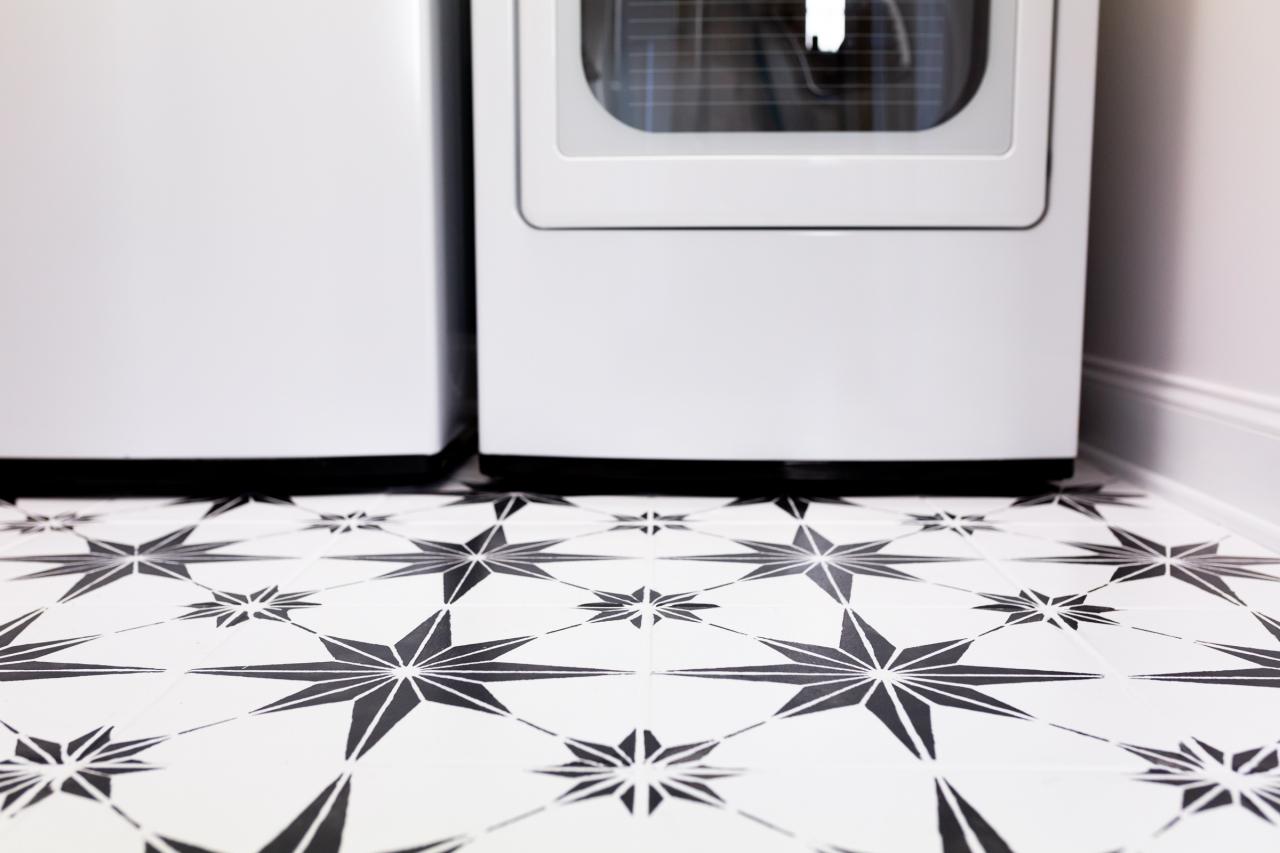
Laundry Room Before

Cassidy Garcia, Styling by Chelsea Faulkner & Jill Tennant
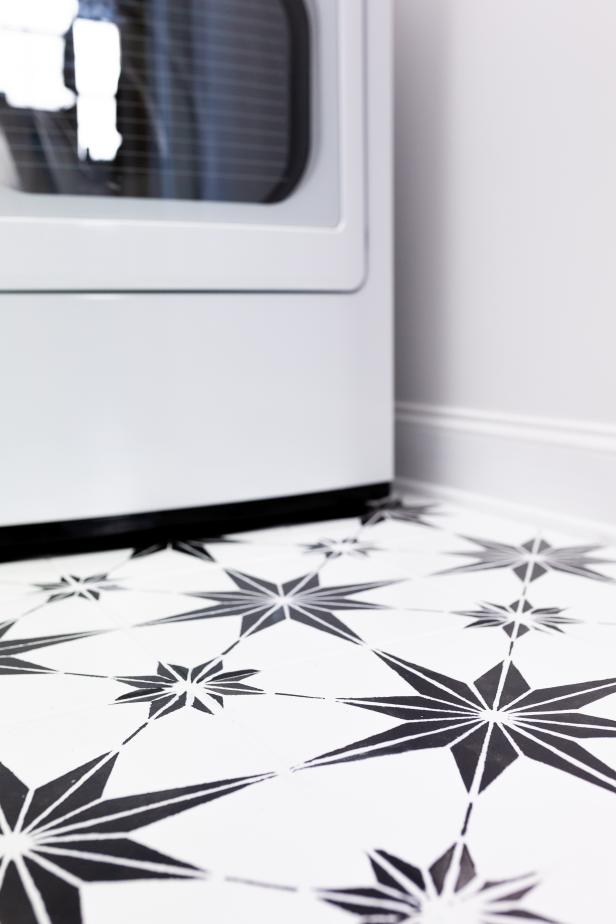
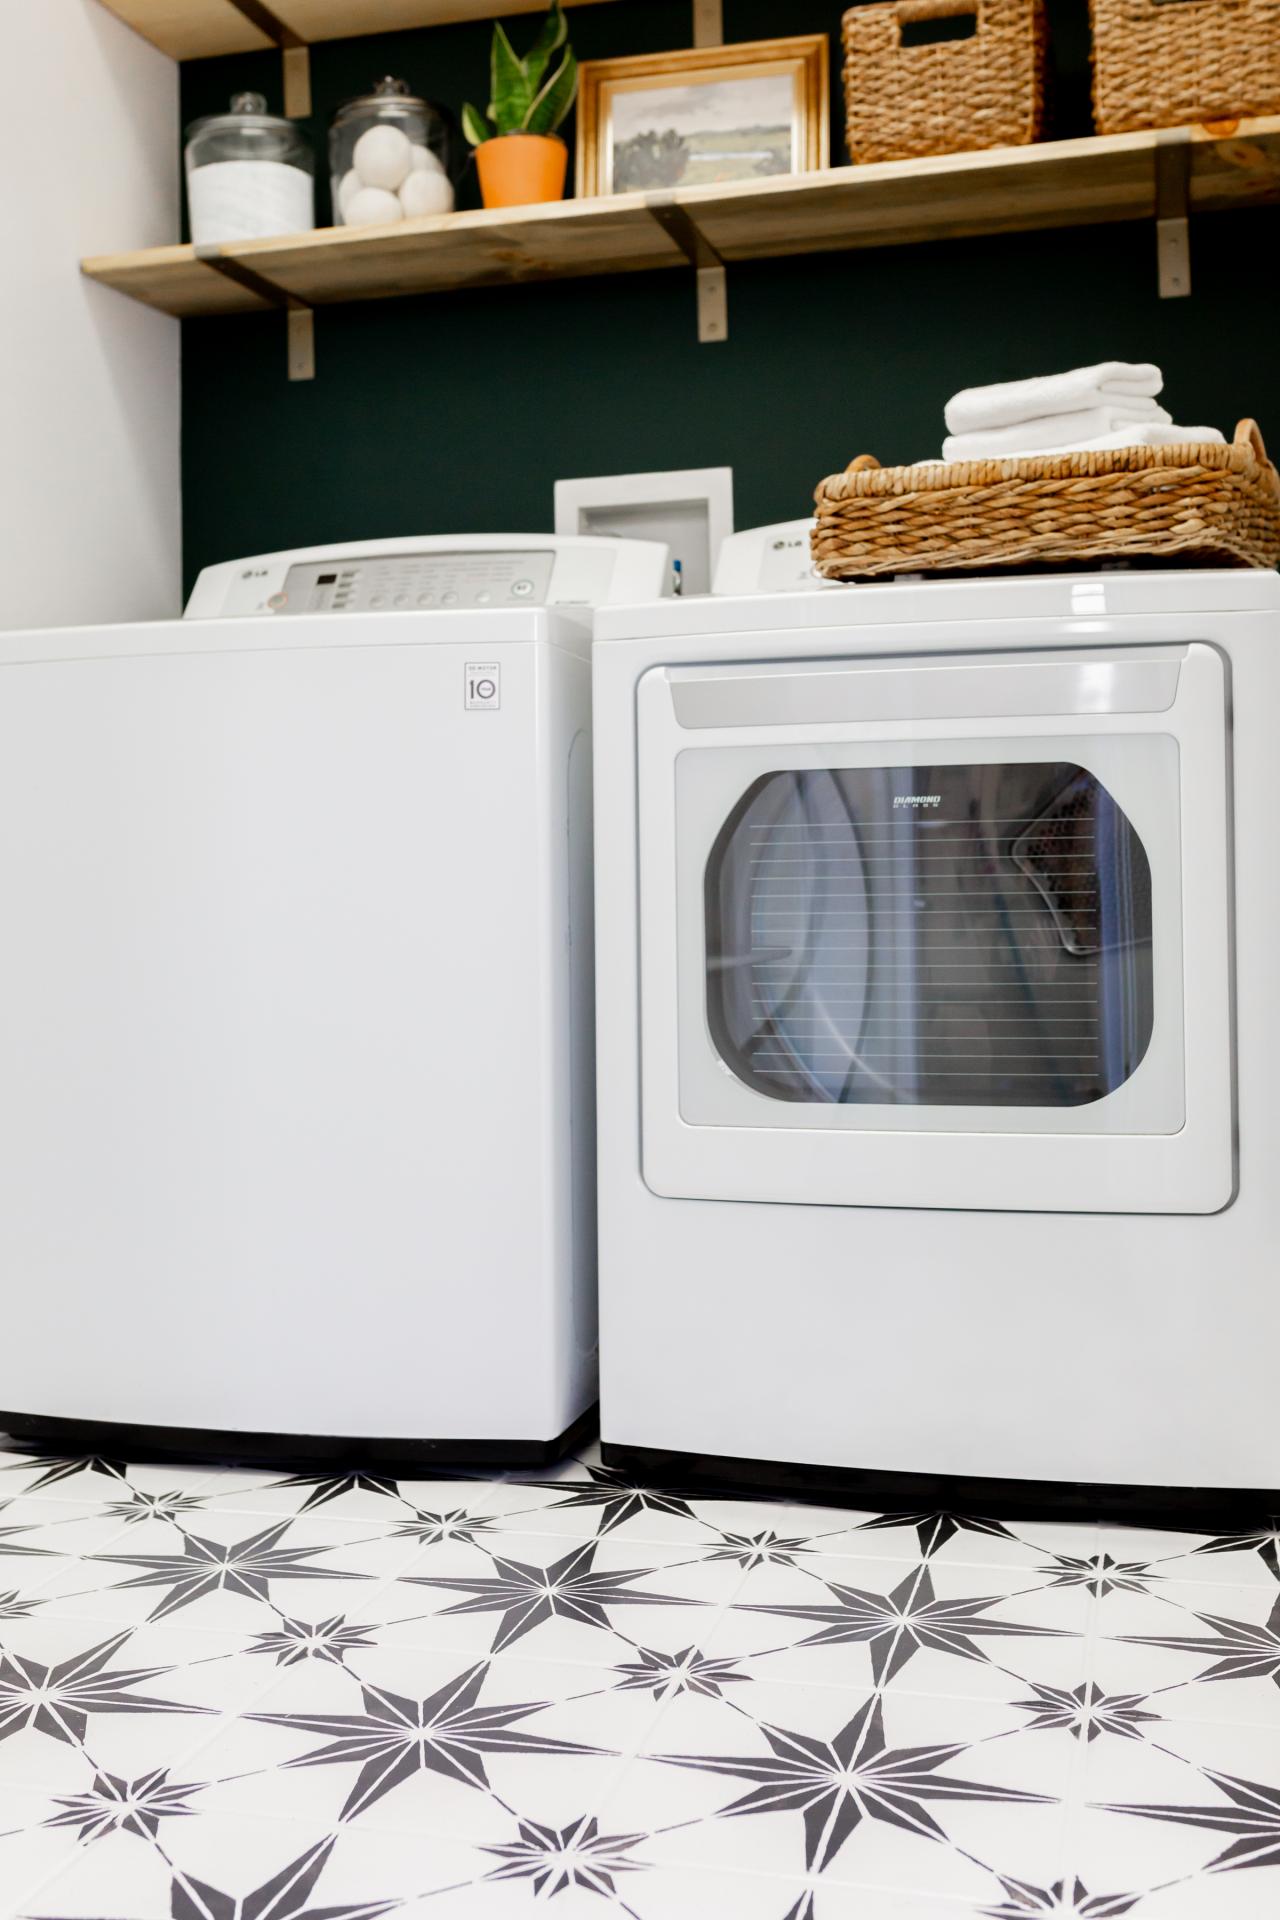
Remodeling on a budget? We gave outdated floors a refresh by painting and stenciling ceramic tile. To complete the look, we made shelves from a piece of wood and inexpensive brackets from the craft store. The back wall of this laundry room is painted Black Evergreen by Behr.
Materials Needed
- orbital sander fitted with 150-grit sandpaper
- liquid sandpaper or TSP pre-paint cleaner
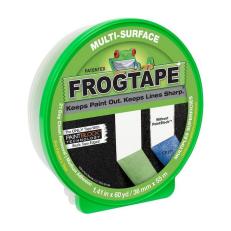
- painter's tape
- angle brush
- 9" paint roller & tray
- Zinsser Bulls Eye 1-2-3 Primer
- water-based, semi-gloss exterior paint
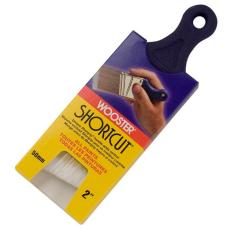
- 12" geometric tile stencil
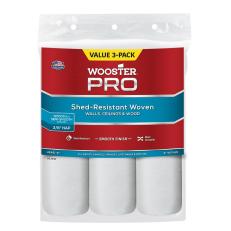
- (2) 4" mini foam roller & paint tray
- precision paint brush
- water-based polyurethane, satin finish
Create a Mood Board
Before you head to the paint store, create a digital mood board of inspirational images. Whether it be on Pinterest, through an image collage app or just in screenshots on your phone, this will allow you to see how the patterns and colors look together before you dive in. When you get to the store, pull up the images on your phone to compare to paint samples, then snag the perfect shades.
Prep, Prep, Prep
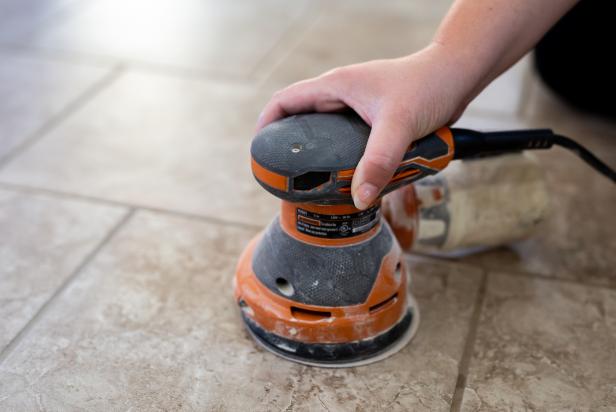
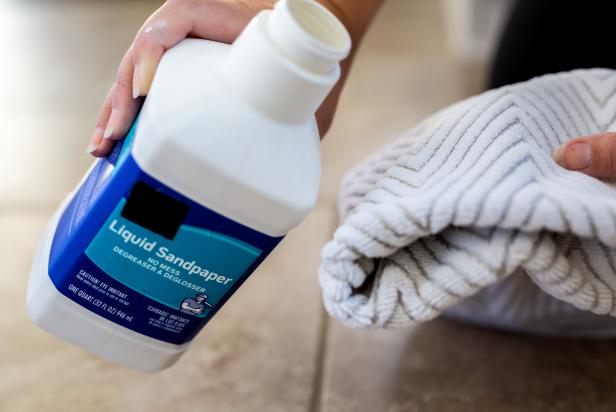
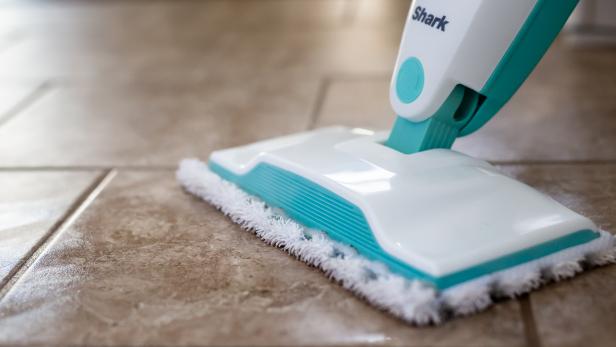
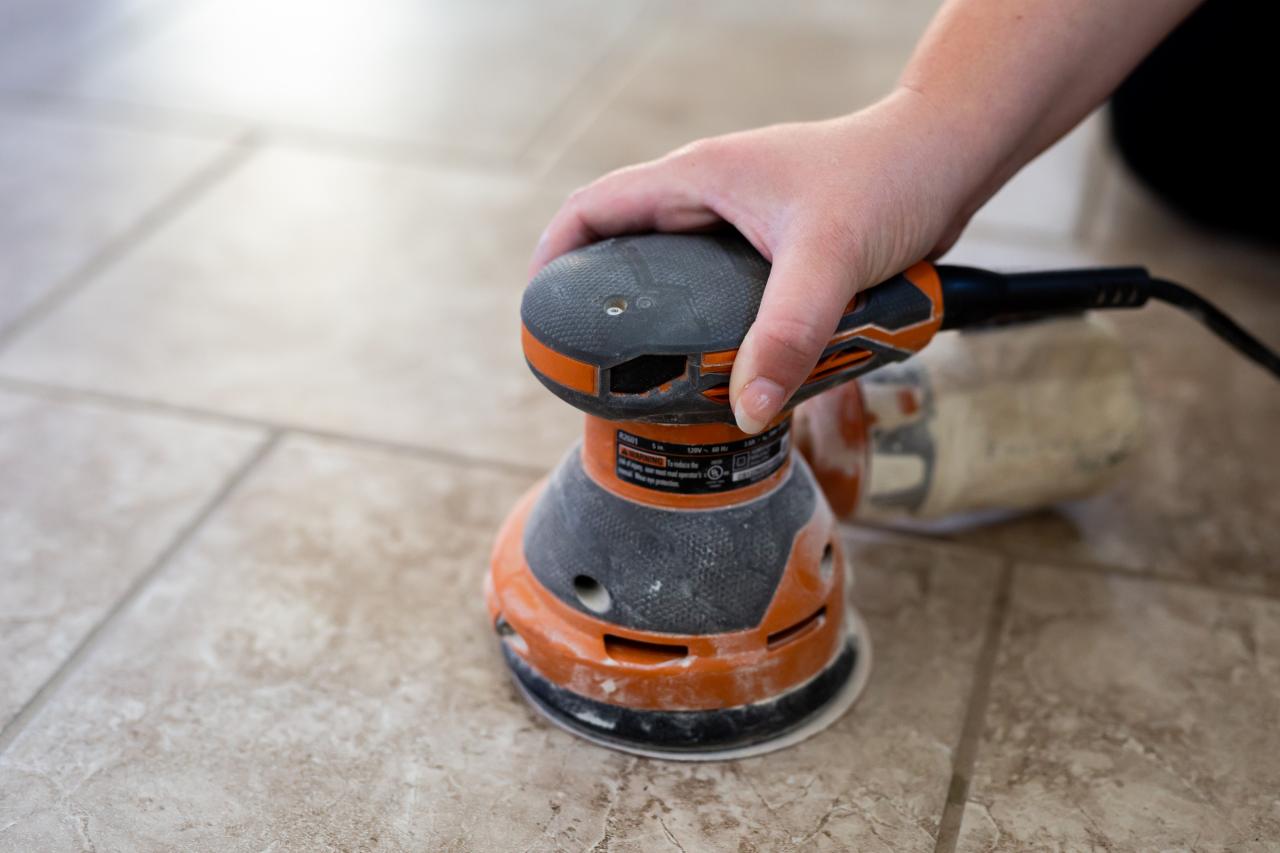
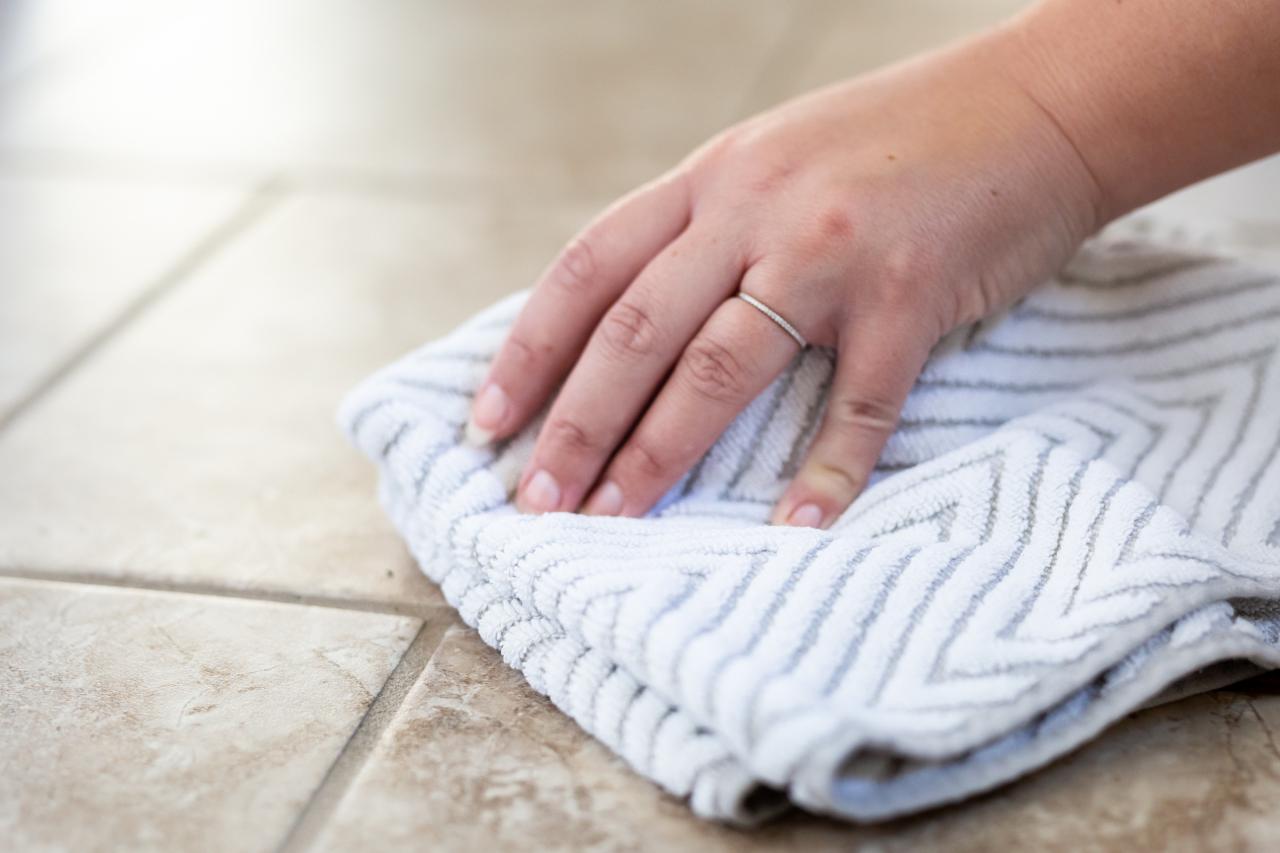
Prepping and cleaning the floor before you begin painting is the key to making this project successful and ensuring a long-lasting paint job. First, sand the tile with an orbital sander outfitted with 150-grit sandpaper (Image 1). This will remove any stuck-on dirt, mud, paint, etc. quickly and efficiently. Next, sweep and vacuum up the dirt and dust, and then scrub the floor with liquid sandpaper and a lint-free cloth (Images 2 & 3). You can also use a pre-paint super cleaner like TSP. After that, steam mop and let it dry, then do one last sweep or pass with the vacuum to make sure all the dirt and debris is gone (Image 4).
Cassidy Garcia
Cassidy Garcia

Cassidy Garcia
Cassidy Garcia
Prime + Paint
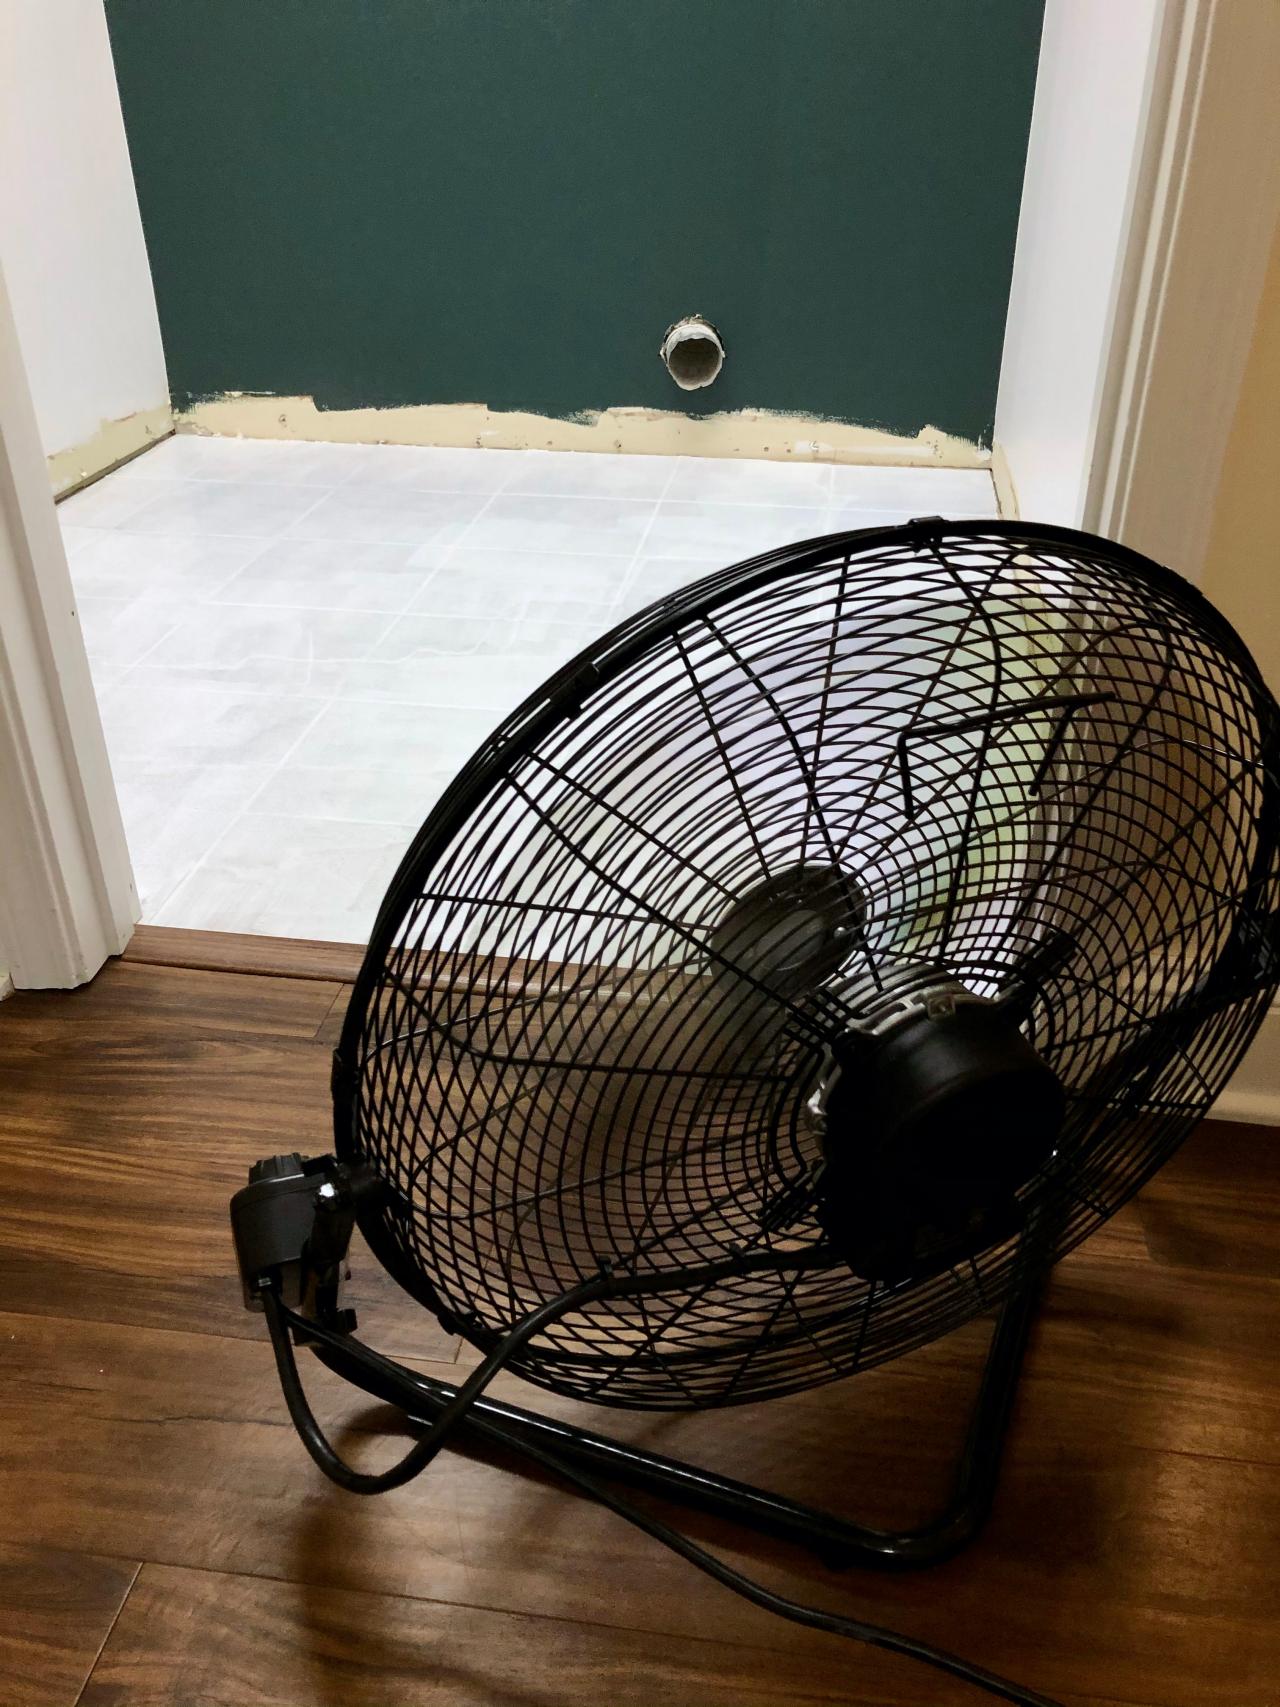
Place painter's tape along baseboards where they meet the floor or remove the baseboards and replace them later. Once the floor is totally prepped, cleaned and dry, use a 9-inch paint roller to apply a water-based primer like Zinsser Bulls Eye 1-2-3 to the entire floor (including grout lines). This product is mold and mildew resistant and dries to the touch in about 35 minutes. Use an angled brush to apply primer along the baseboards and in corners. Point a fan at the floor (or turn on a ceiling fan) to speed up the drying process, then apply two more coats to the whole floor, leaving about an hour between each coat. Pro Tip: Only walk on the dried primer in clean socks so you don’t have to re-clean the floors in between coats.

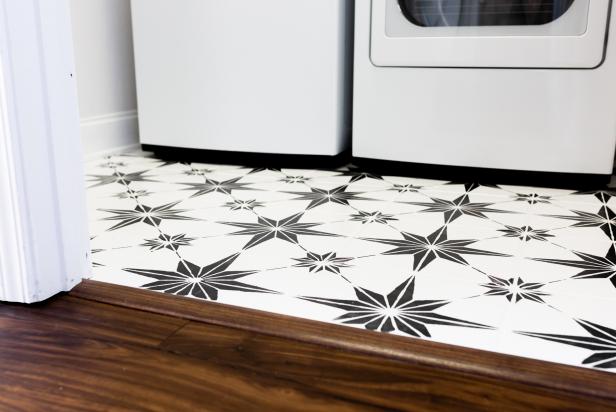
Once the primer is completely dry, apply the first coat of floor paint. We tested a few different types of paint and found that a water-based, semi-gloss exterior paint is the toughest, wallet-friendly paint for floors. It sticks exceptionally well and won’t peel, chip or stain easily. Just as you did with the primer, use an angled brush and a new, clean 9-inch roller to apply three coats of paint to the whole floor (again, don't forget grout lines), allowing an hour of dry time between each coat, then let cure overnight. My laundry room is about 25 square feet and required 1 quart of paint for three coats. We used Behr Marquee interior/exterior semi-gloss paint & primer in the shade Ultra Pure White.
Buy It

Stencil
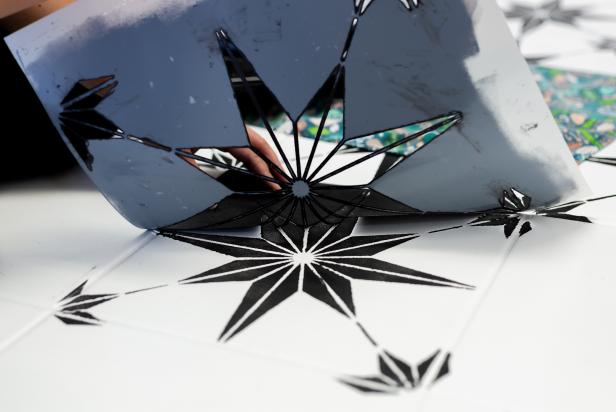
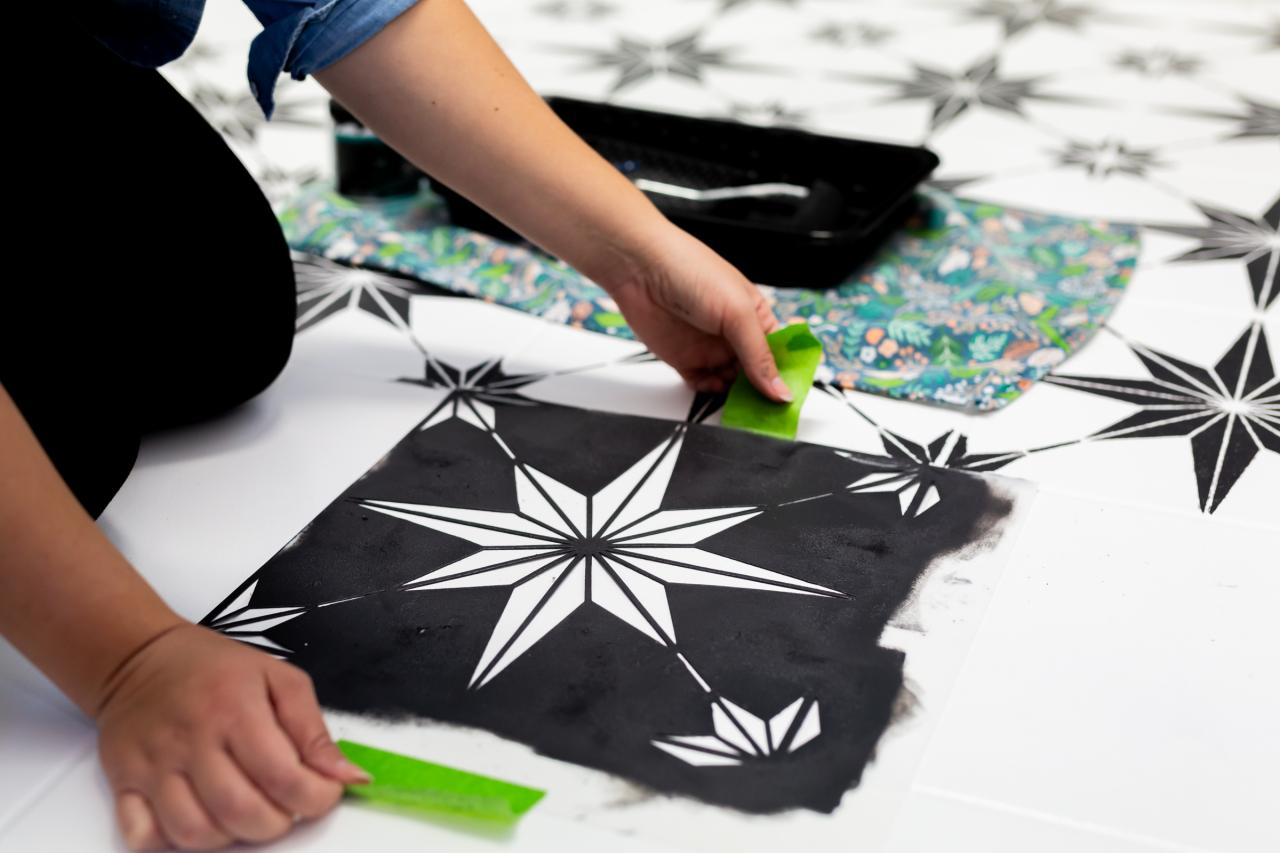
Now for the fun part! Choose a stencil that's the same size as your tile (if you have 12"x12" tile, buy a 12"x12" stencil). I went with this gorgeous cement tile-inspired star pattern from Cutting Edge Stencils on Etsy. Line up the edges of the stencil with the grout lines and secure with painter’s tape (Image 1). Pour a water-based, semi-gloss exterior paint in a contrasting shade (we used Behr Marquee in Cracked Pepper) into a small paint tray. Dip a 4-inch foam roller into the paint, then offload any excess onto the roll-off area — there should be very little paint on the roller — then roll paint firmly and evenly onto the stencil (Image 2). When finished, carefully peel back the stencil to reveal the painted pattern (Image 3). Check to see if any paint bled through to the back of the stencil and, if so, wipe clean with a rag. Reposition the stencil using the pre-made guides and continue until every tile is stenciled. Along the wall or in the corners, you may need to cut the stencil to fit, so save these spots until the end when you don’t need the full stencil anymore. Pro Tip: Less is more when it comes to stenciling — I finished the entire laundry room with one sample-size can of paint.

Cassidy Garcia, Styling by Chelsea Faulkner

Cassidy Garcia, Styling by Chelsea Faulkner
Cassidy Garcia, Styling by Chelsea Faulkner
Buy It

Finish Up
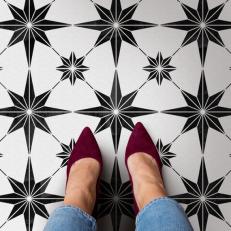
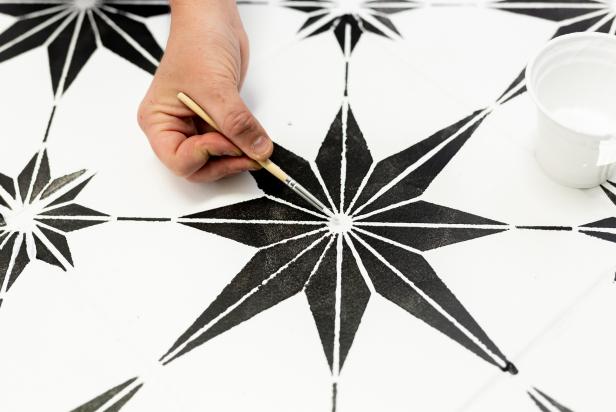
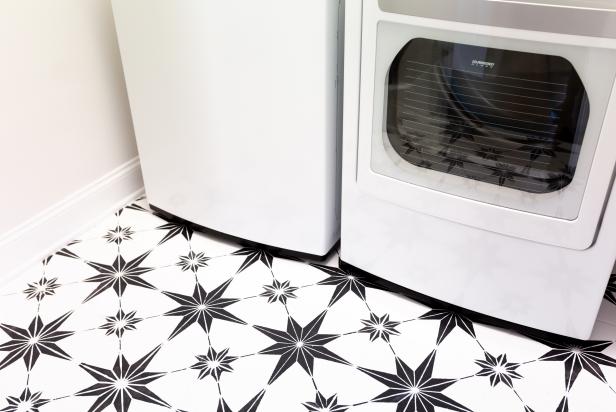
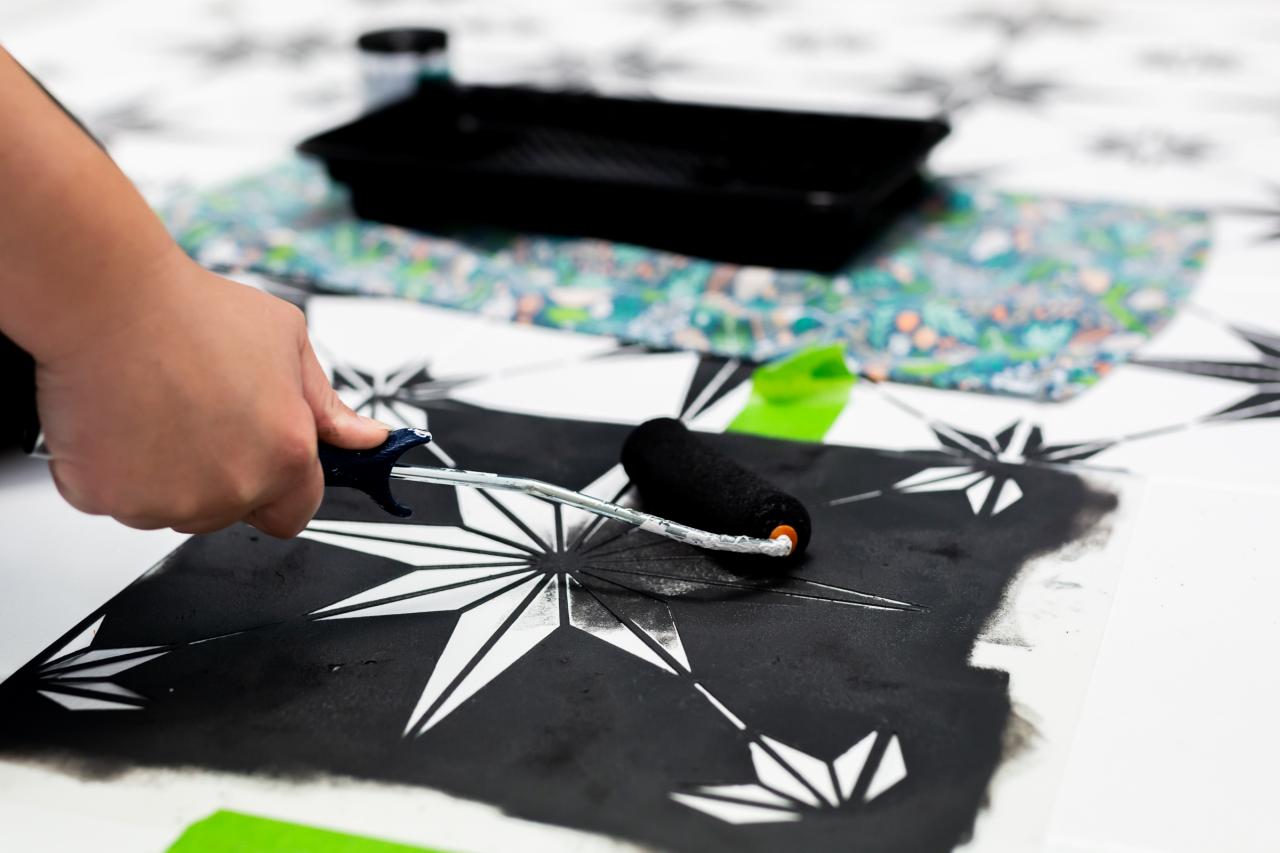
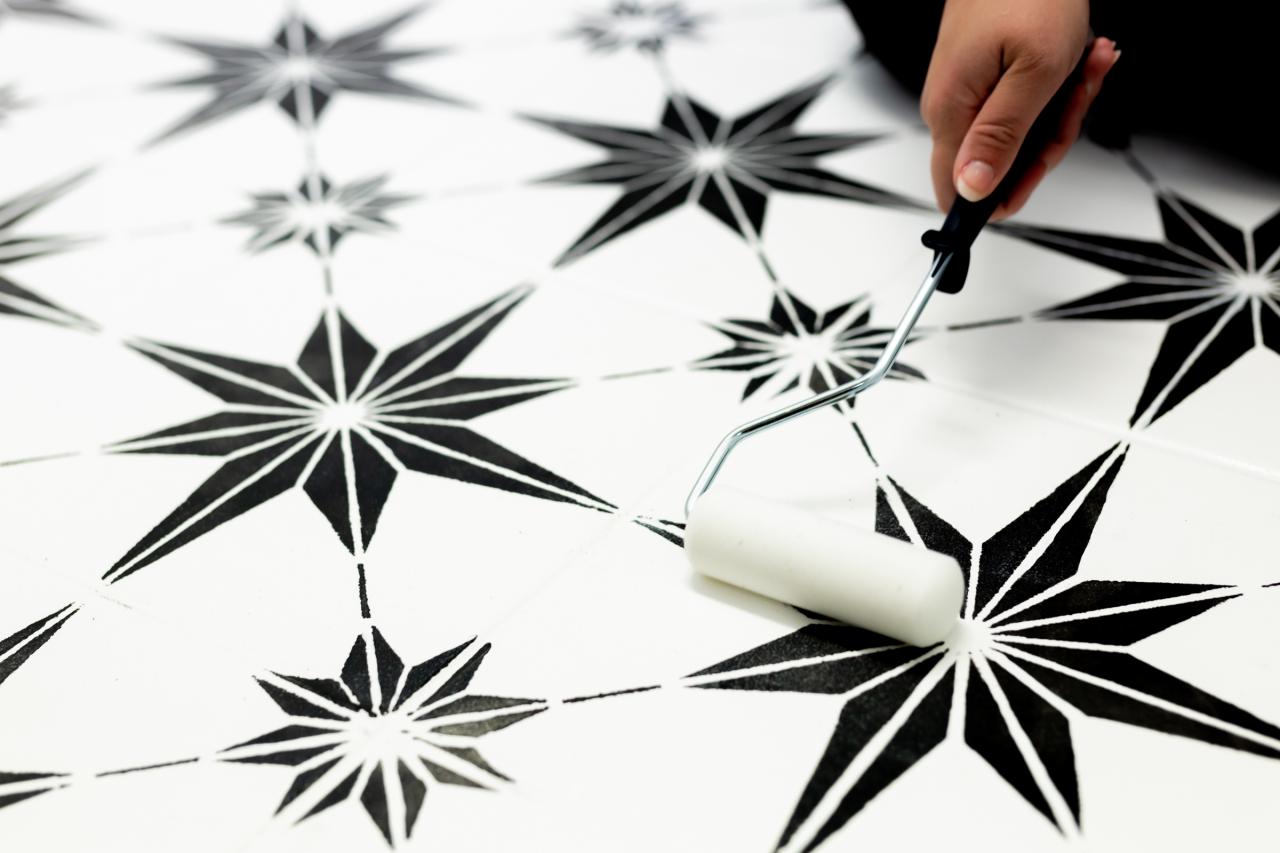
Once the floor is dry to the touch, go through with an artist’s brush and clean up any bleed-throughs or mistakes with floor paint for a crisp, professional finish (Image 1). Let dry overnight, then seal with two coats of satin Minwax Polycrylic (Image 2). This product works great as a topcoat because it’s dust-resistant and scrubbable, so you can clean it just like any other flooring. The floor can be walked on within a day and is ready for furniture in 72 hours, after the topcoat has cured. I suggest using washcloths or furniture pads to move heavy furniture pieces as the paint might scratch or gauge.
Cassidy Garcia, Styling by Chelsea Faulkner

Cassidy Garcia, Styling by Chelsea Faulkner
Pro Tip: Minwax suggests lightly sanding Polycrylic between coats with #220 sandpaper to remove any dust particles that might settle during the drying process. This also helps inter-coat adhesion. If you choose to do this (I did not), make sure to vacuum up all dust after sanding, before applying a second coat.
Buy It

FAQ: How's It Holding Up?
I completed this project about three months ago and so far, it's holding up great. The paint still looks bright and new and there's no peeling, chipping or discoloration. I sweep the floor regularly and clean up any messes with warm soapy water and a lint-free cloth. Our laundry room sees daily foot traffic, but rarely any food or dirt messes, so I can't attest to how it would hold up in a bathroom or kitchen long-term. But overall, I would definitely recommend this easy, low-cost DIY if you aren't in the market to put down new tile.

Cassidy Garcia, Styling by Chelsea Faulkner & Jill Tennant
Cassidy Garcia, Styling by Chelsea Faulkner
Cassidy Garcia, Styling by Chelsea Faulkner
Cassidy Garcia, Styling by Chelsea Faulkner
Cassidy Garcia, Styling by Chelsea Faulkner


