


DIY Bathroom Vanity: How to Build a Vanity From a Cabinet
Learn how easy it is to transform a basic storage cabinet into an eye-catching bathroom vanity.

Cassidy Garcia

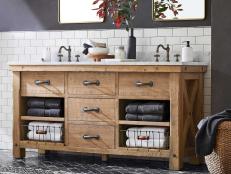
Anyone who has been on the hunt for a vanity recently knows that finding a stylish option that is also affordable is practically impossible. Anything remotely budget-friendly is usually constructed of lower-grade materials or lacking in the style department. The solution? Turns out, crafting your own vanity out of a storage cabinet, console or even a dresser is surprisingly easy and a great way to go to get the look you're after at a price point you can afford.
Materials Needed
- cabinet
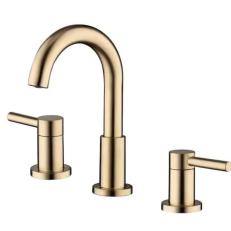
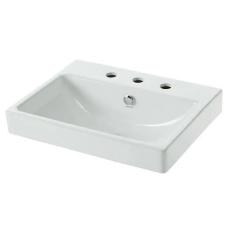
- sink
- waterproof sealant
- clear silicone adhesive
- caulking gun
- painter's tape
- jigsaw
- pencil
- screwdriver
- screws
- drywall anchors
- paintbrush
- sanding block
Shop This Project
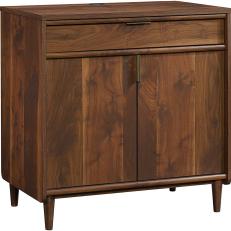
Find a Furniture Piece
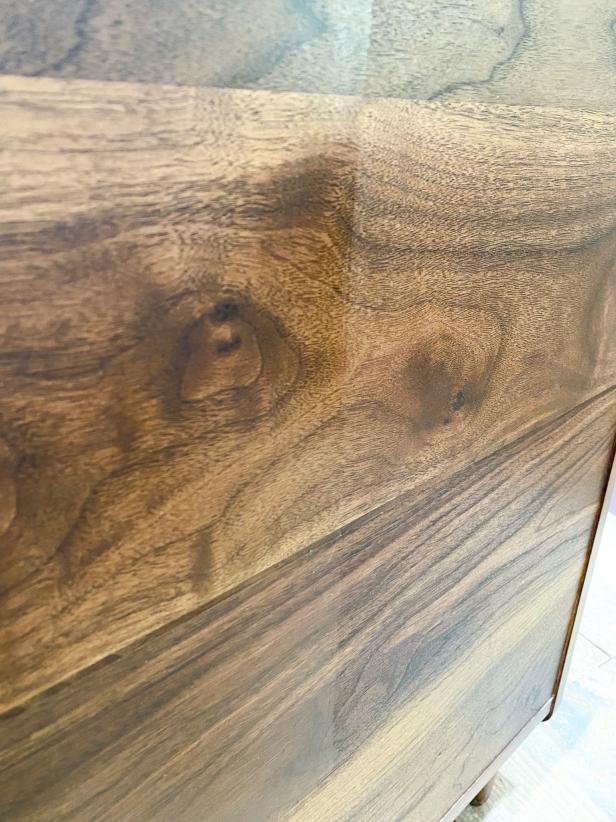
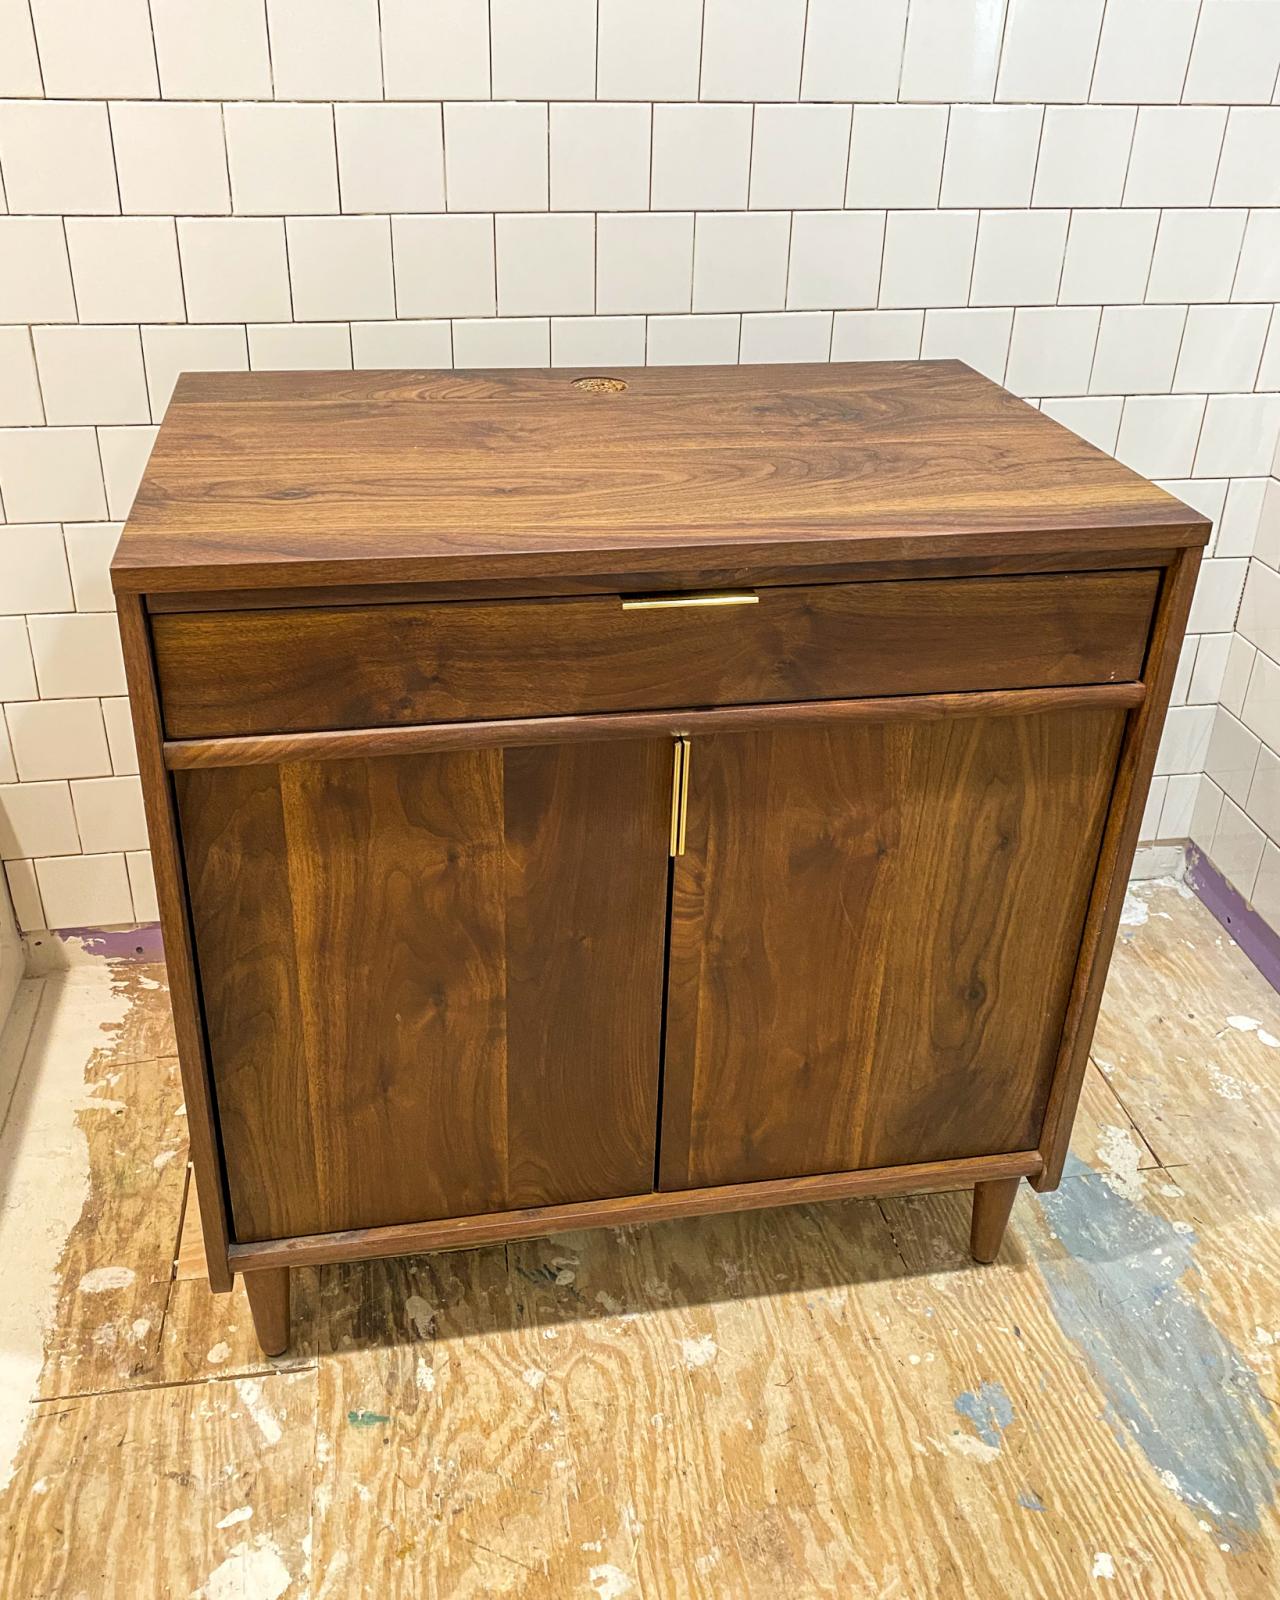
Start by finding a piece of furniture that fits your dimensions. It can be salvaged or new, whatever your taste and preference. A solid wood piece of furniture is ideal for both aesthetic and quality reasons. However, particleboard furniture isn’t out of the question, so long as you take proper care to protect the furniture from moisture by applying a sealer.

Kamron Sanders
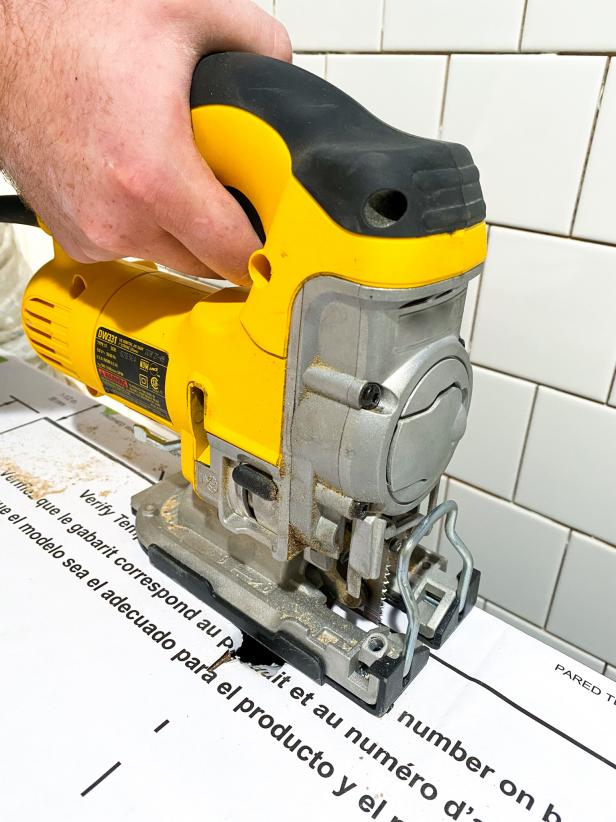
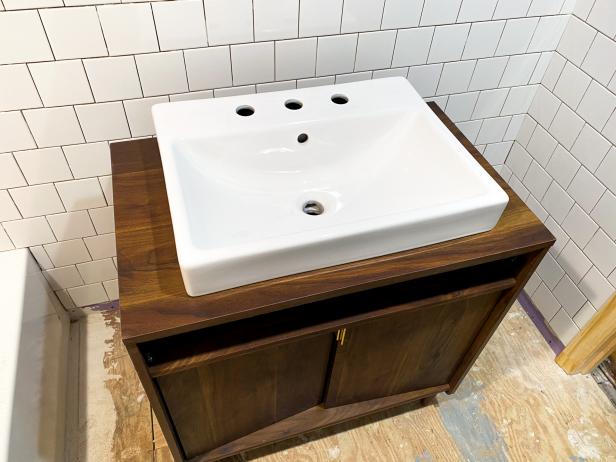
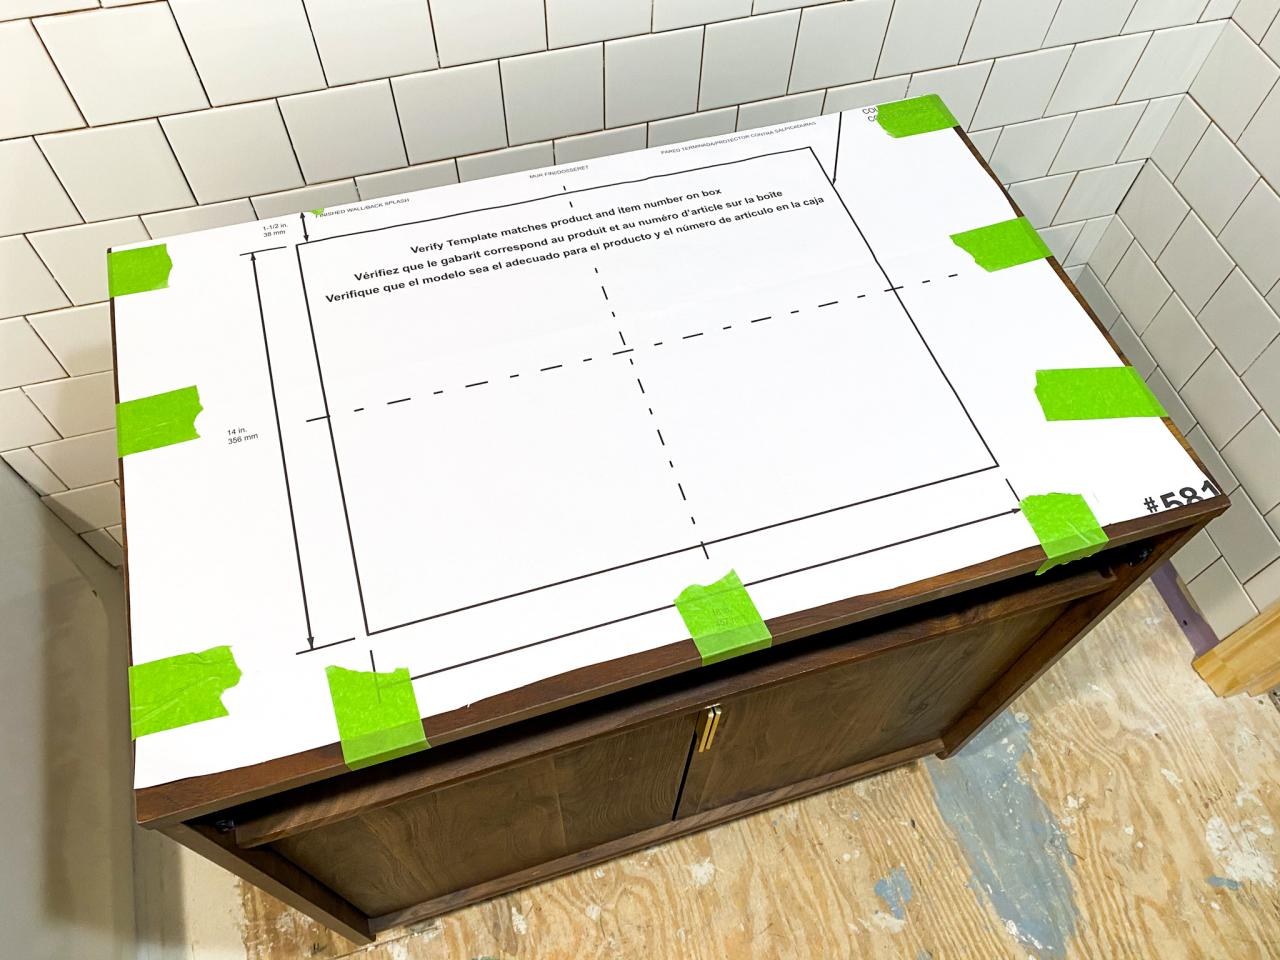
Cut Sink Hole
To cut the hole for the sink, secure the cutout template that's included with the sink with tape and slowly cut the hole straight through the paper using a jigsaw (Images 1-3). This step will vary depending on what type of sink you choose. For our vanity, we chose to keep the wood top and install a farmhouse-style vessel sink. This is also a great time to cut holes in the back of the vanity for the plumbing lines. To do so, mark the centerline of both the vanity and its position on the wall. Use this line as a reference to transfer the plumbing's positions on the wall to the back of the vanity and drill using hole saw bits. A jigsaw or spade bits will work as well.

Kamron Sanders
Kamron Sanders

Kamron Sanders
Test and Apply Sealer
Whether using solid wood or particleboard, you'll want to apply a sealer to protect your furniture from moisture. Anytime you're using stains or sealers, it's wise to test on a hidden area to ensure you'll get the results you're after. Before applying the sealer to the entirety of the piece, test an area on the back and let dry (Image 1). If you're satisfied with the results, remove any doors and drawers and coat the entire piece with sealer (Image 2). Allow it to dry according to the manufacturer's instructions. If you're using a satin polyurethane, as we did here, you'll likely need to apply a second and third coat, sanding between coats (Image 3).
Pro Tip: Be sure to cut the hole for the sink before applying your sealer as cutting it once it has dried may cause the sealer to crack.
Kamron Sanders

Kamron Sanders

Kamron Sanders
Attach Cabinet to Wall
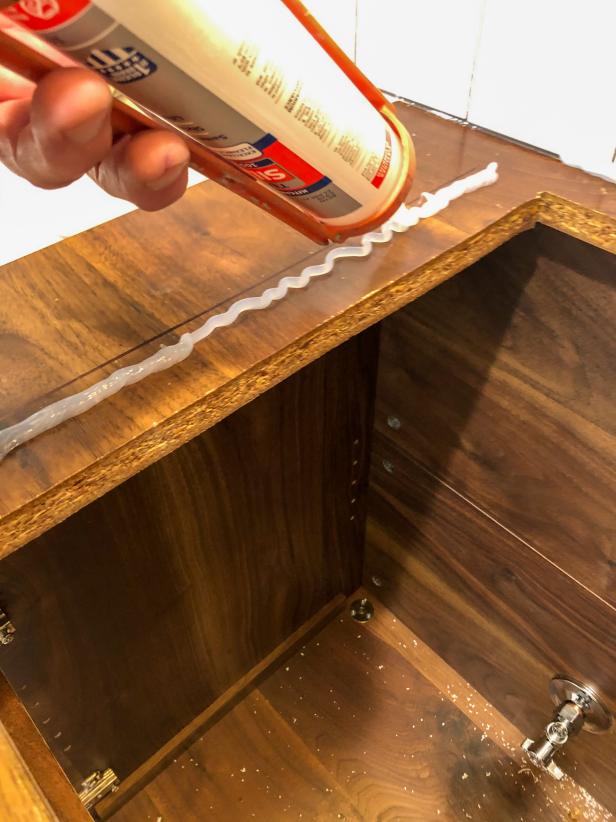
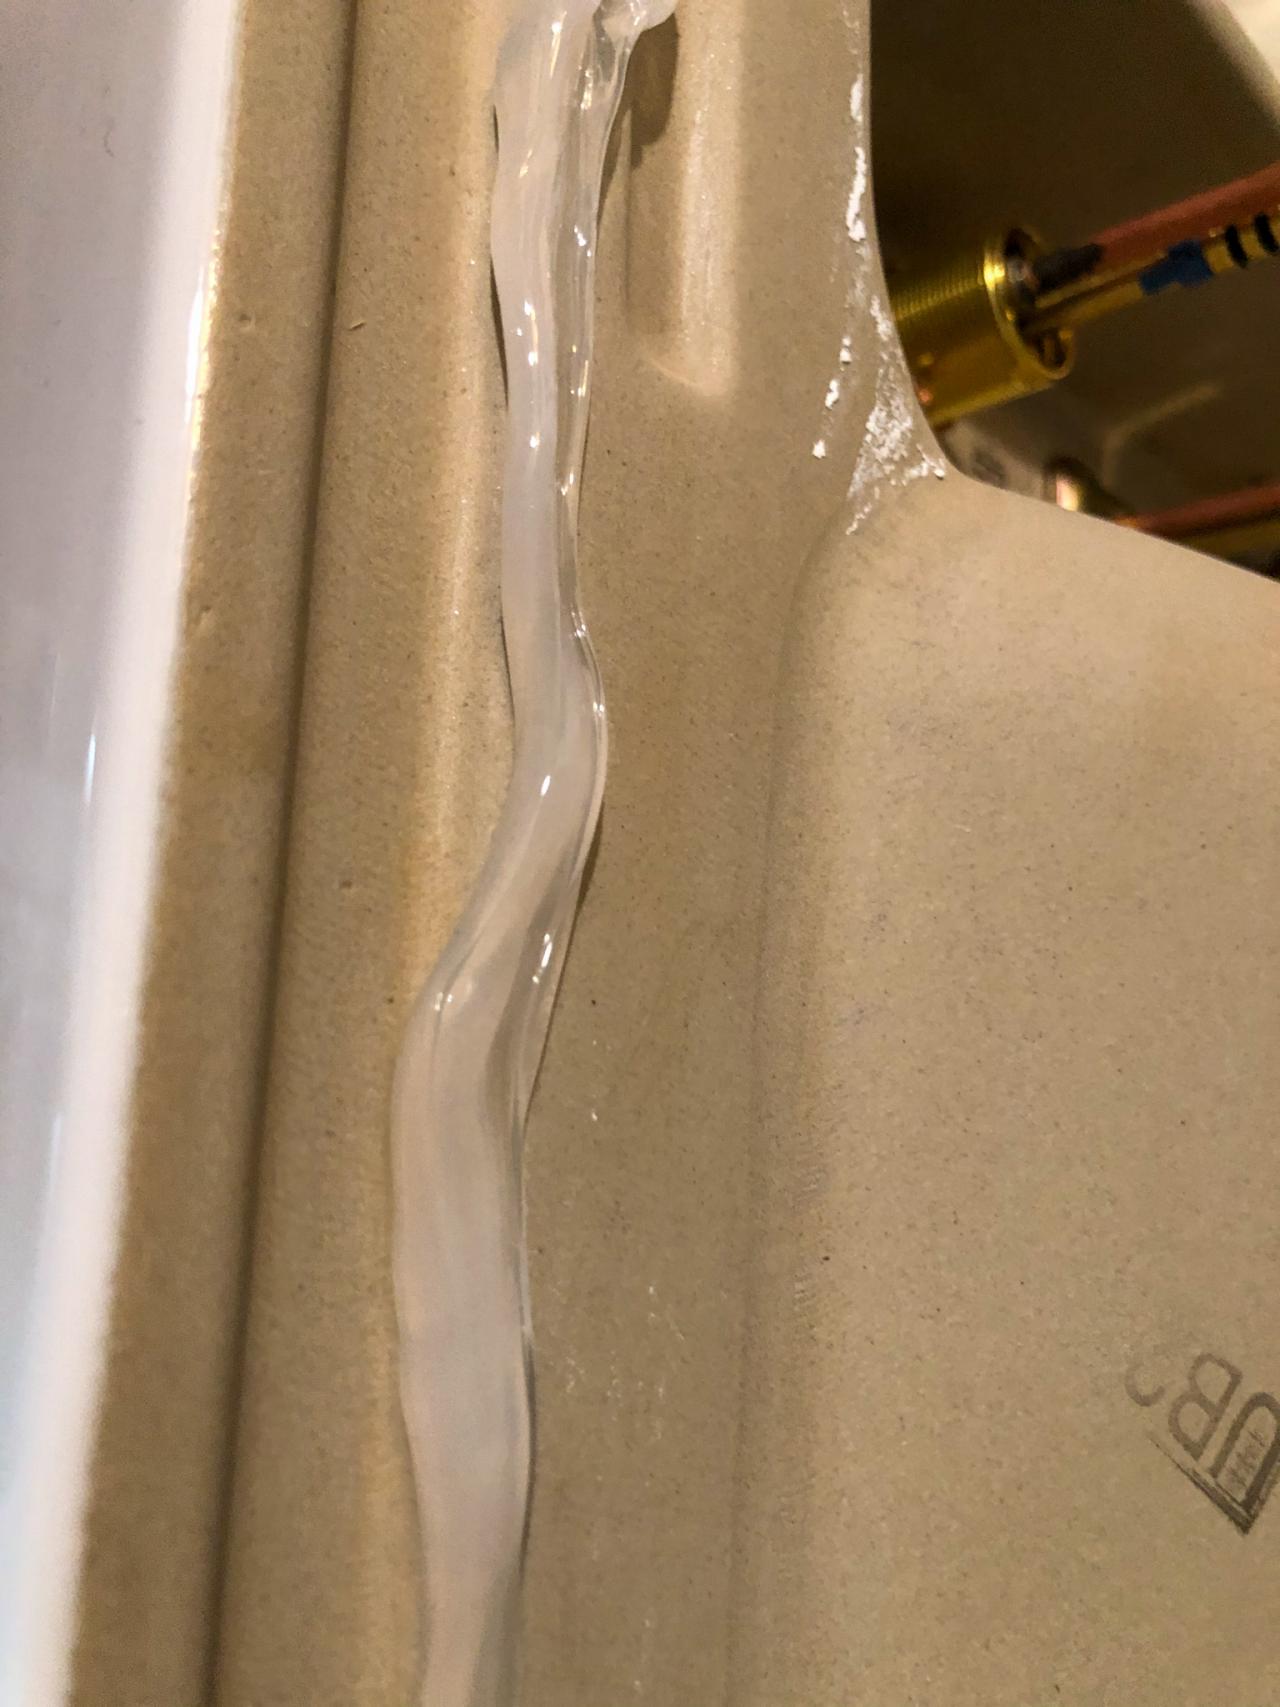
To hold the vanity in place, maintain proper moisture protection and minimize stress on the plumbing, it's imperative that you fasten the cabinet to the wall (Image 1). If you're able to find studs, simply screw through the vanity into the studs. If not, drywall anchors will do the trick. Once the cabinet is secure, run a bead of clear silicone adhesive along the joint to keep water from dripping behind the vanity (Image 2).
Note: Depending on your wall material, you may need to adjust the method given above. For example, if drilling through ceramic tile, as seen here, you will need to first drill through the tile using a masonry bit. Be sure to research the best way to drill into your specific wall material to prevent cracking.

Kamron Sanders

Kamron Sanders
Mount Sink
When you're ready to attach the sink, carefully place it in the hole and check your alignment using a measuring tape (Image 1). Once centered, trace the sink using a pencil, then remove the sink. Place a line of silicone adhesive on both the cabinet top and the corresponding position on the underside of the sink, then carefully set the sink back in place (Images 2-4). Allow the adhesive to fully dry before moving forward.
Kamron Sanders
Kamron Sanders

Kamron Sanders
Kamron Sanders
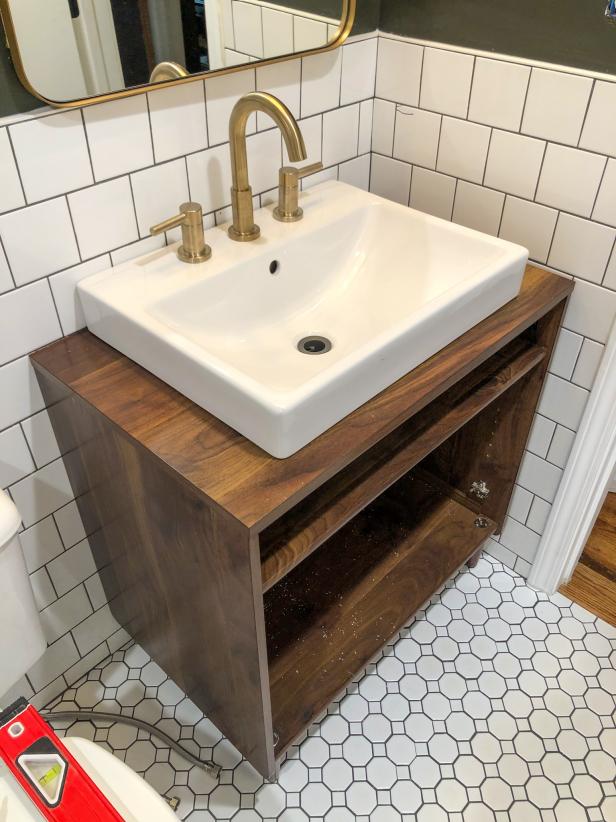
Final Steps
The sink can now be hooked up to your home's plumbing by you or a plumber. Once finished, all that's left to do is reinstall the doors and drawers and show off your clever creation.
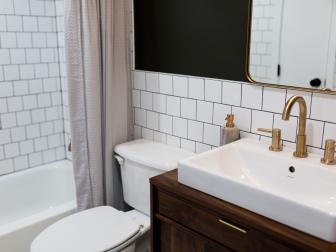
See the Full Makeover 22 Photos
Find out exactly what it took to go from dark, dated and dingy to light, bright and airy in this small bathroom.
Note: Depending on your furniture piece, you may be required to modify drawers to accommodate for the sink and plumbing. In most cases, the easiest way to do this is to remove the front from the drawer and permanently fix the drawer front to the cabinet. With this particular cabinet, we were able to cut a "U" shape out of the back of the drawer to fit around the plumbing so that the drawer is still usable.

Cassidy Garcia


