


How to Wire a Light Switch
Electricity is a mystery to many people, but some electrical projects — like wiring a switch — are so simple that anyone can do them. With a few easy steps and the right knowledge, there’s no need to hire an electrician.

Jalynn Baker
Materials Needed
- new light switch
- electrician’s pliers
- screwdriver
- current detector
Safety First
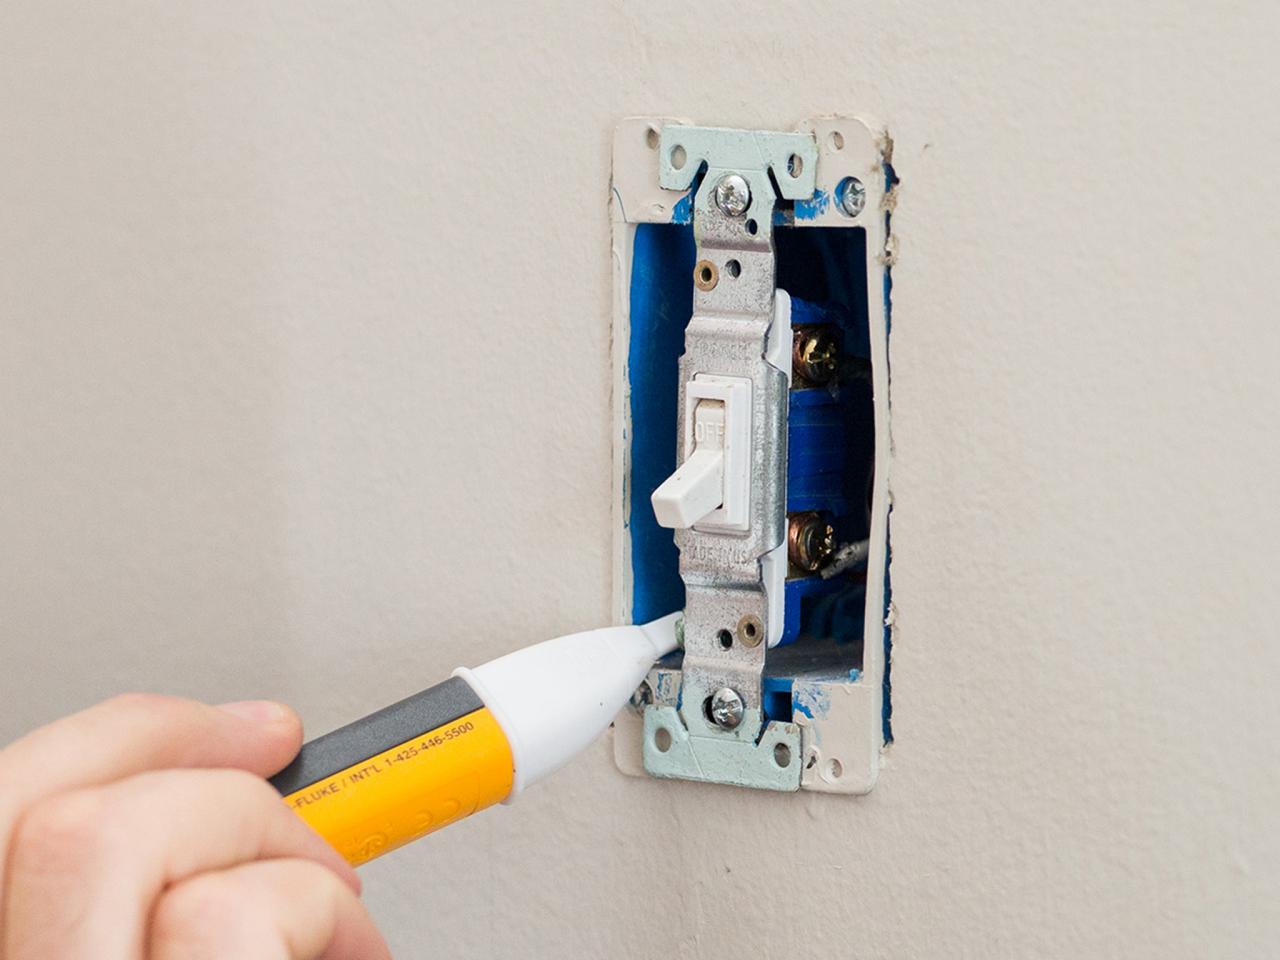
Always turn the power off at the breaker before starting any electrical project. Once you’ve turned your power off, remove the switch cover and use a current detector to make sure there’s no power going to any of the wires in the electrical box. If there’s no power, you’re ready to move on to the first step.

Jalynn Baker
Remove the Old Switch
Your switch is attached to the electrical box using two screws. Loosen the screws and pull the switch away from the wall. It’ll still be attached to the wires, so it won’t go far.

Jalynn Baker
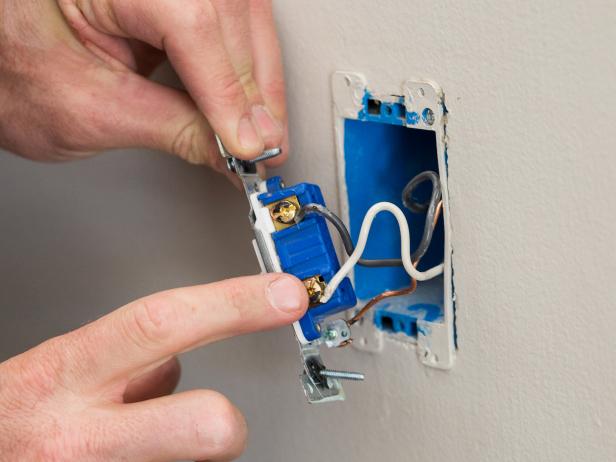
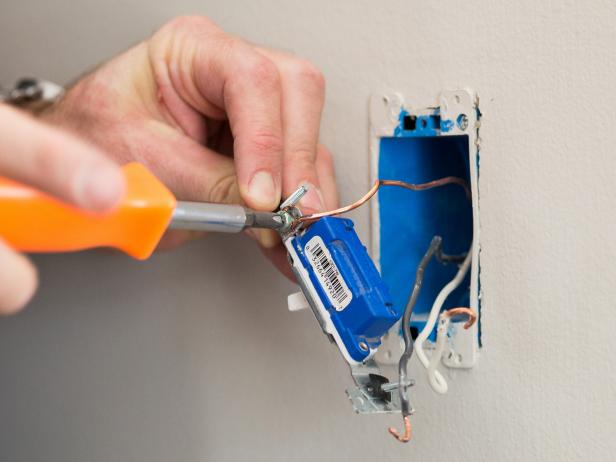
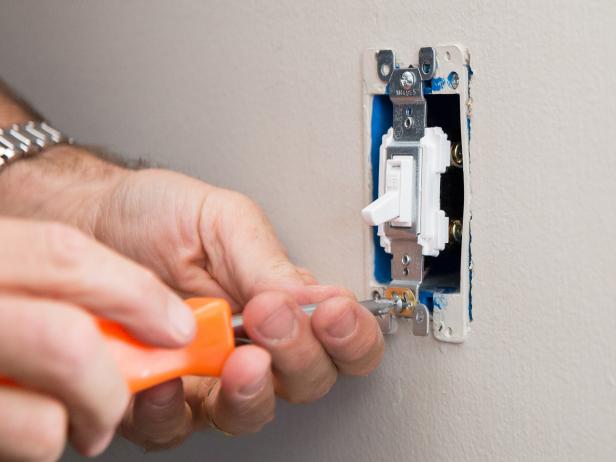
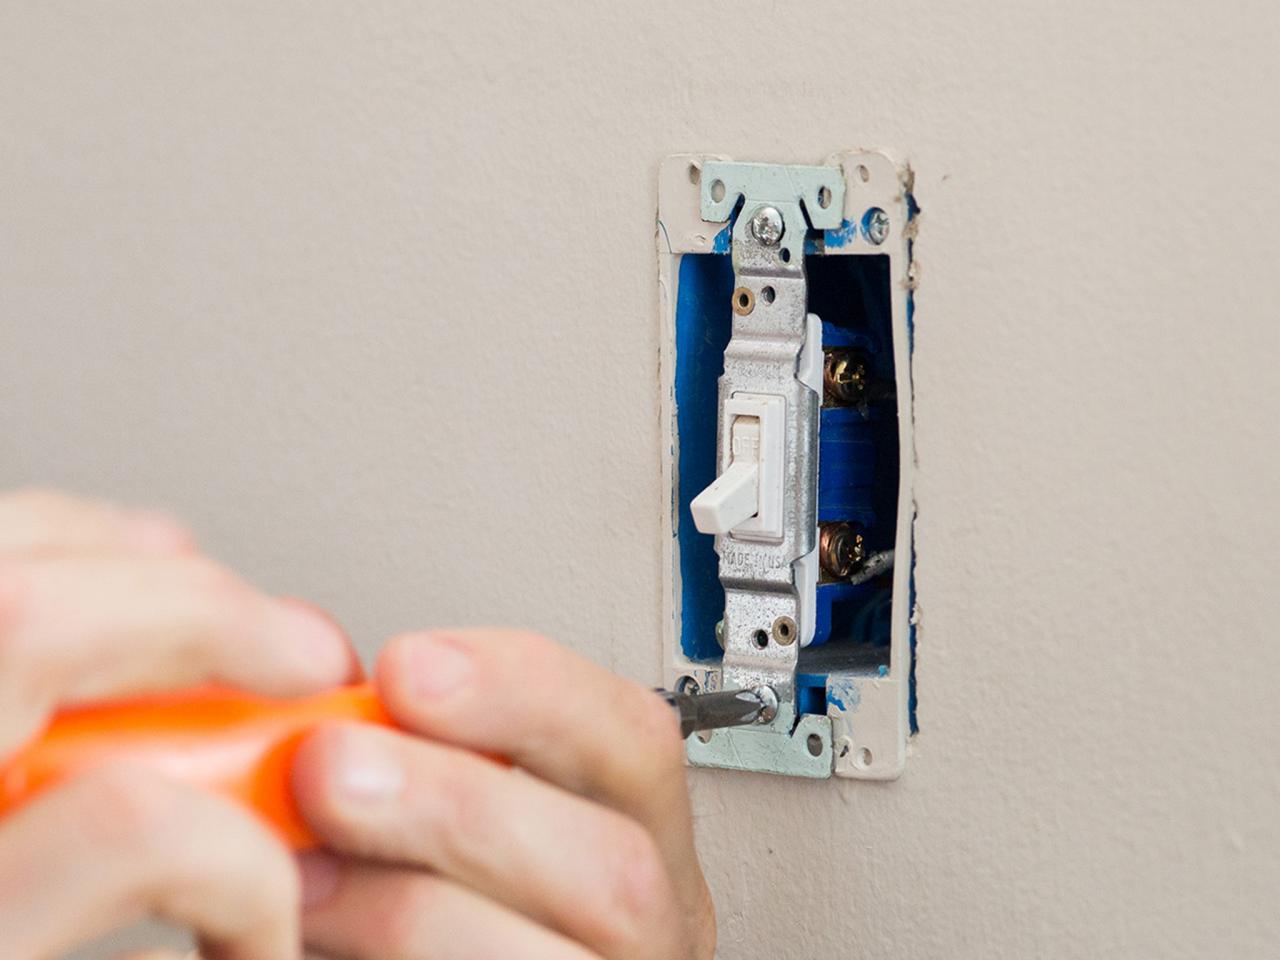
Detach the Wires
Three wires will be attached to your switch: a hot (black) wire, a neutral (white) wire and a ground (copper) wire. The black and white wires are attached using brass screws (Image 1); when the power is on, these will both be “hot.” The copper wire is attached using a green screw; if you have an older home, you may not have a copper wire. Detach the three wires using a screwdriver and discard your old switch (Image 2).
Jalynn Baker
Jalynn Baker
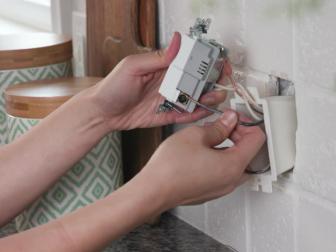
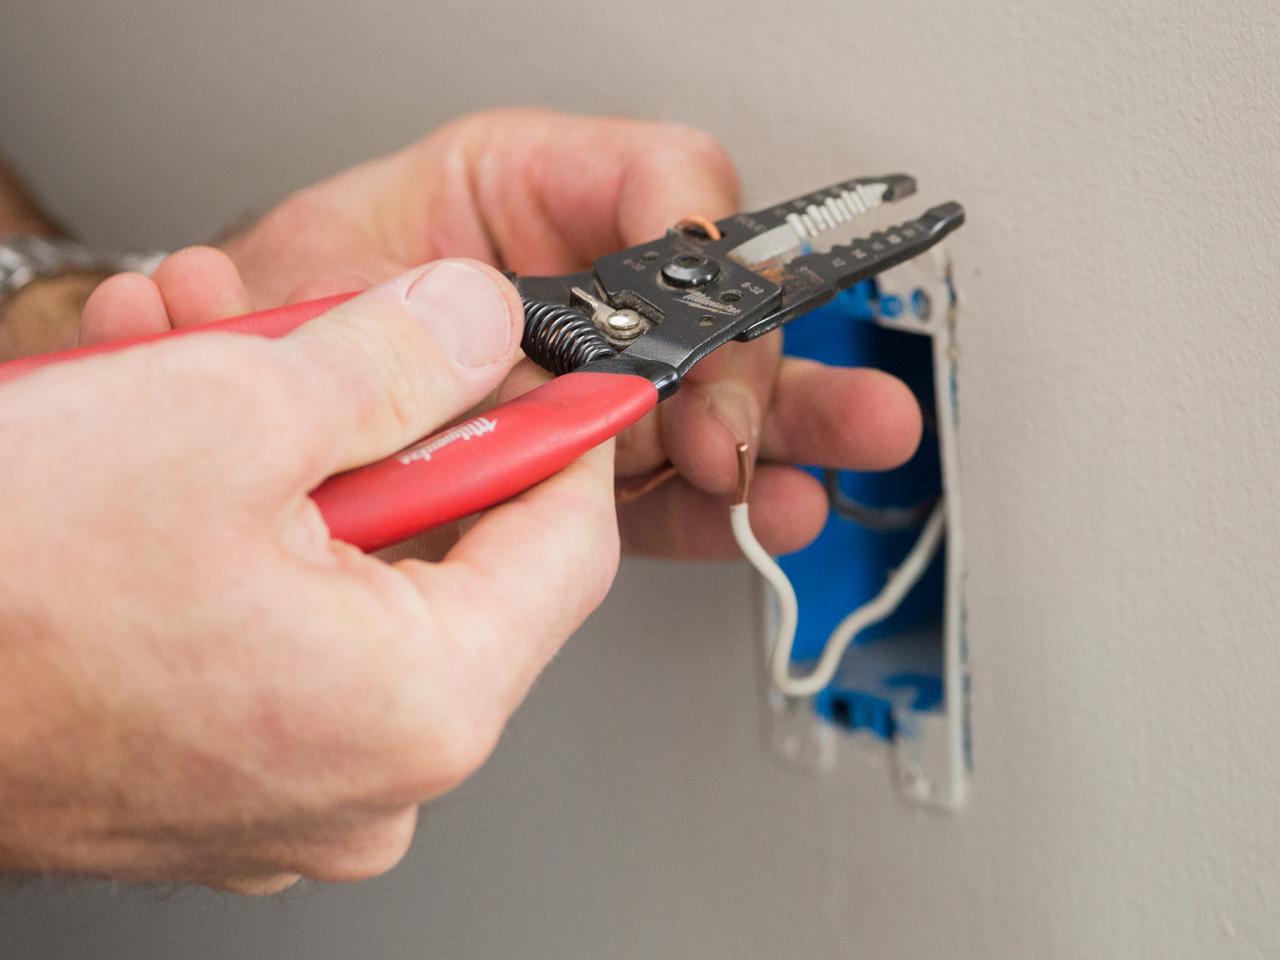
Wire the New Switch
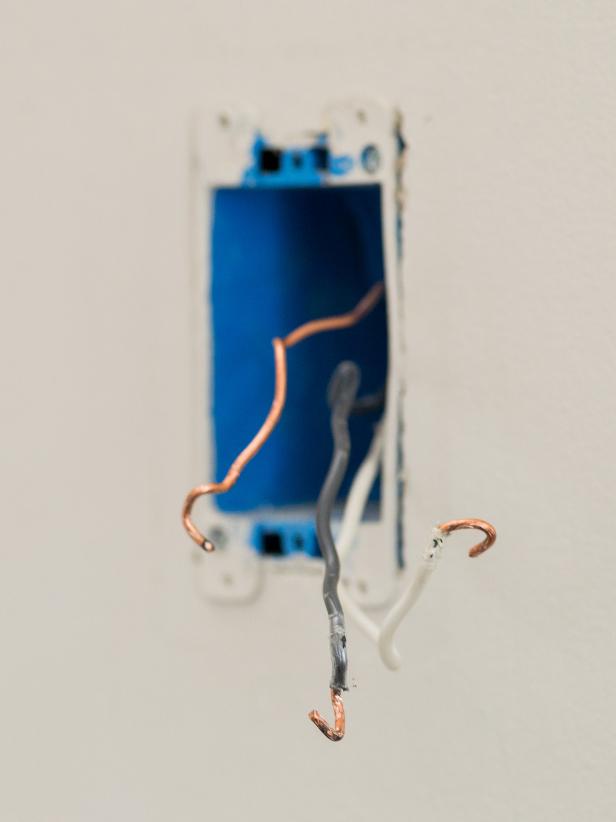
Each wire should have a half inch of wire exposed and bent into a U shape that will fit snugly around the screws on the switch. Your electrician’s pliers have a nifty feature made specifically for this purpose. On the edge of the pliers, you’ll find a small hole. Insert the wire into the hole and bend it around the lip of the pliers (Image 1). This should create the perfect U shape (Image 2).
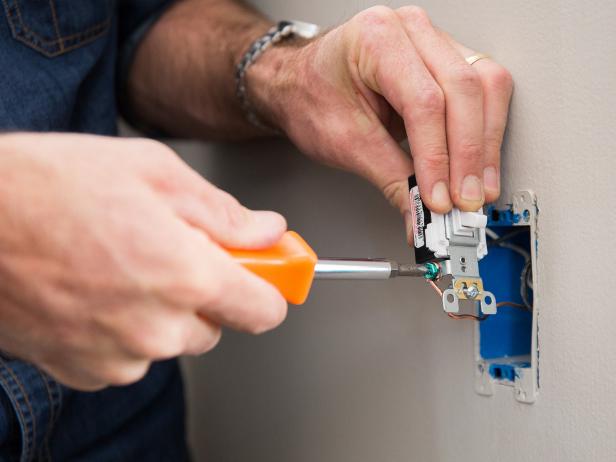
Wrap your black wire clockwise around one of the brass screws. By wrapping clockwise (the same direction the screw turns), you ensure the wire’s connection will tighten when the screw is tightened. Repeat the process with the white wire, wrapping it clockwise around the other brass screw and tightening it with a screwdriver (Image 3). Finally, wrap your copper ground wire clockwise around the green grounding screw and tighten (Image 4). Your switch is now wired.

Jalynn Baker
Jalynn Baker

Jalynn Baker
Jalynn Baker
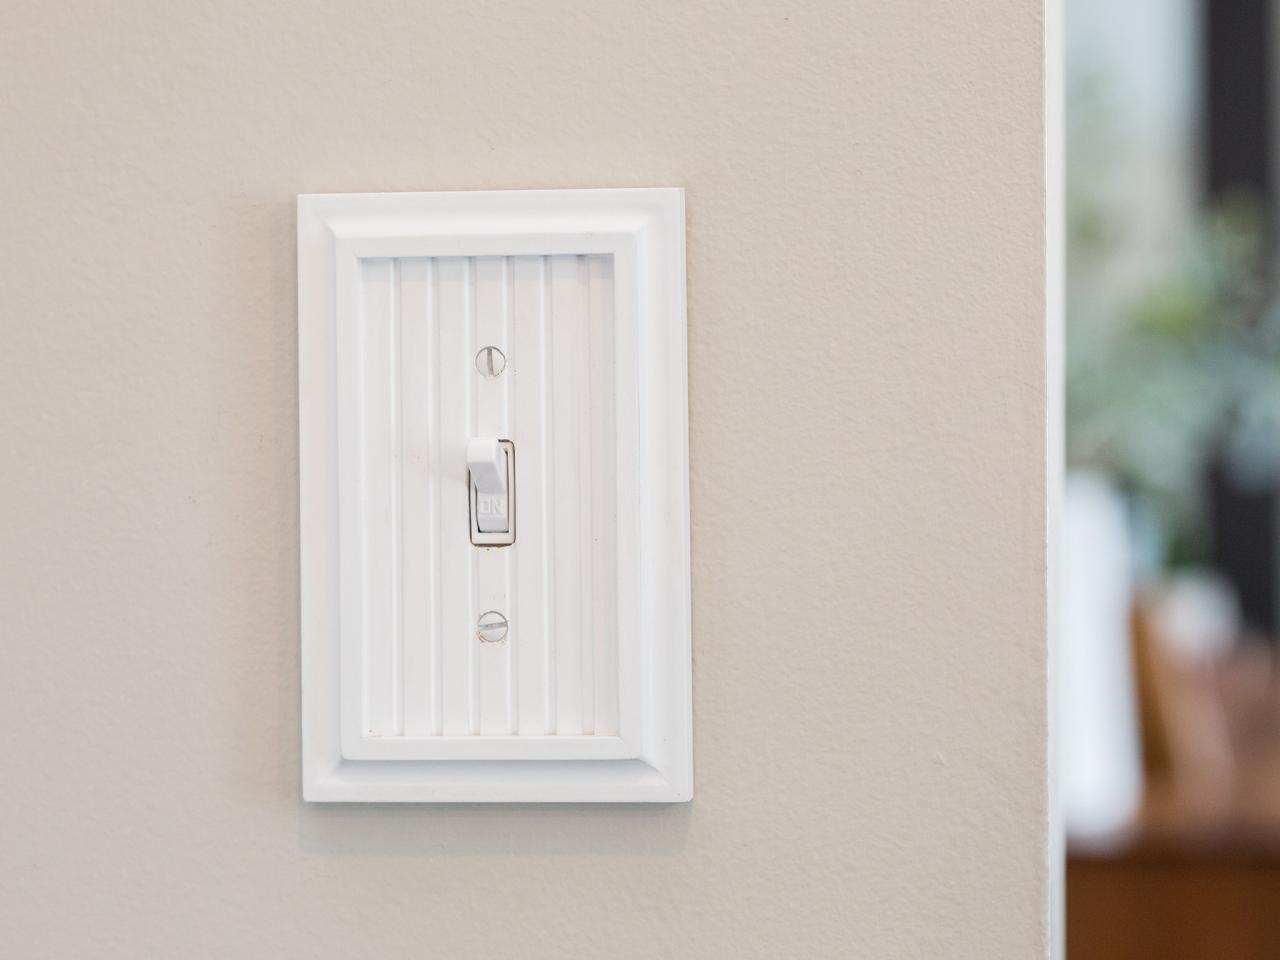
Attach and Cover
Use the two screws provided on your new switch to attach it to the electrical box (Image 1). Make sure your switch is installed relatively level. Finally, cover your switch and wires with the switch plate using two screws (Image 2). Do not overtighten your switch plate or you could crack it.
Jalynn Baker

Jalynn Baker
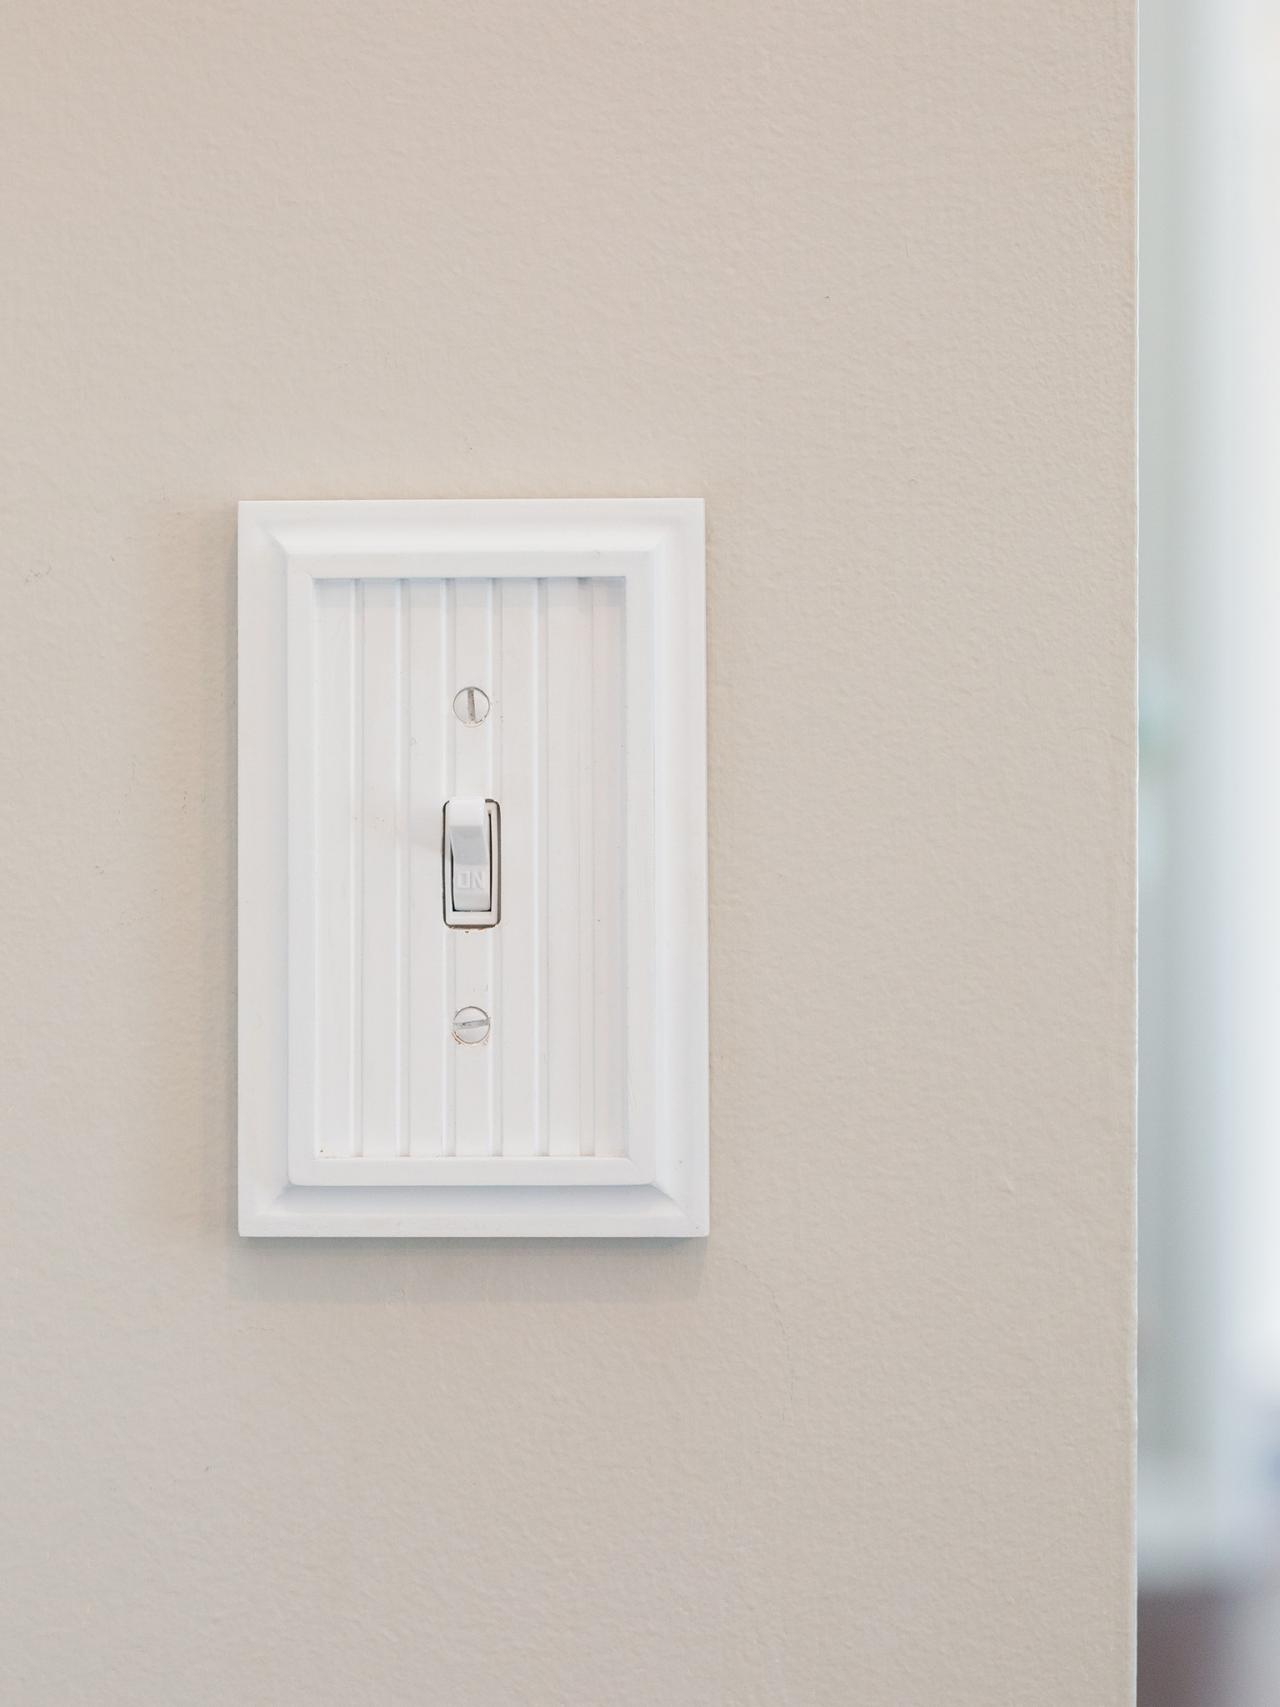
Test Your New Switch
Turn your power back on at the breaker and marvel at your electrical expertise.

Jalynn Baker


How to Replace a Standard Outlet With a GFCI Outlet
Ground fault circuit interrupter (GFCI) outlets block electrical power to prevent potentially dangerous shocks — they should be installed in bathrooms, kitchens and laundry rooms. Changing a standard outlet to a GFCI is a fairly easy and inexpensive project.


