


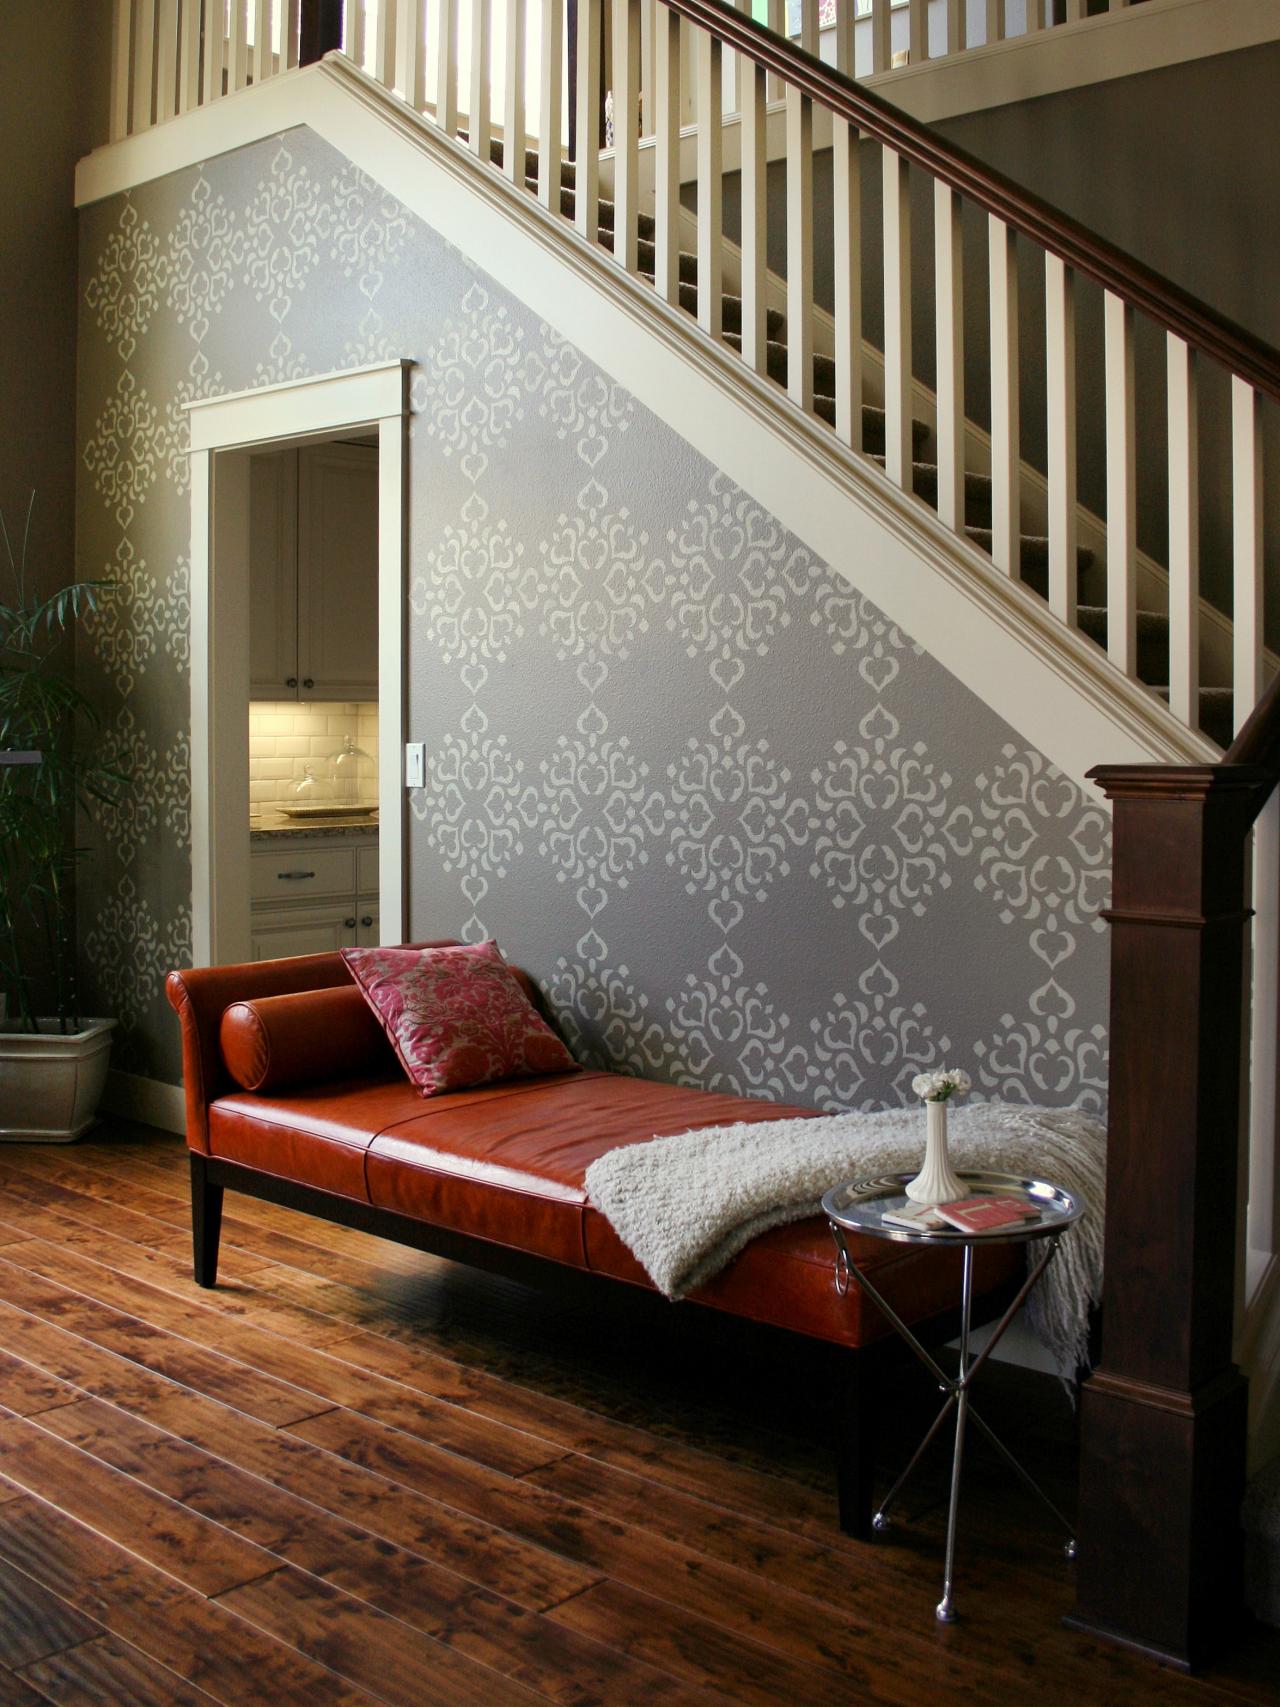
How to Stencil a Focal Wall

Materials Needed:
- stencil
- stencil brush
- painter's tape
- pencil
- wall color paint
- accent color paint
- paper towels
- level
Preparation
Choose wall to stencil and select stencil design, wall color and accent color to paint stencil design. Paint wall if it is not already the chosen wall color.

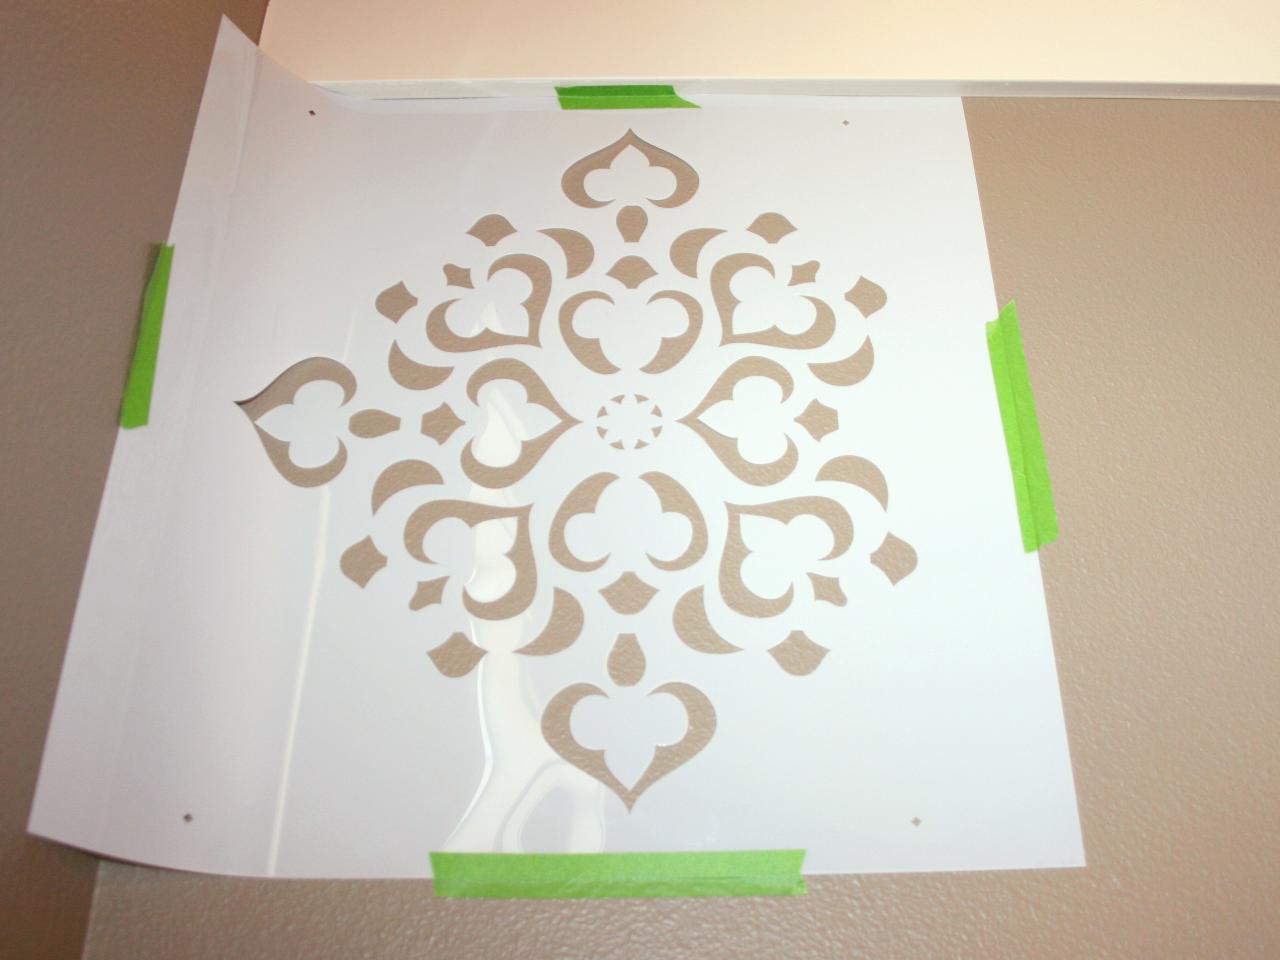
Determine Starting Point
Determine design layout and position stencil on the wall at starting point. Attach the stencil using painter's tape.

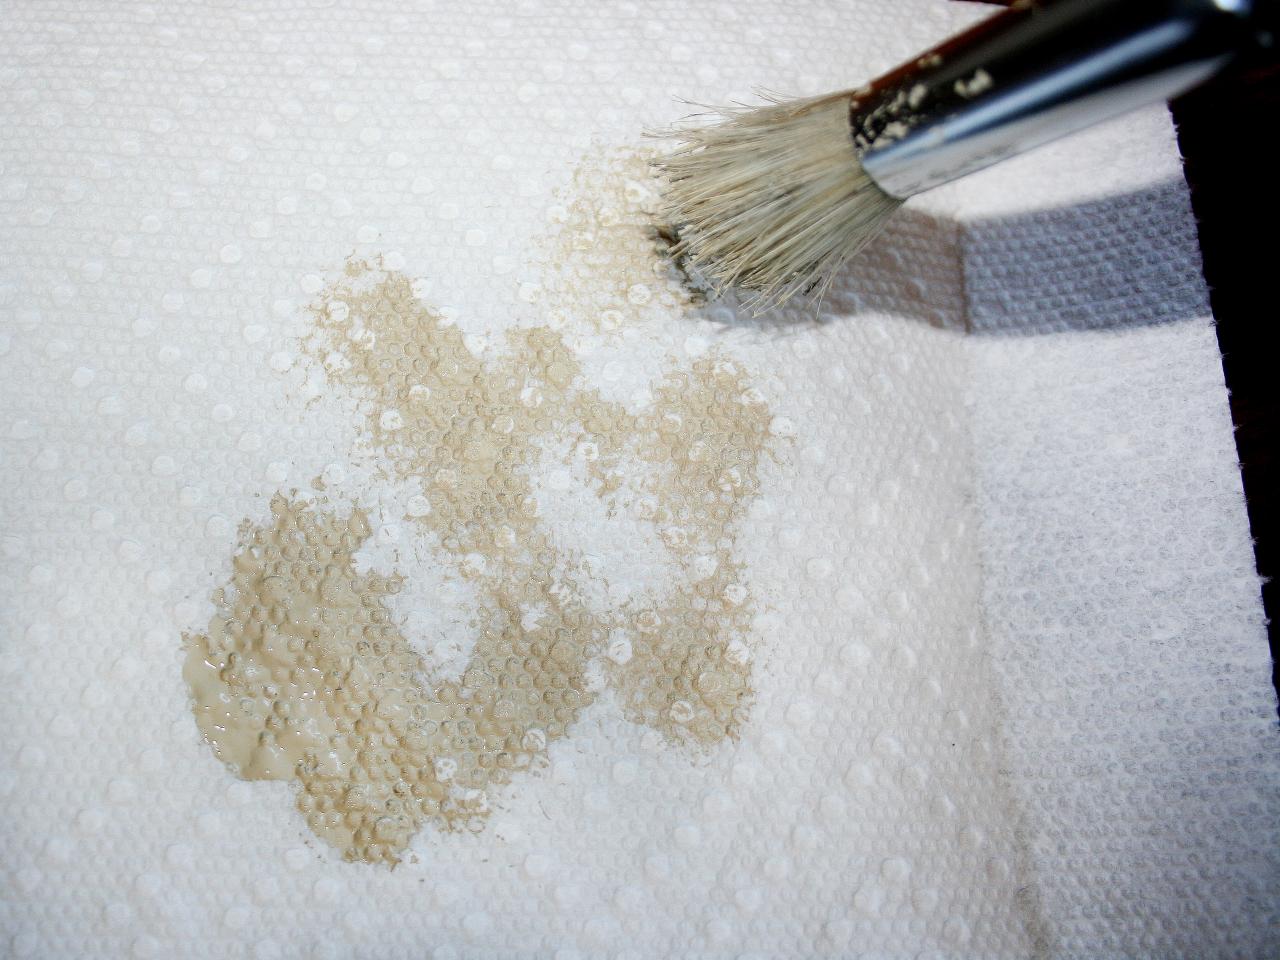
Paint Stencil Design
Paint design on wall with a stencil brush using dry brush method. Begin by dipping tips of bristles in paint and remove excess by dapping brush on a paper towel.

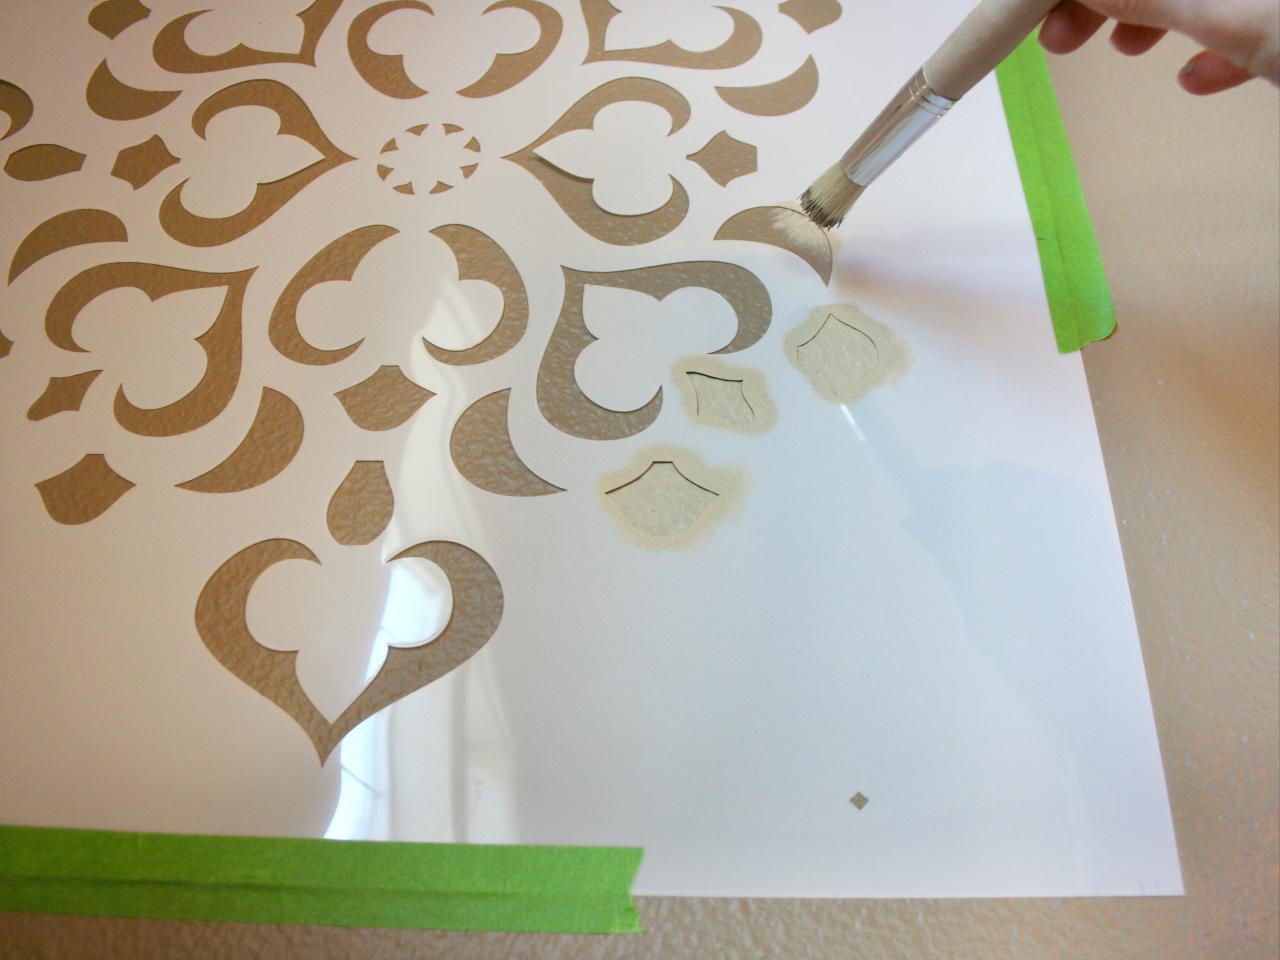
Paint Using Stippling Method
Apply paint using stippling method, which is dapping brush against stencil openings. Tip: Do not brush paint over stencil openings as this will lead to paint seeping under stencil.

Hold Stencil in Place
Apply pressure to stencil around openings while stippling to ensure sharp paint lines.

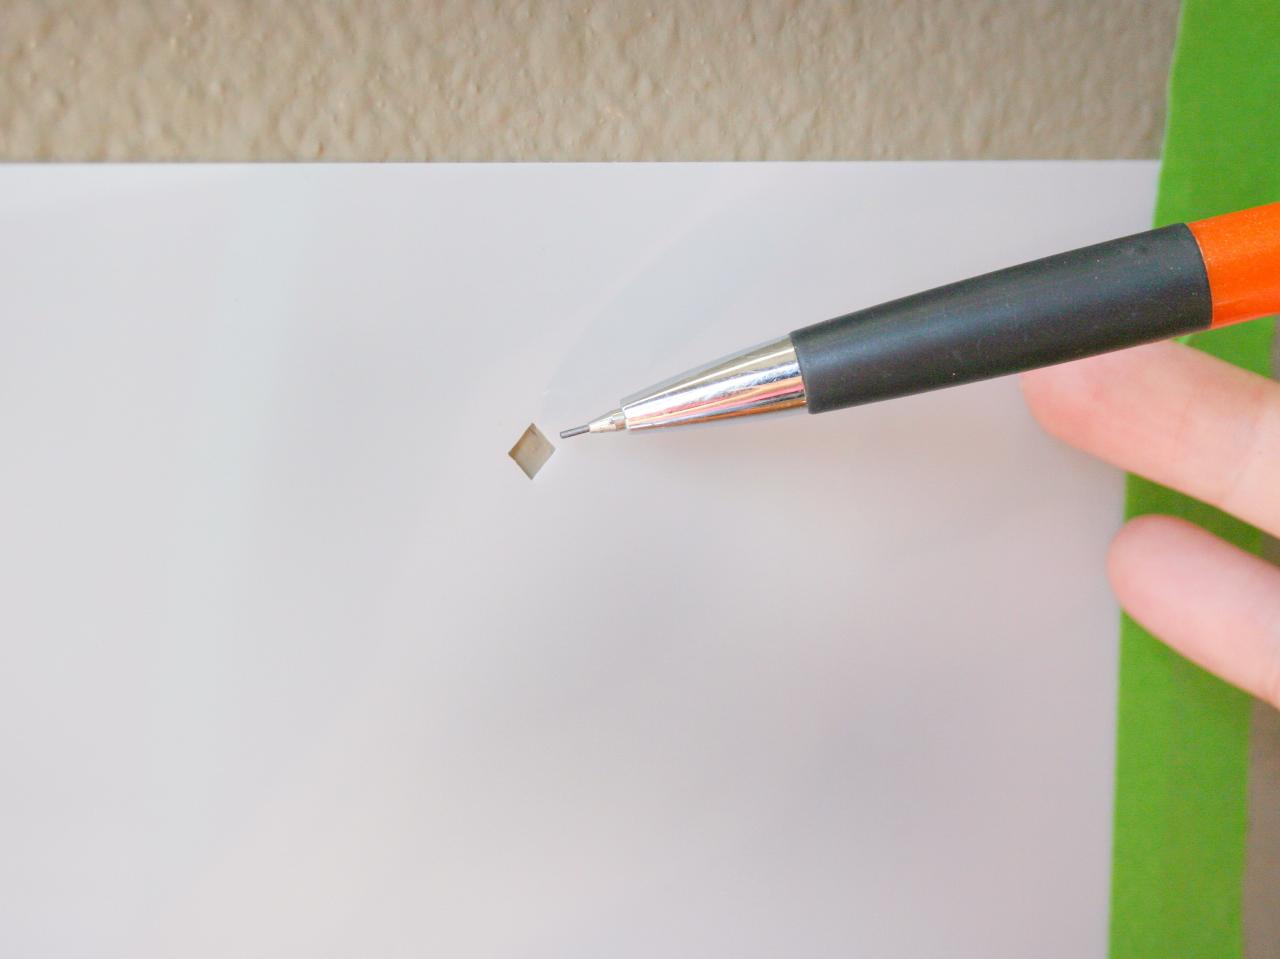
Mark Registration Points
Trace all four registration points with a pencil prior to moving stencil.

Move Stencil
Move stencil by lining up stencil registration points to continue design. Tape stencil in place and repeat painting process. Tip: Use a level to check stencil tile placement to ensure design is painted evenly.

Repeat Steps
Continue painting stencil design, mark registration points and move stencil across and down wall until desired area is covered with design.

Extend Design To Wall Edges
Paint stencil design to edges of wall and trim to create a seamless look resembling wallpaper.


