


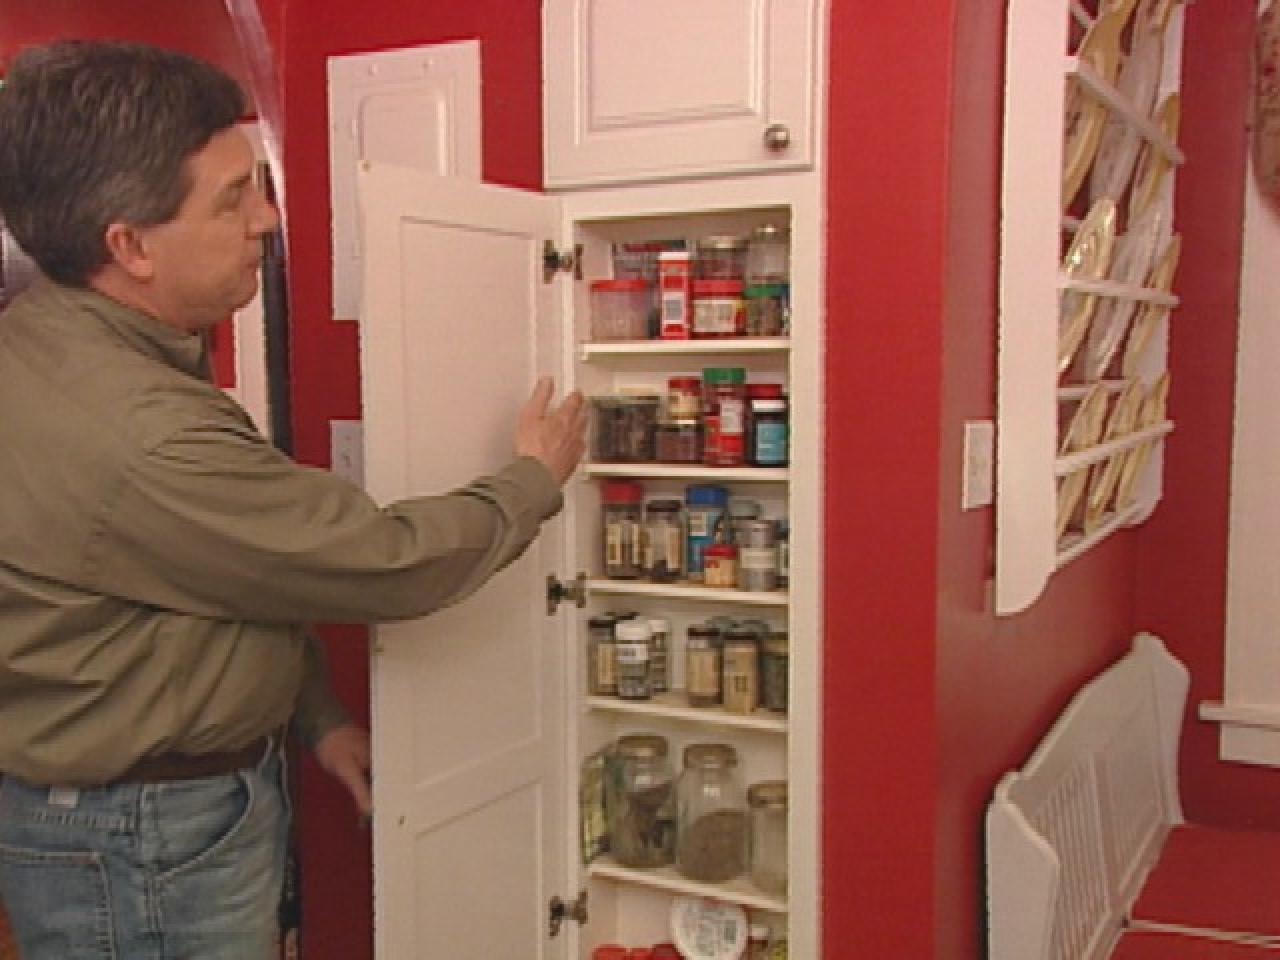
Built-In Spice Rack

Materials and Tools:
drill with spade bit
stud finder
drywall saw
long level
pencil
1 x 4 lumber
miter saw
wood glue
nails
luan plywood
1x1 facing
drywall screws
cabinet door
hinges
Steps:
1. Determine where you want the spice rack to be positioned, and then locate the studs (you may want to use a stud finder that also has a metal finder to indicate any furnace vents or electrical lines hidden behind the wall). Use a piece of tape to mark the center of each stud that will be on either side of the rack. *Note: Most new homes are built 16 inches on center, so you should find a stud approximately 16 inches apart. The distance may be further in an older home.
2. Once the two stud edges are marked, use a level to draw the outline of the desired spice rack size. Drill a pilot hole using a spade bit to allow access for a drywall saw. Cut along the lines to remove the drywall section, creating a cavity for the spice rack.
3. The rack is a rectangular box (top, bottom and two sides) made out of 1x4s cut with a miter saw to the exact measurement of the wall cavity. Join the pieces together using wood glue and nails. Add the desired number of shelves cut to the width of the cabinet and secure them in place using glue and nails from the sides.

4. Cut a piece of luan plywood for the back and nail it in place.
5. Face the exterior of the cabinet with 1 x 1 facing around the entire outside to hide the rough drywall edges. Check the fit, and then paint or stain the cabinet and door as desired.
6. Once dry, place the cabinet into the cavity and secure it to the studs from the inside using drywall screws. Use several hinges or a long piano hinge to secure the door.


