


An Easy Backsplash Made With Vinyl Tile
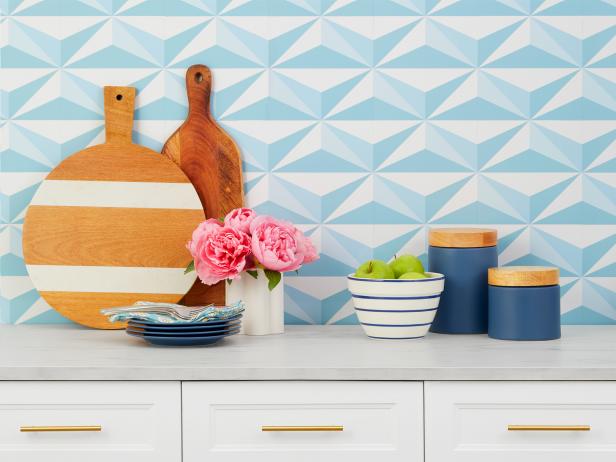
For a kitchen backsplash idea with style and a low price tag, consider vinyl tile. This project shows you how to create a backsplash design out of vinyl tiles.
Cory Dawson
Dramatic self-adhesive vinyl tile.
Ready for a satisfying and easy weekend project that will give your kitchen a whole knew look? Thanks to the endless varieties of vinyl tile on the market, there are many ways to bring your own unique signature to your kitchen backsplash. Read on for steps on how to install vinyl tile on your kitchen backsplash.
Materials Needed
- vinyl tile
- decorative outlet covers
- measuring tape
- craft paper/newspaper
- masking tape
- marker
- tile cutter or utility knife
- straight edge or ruler
- safe cutting surface
- level
- rolling pin
- screwdriver
- extra outlet cover screws

Steps for Laying a Vinyl Tile Backsplash:
Step 1.
Take a tour of vinyl tile available at your local home or hardware store. The variety of looks is amazing. Stay focused on peel and stick tile. This is the easiest tile to work with. Tip: Some tile options may need to be pre-ordered.
Step 2.
Bring home samples. Individual tile pieces are typically under $2 a piece. Reviewing them in your space makes the selection process much easier. Tip: The backsplash area is a perfect spot to introduce an accent color or to tie together your kitchen's design elements. Keep in mind pre-existing design elements like wood tones, metal tones and wall color.
Step 3.
Select new outlet covers. Decorative outlet covers are a great way to increase visual interest in your kitchen and maximize the effect of this project. Make a note of how many switch plates you'll need. Tip: Be sure to include switch plates with multiple switches or oversized outlet covers. Knowing this information before you go to the store allows you to purchase with confidence.
Step 4.
Buy the right amount of tile. Depending upon the amount of backsplash area you wish to cover, one or two boxes will be all you need for the project. It's always better to have extra material on hand.
Step 5.
Purchase your new outlet covers. Purchase extra screws that fit the outlet covers but are a longer than the ones included. The vinyl tile adds additional thickness, so having longer screws available makes life easier.
Step 6.
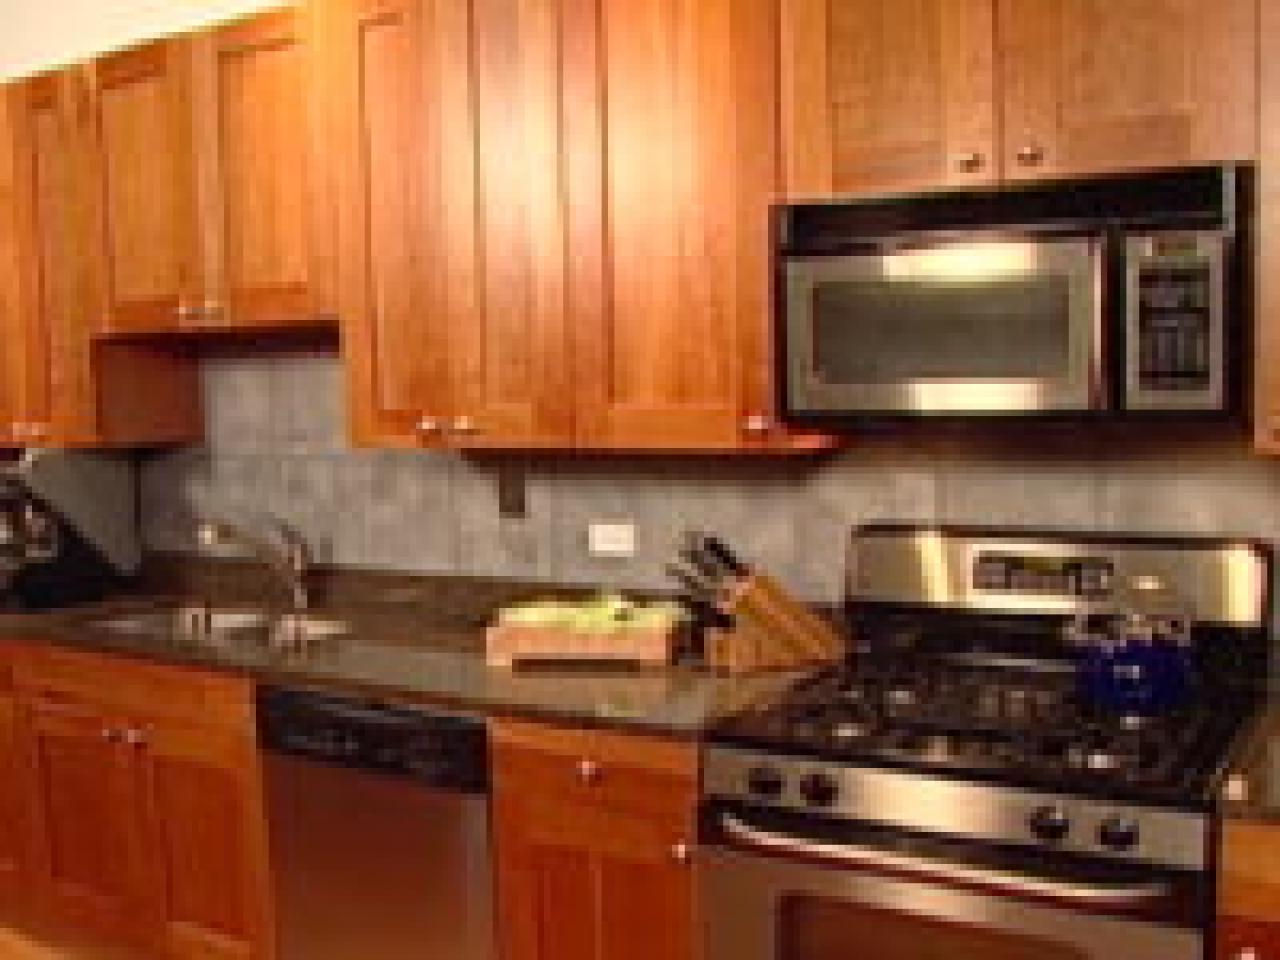
Clean the backsplash area thoroughly. The cleaner the surface, the better the adhesive will stick.
Step 7.

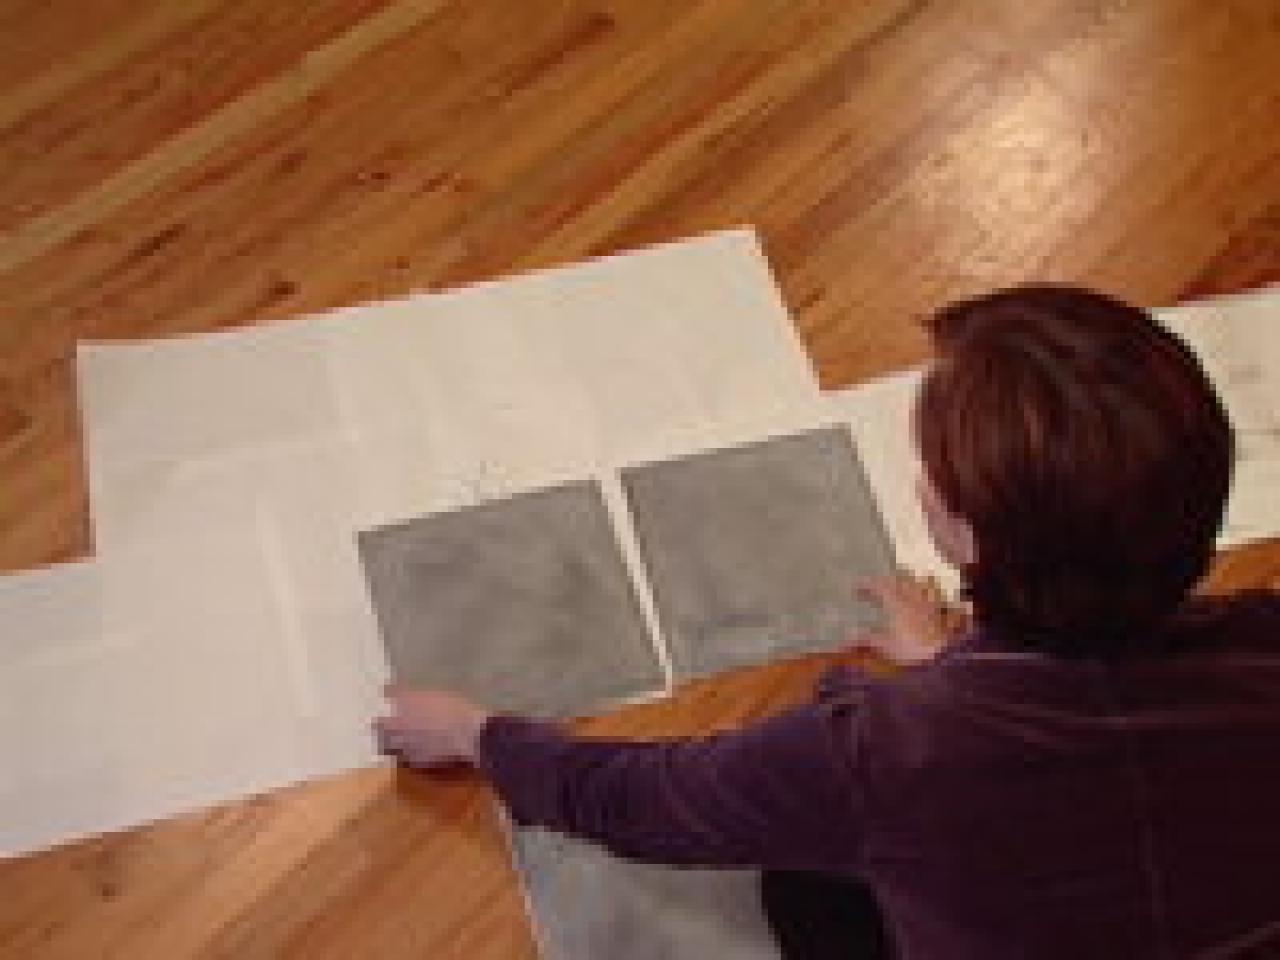
Create your template. Tape craft paper or newspaper together to make a complete template of the backsplash area. Lay your completed template out on your floor. Make sure you mark on the template all switch plates and electrical outlet locations.
Step 8.
Using your template, start laying tile pieces out on top of the template. You're not adhering the tile to the template, but creating a clear understanding of how the tile pieces will be placed on the wall. This simple step allows you to maximize the visual effect of your tile and establish where cutouts are needed. Use full tiles for as much of the backsplash as possible.
Step 9.
Remove all outlet covers or switch plates before installation.
Step 10.

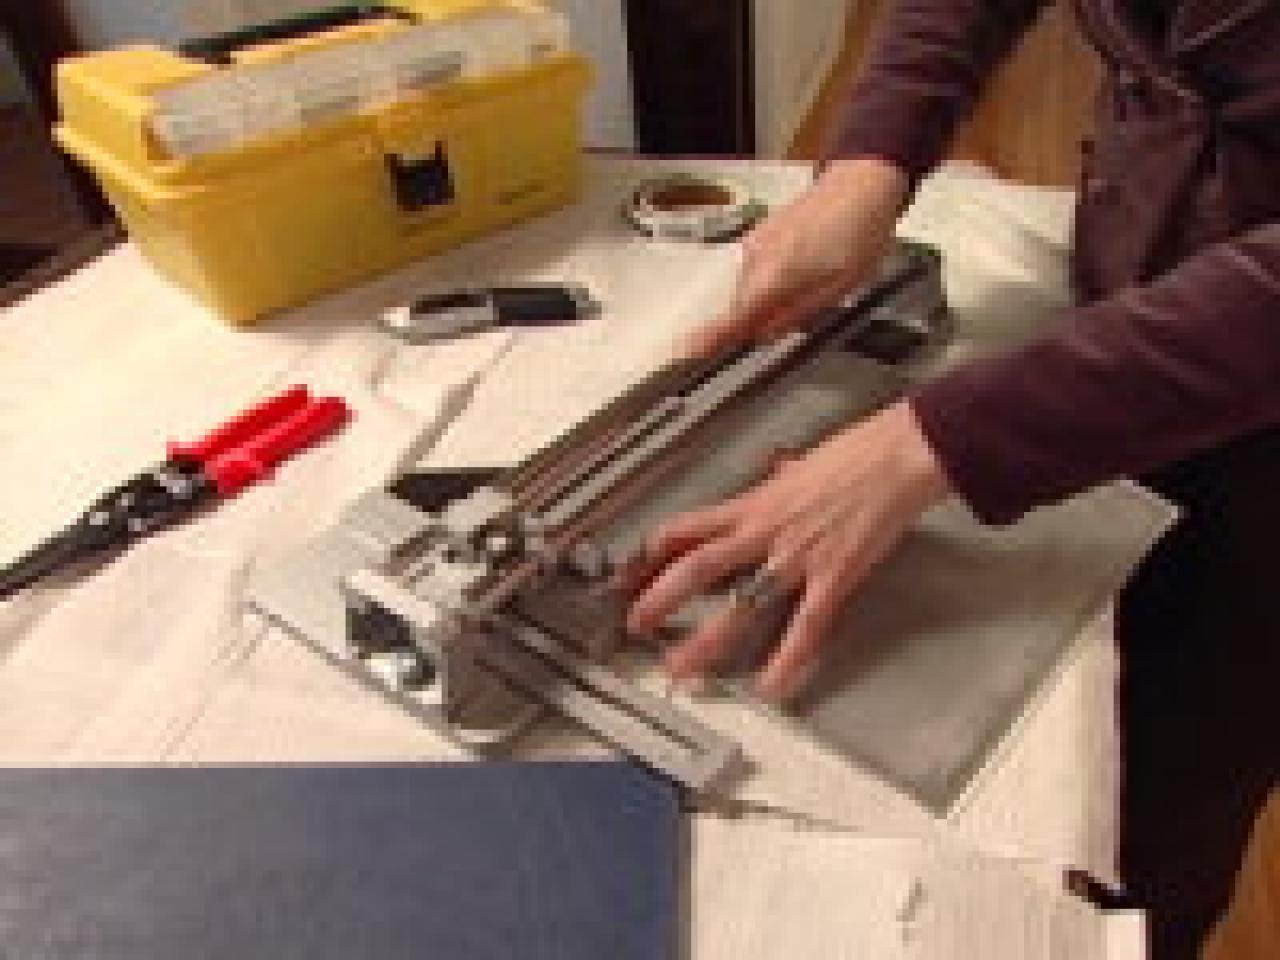
Using a tile cutter or straight edge and a utility knife, cut your pieces as needed to fit within the backsplash area. This process is very simple because vinyl tile is easy to cut. Tip: Having extra tile takes the stress out of making these cuts. Once all the tile is in place, install your new outlet covers.

Step 11.
Start adhering the tile to your wall. Begin this process where the largest expanse of tile is shown. Typically this is over the sink area. Critical step: Check with a level to ensure you're adhering the tile to the wall properly.
Step 12.
Use a rolling pin to press the tiles on the wall. The added pressure makes the adhesive stick better.

Redo Any Backsplash With These Supercool Peel-and-Stick Tile Ideas
Stick 'em up with HGTV Magazine! Redo a backsplash the simple way — try peel-and-stick tiles that rival the real deal.
Variations: There are other materials that are easy to install as a new backsplash. Cork tiles come in a wide variety of colors and are easy to cut. Pressed tin tiles are another option to review. Always review manufacturers' installation guidelines and materials lists. For more great backsplash ideas visit 8 Fresh Ideas for Kitchen Backsplashes.


