


How to Build a Shoe Rack for Your Closet

Materials Needed:
- one 3/4" x 8" x 36" poplar board (for sides)
- two 3" x 1/2" x 36" straight poplar boards (for toe rest)
- two 1/2"-3/4" x 36" dowel rods (for heels)
- 1 1/4" wood screws
- power screwdriver
- drill bits
- spray primer and paint color of choice
- measuring tape
- miter saw
Cut Wood for Sides
Measure the space of the shelf in your closet where the rack will sit and cut two pieces of the 3/4" x 8" poplar board to the height of the space. Allow for a minimum of 16 inches for two tiers of shoes.

Cut for the Toe Rest
Measure the width of the shelf of the closet, subtracting the width of the side boards. Cut your toe rest boards to that measurement.
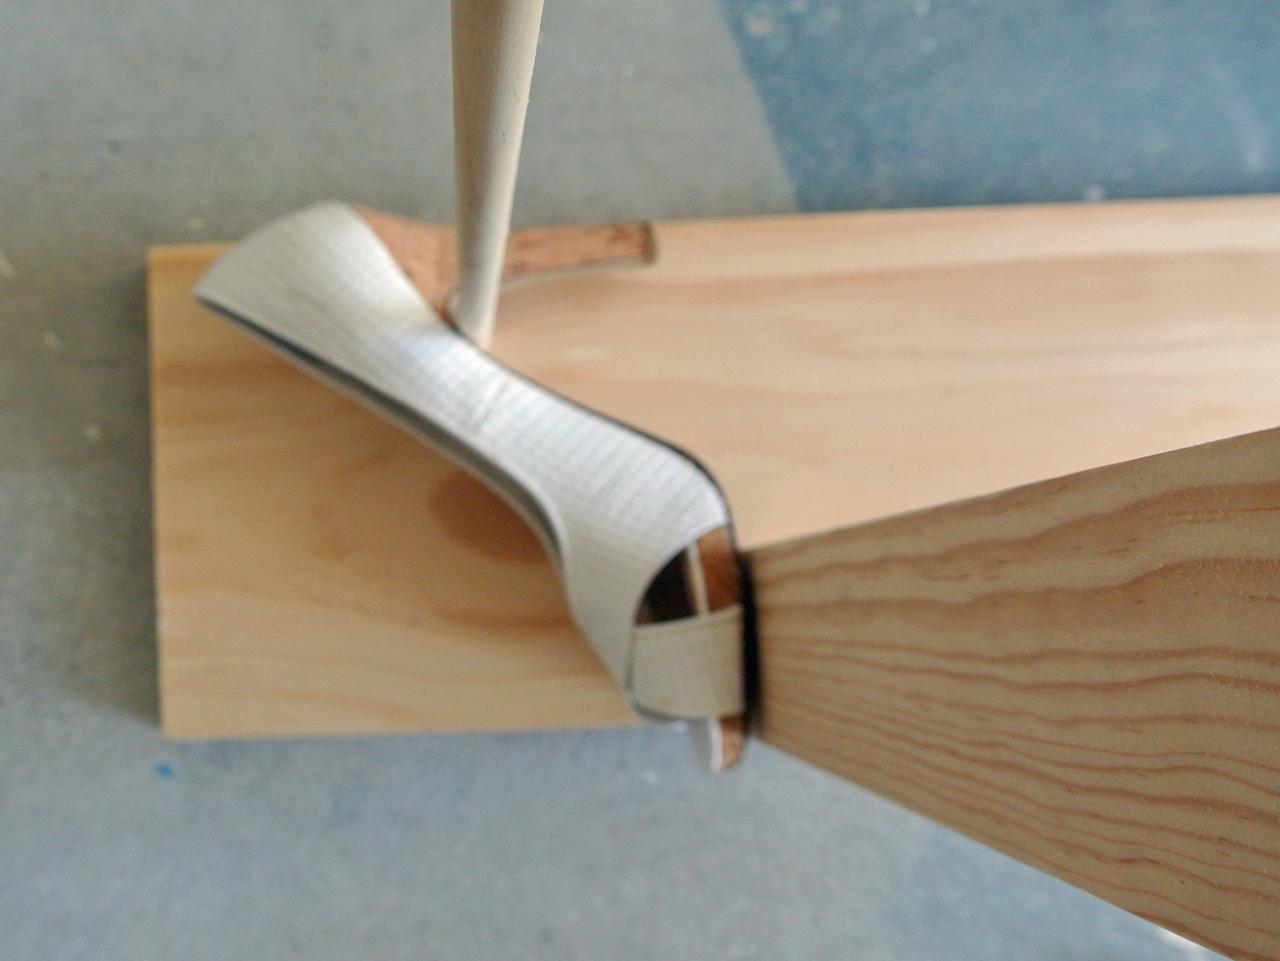
Measure for Toe Kick and Rod
Using a high heel shoe as your guide, measure the location of the toe kick and dowel rod for both the bottom and top row.

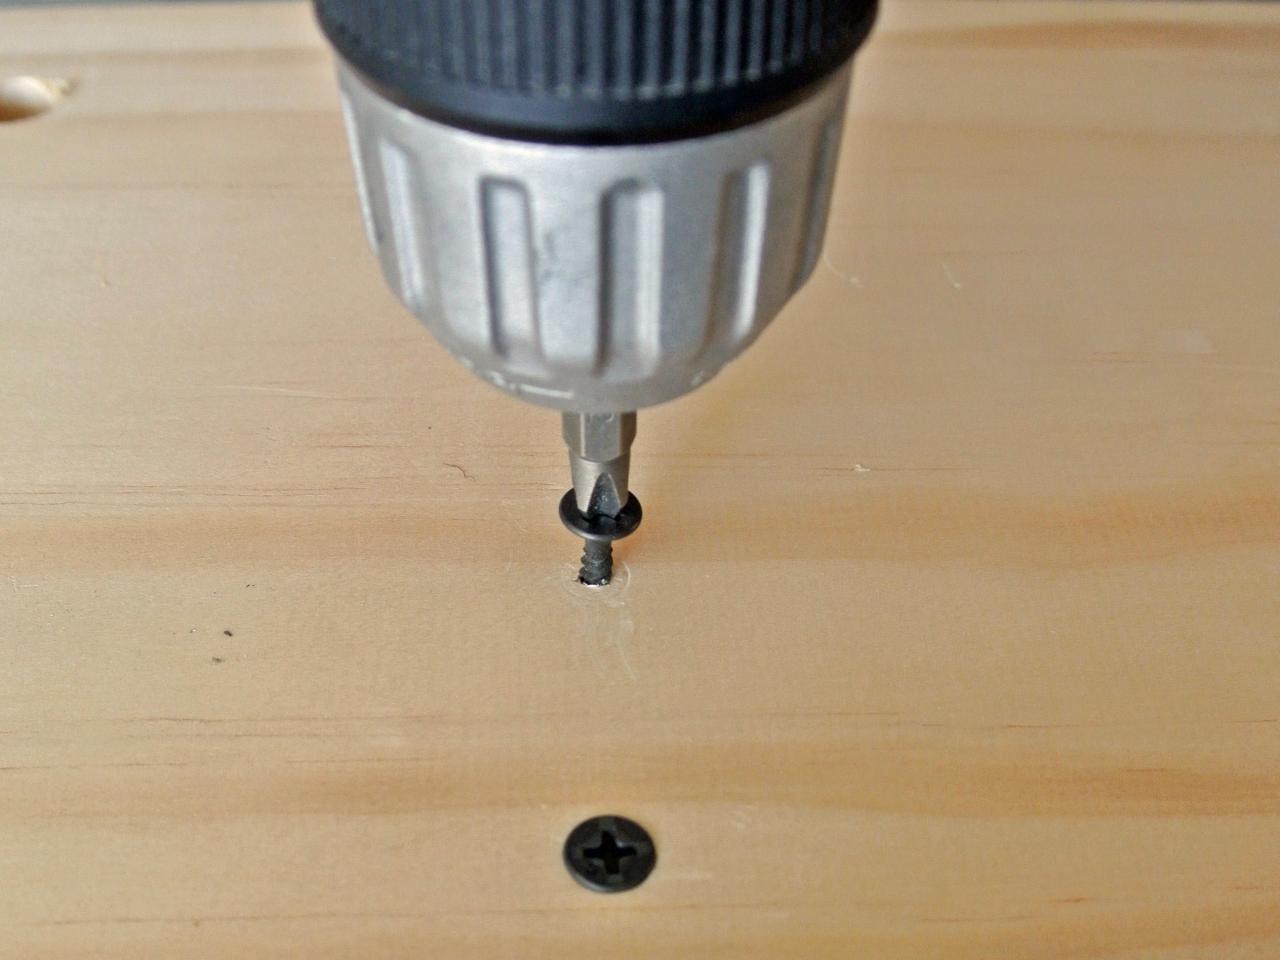
Drill Pilot Holes
Drill pilot holes for the wood screws in the location of the toe kick.

Drill Holes for Dowel Rod
Use larger drill bits to create the holes in the sides where the dowel rod will sit.

Attach Toe Rests
Use wood screws to attach the toe rests to the inside of the shoe rack.

Insert Dowel Rods
Complete the assembly of the shoe rack by inserting the dowel rods into place.
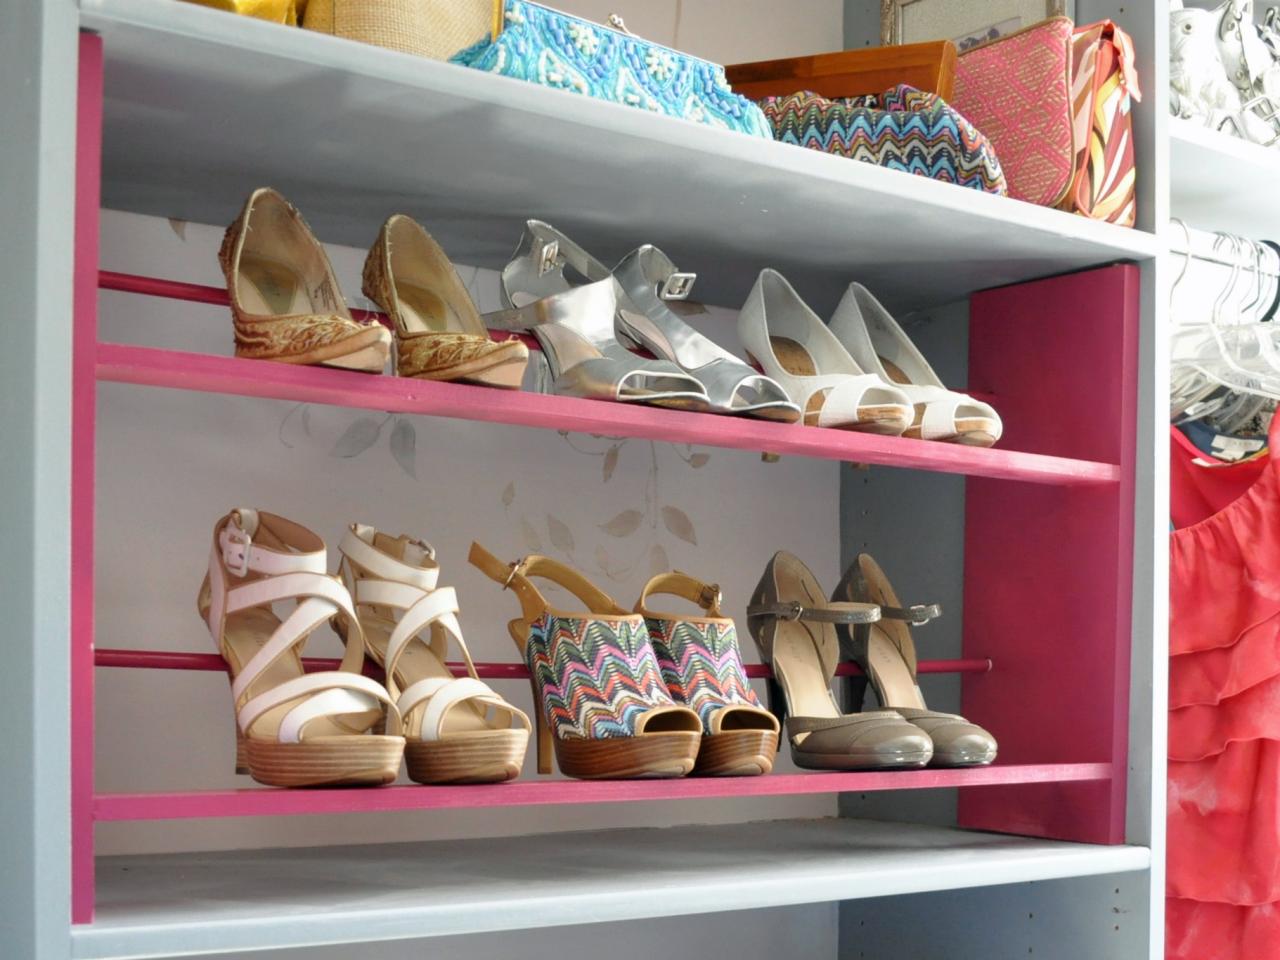
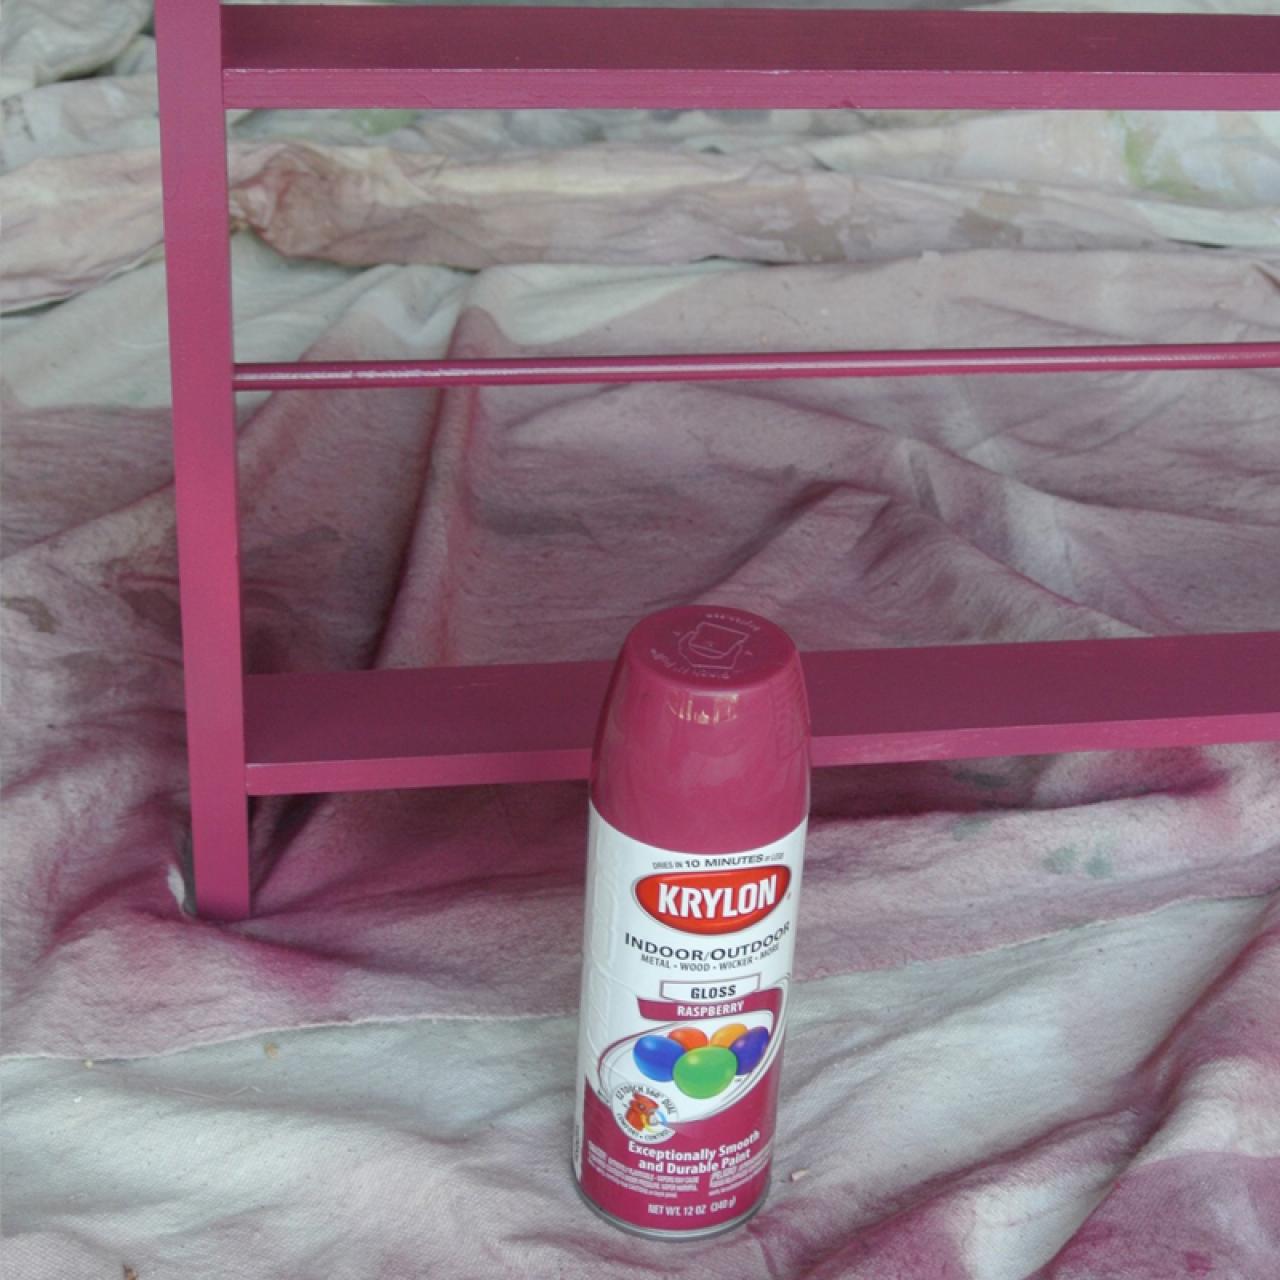
Spray-Paint Rack
Prime your shoe rack with spray primer and either spray or brush on paint of choice. Return the shoe rack to your closet for a functional and stylish rack for your shoes.


