


How to Install a Kitchen Tile Backsplash
Learn how easy it is to install a kitchen tile backsplash with these step-by-step instructions.

Though it might seem daunting, it's really not that difficult to install a kitchen tile backsplash and the sense of satisfaction you'll have in a job well done (as well as money saved) will be well worth the effort.
Read on for our easy steps for installing your own tile backsplash.
Materials Needed
- floor tiles
- tape measure
- pencil
- grout
- dry tile cutter
- sandpaper or pumice stone
- wall tile mastic
- notched trowel
- wide putty knife
- tile spacers
- squeegee or tile float
- sponge
Steps:
Step 1.
Mark the center of the wall. Measure the distance between the countertop and the bottom of the cabinet and subtract 1/4 inch for the bottom grout line. Mark a tile with this measurement.
Step 2.
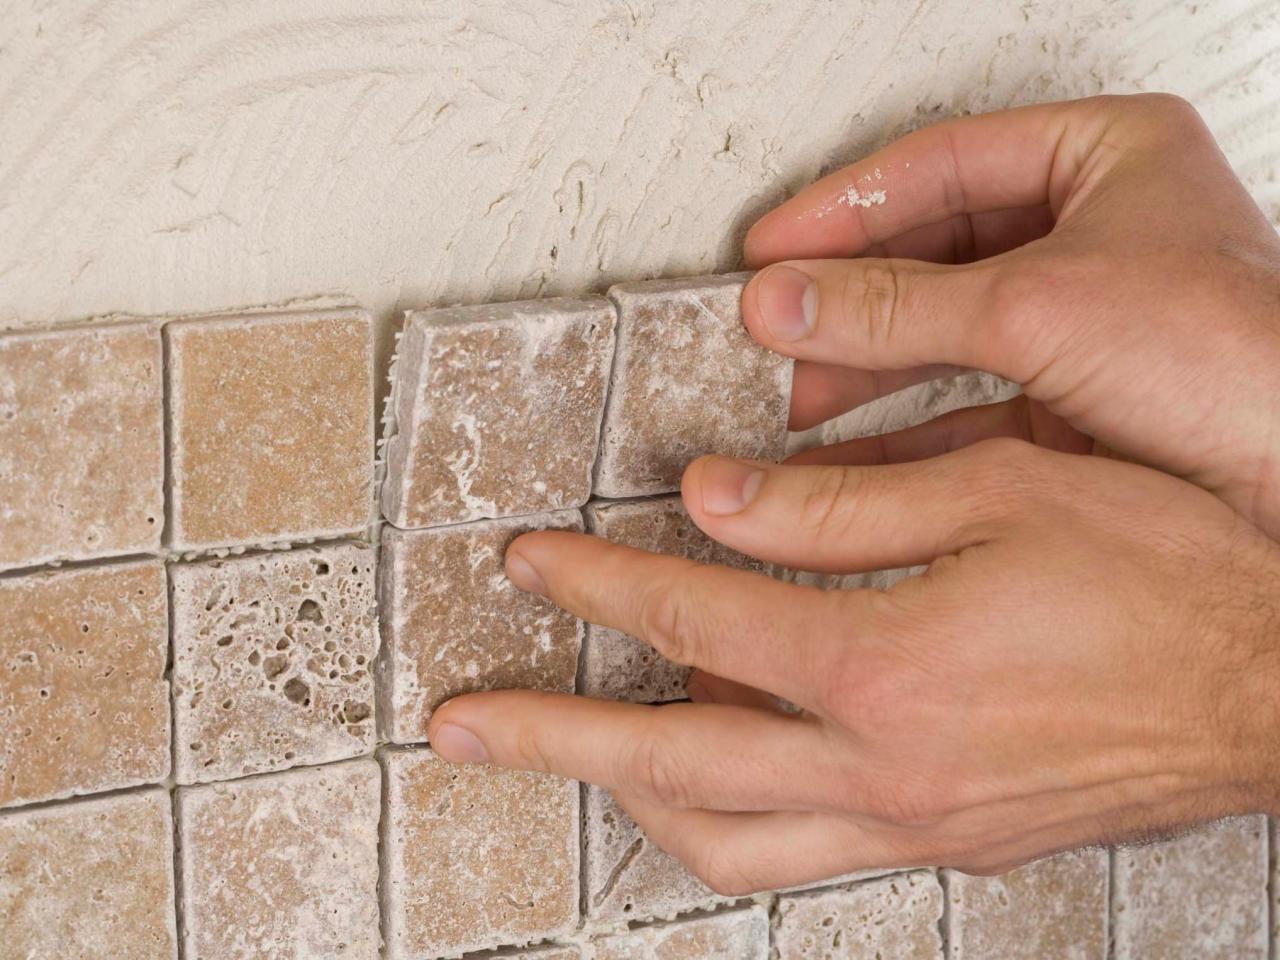
Use a dry tile cutter to cut the tiles to size. Set the tile in the cutter and adjust it to the desired measurement. It scores the tile first and by pressing the bar down, the machine actually snaps the tile at the score line (be sure to purchase some extra tile in case of mistakes). Check the tile size against the wall and sand rough edges with sandpaper or a pumice stone.
Step 3.
Starting in the center, use a putty knife to apply just enough tile mastic to attach one tile to the wall. Texture it with a notched trowel to create a surface for proper adhesion. Set the tile into place and move it around slightly before allowing it to come to its final position. Continue working in each direction using tile spacers between the tiles and along the bottom for the grout lines.
Step 4.
Allow the mastic to cure (usually overnight) and remove the tile spacers. Mix the grout as directed and use a squeegee or tile float to fill the gaps in around the tiles. Allow the grout to dry overnight and remove the excess with a sponge and water as directed.

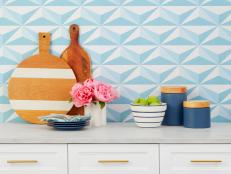
Gorgeous Kitchen Backsplash Options and Ideas 102 Photos
Explore dozens of beautiful kitchen backsplash ideas comprising all different materials, colors and designs.


