


How to Make a New Galvanized Steel Tub Look Old
Spoiler alert: you use toilet bowl cleaner!


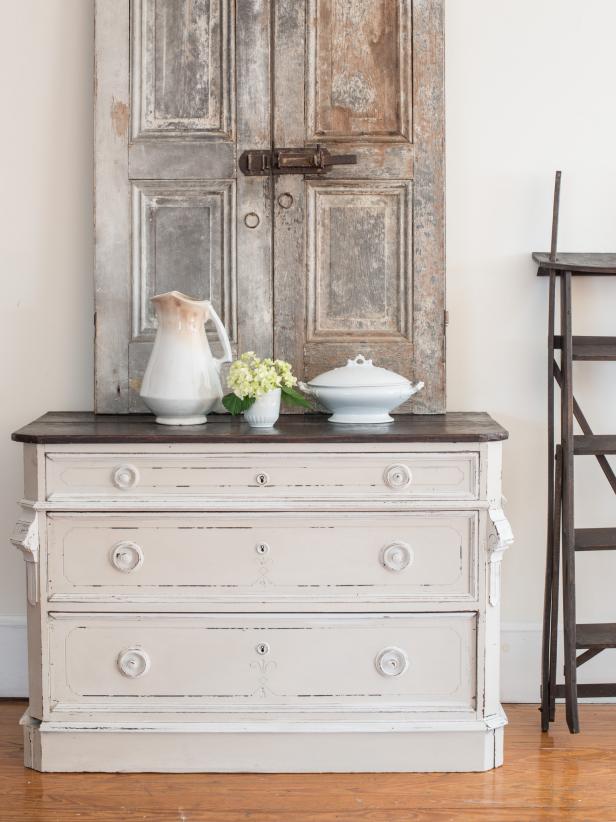
From distressed furniture to well-loved antiques, what's old is definitely new again and we're LOVING the look of natural patina both inside and outside the home. The downside? Gorgeous, weathered pieces are selling for pretty pennies at antique stores and resale shops. But the good news is, it's surprisingly easy to give new pieces a time-worn, authentic look you'll be proud to display. Watch below to learn how to knock the shine off of new, galvanized dollar store tubs in just a few hours with simple ingredients you already have at home.
What You'll Need
- new galvanized steel bucket
- toilet bowl cleaner (the basic, cheap stuff works great)
- sanding sponge
- 2 pieces of steel wool
- 32 oz hydrogen peroxide
- 4 tsp salt
- 1/2 cup white vinegar
- medium plastic tub
- printed design (optional)
- graphite (optional)
- ball point pen (optional)
- permanent marker (optional)
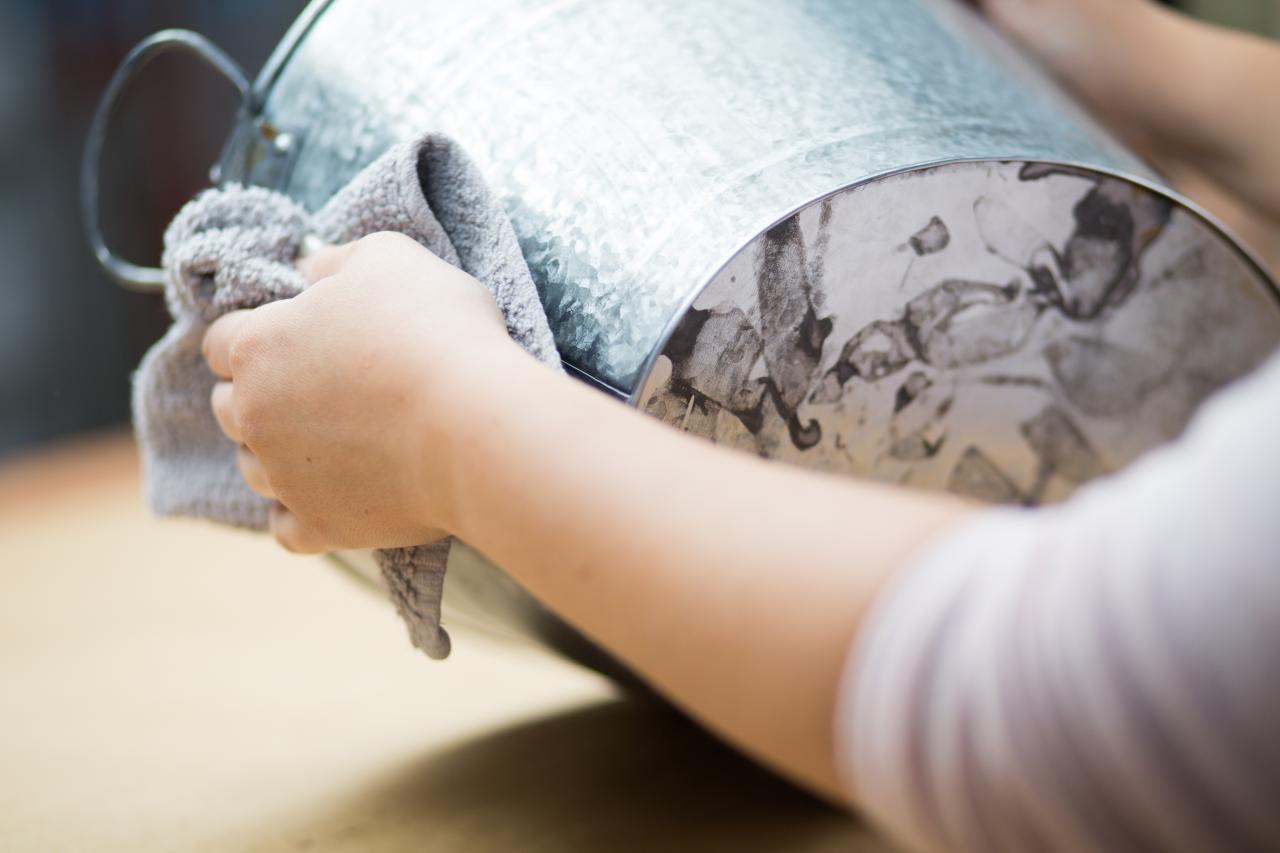
Sand Off Shine

Cassidy Garcia

Cassidy Garcia
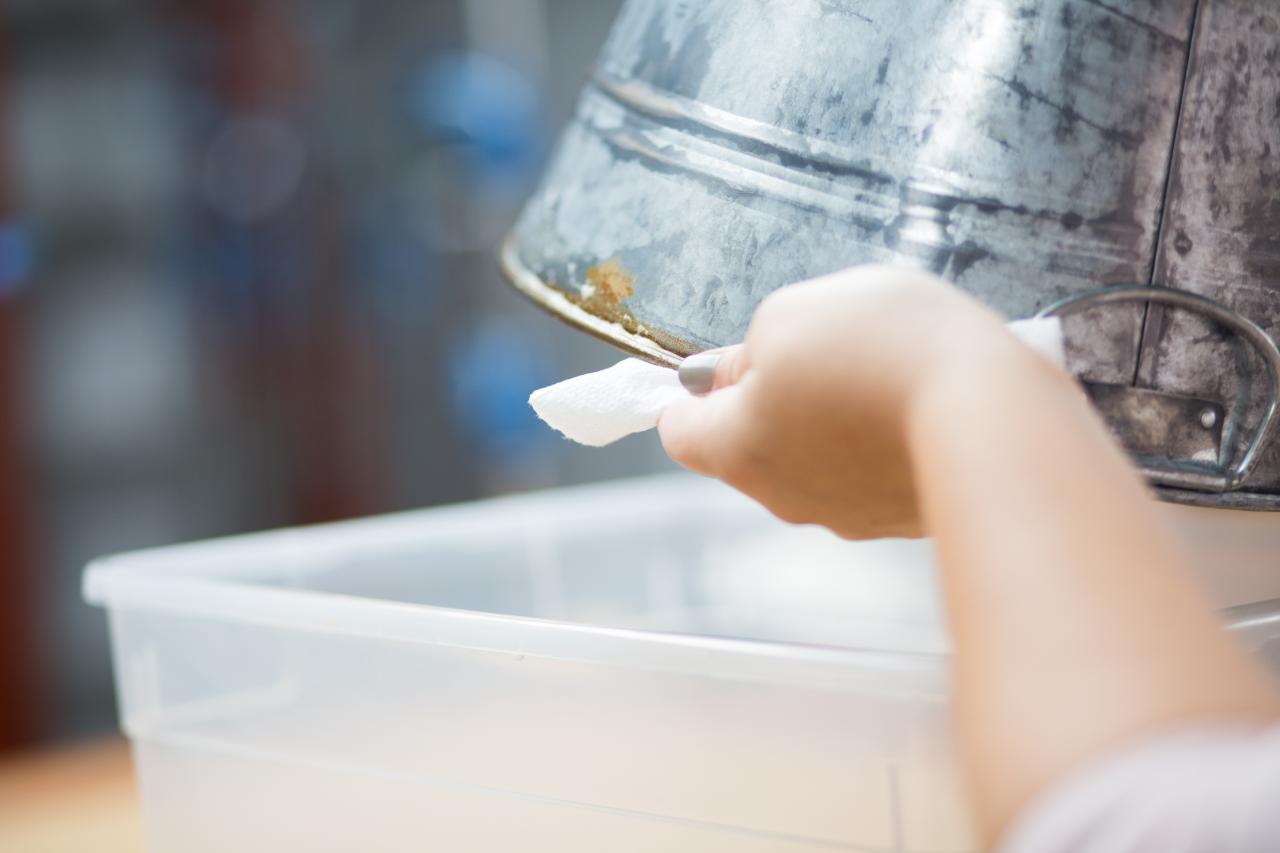
Using a sanding block, lightly sand the exterior of your galvanized bucket until the shine is gone and bucket is rough to the touch (Image 1). Wipe away dusty residue with a wet paper towel (Image 2).
Age It
Cassidy Garcia

Cassidy Garcia
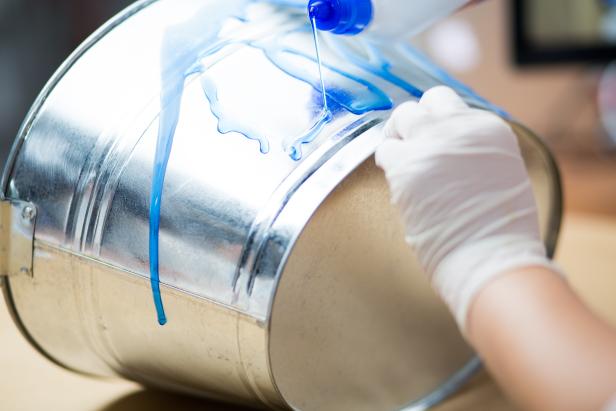
Now for the fun part! Wearing protective gloves, drizzle a generous amount of toilet bowl cleaner all over the outside of the bucket (Image 1). With a piece of steel wool, work cleaner into a lather, covering all of the exterior, including handles and crevices (Image 2). Place lathered bucket outside or in a well-ventilated area for 2-4 hours or until dry. The longer it sits, the more aged the piece will look. The cleaner acts as stripping agent, removing the galvanized finish from the metal.
Clean It Up

Cassidy Garcia
Once the bucket is dry, scrub off excess cleaner with a clean piece of steel wool, then wipe clean with a damp rag.
Age It Some More

Cassidy Garcia

Cassidy Garcia


Cassidy Garcia
Now it's time to add some gorgeous rust! Fill the bottom of a medium-sized plastic tub with 32 ounces hydrogen peroxide, four teaspoons salt and 1/2 cup white vinegar. Stir until mixed (Image 1). Place bucket in the solution — it should cover 1-2 inches of the bottom — and let sit for 15-20 minutes (Image 2). You should notice the rust starting to form after five minutes or so. Remove bucket from solution, dab lightly with a dry towel, then flip the bucket over and repeat process on the upper lip (Images 3 & 4).
Decorate


Cassidy Garcia
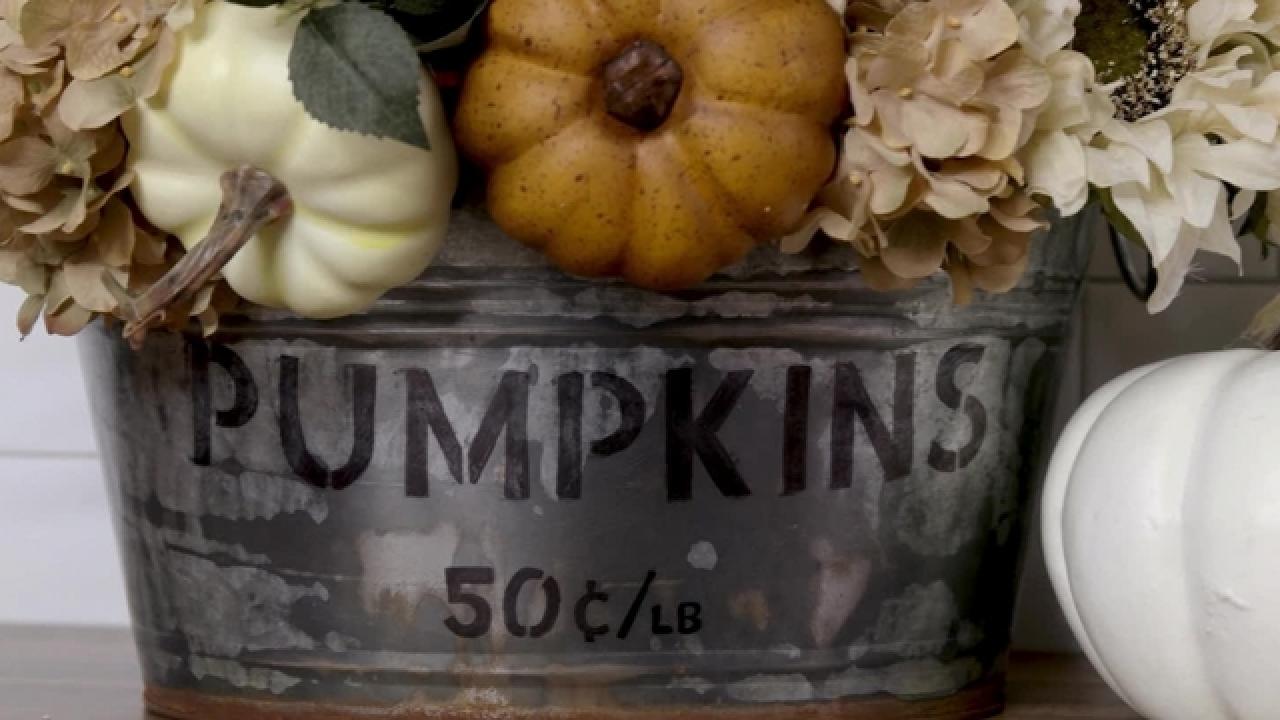
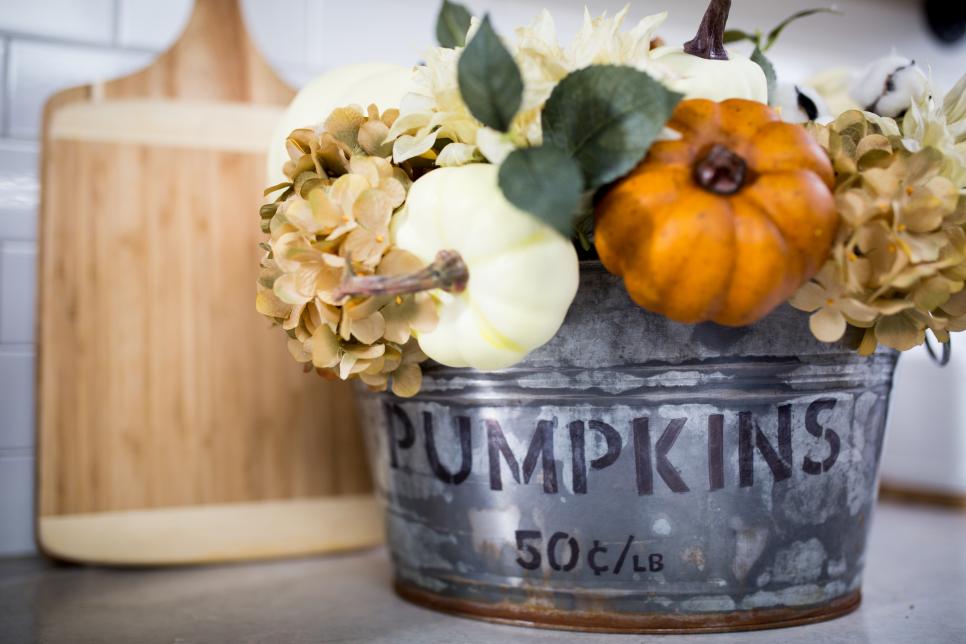
Download our free design and print on standard printer paper. Cut out design to fit your bucket. Turn it over and generously shade backside of print with a piece of graphite (can be found at the craft store). Turn back over, center and tape to the front of the bucket (Image 1). Using a sharp ball point pen, trace the outline of the letters, bearing down so that graphite will transfer to the metal. When finished outling, remove paper to reveal a faint graphite outline of your print. Trace outline with a black permanent marker, then fill in with marker. Let dry for a few minutes, then lightly distress with steel wool (Image 2).
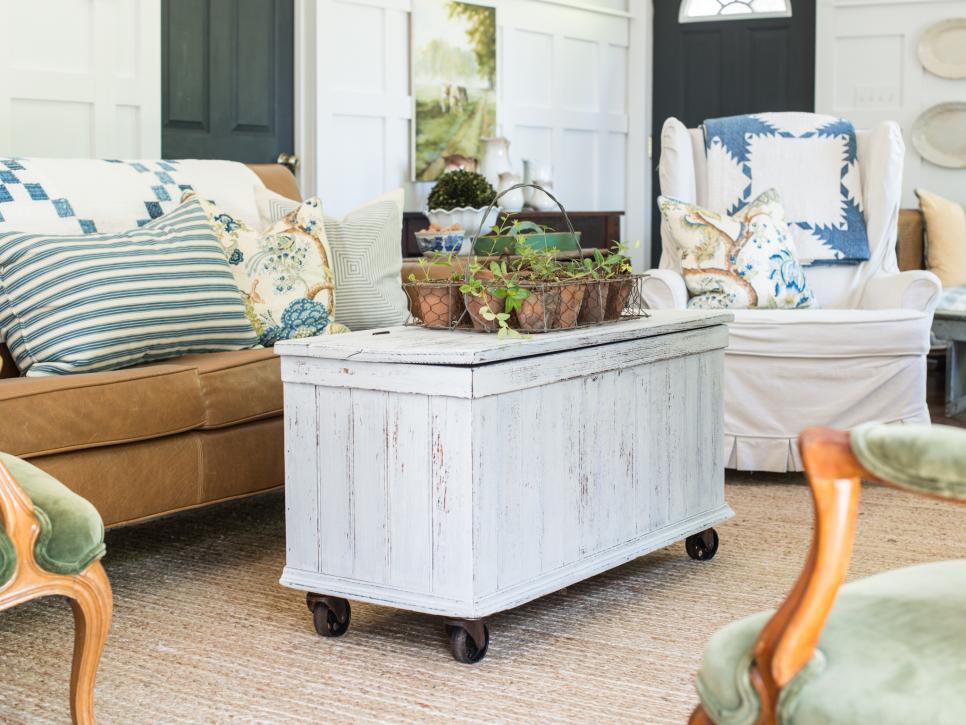
Display

Cassidy Garcia
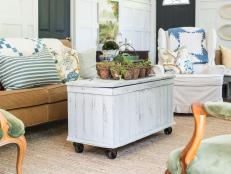
Fill with fall goods like flowers, pumpkins and cotton and display on your porch or dining table for farmhouse-chic style all season long.


