


Snowman + Scarecrow: Two-in-One Front Porch Decor
Make switching up your seasonal decor easier than ever with this DIY scarecrow/snowman combo that takes you from fall to winter with one high-impact piece.


Finding cute, creative pieces to decorate your home's exterior can be quite challenging. And just when you get the perfect look nailed down, the seasons have to go and change on you. But what if we told you that you can get twice the seasonal style from one decoration? That's right. This adorable scarecrow/snowman combo piece will give your porch major style points from when the leaves start falling until the frost fades away.
Materials Needed
- (4) 1x4 x 5’ pine boards
- (2) 1x4 x 2’ pine boards
- hammer
- 1-1/2” nails
- dark wood stain
- light wood stain
- staining cloth
- white acrylic craft paint
- black acrylic craft paint
- orange acrylic craft paint
- mini paint roller
- flannel scarf
- triangle-shaped scrap wood
- super glue
- (2) small wood rounds
- scissors
- bandana
- small paint brush
Build Wooden Frame
Cassidy Garcia
Cassidy Garcia
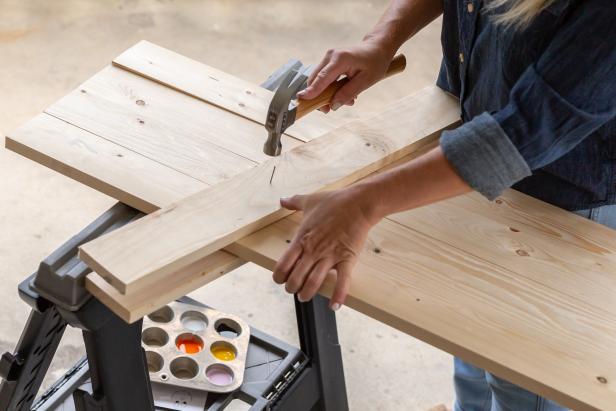
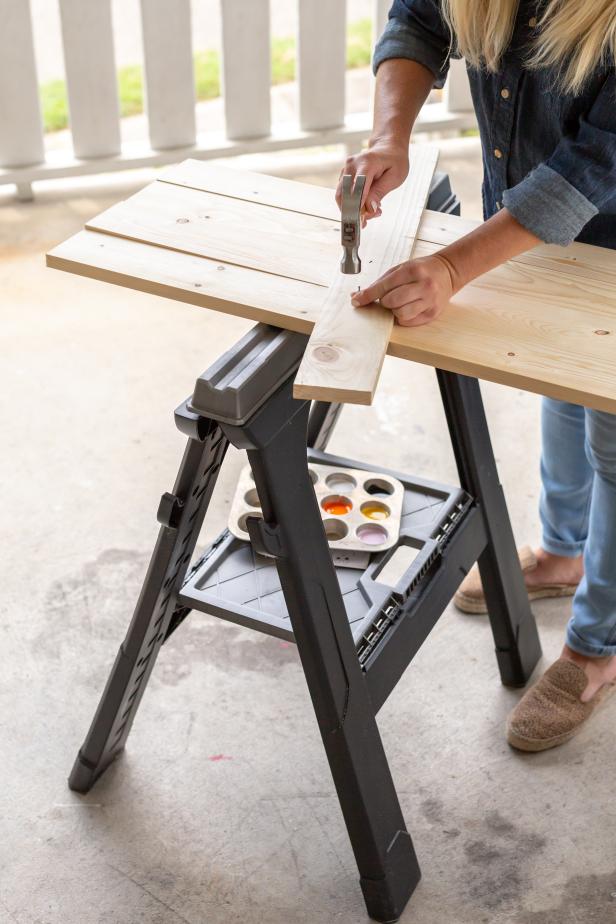
Begin by laying the four 5-foot 1x4s side by side on your work surface. Toward the top, lay one of the 2-foot pieces across the 5-foot boards at an angle, leaving the same amount of overhang on each side. Secure the board with nails and flip the complete piece over. Place the second 2-foot piece across the boards in the same fashion, matching the angle of the first. Secure with nails.

Cassidy Garcia
Pro Tip: When driving finish nails into wood, use a nail set to further push the nail heads into the wood and out of sight. For an even more professional finish, fill the area above the nail head with wood filler.
Stain Scarecrow Side

Cassidy Garcia

Cassidy Garcia
On the desired side, stain the angled piece of wood and the area above with a dark wood stain. Stain the area below the angled piece with a lighter wood stain and allow to dry.
Paint Snowman Side

Cassidy Garcia
One the stain has dried, flip the piece over. Use a mini roller to paint the angled piece and the area above with black acrylic craft paint. Wash or change out your roller head and paint the area below the angled piece white. Allow paint to dry.
Add Snowman Details
Cassidy Garcia

Cassidy Garcia
Cassidy Garcia

Cassidy Garcia
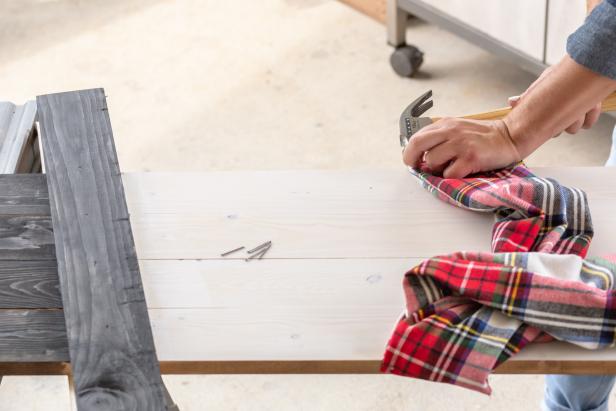
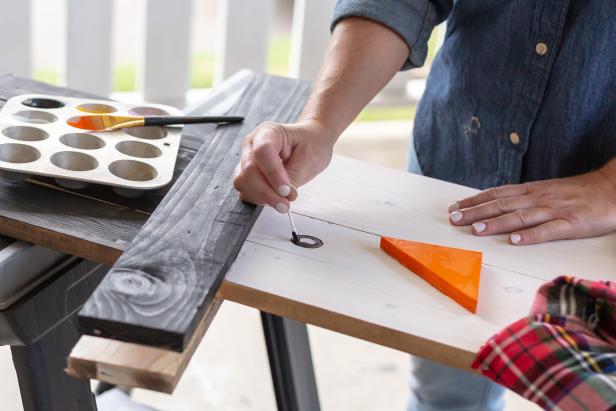
Now that the paint has dried, add a flannel scarf to the snowman’s neck by nailing it to the wood. You may need to manipulate the layout of the scarf to achieve the perfect look. Next, to create a perfect carrot nose, paint a triangle-shaped piece of scrap wood orange and super glue to the snowman above the scarf. Use a small paint brush to paint black coal eyes on the snowman’s face and finish off by super gluing three small wood-round buttons below the scarf.
Add Scarecrow Details

Cassidy Garcia

Cassidy Garcia

Cassidy Garcia
Once the paint and glue have dried, turn the piece over to the scarecrow side. In the same fashion as the scarf, nail a red bandana to the scarecrow’s neck area. Use scissors to cut off the excess on each side and tie a knot on one side to enhance the look. Finish the scarecrow off by painting on black eyes and a stitched smile. Once your paint dries, place your creation on your porch for two seasons of seriously cute.

Cassidy Garcia

Cassidy Garcia


