


How to Make a Wooden Blanket Ladder
This easy blanket ladder project is the perfect handmade accessory for storing and displaying quilts and throws.

'Tis the season to find all of the throw blankets you've had stashed in the back of the closet. With a DIY blanket ladder, you'll satisfy organizational needs and also create a lovely display for your home. Customized to hold as many throws as you desire, this wooden accessory is one you'll want to cozy up near all winter long.

Emily Fazio
Materials + Tools
- (2) 8' 2x4 premium boards
- (2) 4' 1-1/4” wood dowels (more if you are building more than four rungs)
- clamps
- drill
- 1-1/4” drill bit (paddle bit or a similar product)
- measuring tape
- speed square
- wood glue
- miter saw
- palm sander
- stain (optional)
Measure for Holes
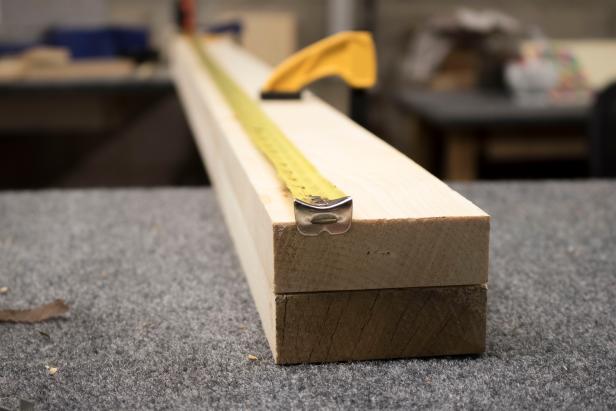
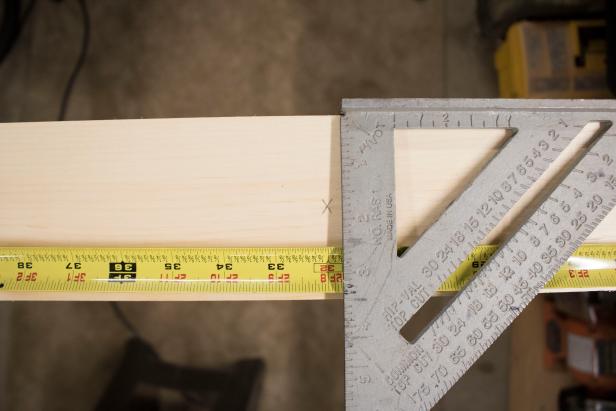
Attention to detail and precision are undeniably important when you're building a "ladder." When you're selecting your premium boards, be attentive to how evenly the boards are cut. Check for unsightly knots (not as common when you're sourcing high-quality wood). Be sure the boards aren't warped. (Image 1) Layer the two boards together on your workbench and clamp them together. The ladder built here was designed to be 80 inches tall, with four evenly spaced rungs at the 16-inch, 32-inch, 48-inch, and 64-inch points (You might see these measurements differentiated on your measuring tape, as that's the common spacing for wall studs)(Image 2). Use the measuring tape and a speed square to mark each of the four dowel holes to be cut on-center along the length of the board.
Emily Fazio
Emily Fazio
Drill Holes for the Dowels
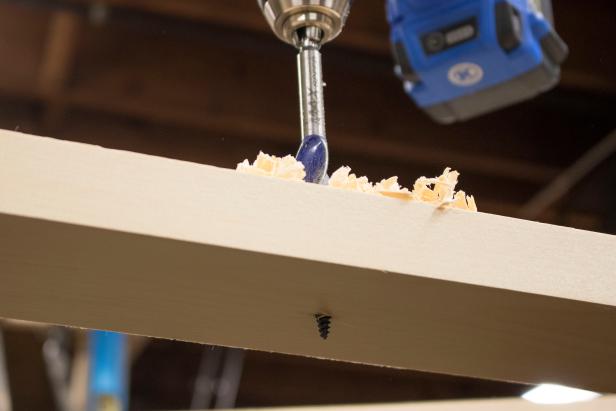
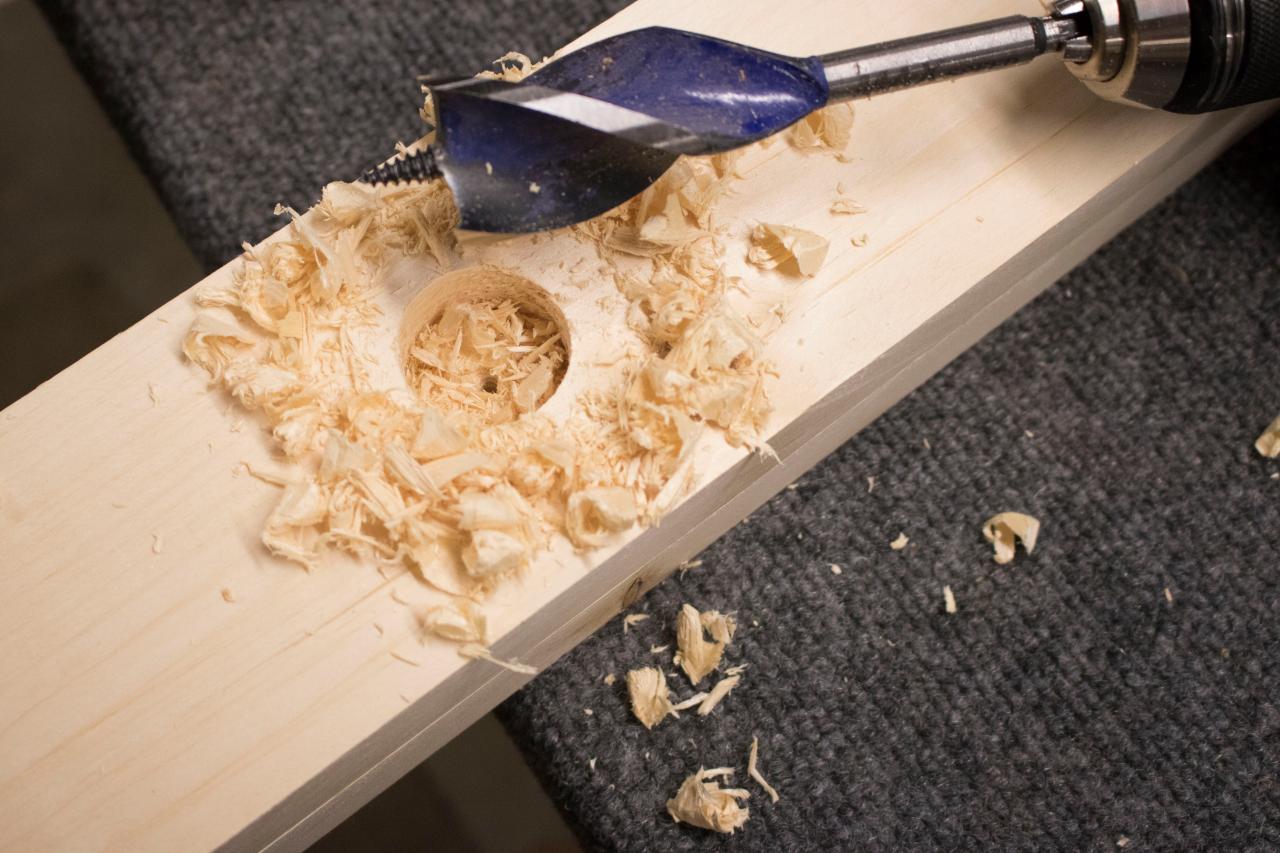
The holes for the dowels need to align perfectly in order to be level and to make it easy to assemble — one of the reasons the boards are clamped together (Image 1). Use a drill and bit to begin drilling the holes for the rungs. Important tip: Only drill about 3/4 of the way through the top board. The reason not to drill straight through both boards in one quick motion? When the drill bit exits the bottom board, it's possible the wood will splinter. Splintering wood is easier to avoid if you happen to have a drill press and Forstner bits, but I don't, and I'm happy to say that my method was an easy workaround, assuming your workshop is also quite simple.
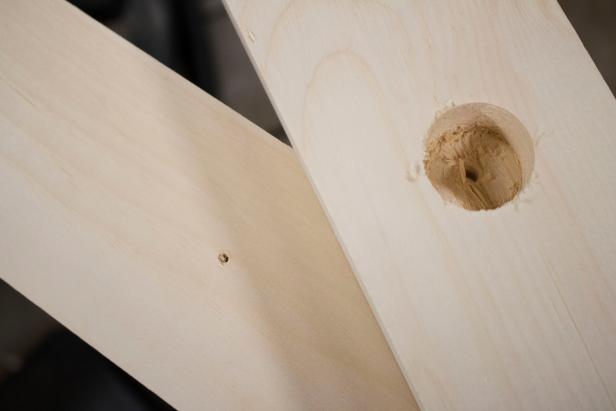
When you've drilled 3/4 of the way through the top board along all four markings running the length of the board, put down the drill and unclamp the two boards. Flip the top board and you should see a tiny hole where the tip of your drill bit poked through the other side (Image 2), and observe that the bit also marked the top of the second board as well. You've transferred your marks correctly and now you can continue cutting the holes for your dowels.
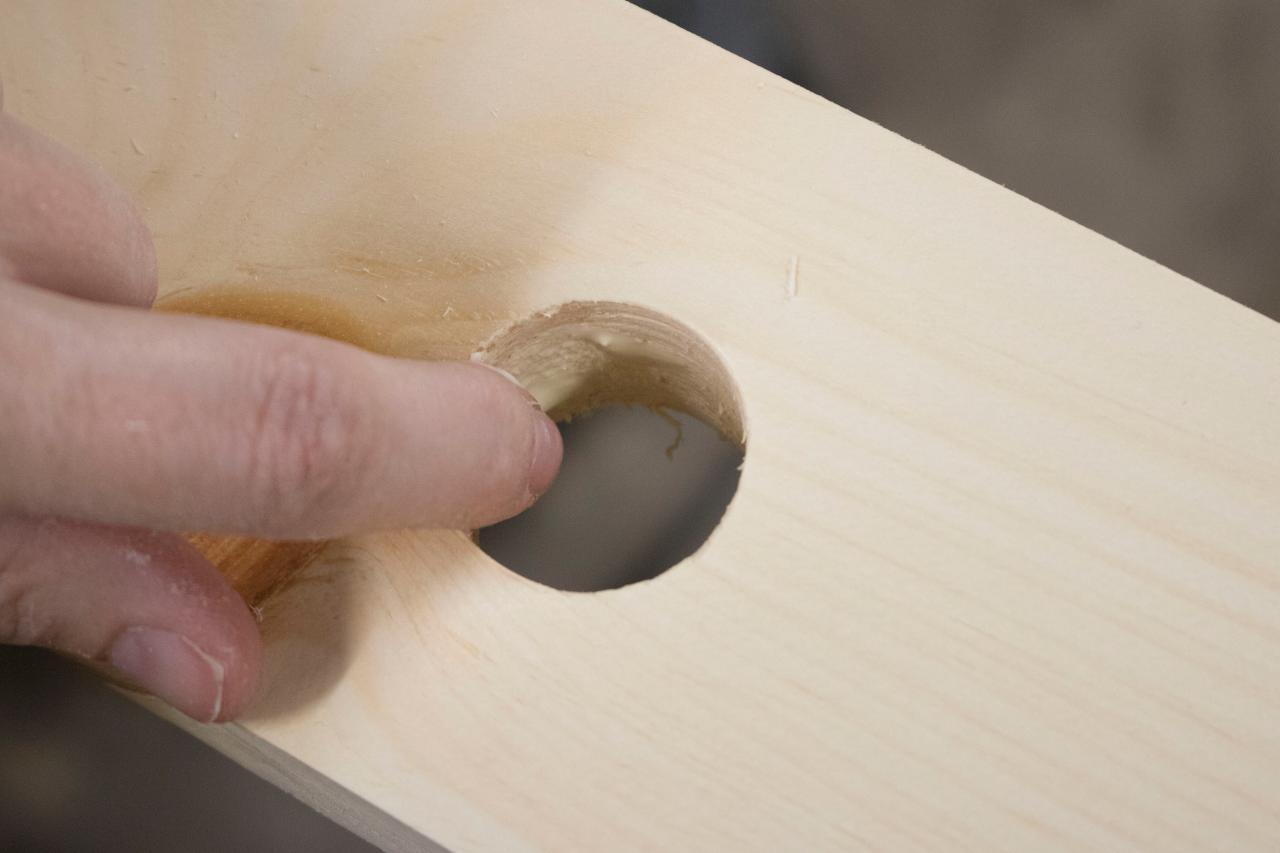
No need to re-clamp the boards (unless you wish to secure them to a workbench). On the board that was previously on top, flip it and use the drill to bore through the marked hole to clear away a perfect (not splintered) hole for your dowels (Image 3). Repeat this process on the second board (Image 4). Following the marks you transferred, cut 3/4 of the way through the board so that you can see the tip of the drill bit beneath the board, and then flip it and complete the process.

Emily Fazio
Emily Fazio

Emily Fazio
Emily Fazio
Trim Feet
If your ladder is also 80 inches, know that a 10-degree angle is what I used when I cut my feet. Height will affect the cut you make, so start with a smaller angle, and cut away more until you're confident that the ladder stands securely at an appropriate (and expected) angle against the wall.

Emily Fazio
Trim Dowels
Trim both 48-inch dowels in half, and then align the four pieces and make one additional cut to remove the rough ends of the dowel. Sometimes these ends are painted or nicked, and fresh ends look better, especially because they'll all be exposed. All four dowels should measure 22 inches.

Emily Fazio
Assemble the Ladder
No hardware is required for this ladder — did you notice that in the materials list? The only product I used to assemble the ladder was wood glue.
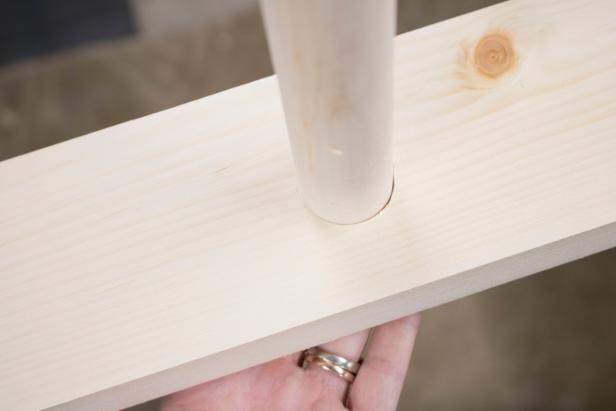
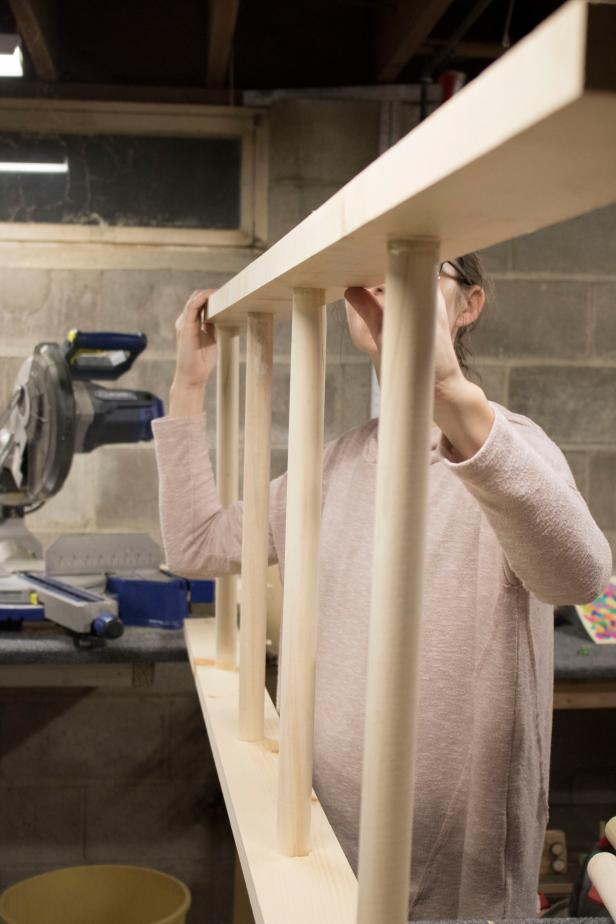
Begin by applying a thin coat of wood glue along the holes on one board (Image 1). I stress applying a thin coat because wood glue goes a long way. Use your finger or a small paintbrush to control application. Also, apply a thin layer of glue around the lower 1/2-inch of the dowels (not on the ends) and insert them one at a time into the board as it lays on the workbench. Because the dowels and drilled holes are all 1-1/4 inches, the fit should be pretty tight (Image 2). You may need to twist the dowels to get them in position. Monitor how far the dowel is emerging through the underside of the board. Try to get it flush or ever-so-slightly emerging (it can be sanded down). With the dowels positioned vertically, prep the other board and the ends of the dowels with wood glue and help the pieces align (Image 3). Again, if the fit is so tight that it needs a little help, use a rubber mallet cushioned by a piece of natural wood (it helps to distribute the force and soften the blow, and protects against any marks that may be left by the mallet). Allow the wood glue to dry.

Emily Fazio
Emily Fazio
Emily Fazio
Sand and Stain (If You Wish)
Use a palm sander along the rails of the ladder to smooth out any imperfections. Once it's smooth, apply stain if you wish, or a coat of water-based clear polyacrylic to seal the wood.

Emily Fazio
Add Rubber to the Feet
If you have any concerns about the ladder sliding, trim a small rubbery piece to attach to the underside of each foot. A cushioned drawer liner or piece of thin rug pad works well. Avoid felt and fabric.
Adorn With Blankets
Cozy up to a new way of displaying your favorite blankets! (Love that golden knit throw? I made it! Learn how to arm knit one of your own.)

Emily Fazio


