


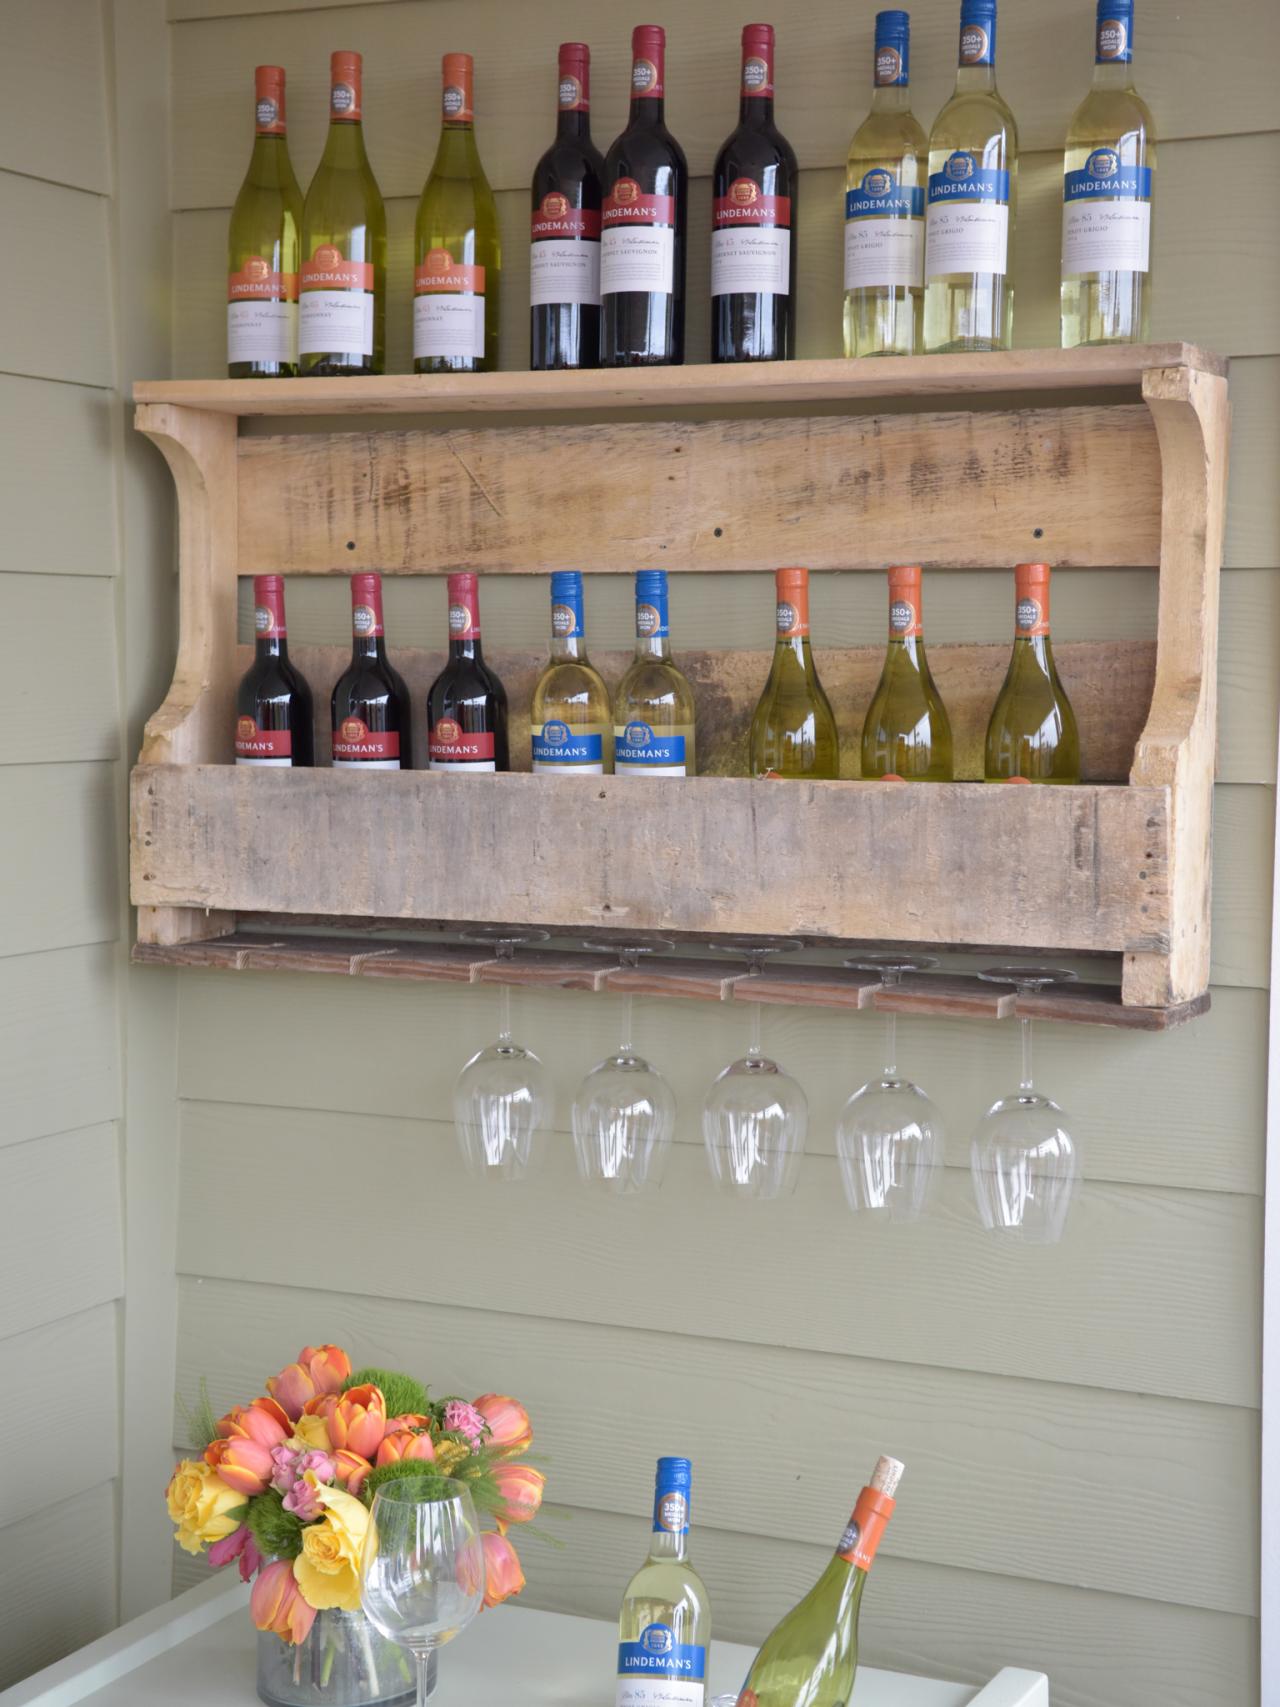
How to Make a Wine Rack From a Wood Pallet
Put a new twist on a basic wooden pallet by turning it into a rustic outdoor wine rack that can hold at least 25 bottles of wine and stemware, too.

How to Make a Wall-Mounted Shipping Pallet Wine Rack
Store your wine in rustic style by putting a new twist on a standard, wooden shipping pallet.

Photo by: Flynnside Out Productions
Flynnside Out Productions
Materials Needed
wooden pallet
crow bar
circular saw
2" nails
hammer
pencil
medium-grit sandpaper
3" wood screws
drill
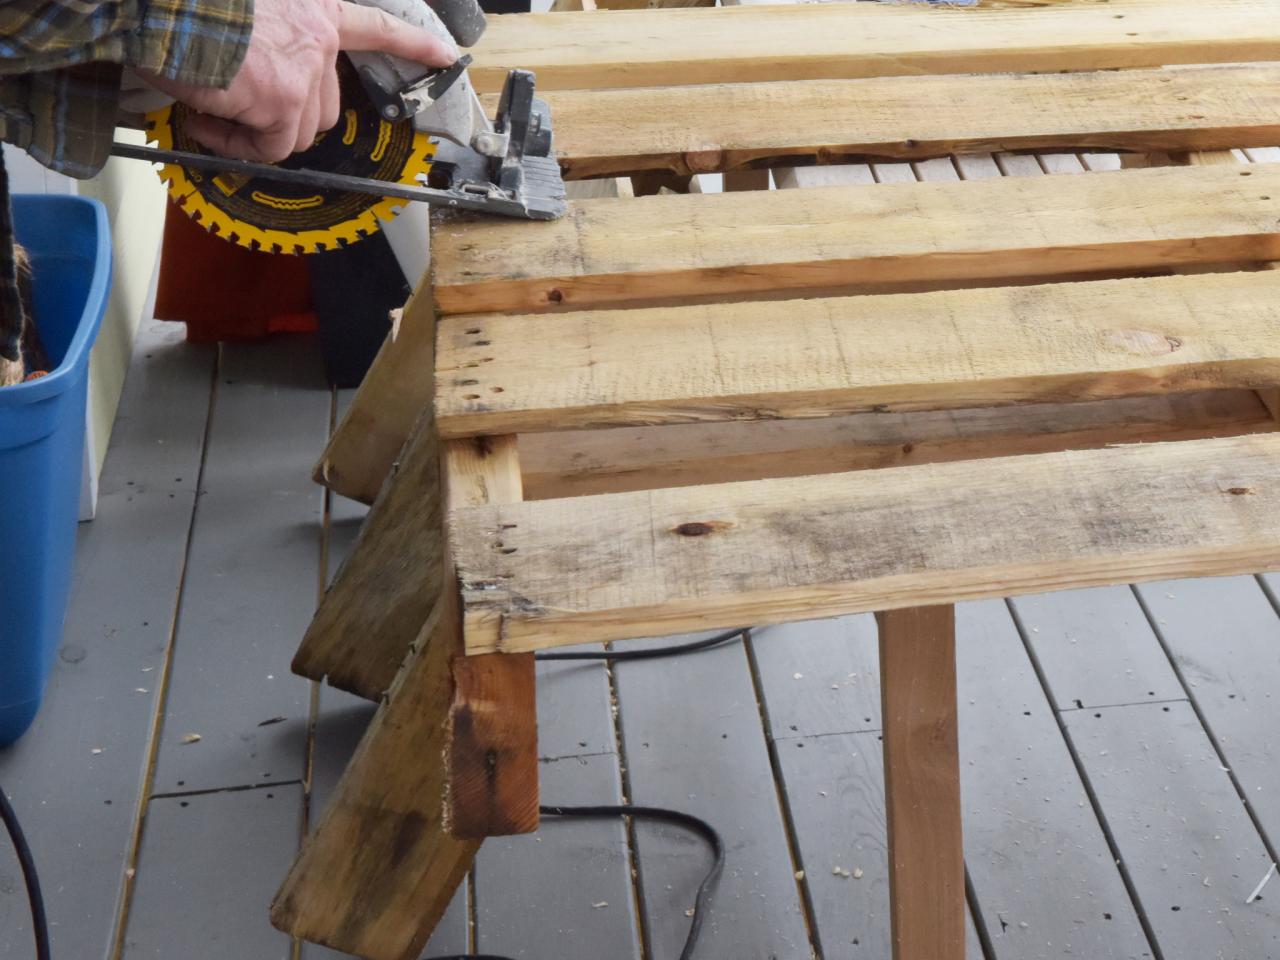
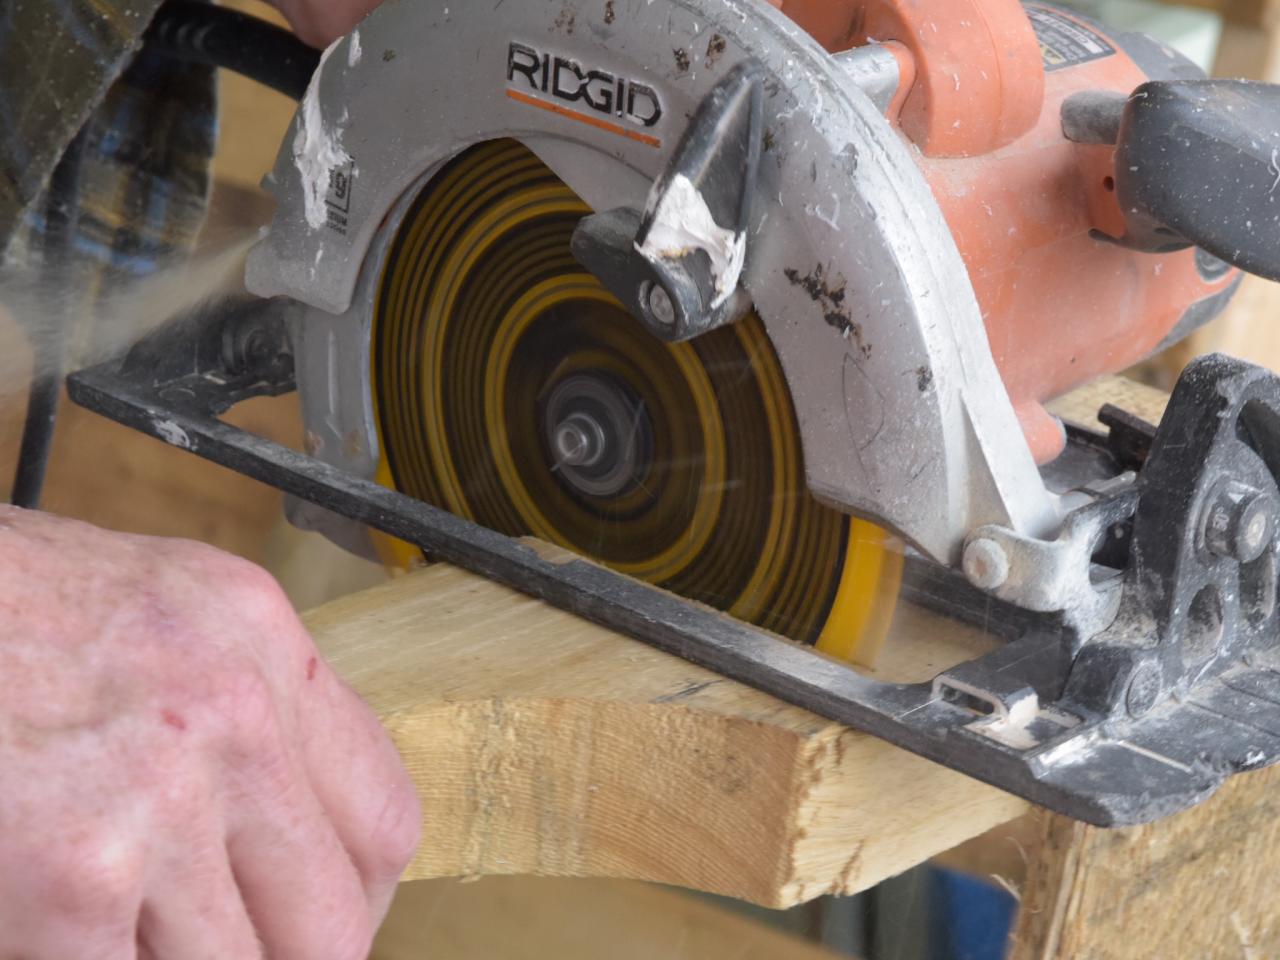
Cut Pallet to Size
Use the circular saw to cut the pallet to a height of 32 to 36 inches, keeping the width as is.

Cut Pallet to Size
Use the circular saw to cut the pallet down to a height of 32 to 36 inches, keeping the width as is.
Photo by: Flynnside Out Productions
Flynnside Out Productions
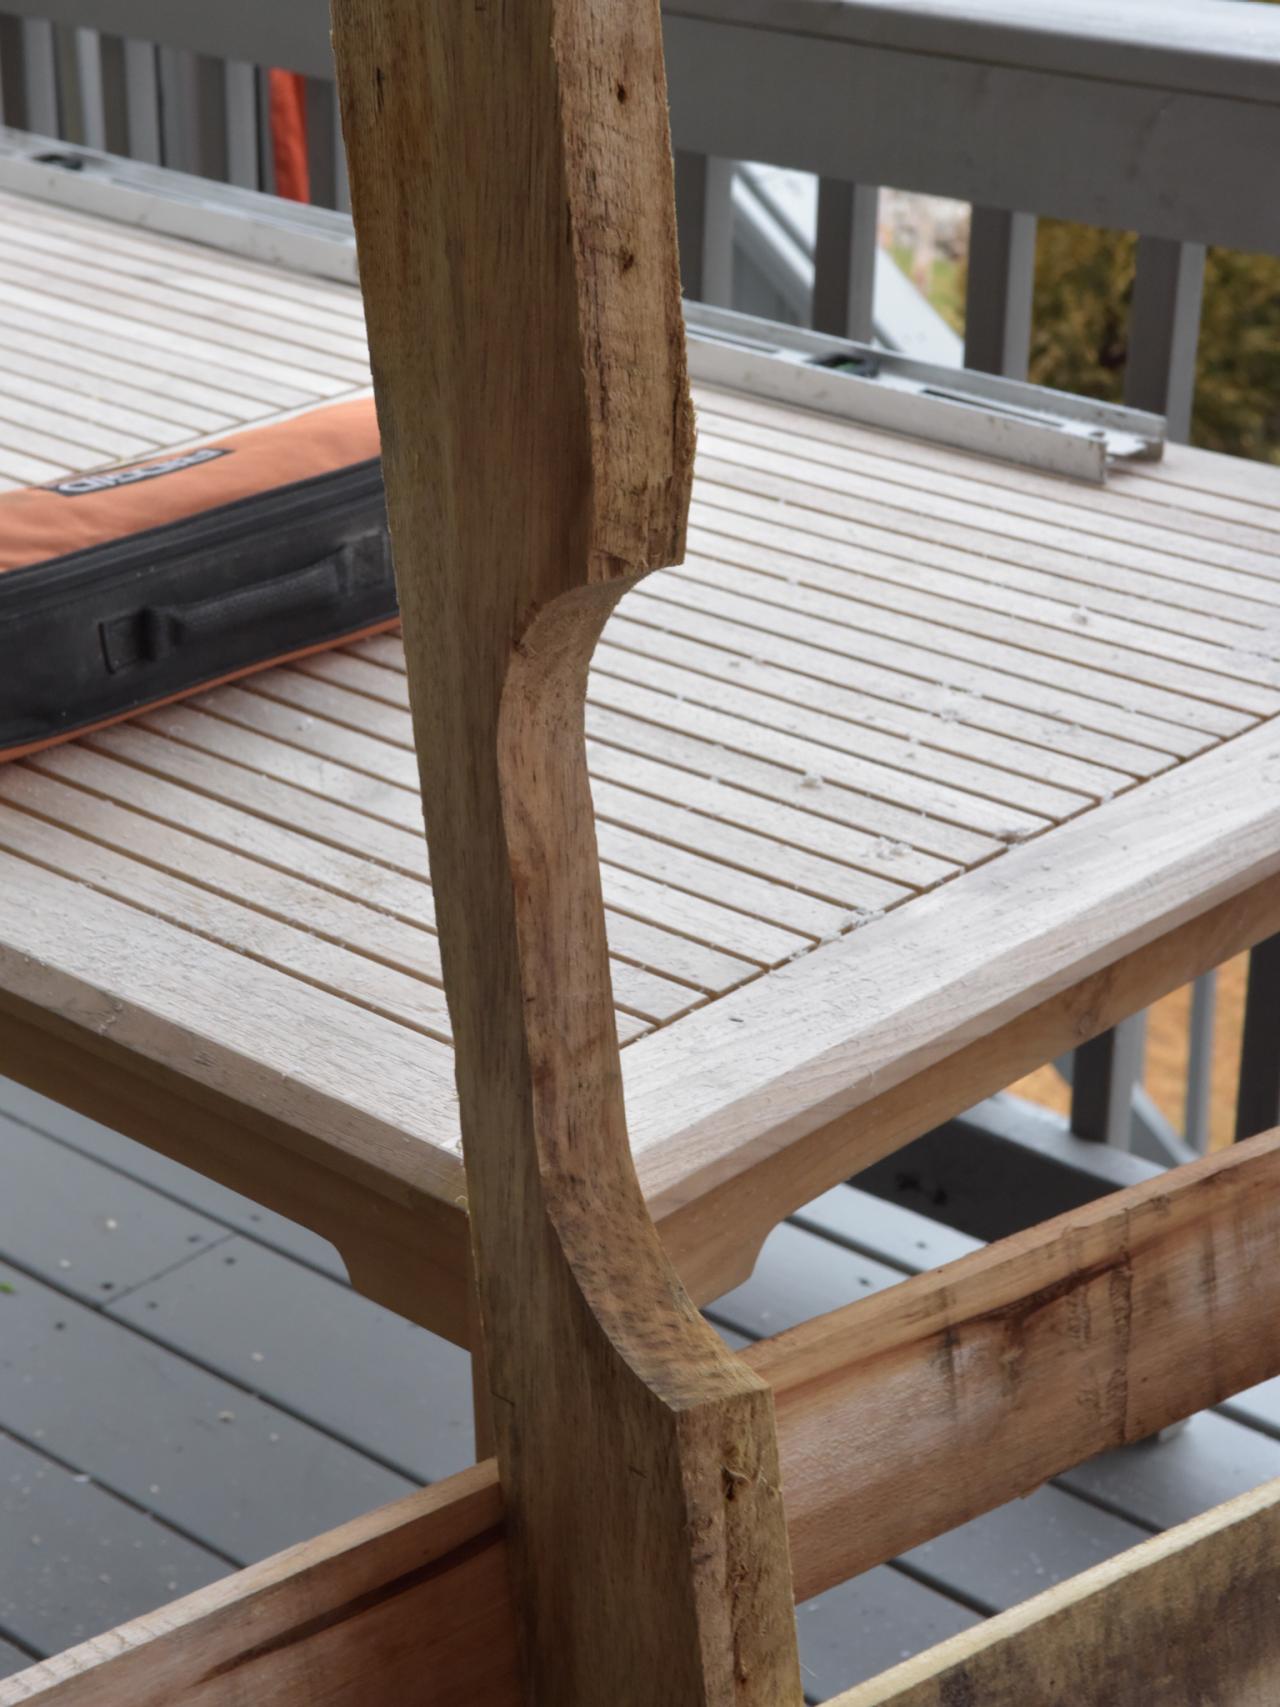
Expose Curve
The slight upward curvature along the bottom of the pallet is an important part of the aesthetic of the wine rack. (This will become the front.) Make sure the curvature is intact before moving onto the next step.

Expose Curve of Pallet
The slight upward curvature along the bottom of the pallet is an important part of the aesthetic of the wine rack as the bottom of the pallet will become the front of the rack.
Photo by: Flynnside Out Productions
Flynnside Out Productions
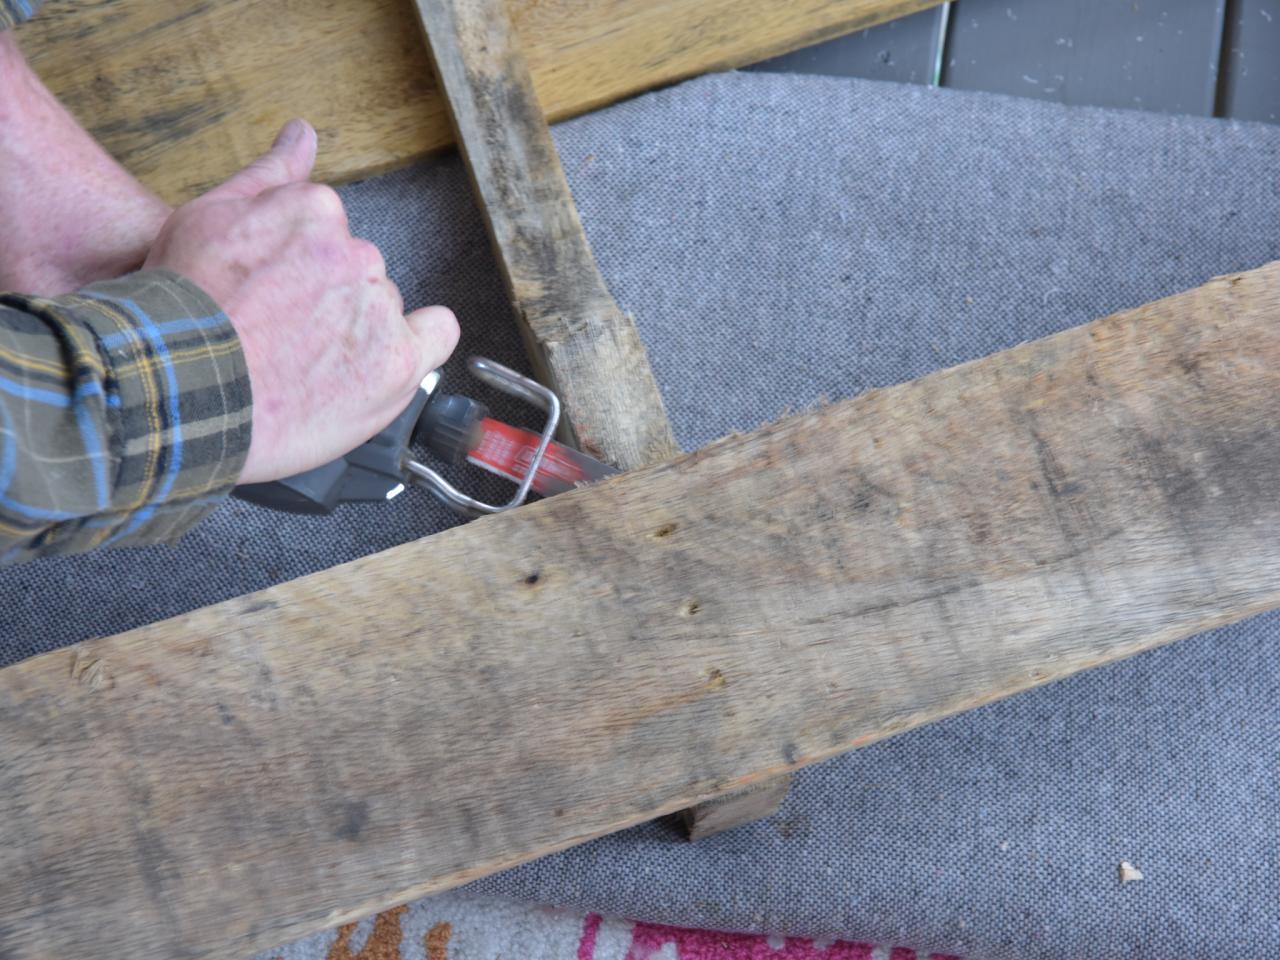
Remove Excess Planks
You'll want to have a total of three planks across the back of the wine rack. Remove additional planks along the top or bottom with a crow bar.

Remove Excess Planks
You’ll want to have a total of three planks across the back of the pallet wine rack. Remove additional planks along the top or bottom with the reciprocating saw or crow bar.
Photo by: Flynnside Out Productions
Flynnside Out Productions
Add Clean Cut to Top
It's important for the very top of the pallet to be clean and level. Use the circular saw to create a perfectly level edge.

Add Clean Cut to the Top
It’s important for the very top of the pallet to be clean and level. Use the circular saw to create a perfectly level edge.
Photo by: Flynnside Out Productions
Flynnside Out Productions
Update or Sand Fascia
The lower-front plank of the wine rack will become both structural and decorative, as it will be used to keep wine bottles secure. If the lower plank is damaged, you'll need to remove it and replace it with another. Tip: If the lower-front plank needs to be replaced, first remove the existing one with the crow bar, then add a new one with 2-inch nails and a hammer.

Update or Replace Fascia
The lower front plank of the wine rack becomes both structural and decorative as it will be used to keep the wine bottles secure. If the lower plank is damaged, you'll need to remove it and replace it with another.
Photo by: Flynnside Out Productions
Flynnside Out Productions
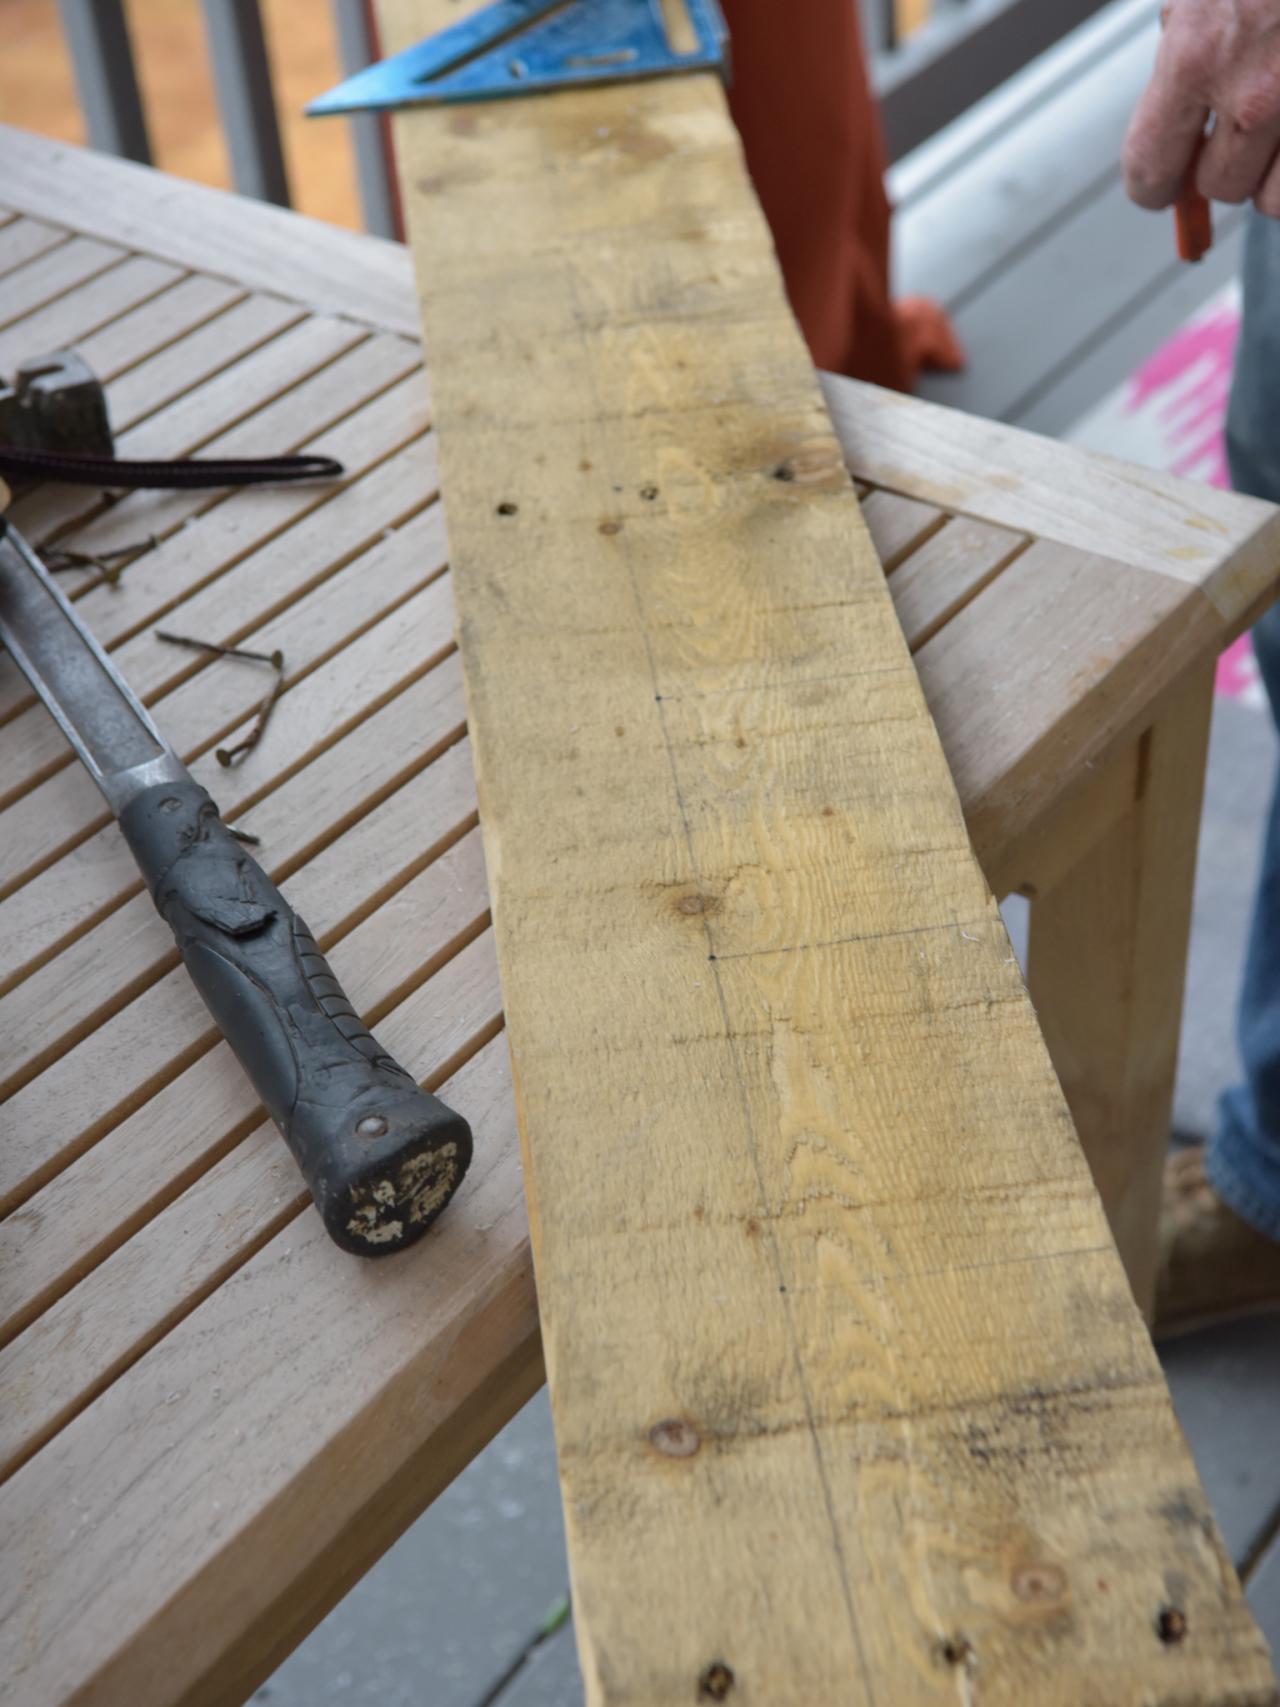
Measure and Mark Glass Hanger
On the very bottom of the rack there will be a glassware hanger. This is made by cutting a plank to size, then adding cuts to house the glasses' stems. Use a pencil to mark the cut marks on the plank.

Measure and Mark Glass Hanger
Along the very bottom of the wall-mounted wine rack will sit a wine glass hanger. This is made by cutting a plank to size, then adding cuts to house the glasses’ stems. Use the pencil to mark the cut marks on the plank.
Photo by: Flynnside Out Productions
Flynnside Out Productions
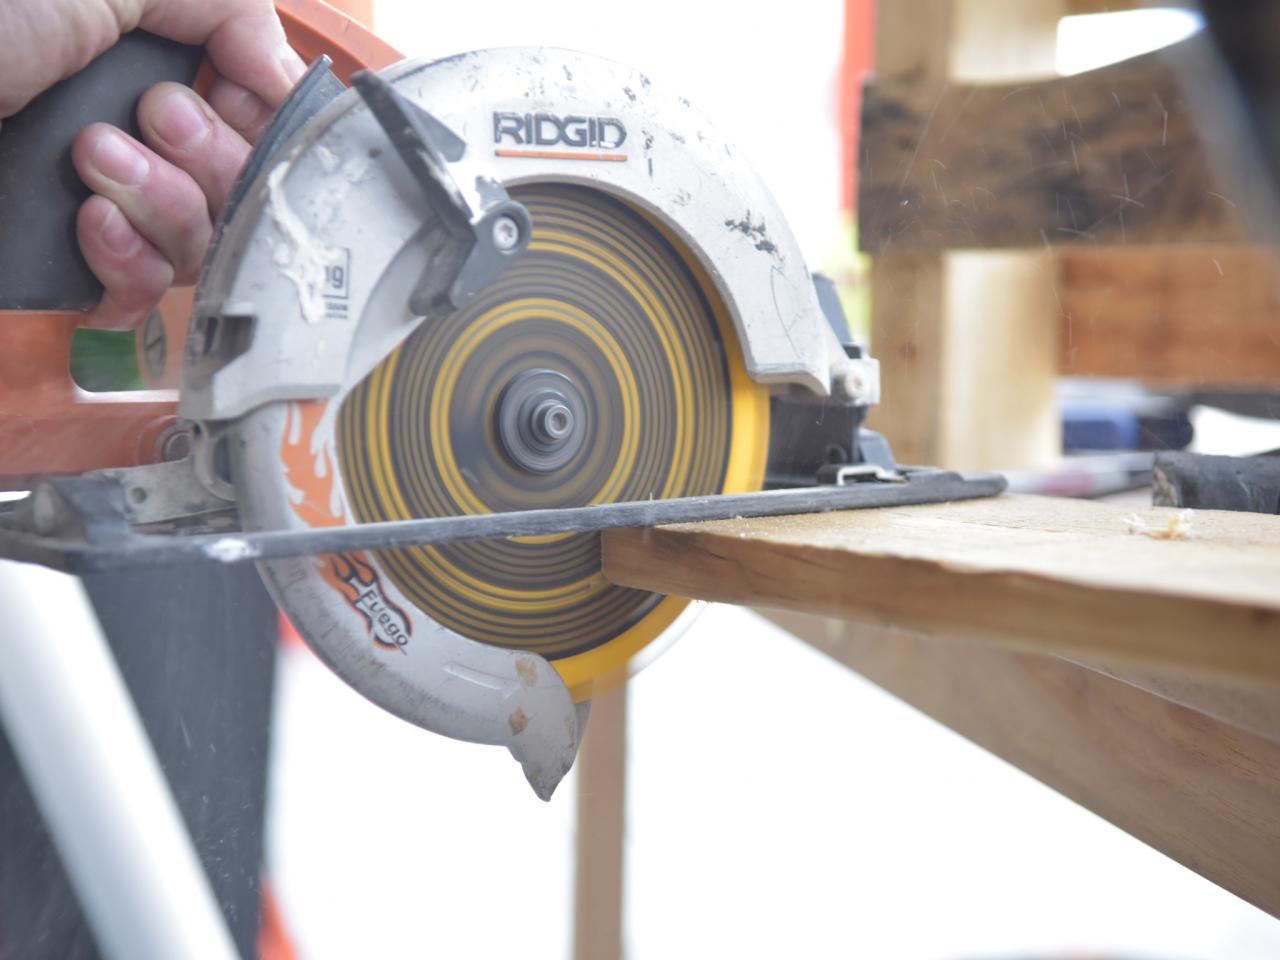
Gut Glass Hanger
Use the circular saw to cut the glassware hanger to size and add 3/4-inch grooves for stems

Cut Wine Glass Hanger
Use the circular saw to cut the glass hanger to size and add 3/4-inch grooves for stems.
Photo by: Flynnside Out Productions
Flynnside Out Productions
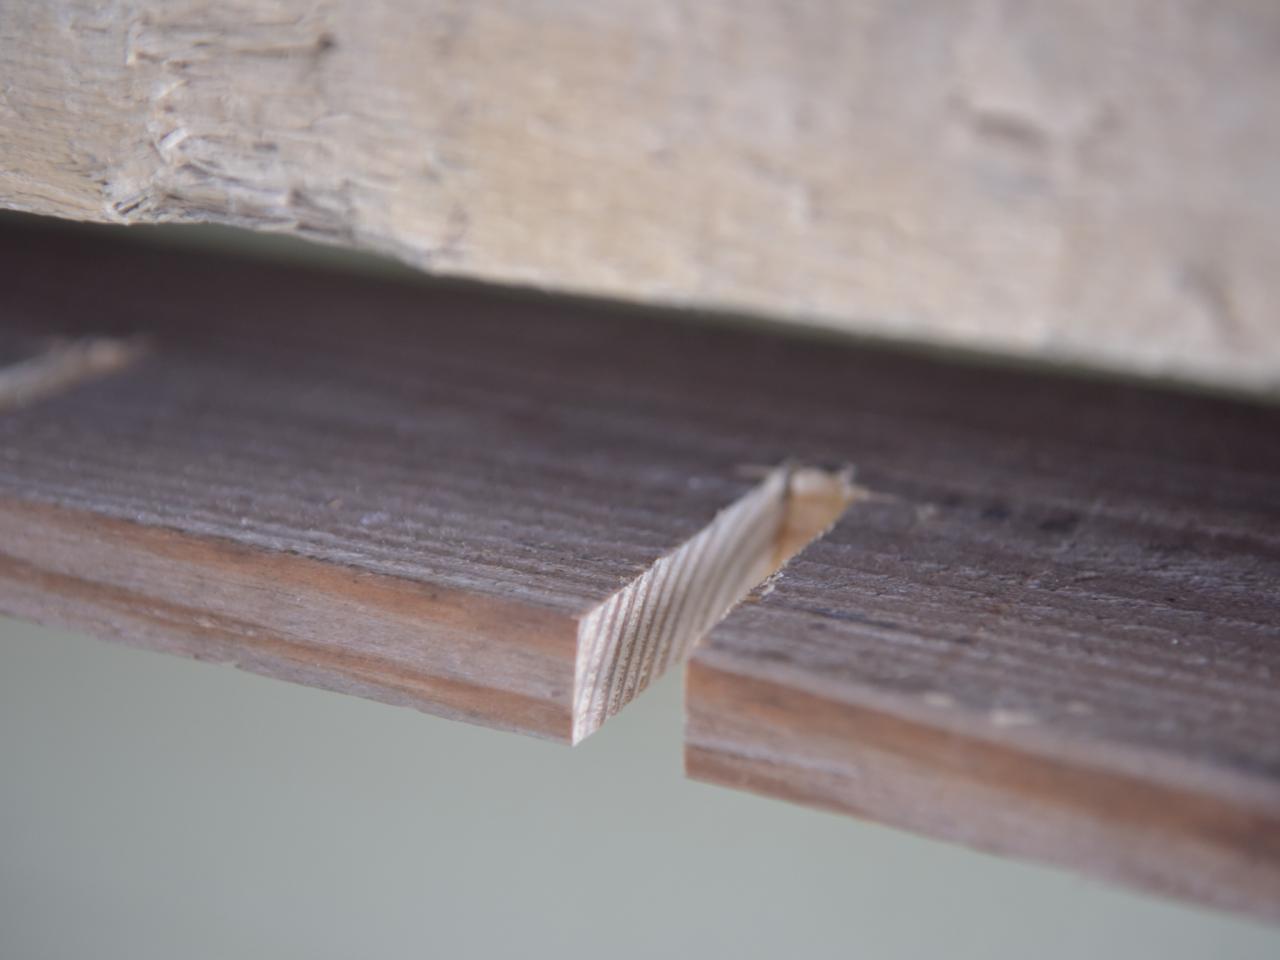
Sand Grooves
Once the grooves are added for the glassware stems, use medium-grit sandpaper to smooth the rough edges, then fasten the plank to the bottom of the wine rack using 3-inch wood screws and a drill. Next, hang the wine rack on the wall and secure in place with 3-inch wood screws drilled into studs.

Sand Grooves
Once the grooves are added for the wine glass stems, use the medium grit sandpaper to smooth the rough edges, then fasten the glass-hanging plank to the bottom of the repurposed pallet using 3-inch wood screws and the drill.
Photo by: Flynnside Out Productions
Flynnside Out Productions

Brian Patrick Flynn


