


How to Arm Knit a Chunky Blanket in Less Than 1 Hour
Purchasing a throw this size could cost up to $300. Learn how easy and time-efficient it is to make one of these handmade, chunky wool throws.

As the weather turns chilly and your family craves snuggly accessories and cozy home decor, switch your creative efforts into making a DIY chunky, wool blanket. Arm knitting is an easy and popular approach to making throws and home accessories, and inspiration has been flooding my mind ever since I worked on this gallery that honors the art of finger knitting and arm knitting. Most of the artists featured promised an end project that was “easy!” and “great for beginners!” and “no knitting skills required!” and obviously I was determined to find out if that was true. Spoiler: Totally true. How do you like my first attempt at making a crib blankie?

Emily Fazio
I spent a bit of time learning everything I could about arm knitting with wool before getting started.
What kind of yarn should you buy?
Whether acrylic or 100% wool, makers will agree that the thicker the fibers, the better the results if you’re arm-knitting. Compare your extremities to conventional knitting needles – your weave will only be as tight as the needles will allow. Thinner needles, tighter weave. Thicker needles, looser weave. Example: If you were to arm knit with ordinary yarn, the stitches would be very loose, but if you choose a thick fiber, the diameter of the material will fill in the weave more substantially and appear more voluminous.
Buy Chunky Yarn

And how much chunky yarn will you need?
The general consensus is that 6-8 pounds of material will create a nice blanket. If you’re arm knitting a scarf, you’ll need less. King size? You'll want more.

How Much Chunky Yarn Do I Need for a Blanket?
Learn how to measure and purchase bulky yarn with confidence.
I chose 6.6 pounds of a goldenrod shade, and I actually couldn’t believe how much it was when it arrived safely in the mail. That’s a lot of merino wool, people! So silky soft.
As arm knitting expert Amanda from Simply Maggie promises, can it really be done in less than an hour?
Yes! Even for a first-timer like me. Here's a video tutorial from Amanda, and below are a bunch of photos from my learning experience. I’m happy to tell you now that this is a great DIY project for anyone looking to learn how to arm knit something beautiful and cozy.

Emily Fazio
I know now that this is a good project for a cool day. Hot weather is not wool-arm-knitting weather, and the more comfortable you can make yourself for an hour, the easier it will be to complete this project in a time-efficient way.
I found that casting on the first row of stitches was the hardest part of the entire project because you’re learning how to manipulate your material. It starts with a simple slip knot, and from there I learned a few things:
Begin with a really long tail of yarn before you begin casting – longer than you expect. The width of the overall blanket is going to be limited by the available tail trailing from your slip knot, and after a few attempts that ended short, I realized that it’s better to commit more at the start. I began with a 60” tail of yarn, and ended up with a 48” wide blanket.

Emily Fazio
Width of the blanket is also going to be limited by your own arm capacity. Long arms can hold more stitches, short arms maybe not as many. I was comfortable holding 18 stitches, and probably would have maxed out at 20-24 stitches. The end result with 18 stitches was a blanket 48” in width (I stopped at 48” long, too, to make the blanket a perfect square).
Another surprisingly difficult aspect learned when casting the initial row of stitches? The yarn can’t be taut. There’s a tendency to want to tighten the yarn at your wrist, but it needs to remain relatively loose in order to slide up from your wrist to your elbow, or else you’re going to spend a lot of time pulling and forcing the stitches to fit. Be consistent with yarn tightness/looseness, so that the finished blanket is consistent throughout.
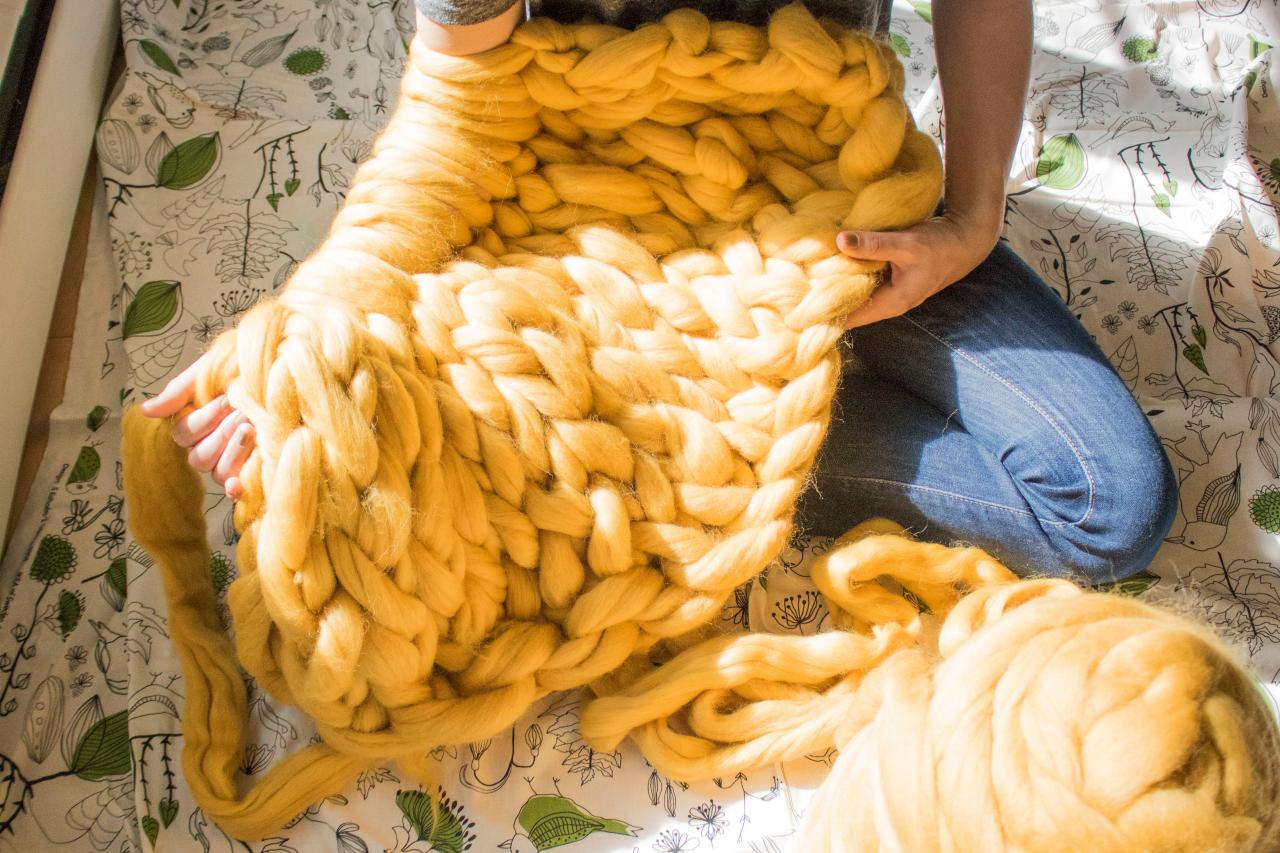
You might be 20-minutes into your blanket after casting that first row, wondering how it is that you’re going to finish an entire blanket in less than an hour when it took you so long to get to this point, but hang in there. You’ll be comfortable moving the stitches from arm-to-arm, and you’ll be surprised at how fast the blanket takes shape.

Emily Fazio
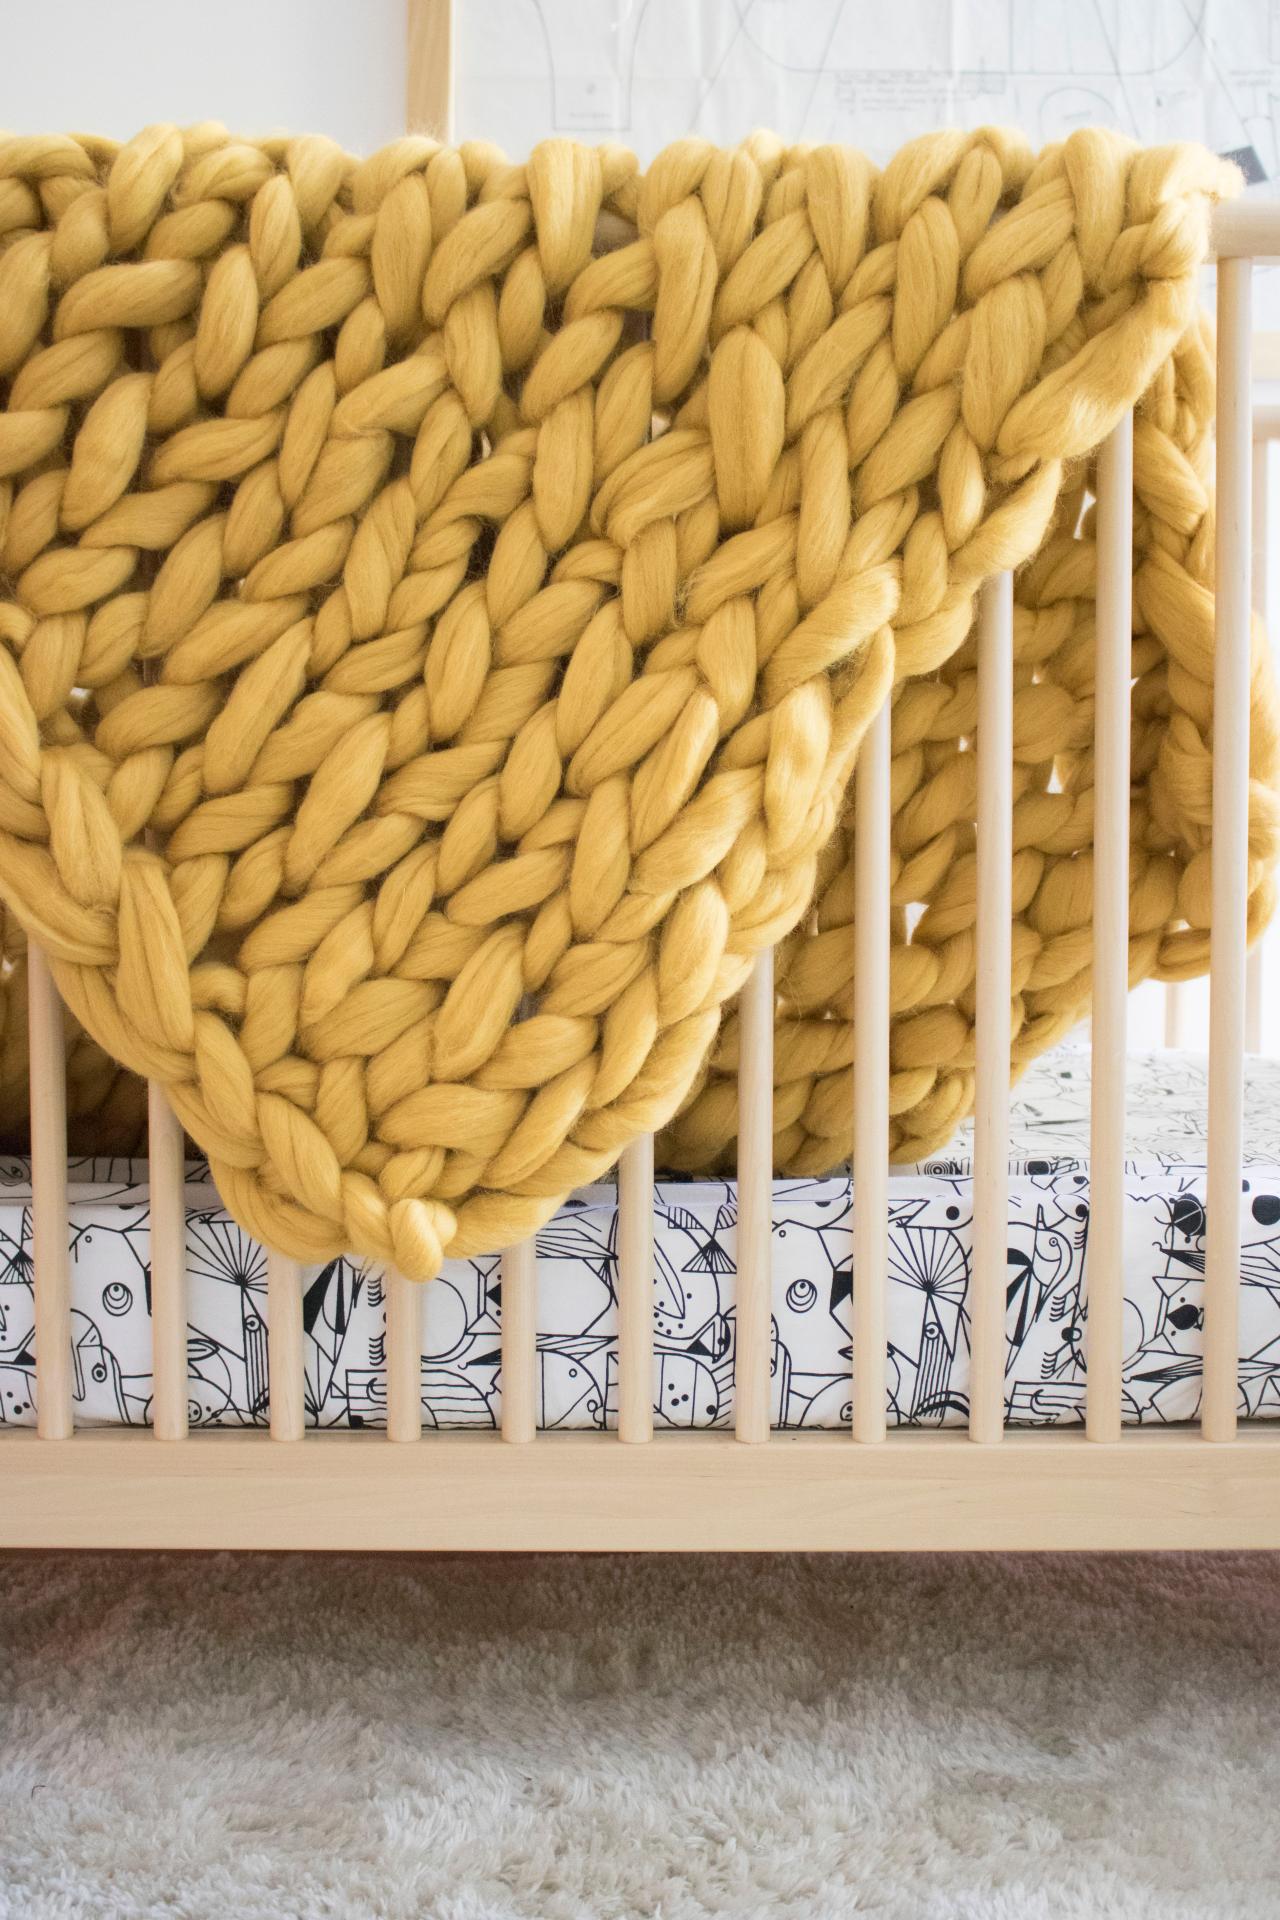
Throughout the project, stand up and check out your work. The yarn is going to pull and stretch, and by standing and allowing it to hang, you’ll get a better sense of its scale. Put the breaks on when the length of the blanket is what you need. I was making a cozy blanket to accessorize my child’s bedroom, and it ended up being 48” x 48”.

Emily Fazio
Casting off and finishing the blanket is easy, and if you haven’t already checked out her video tutorial, I encourage you to visit Simply Maggie to see how you can easily cast off your arm knit blanket, and delight in the handmade blanket you made – beginning-to-end – in less than an hour. Her instructions are easy to follow, and you’ll feel like an arm-knitting pro in no time at all.

Emily Fazio

Emily Fazio


