


How to Make a Wine Cork Christmas Tree Ornament
Put those wine corks you've been saving to good use with this easy, festive craft project.

Jalynn Baker

Materials Needed
- wine corks
- patterned paper
- ribbon
- 1/2” screw eyes
- hot glue gun and glue sticks
- decoupage glue
- paintbrush
- scissors
- serrated knife
Step 1: Assemble Tree

Jalynn Baker
Arrange the wine corks in your desired Christmas tree layout – we used 13 corks arranged in five rows, and we mixed both natural and wine-stained corks. Using a hot glue gun, glue the corks together. Since the lengths of the corks may vary, be sure to line up the ends of the corks on the “front” side of the ornament.
Step 2: Attach Trunk

Jalynn Baker
Cut a wine cork in half using a serrated knife. Glue one half to the bottom row of corks to serve as the “trunk” of the tree.
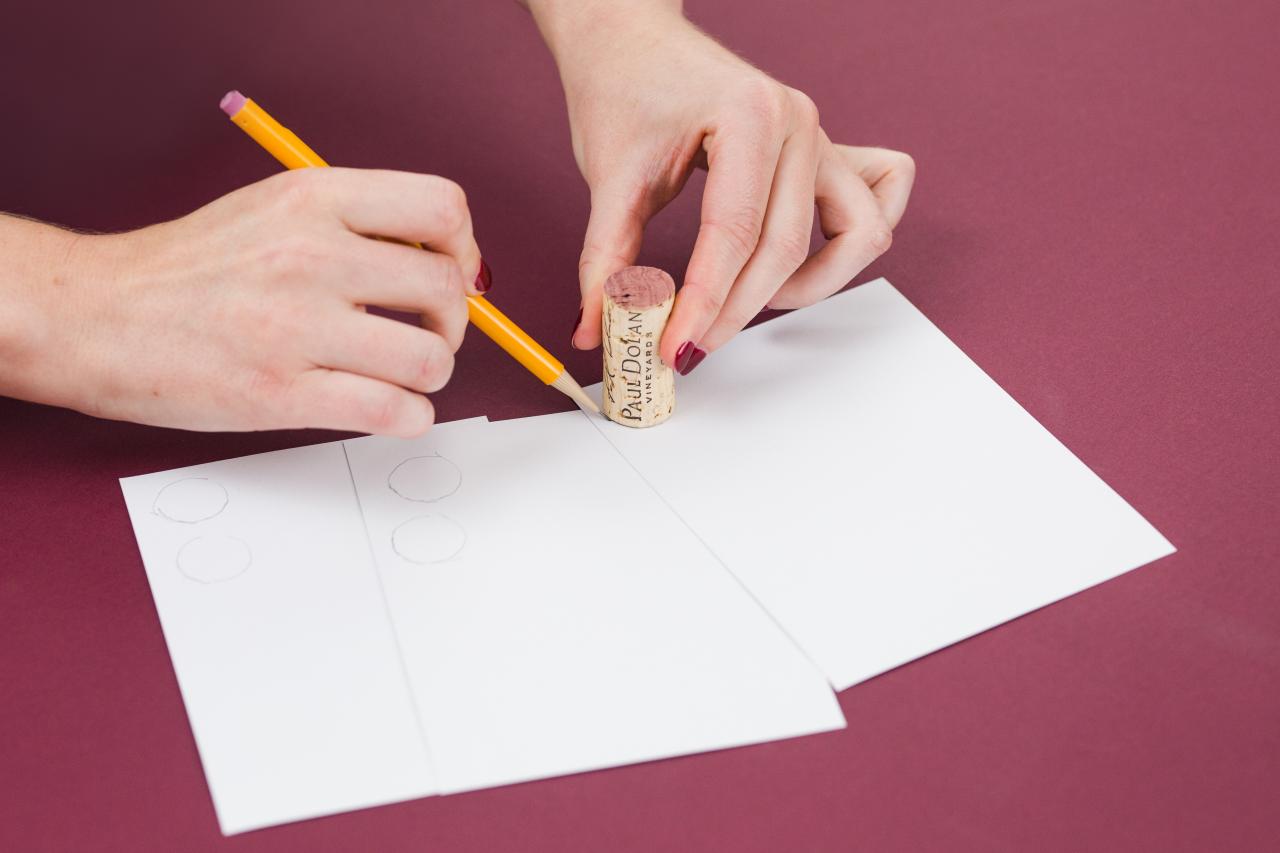
Step 3: Add Colorful Paper

Jalynn Baker
For an extra pop of color and pattern, use a spare cork to trace circles on your favorite scrapbook paper.

Jalynn Baker
Cut out the circles and use decoupage glue to attach them to a few of the corks in your ornament. Leave some corks unadorned, if desired.
Step 4: Add Ribbon

Jalynn Baker
At the top of the cork “tree,” screw in a 1/2” eye hook by hand. Thread a ribbon through the hook and tie it to create a loop. Hang on your tree for a wine-derful addition to your holiday decor!

Jalynn Baker
More Upcycled Ornament Ideas:


