


How to Make a Holiday Window Box

Holiday Window Box
Dress up your home's windows for the holidays with a handmade window box like this example.

Materials Needed:
- pressure-treated pine window box planter
- twine
- back tacks
- scissors
- hammer
- potted evergreens
- Amaranthus caudatus
- ebony wood stain
- cloth
- paint brush
- tape measure
- carpenter's pencil
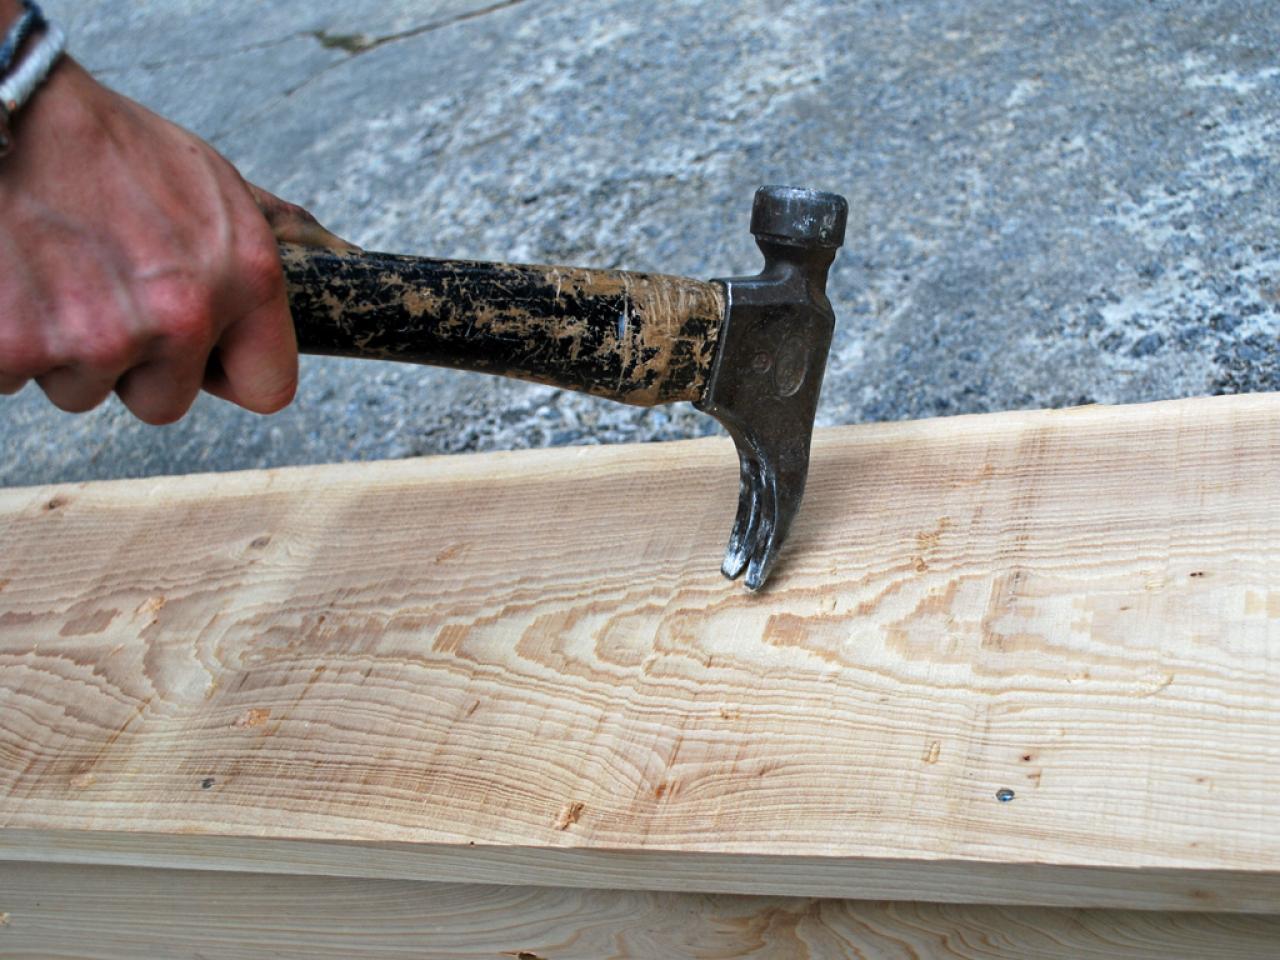
Add Hammer Marks
Add texture to the planter box by banging it with the back side of a hammer. Tip: Hit random areas in no specific order to ensure an authentically aged look.

Original_Brian-Patrick-Flynn-Holiday-House-window-box-step-1_s4x3
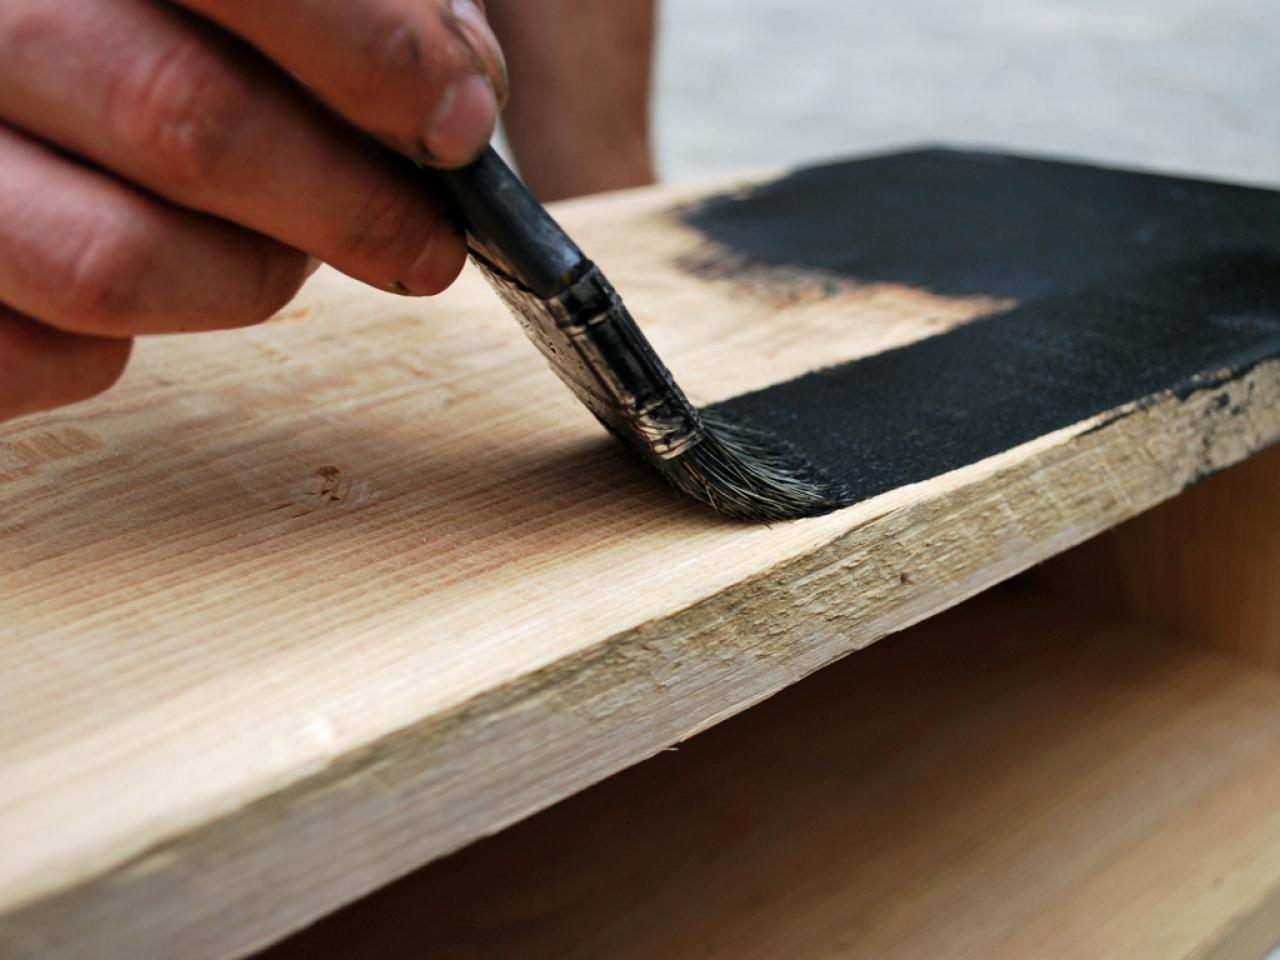
Apply Stain
In order to add graphic impact, it's best to stain the pine window box planter black so that the lighter tones of the accent materials stand out. Use a paint brush to add an even coat of ebony-toned stain. Tip: For the best finish, be sure to brush with the grain rather than against it.

Original_Brian-Patrick-Flynn-Holiday-House-step-2_s4x3
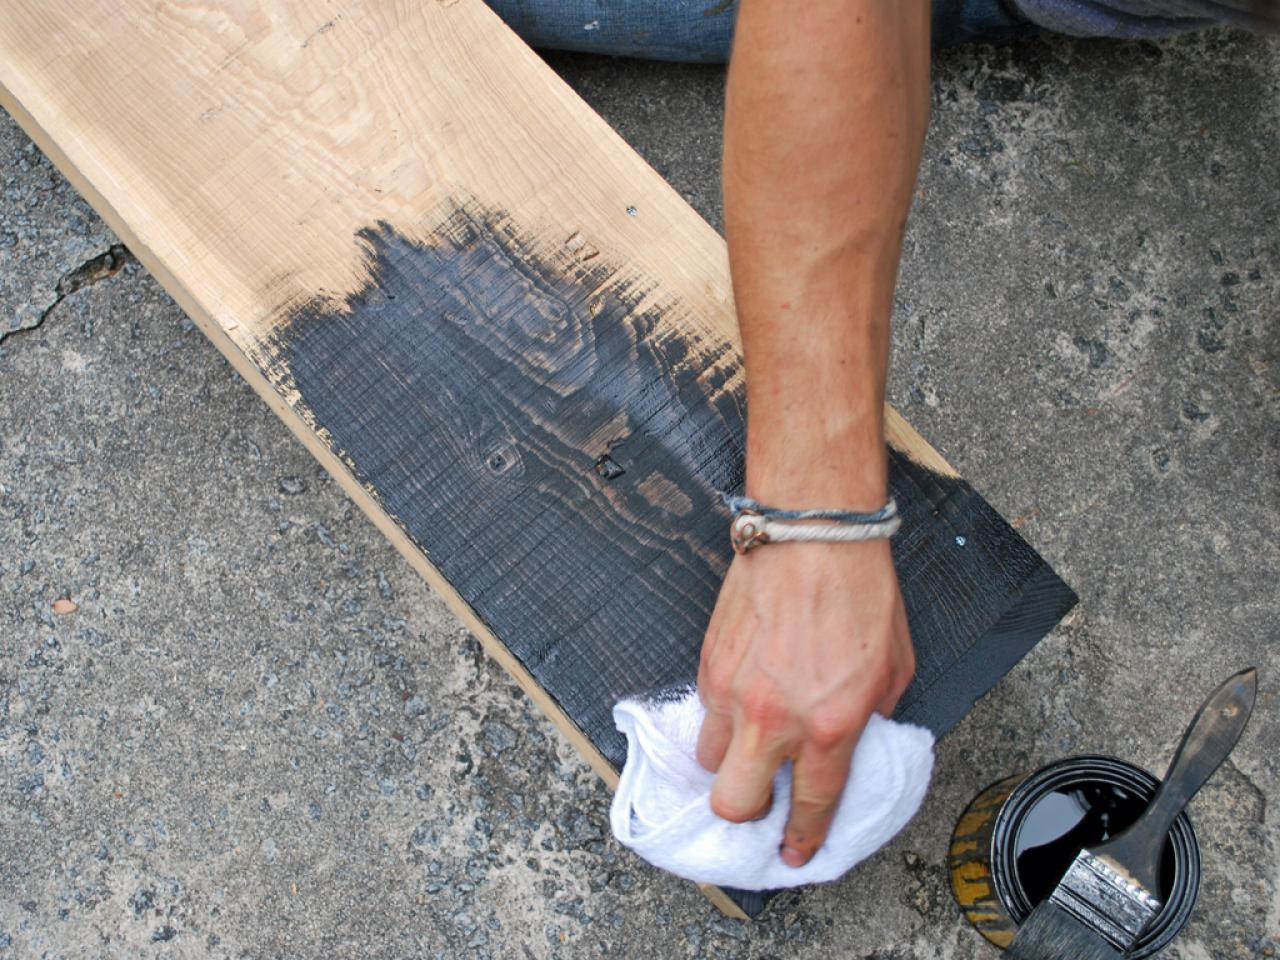
Distress Wood
In order to see the wood grain through the ebony stain, use cloth to wipe off excess, creating a distressed look. Be sure to press firmly until the wood grain is visible through the black stain.

Original_Brian-Patrick-Flynn-Holiday-House-window-box-step-3_s4x3
Measure and Mark for Tacks
Use the tape measure to decide on the proper placement for tacks. Once proper dimensions are decided on, mark the pine planter box with a carpenter's pencil.

Original_Brian-Patrick-Flynn-Holiday-House-window-box-step-4_s4x3
Add Tacks
Use the hammer to add tacks into pencil marks.

Original_Brian-Patrick-Flynn-Holiday-House-window-box-step-5_s4x3
Add Twine
Unfurl spool of twine, wrapping it around the top and side tacks.

Original_Brian-Patrick-Flynn-Holiday-House-window-box-step-6_s4x3
Create Pattern
Using all tacks as your guide, add a diamond pattern by stringing twine from tack to tack. Once you reach the last tack, cut twine with scissors.


Original_Brian-Patrick-Flynn-Holiday-House-window-box-step-7a_s4x3
Original_Brian-Patrick-Flynn-Holiday-House-window-box-step-7b_s4x3
Sink Tacks
Once the diamond pattern has been completed, sink the tacks in with a few extra taps of the hammer. Tip: This will keep the twine nearly flush with the pine, ensuring it doesn't come loose.

Original_Brian-Patrick-Flynn-Holiday-House-window-box-step-8_s4x3
Add Greenery
Add potted evergreens inside planter box with the branches just slightly peeking over the top.

Original_Brian-Patrick-Flynn-Holiday-House-window-box-step-9_s3x4
Drape Amaranthus
For a pop of bold holiday color, place Amaranthus caudatus inside of window box planter so that it cascades over the front.

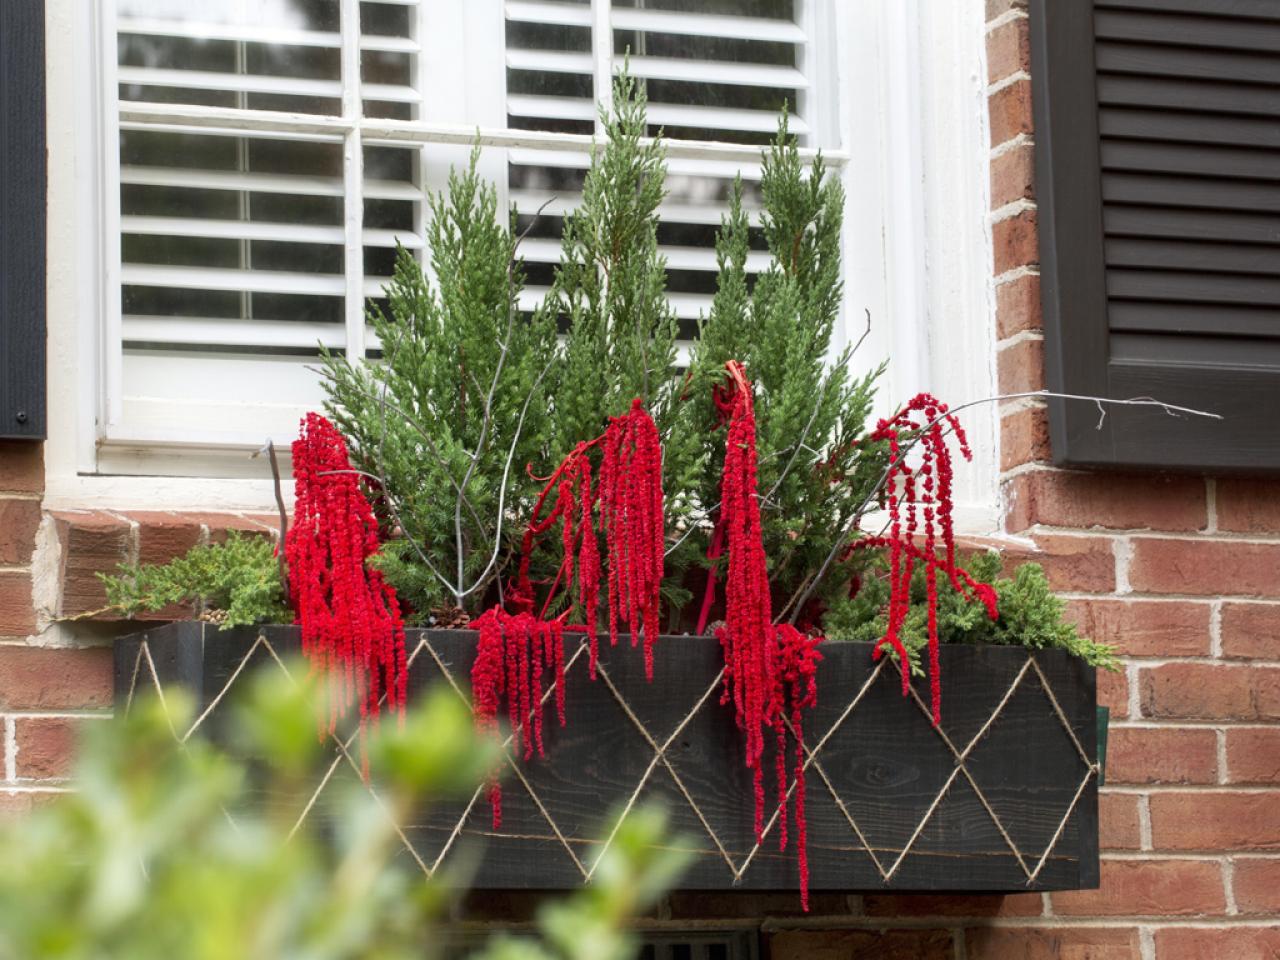
Holiday Window Box
A window box, like this handmade example, is a simple way to dress up your exterior for the season.


