


Custom Curb Appeal: Easy-Swap Window Planter
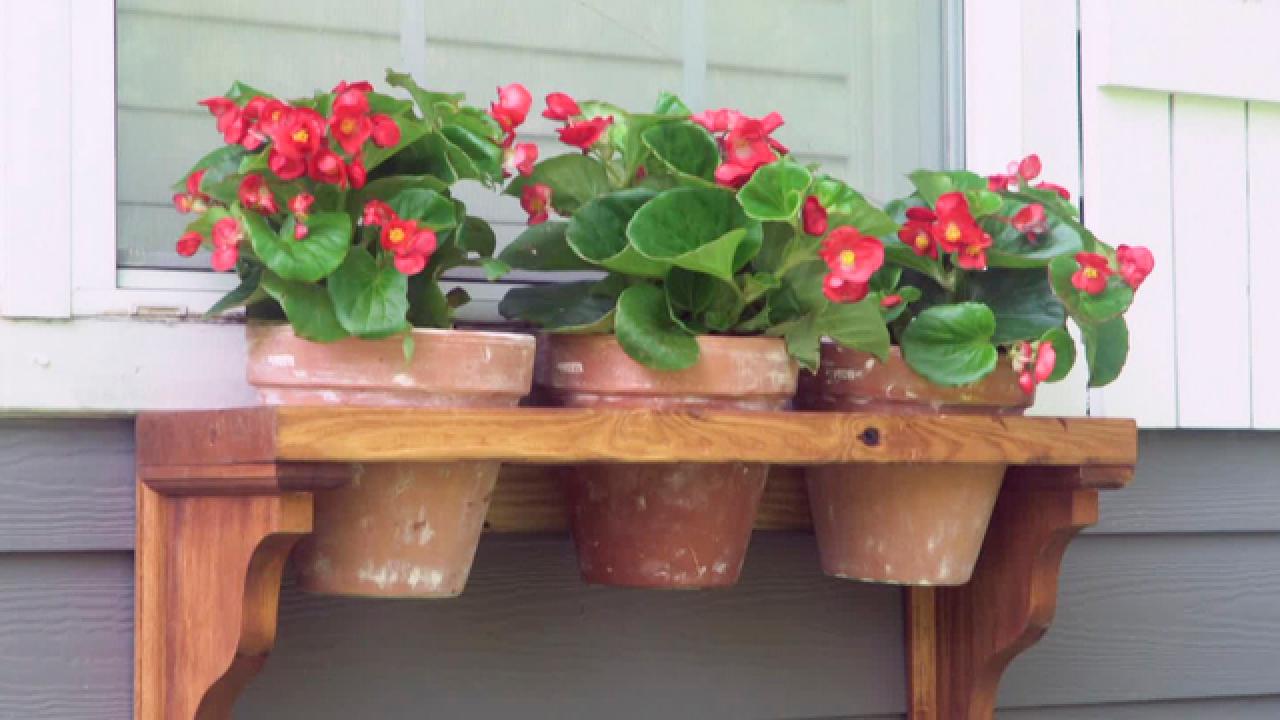
Take your house from drab to fab with a simple and cost-effective DIY window box. With the beauty of wood and aged terra cotta, these planters are sure to stun!

Window box planters are one of the most simple and effective ways to add charm and curb appeal to you home. They look good on almost any window and are completely customizable to your taste and your home’s style. Buying boxes at the store usually leads to high prices and poor-quality products, but making your own can get you a lifelong box simply and inexpensively.
Materials Needed
- 2x8 treated pine board
- measuring tape
- compass
- (3) 8” terra-cotta pots
- jigsaw
- (2) wooden shelf brackets
- exterior stain
- drill
- 2” wood screws + matching bit
- lime powder
- water
- paint brush
- spray bottle
- sanding block
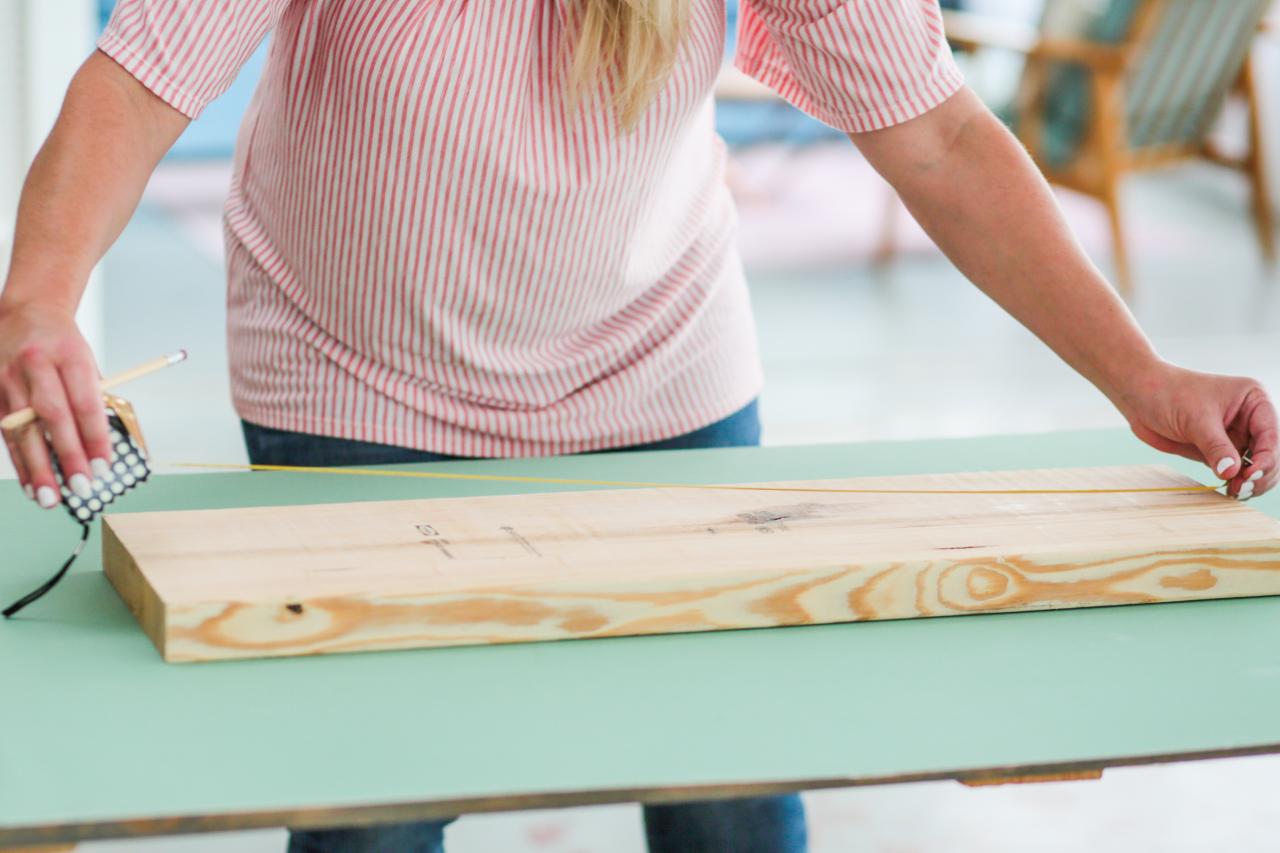
Build the Frame
Cassidy Garcia

Cassidy Garcia
Cassidy Garcia
Cassidy Garcia

Cassidy Garcia
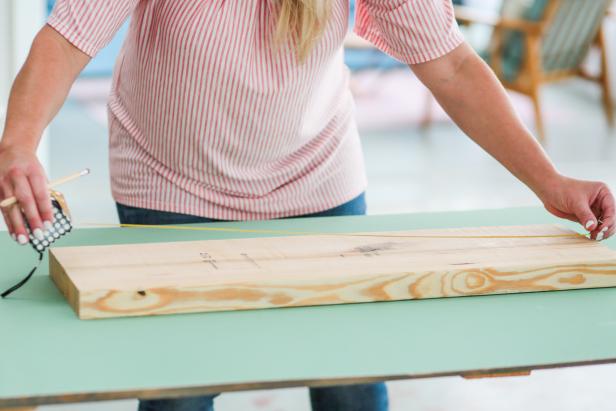
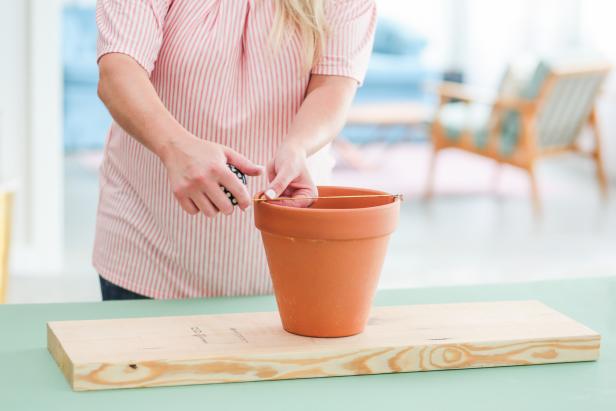
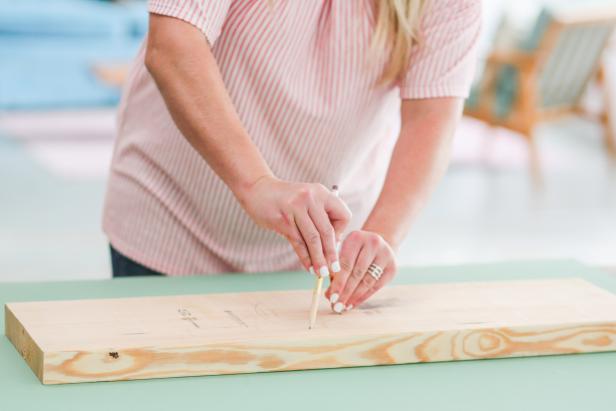
To begin the window box, start by cutting the 2X8 board to the length of your window. Use a tape measure to find the center of the board and determine the placement of the pots. Once the center point has been found, measure slightly smaller than the rim of the terra-cotta pot, and set the compass accordingly. Create a circle using the center point of the board. Once the center circle is complete, add two more equidistant circles on each side. Cut out with a jig saw.
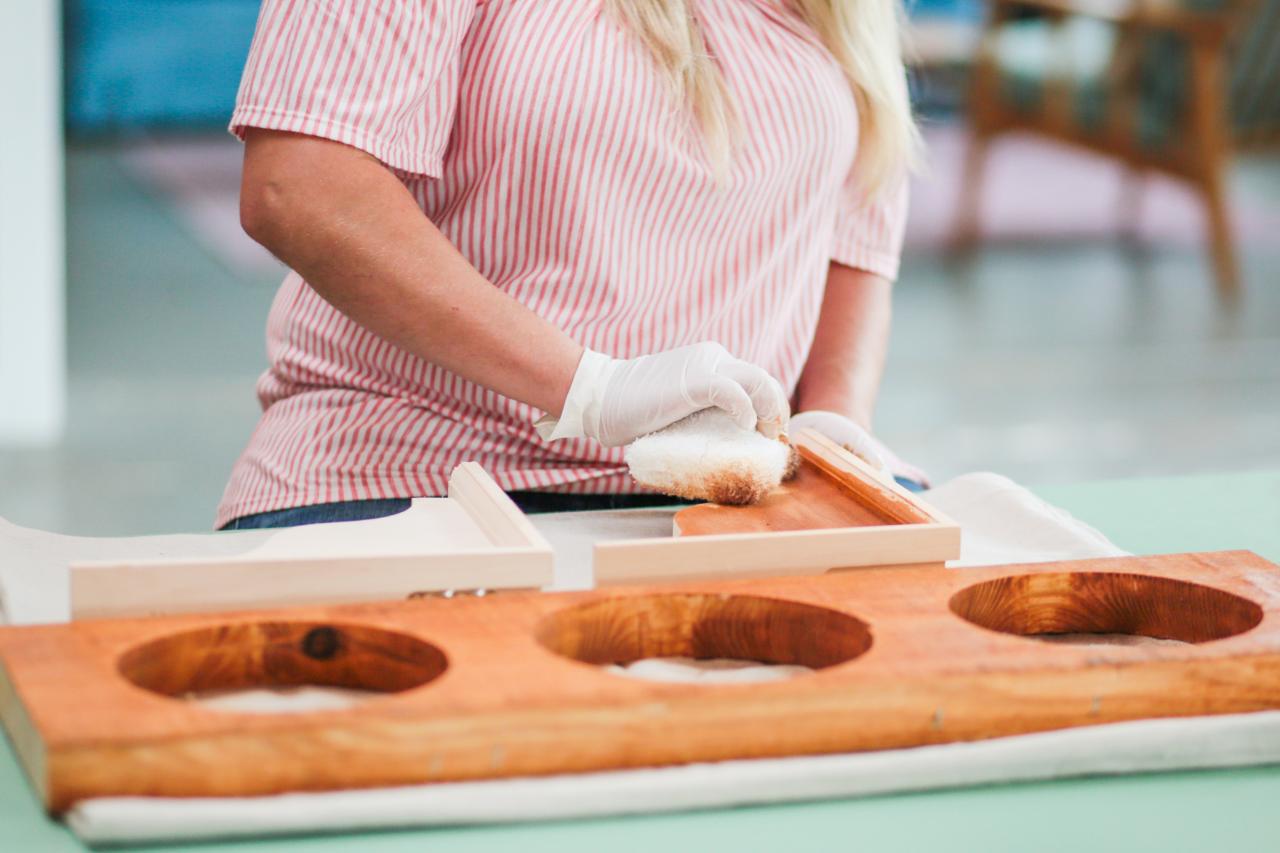
Stain and Add Shelf Brackets

Cassidy Garcia

Cassidy Garcia
Apply exterior stain to both the 2X8 and the wooden shelf brackets. Attach a shelf bracket on each end with 2-inch wood screws. Pre-drilling may be necessary depending on the type of screws chosen and the hardness of the wood being used.
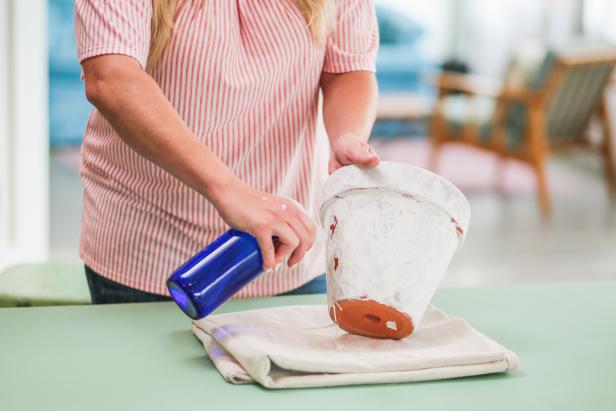
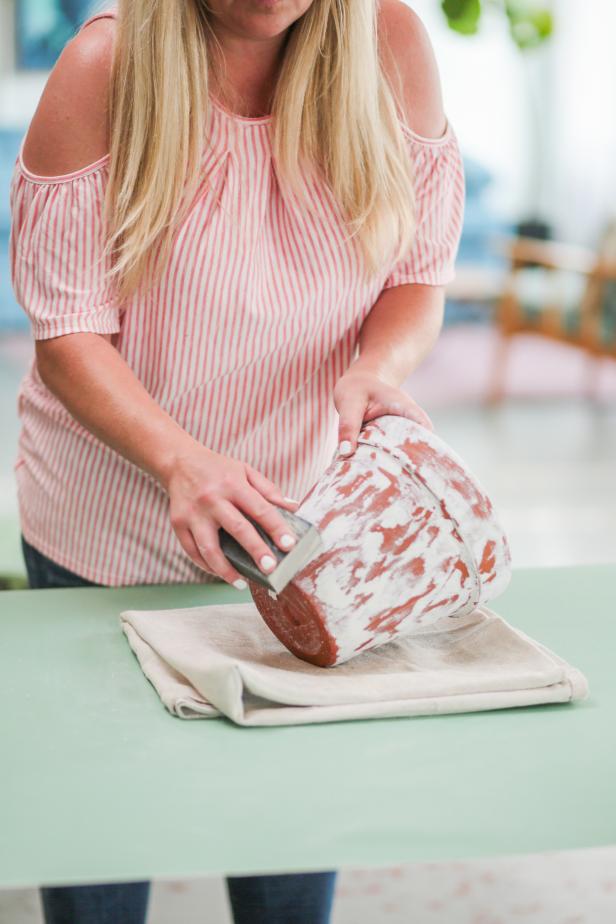
"Age" the Terra Cotta

Cassidy Garcia

Cassidy Garcia
Cassidy Garcia
Cassidy Garcia

Cassidy Garcia
One of the beauties of terra cotta is the aging quality. In order to fast-forward to the pots' glory days, a coat of a water and lime powder mixture does the trick. Simply mix one-part water and one-part lime, and use a paint brush to coat the entire exterior of the pots. Once dry, use a spray bottle of water to distress the lime and sand off any excess to leave a dusty-white coating behind. And there you have it: an instantly aged terra-cotta pot.
Mount, Plant and Enjoy

Cassidy Garcia
Once the planter is mounted and secured beneath the window, it is time for planting! Plant luscious herbs outside of a kitchen window for easy harvesting, or plant with bountiful blooms on the front of the house to up that curb appeal. With removable terra-cotta pots, the possibilities are endless and, luckily, easily exchangeable.


