


Make an Easy Headboard Slipcover

Materials Needed:
- sewing machine
- 3-4 yards of fabric
- thread to match fabric
- pins
- scissors
- tailors' chalk
- pencil
- tape measure
- iron and ironing board
- wooden dowel, pencil or chopstick
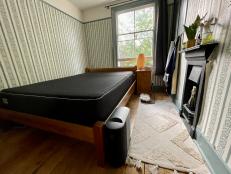
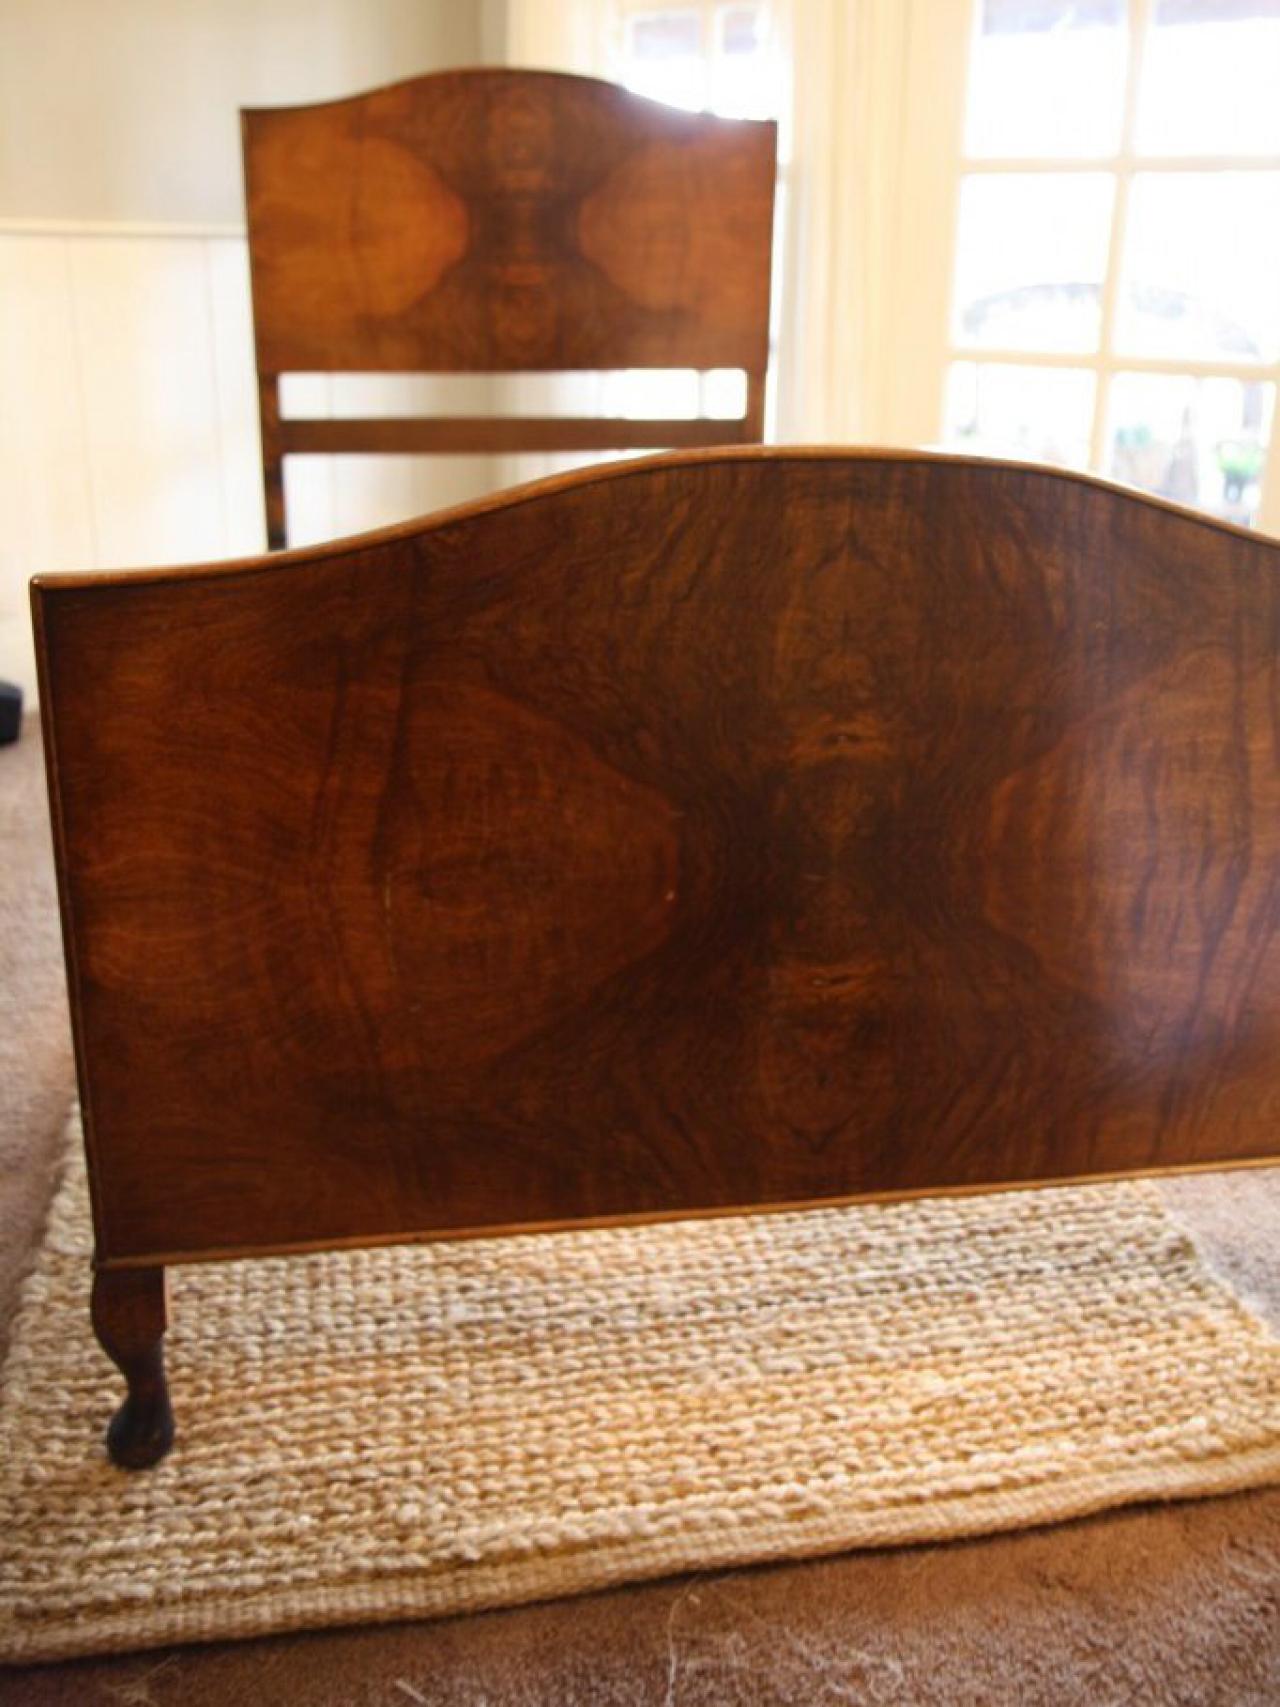
Source Headboard and Footboard
Scour thrift stores for a wooden, upholstered or metal bed frame with an interesting-yet-simple shape. For instance, we chose a simple curved headboard and footboard with charming, cabriole legs that will look nice peeking out under the slipcover.

Trace Headboard and Footboard Onto Fabric
Fold fabric in half, pinning right sides together and lay on flat surface. Place headboard on top of fabric then trace headboard's outline onto fabric using chalk. Repeat, tracing the footboard onto folded and pinned fabric.

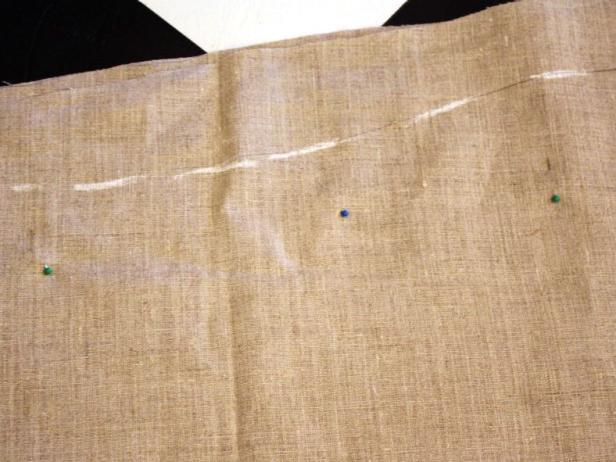
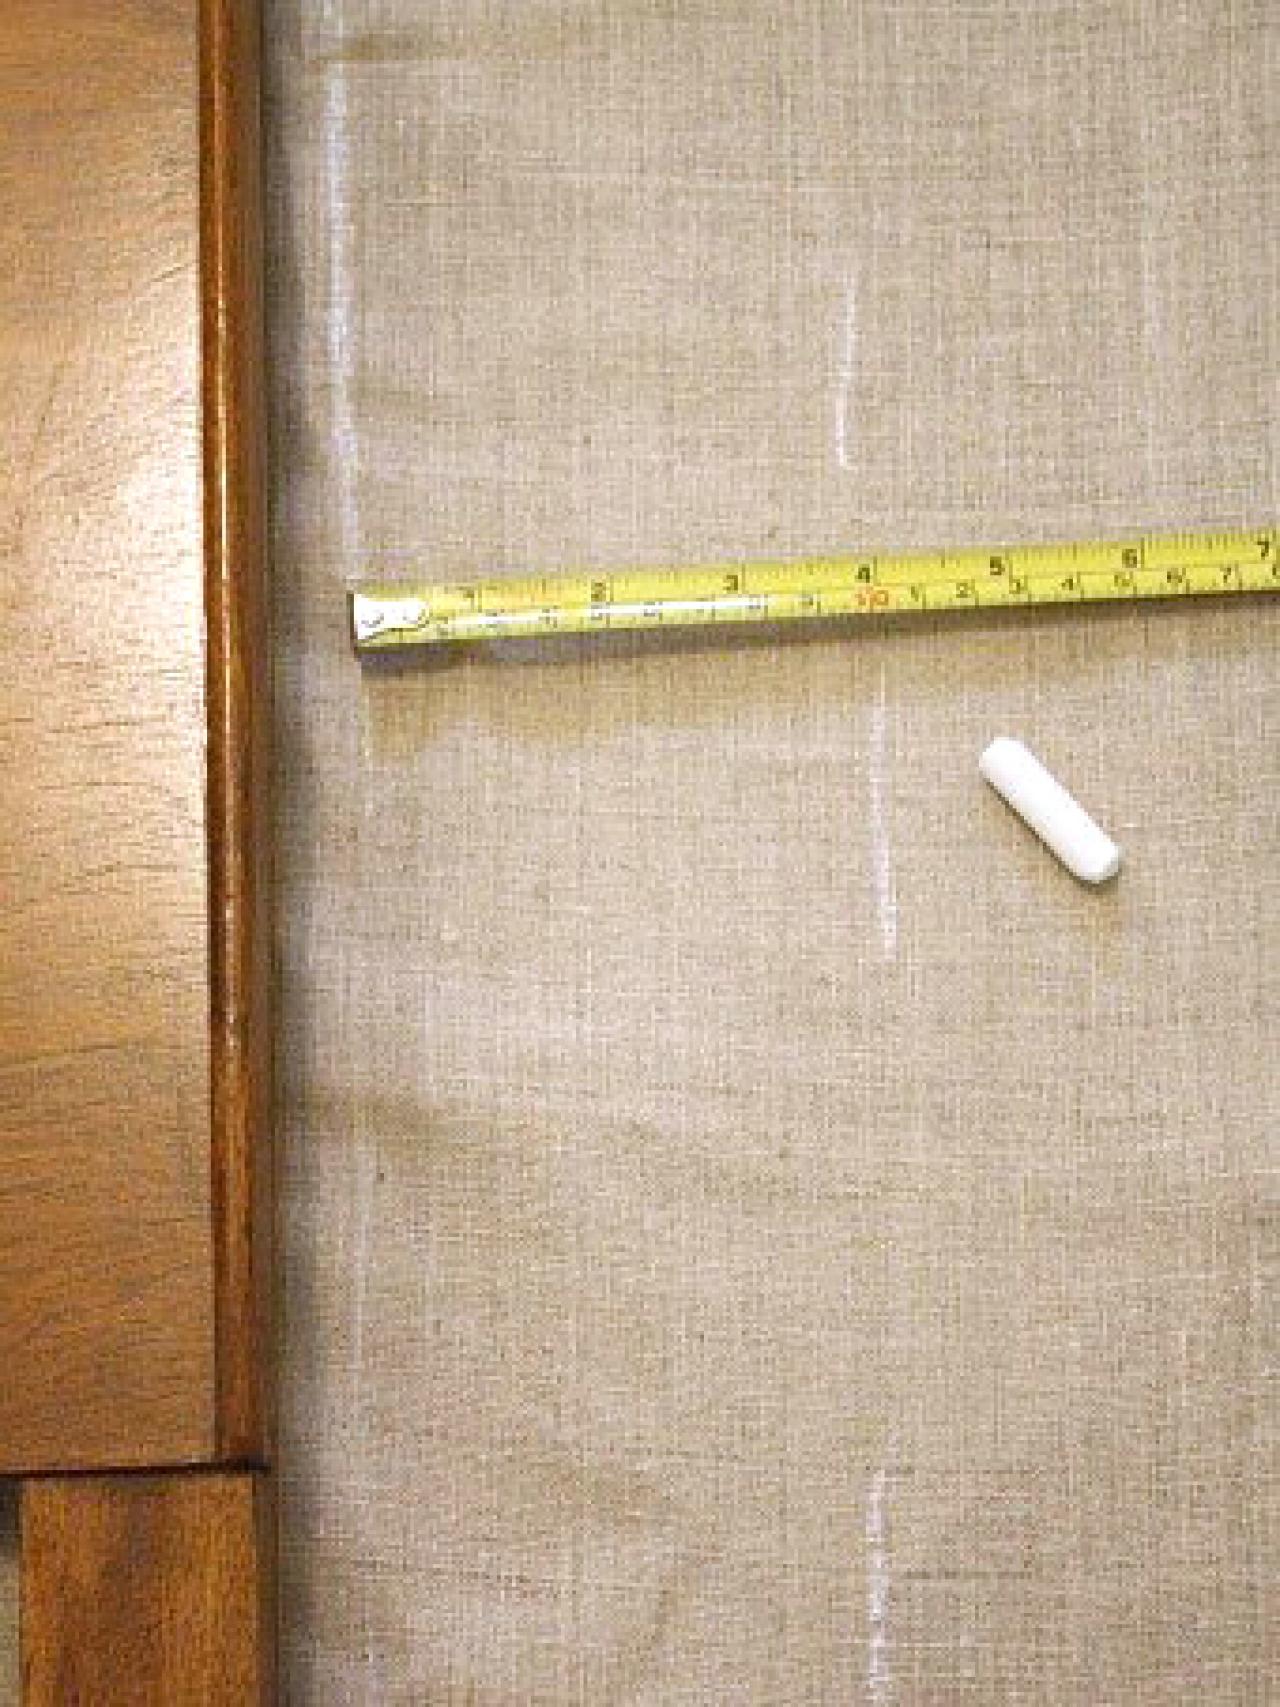
Measure and Mark for Seam Allowance
Measure out three to four inches from the headboard's chalked outline to accommodate seams. Mark both headboard and footboard templates with seam-allowance chalk line.

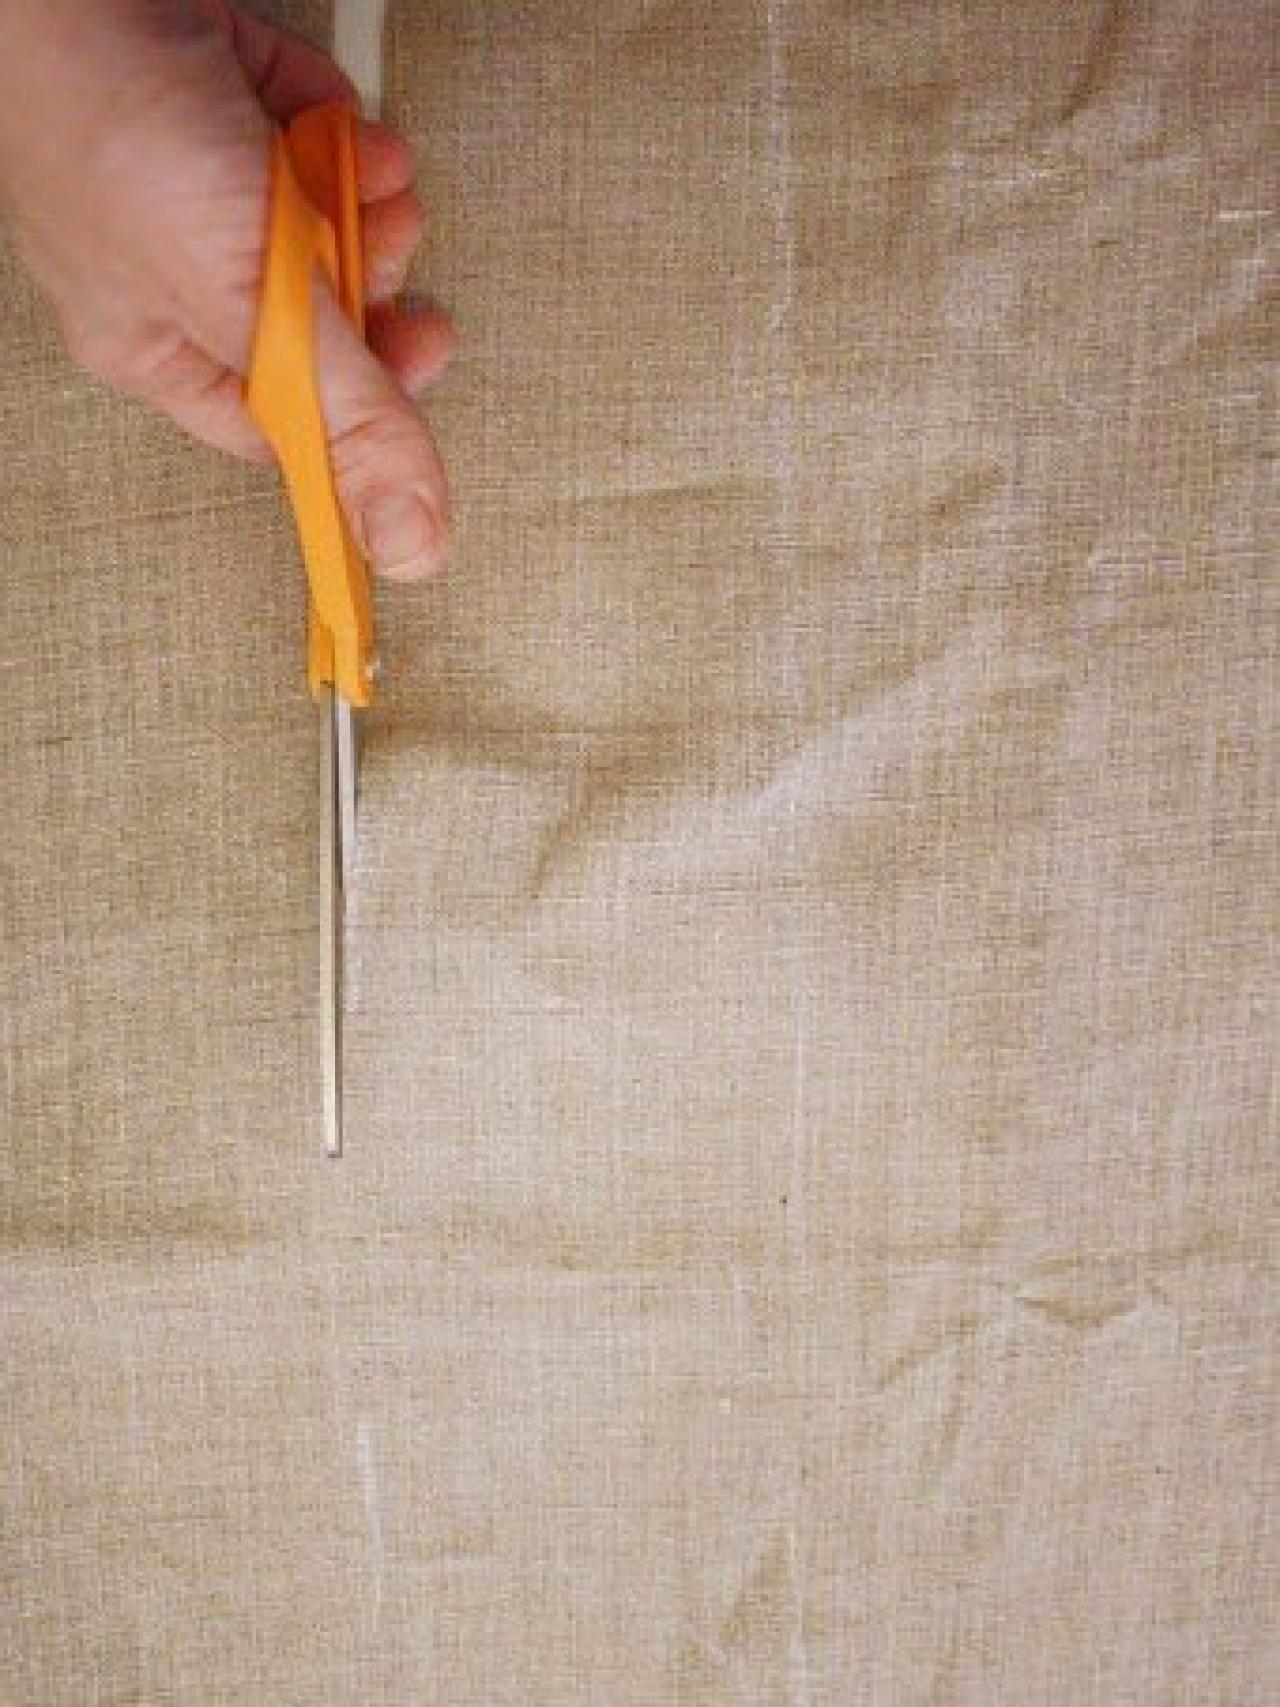
Cut Fabric
Carefully cut along seam-allowance chalk lines for both the footboard and headboard. Remove outer pins as you cut, pinning the cut pieces together, still with the fabric's right sides together.

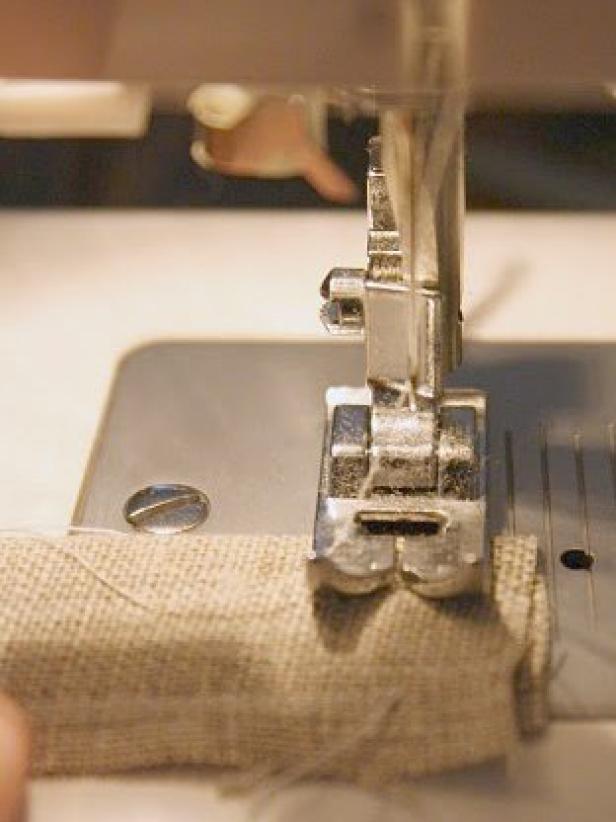
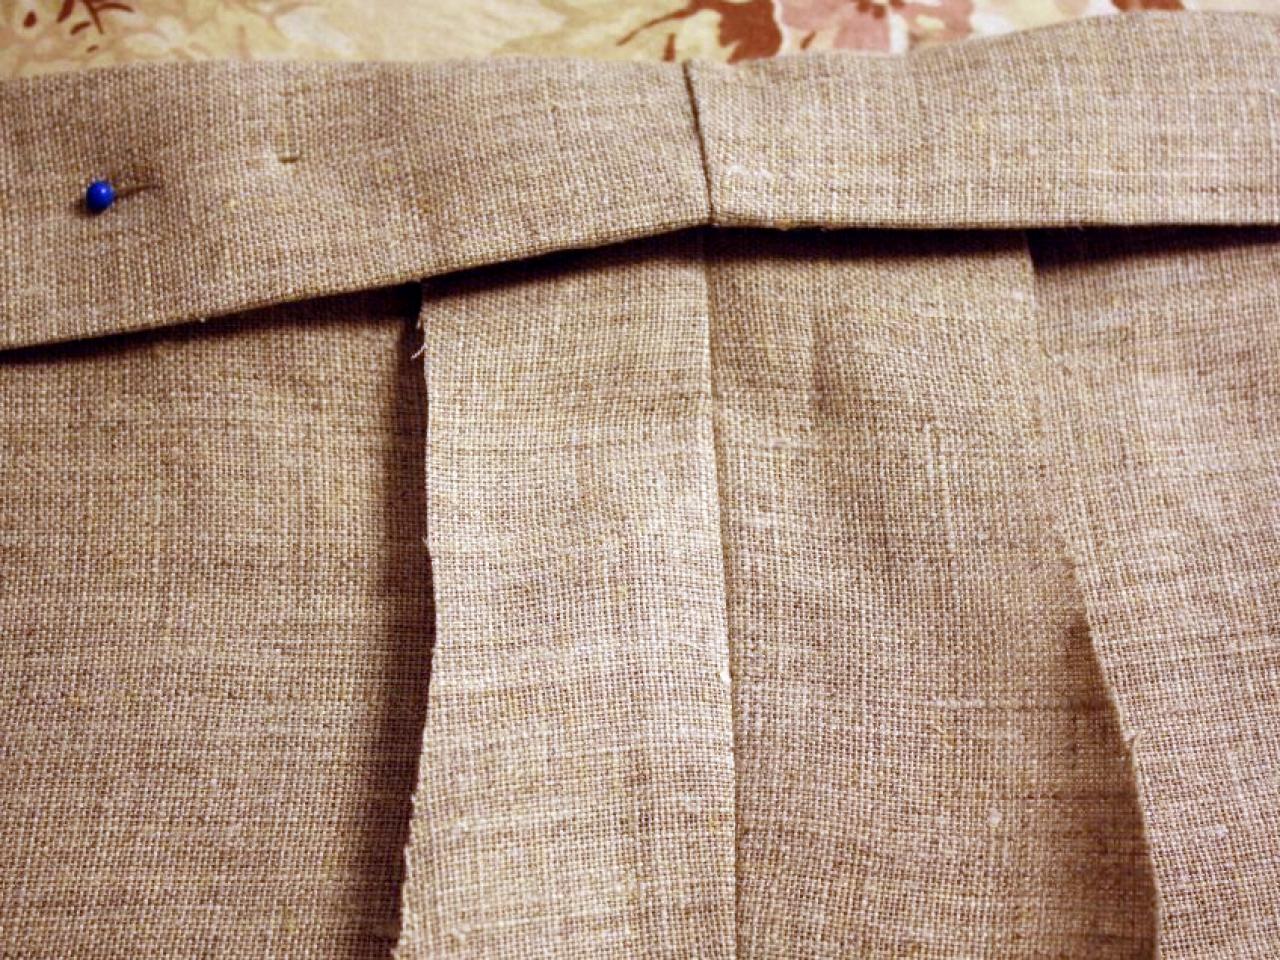
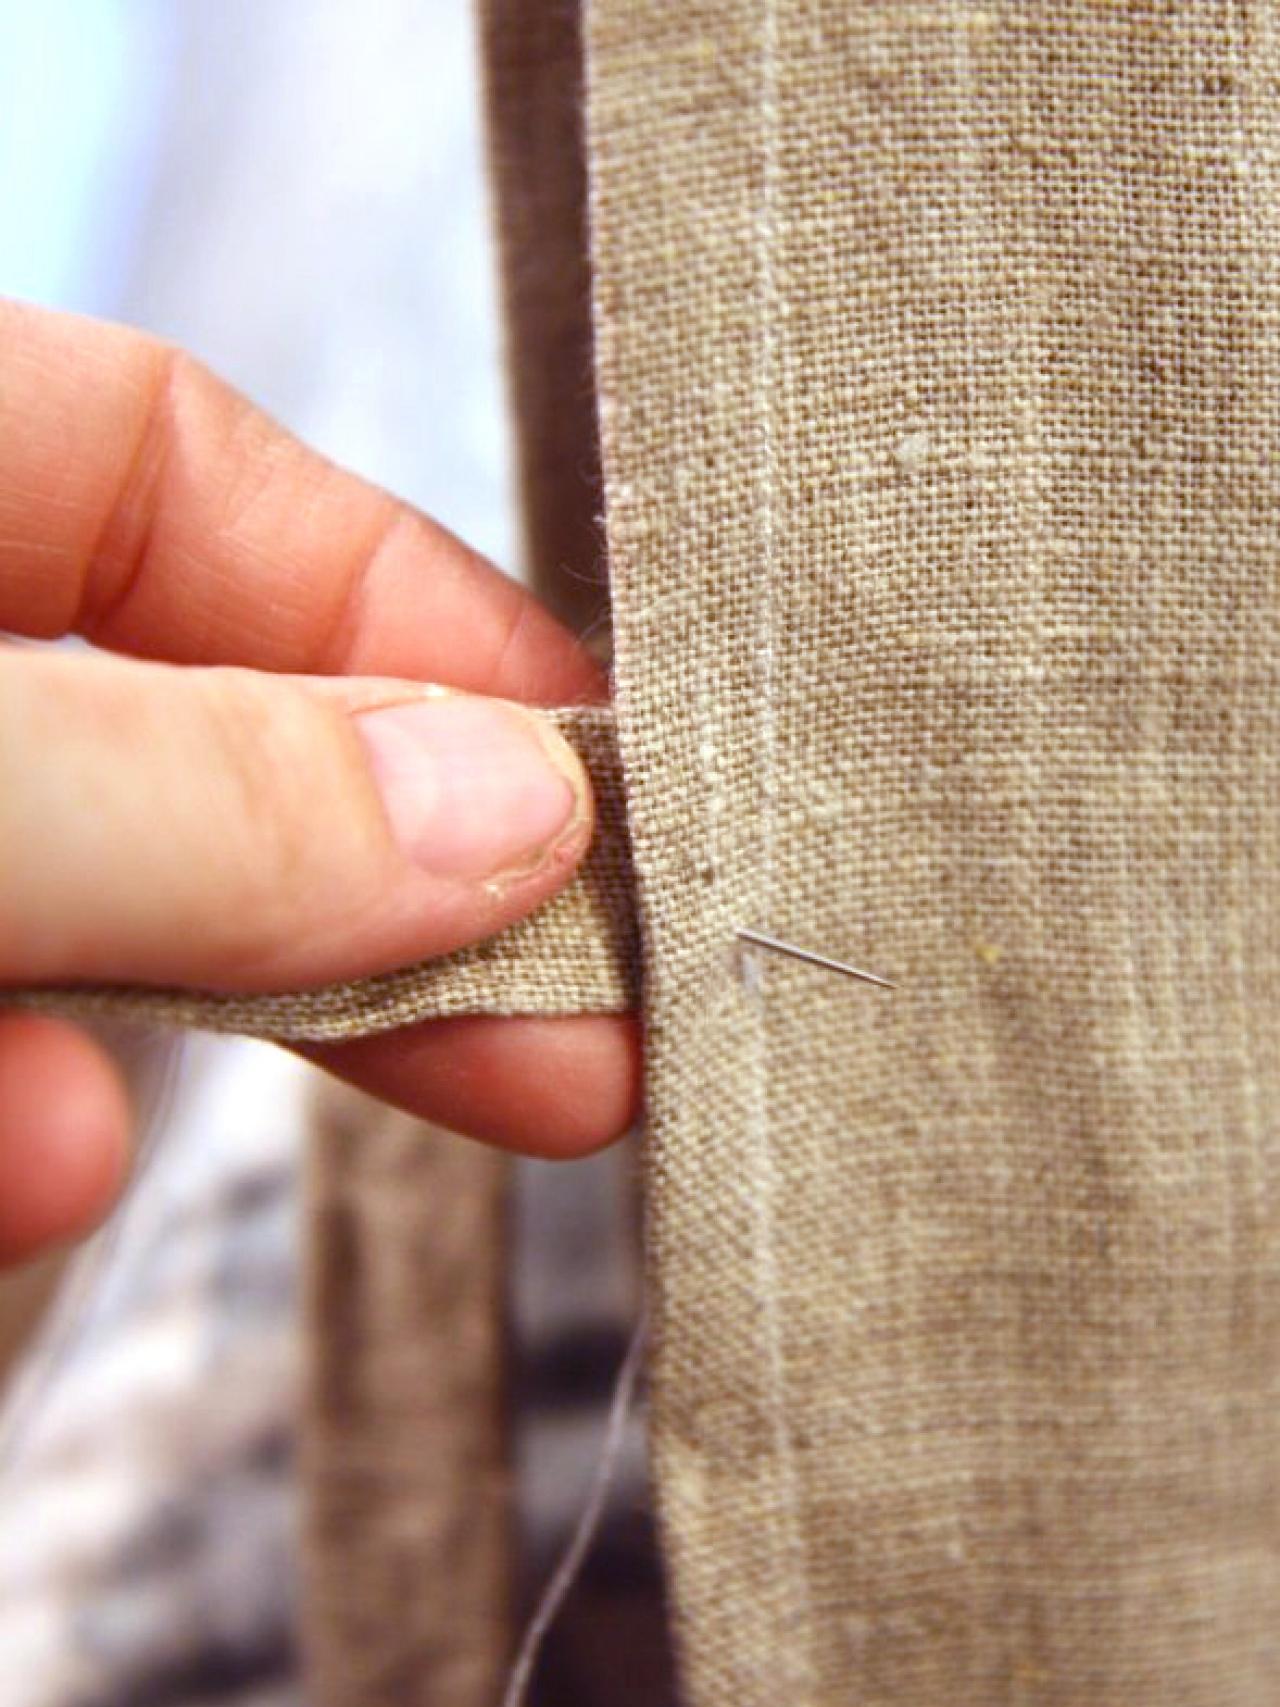
Sew Top Seam and Hem Sides
The slipcover's sides will be held together using fabric ties, so it's only necessary to sew together the top seam. Double hem sides by folding fabric under twice, pressing with an iron between folds. Tip: For a no-sew alternative, use fusible web tape to hem sides and bottom.

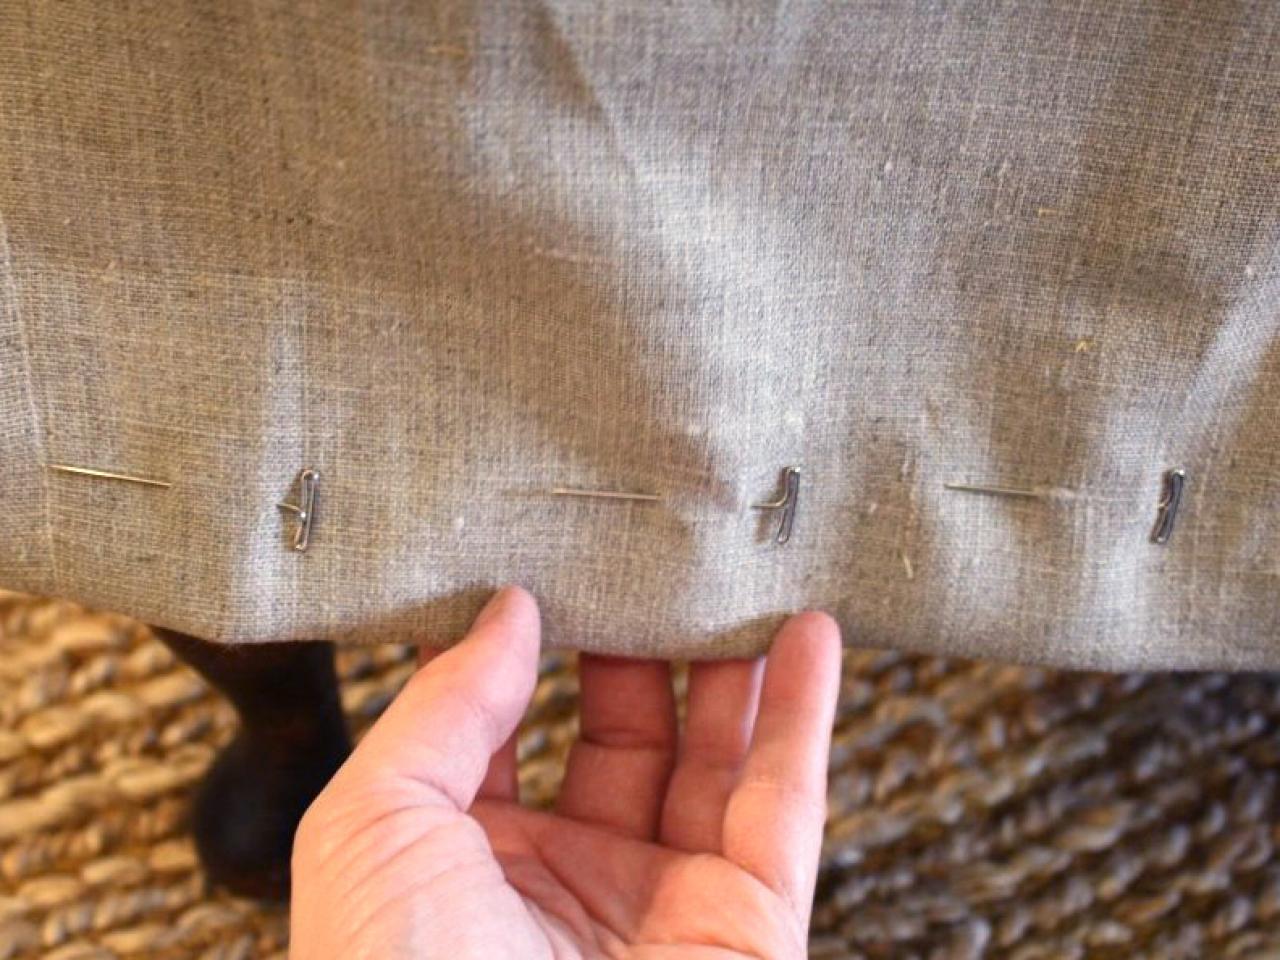
Determine Length Then Hem Bottom Seam
Place slipcover on bed and pin length where desired amount of leg shows. If you don't wish to show the legs, hem the slipcover so they are covered. Hem with topstitch using thread that will blend with fabric or, for a no-sew option, use fusible web instead.

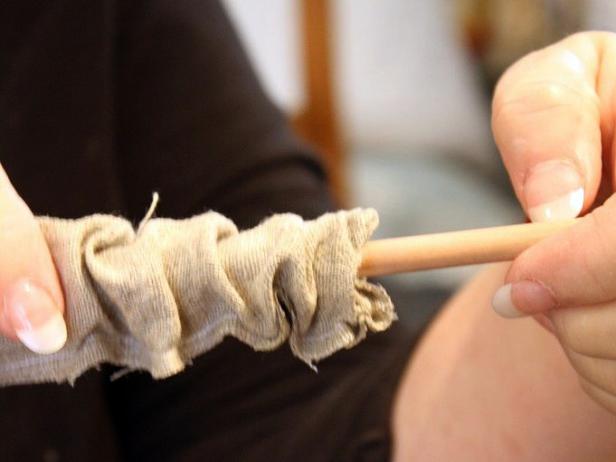
Make Side Ties
Cut several three-inch-wide strips of fabric, each 20 inches long. Fold in half and press, sewing together one end and all but the last two inches of the long side, leaving one end open so tie can be turned inside out. Slide a pencil, dowel or chopstick into tie to help with turning the fabric right side out. Finally, fold in unfinished fabric and hand stitch.
Sew on Ties
Hand stitch ties to sides of slipcover. Tip: For a no-sew alternative, use ribbon or twill tape and attach with permanent fabric glue or fusible web. Add one to three ties to each side of the slipcover. The number of ties depends on the size of the headboard and slipcover's potential to shift. For instance, in a child's room, more ties would be a good idea.

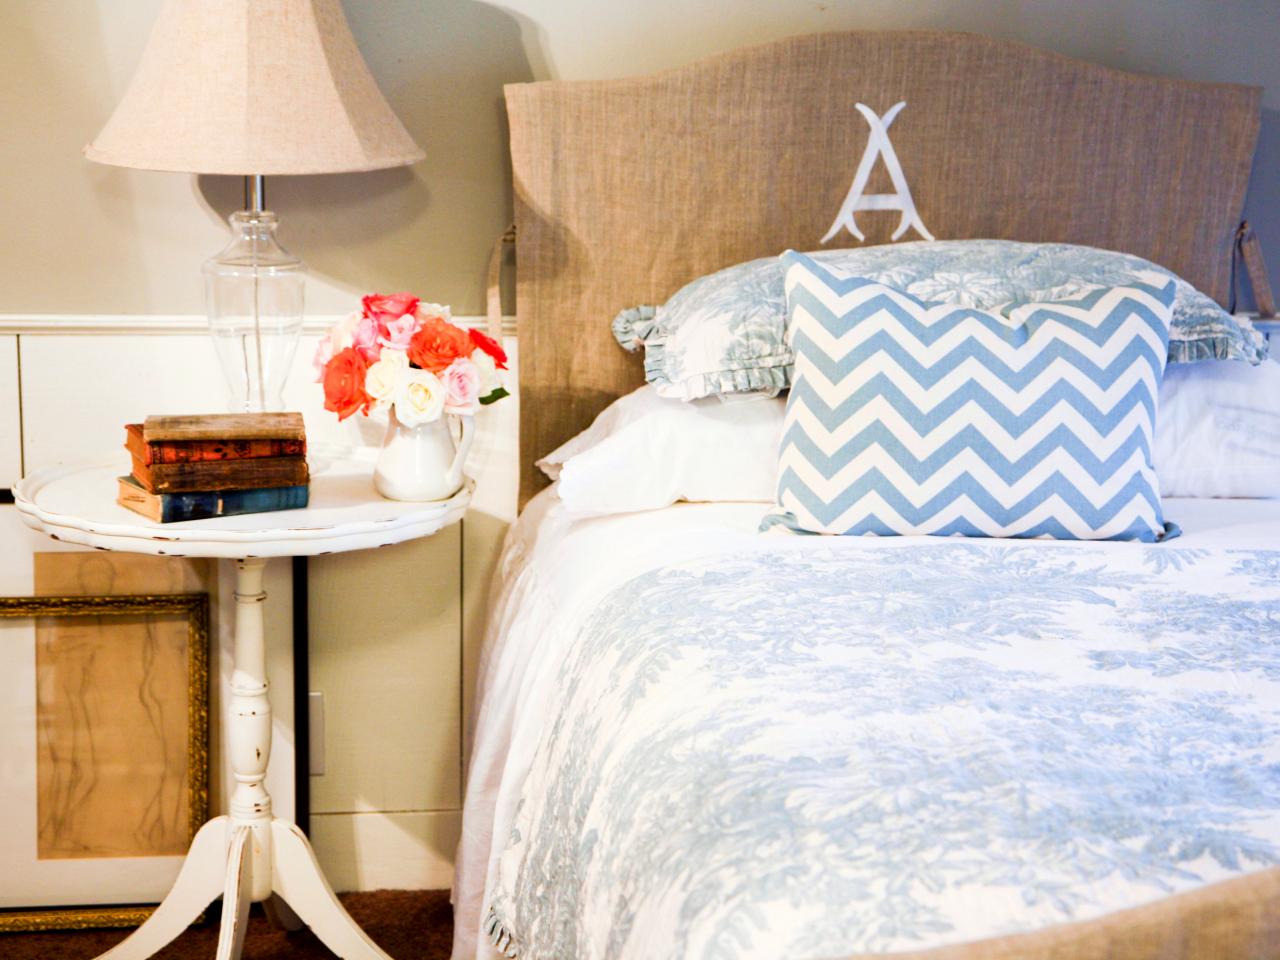
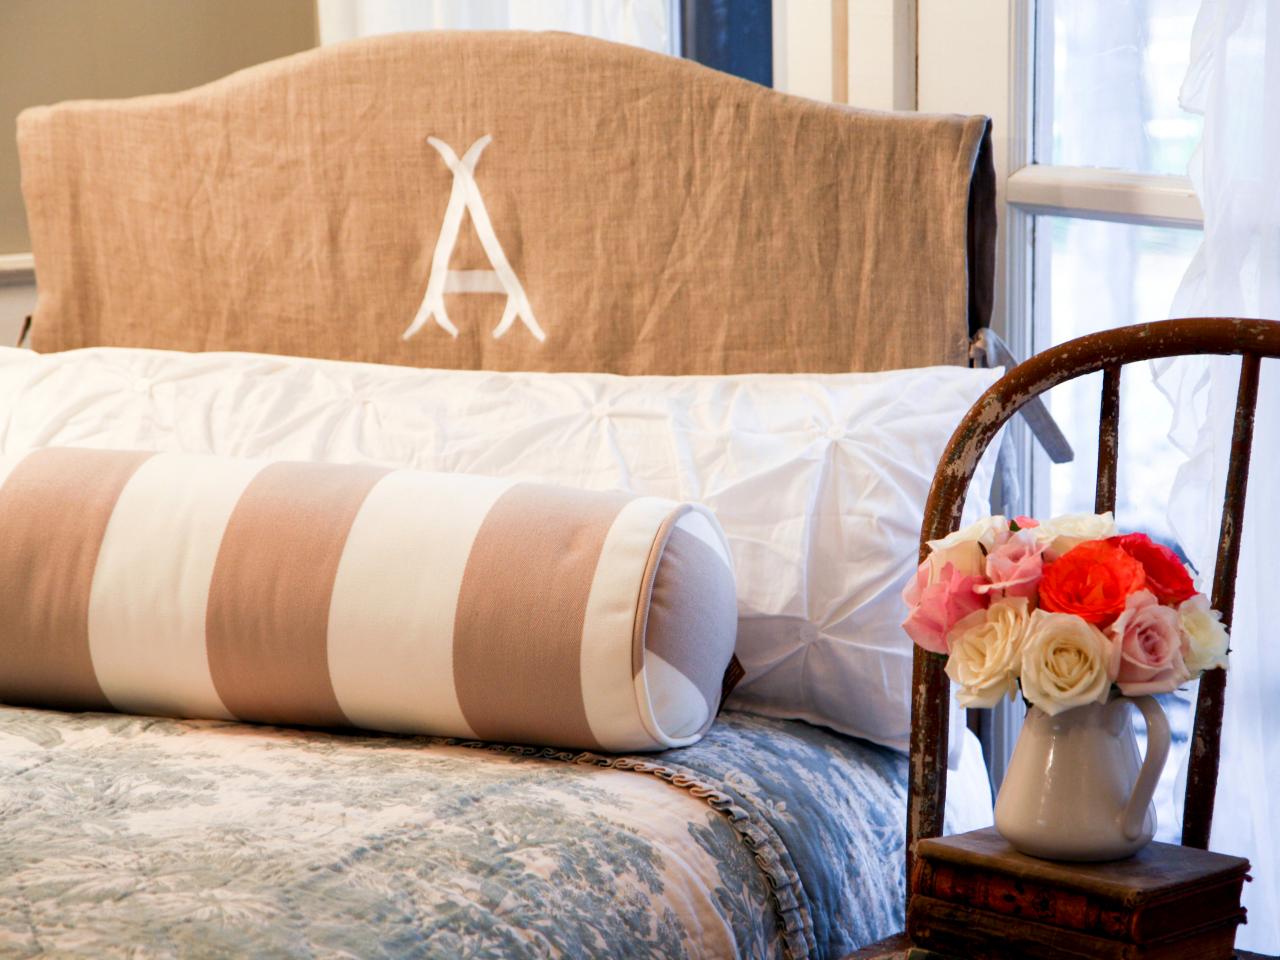
Add a Monogram
Because the sides are open and not sewn, it is very easy to take the piece to a local monogram or embroidery shop for personalization once the slipcover has been sewn. Tip: When selecting placement for your monogram, keep in mind that you'll want it to be visible when pillows are added to bed. Our monogram is eight inches tall, centered on the slipcover and is positioned three inches down from the top.

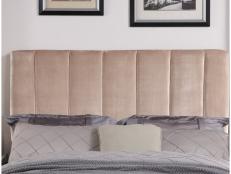
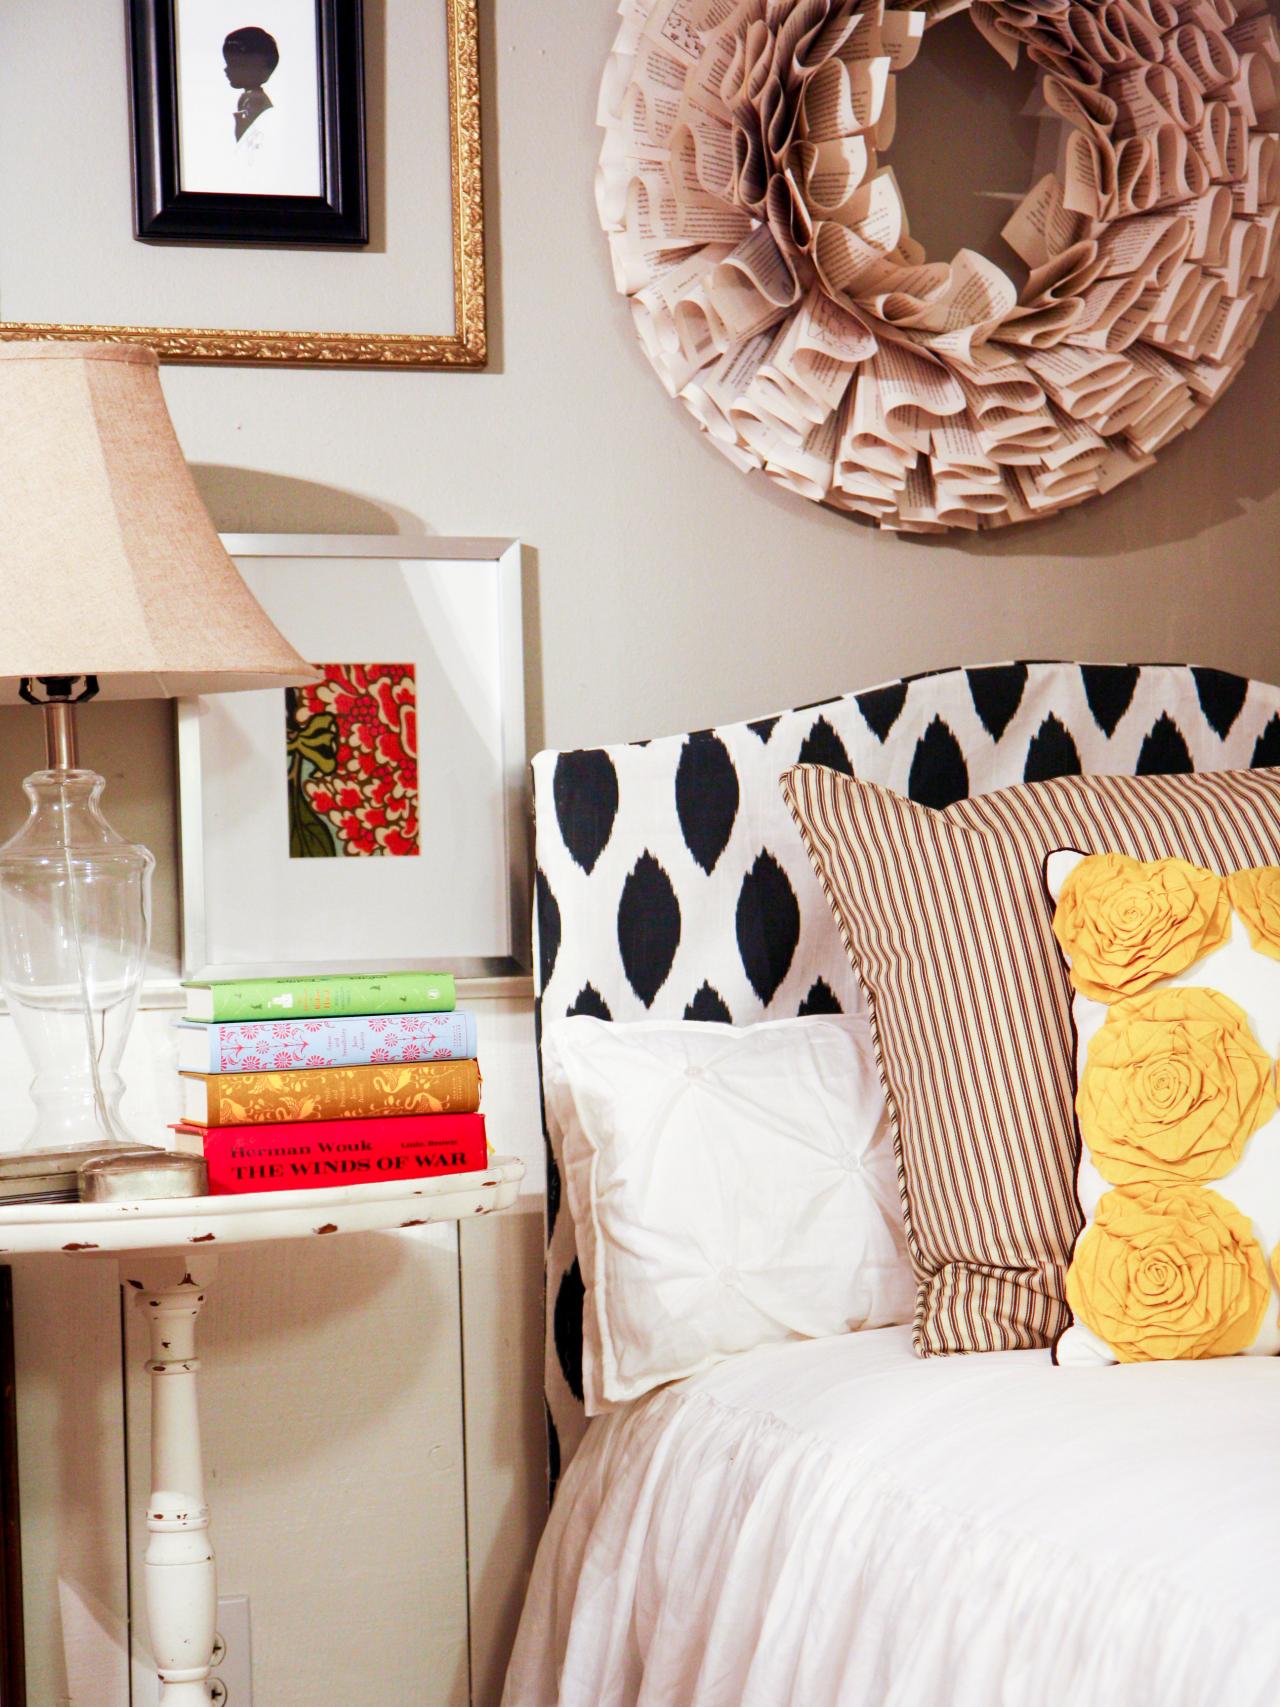
Optional: Pillow-Case Style Slipcover
Rather than leaving the sides open, sew them together for a fitted slipcover. We chose a bold fabric pattern for modern appeal. Simply trace headboard onto fabric following steps one to four above, then rather than sewing just the top, sew all four sides together. Tip: Be sure to measure carefully and allow for the width of the bed when planning seam allowances. Like the steps above, leave the bottom open and hem it to the appropriate length.


