


Do-It-Yourself Butcher-Block Kitchen Countertop
Transform your kitchen on a budget with our step-by-step guide to creating a butcher-block countertop.

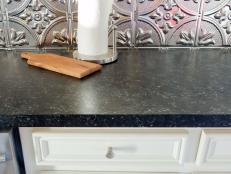
White Cottage Kitchen With Butcher Block Countertops
This cottage-style features cabinets with built-in shelves that house cookbooks and cooking utensils. Butcher block countertops and beadboard cabinets bring an inviting look to this large, open kitchen.

Create Your Own Butcher-Block Countertop
Swap dated laminate for a classic butcher-block countertop. Unlike stone or solid surface, butcher block can be fabricated in a basement or garage workshop, making it the perfect DIY project to totally change up your kitchen without breaking the bank.
Materials Needed:
- butcher block in desired wood
- tape measure
- pencil
- combo square
- circular saw
- clamps (at least 6 bar clamps and two 3' pipe clamps)
- small pieces of scrap wood for clamping
- straight-edged pieces of 3/4"-thick wood with one perfectly straight side to use as a "fence"
- sawhorses and/or workbench
- router (optional)
- flush trim router bits, shank and end-side bearing (optional)
- large Roman ogee bit (optional)
- small roundover bit (optional)
- pocket-hole jig (optional)
- 2 1/2" pocket-hole screws
- 1 1/4" wood screws
- drill bit for pocket-hole screws
- drill
- drill bits or Forstner bits sized to fit faucet pipes (optional)
- jigsaw
- 1/4" MDF approximately 2' x 3'
- wood filler
- clean cotton cloths
- mineral spirits
- orbital, palm or belt sander
- sandpaper (150, 180, 220, 320 grits)
- desired wood finish
- 4" natural bristle brush
- respirator mask, protective eyewear and earplugs
- latex gloves
- wood shims
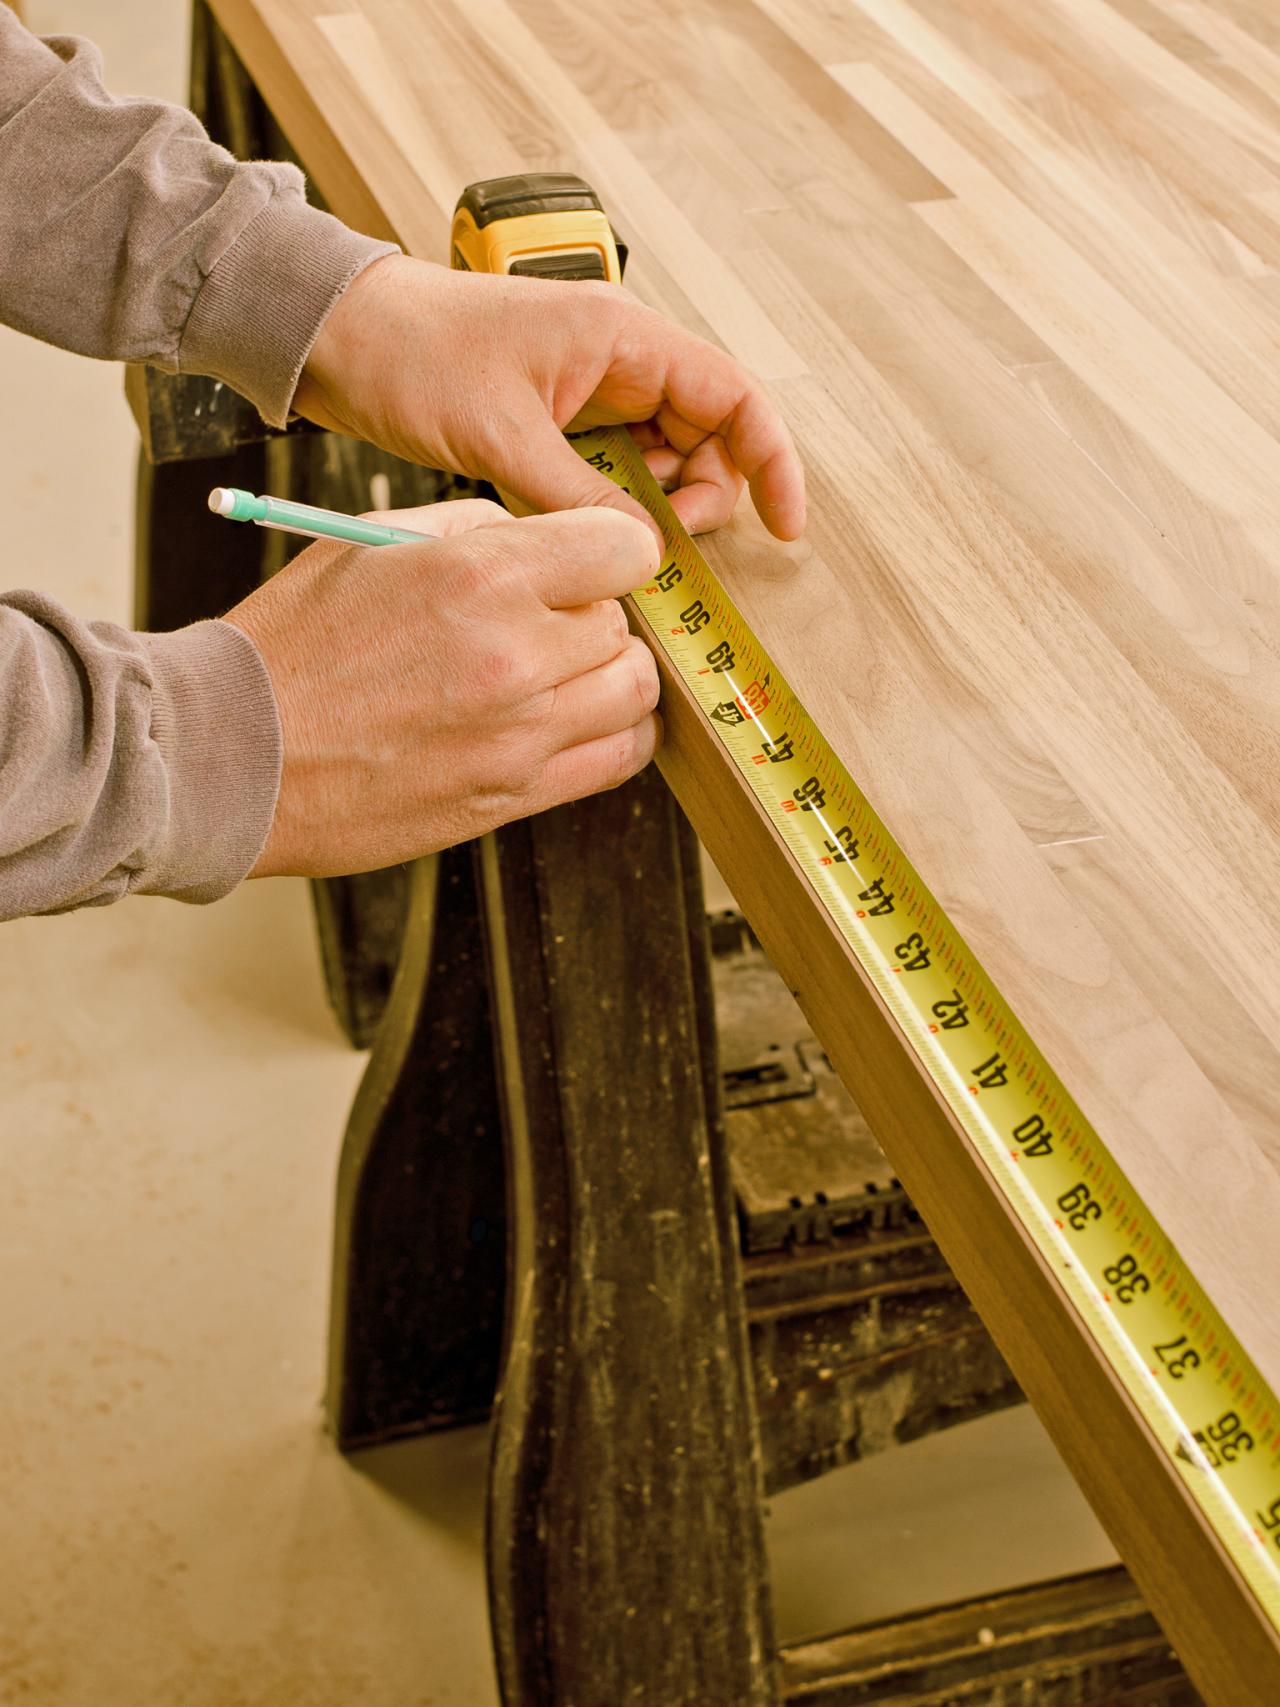
Measure and Cut Butcher Block
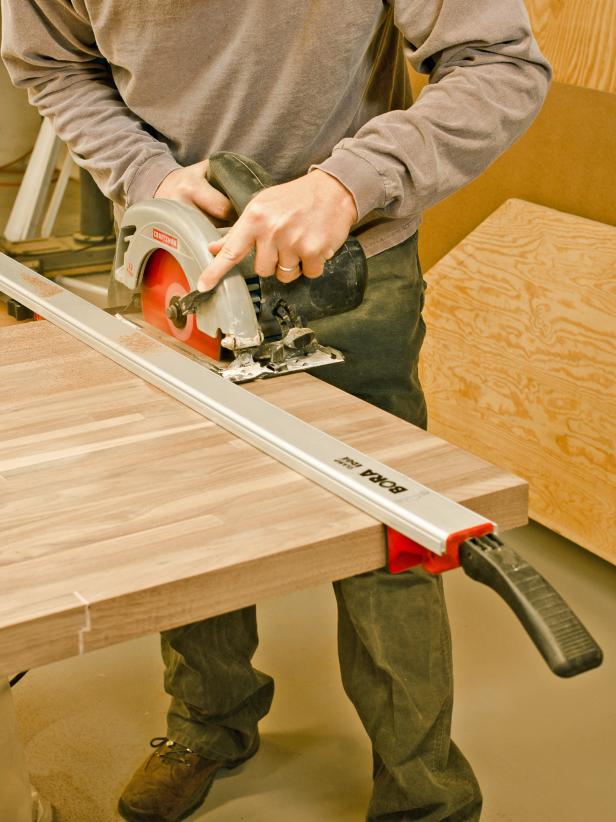
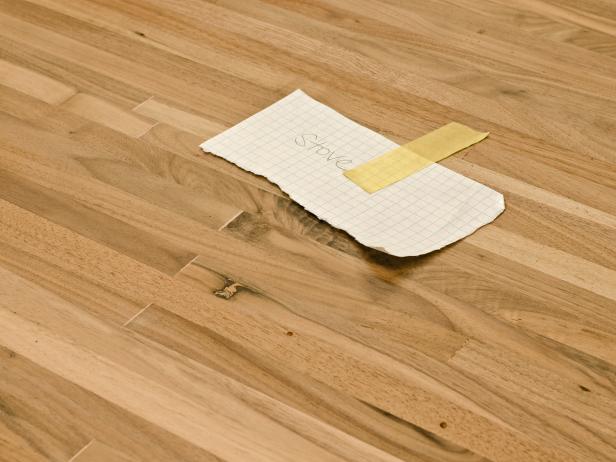
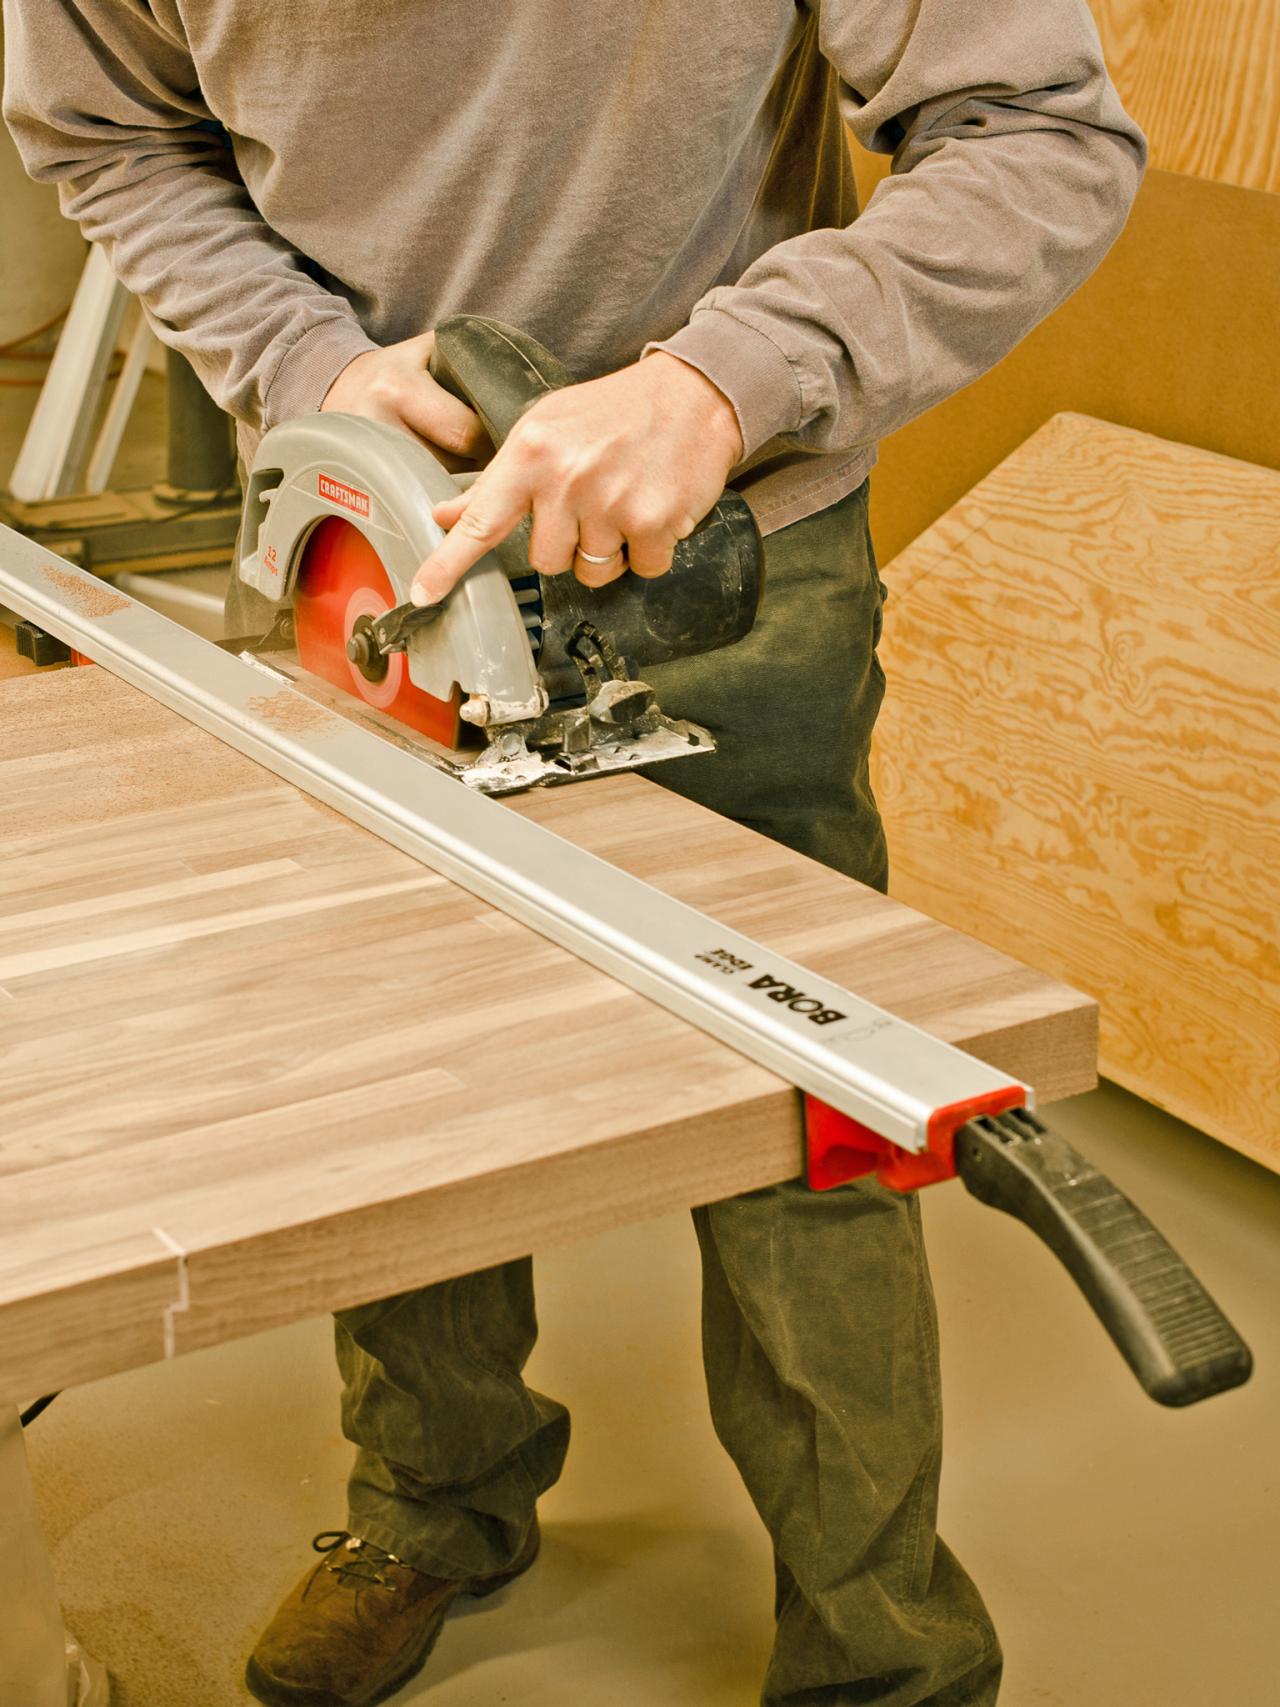
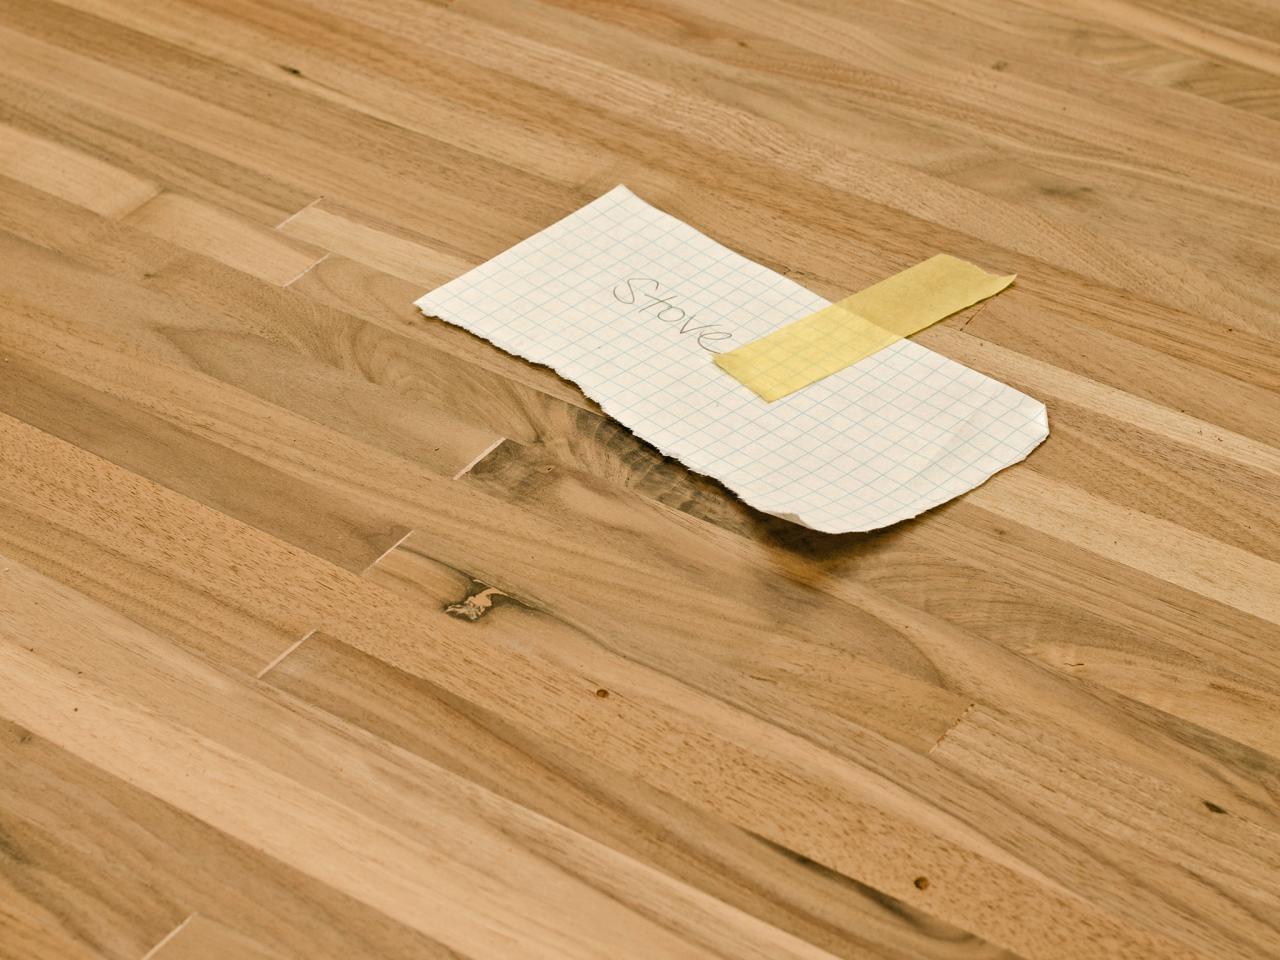
Measure sections of kitchen countertop using a tape measure. Make note of measurements and transfer them to butcher block. Mark cut line with a pencil (Image 1). When cutting each section of butcher block, place the boards on sawhorses or between two work surfaces. Clamp straight edge along cut line, allowing for width of circular saw blade and saw guard (Image 2). A clamping straight edge can be purchased or made with a scrap piece of straight-sided wood and clamps. Cut along line with circular saw (Image 3). When cutting a lot of similarly sized pieces, label them to avoid confusion (Image 4). Tip: For irregularly shaped sections of counter, current counters can be removed and used as a template.

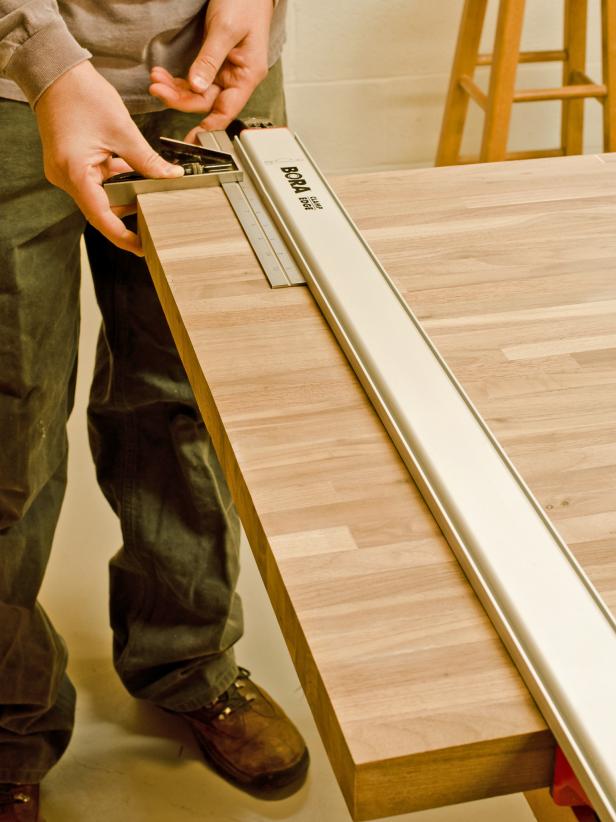
Measuring Wood
Squaring Board
Cutting Wood
Note Taped to Wood
Rout Edges (Optional)
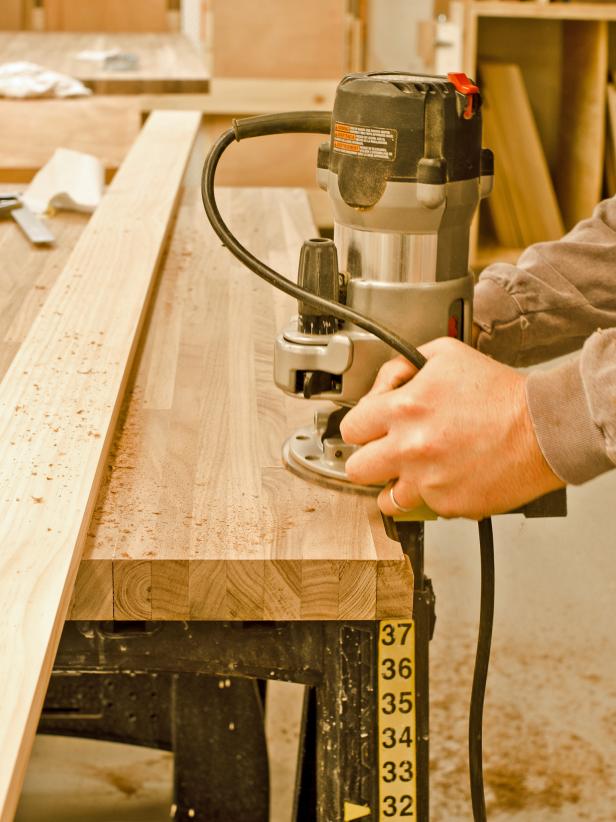
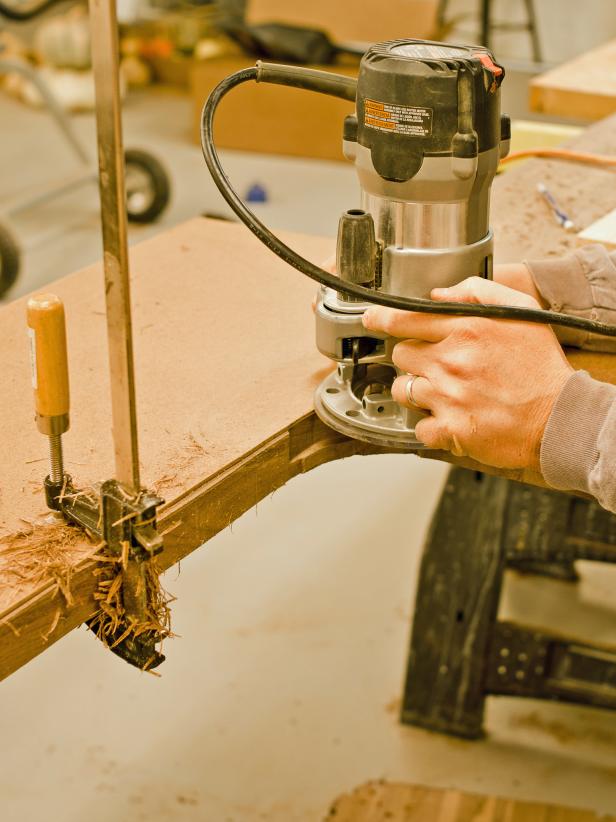
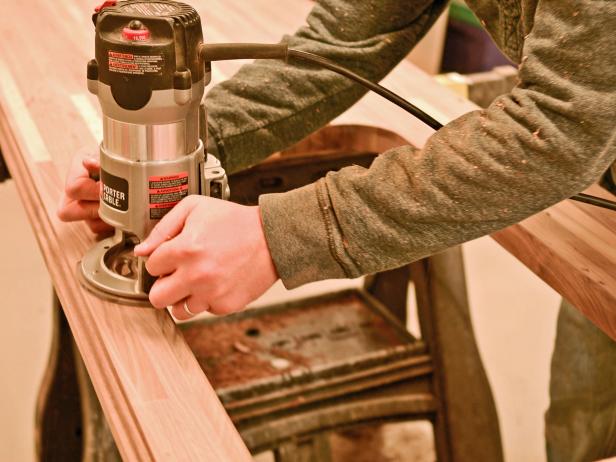
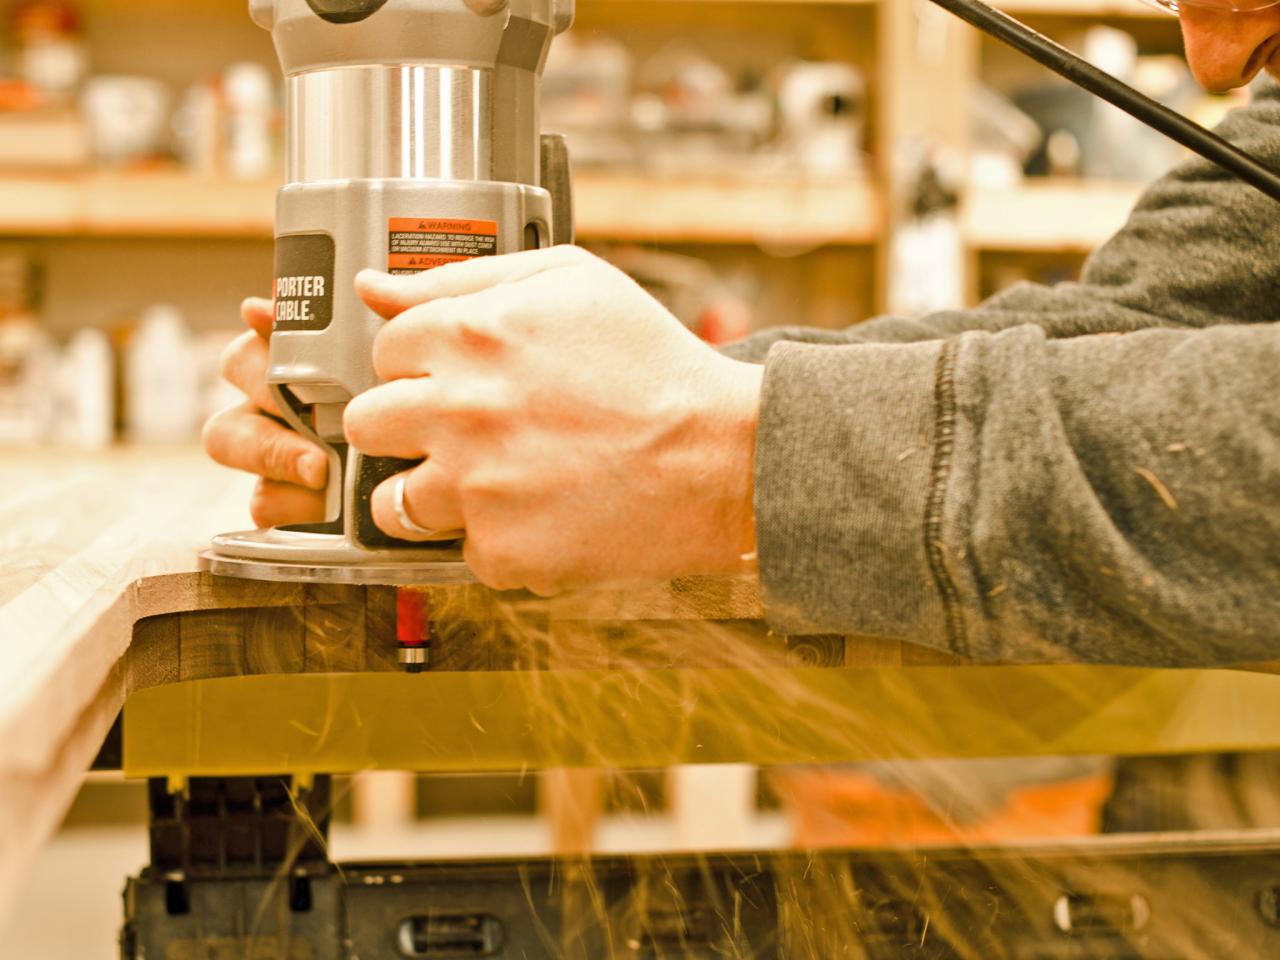
Countertop edges may be left straight or routed for a high-end, custom look and softened corners. To rout the front edge, clamp a straight board along the countertop's front side, allowing enough width to accommodate router plate (Image 1). Use a combo square to make sure board is evenly clamped. Never clamp directly to counter, because it might dent the wood. Always use a small scrap piece of wood to protect the surface. Make a pass with the router equipped with a large Roman ogee bit to remove some of the wood. Reposition the straight edge and clamps another 1/4" back. Make a second pass with the router equipped with the same bit. After second pass, remove straight edge and clamps. On the final pass, the bearing of this bit will ride along the countertop's bottom edge, so a straight edge is not needed (Image 2).
Clamped Wood
Routering Edge of Butcher-Block Countertop
Making an L-Shaped Peninsula or an Island
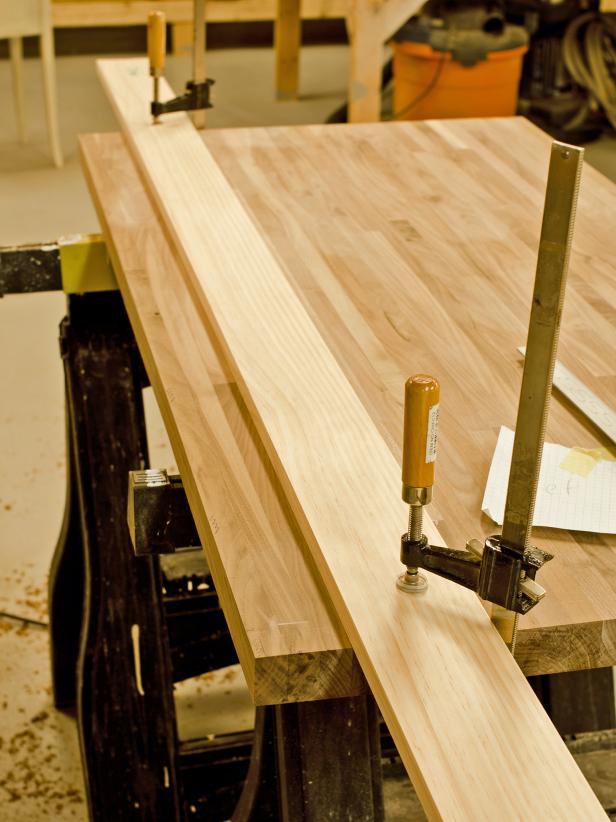
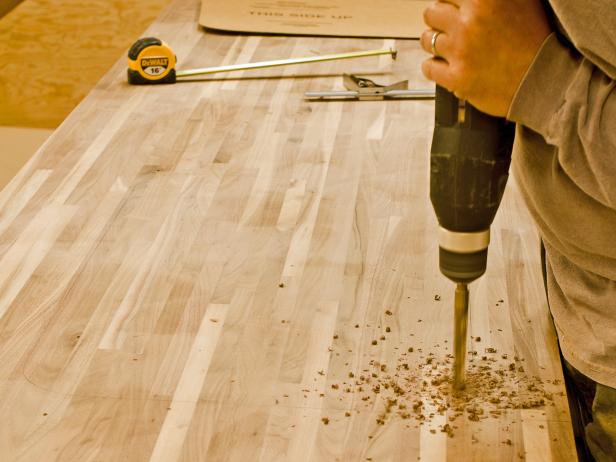
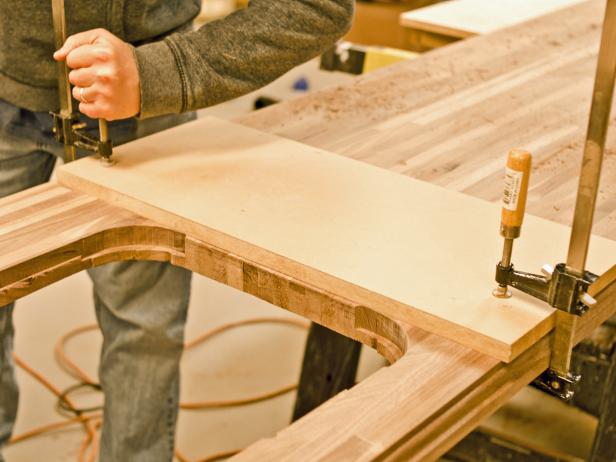
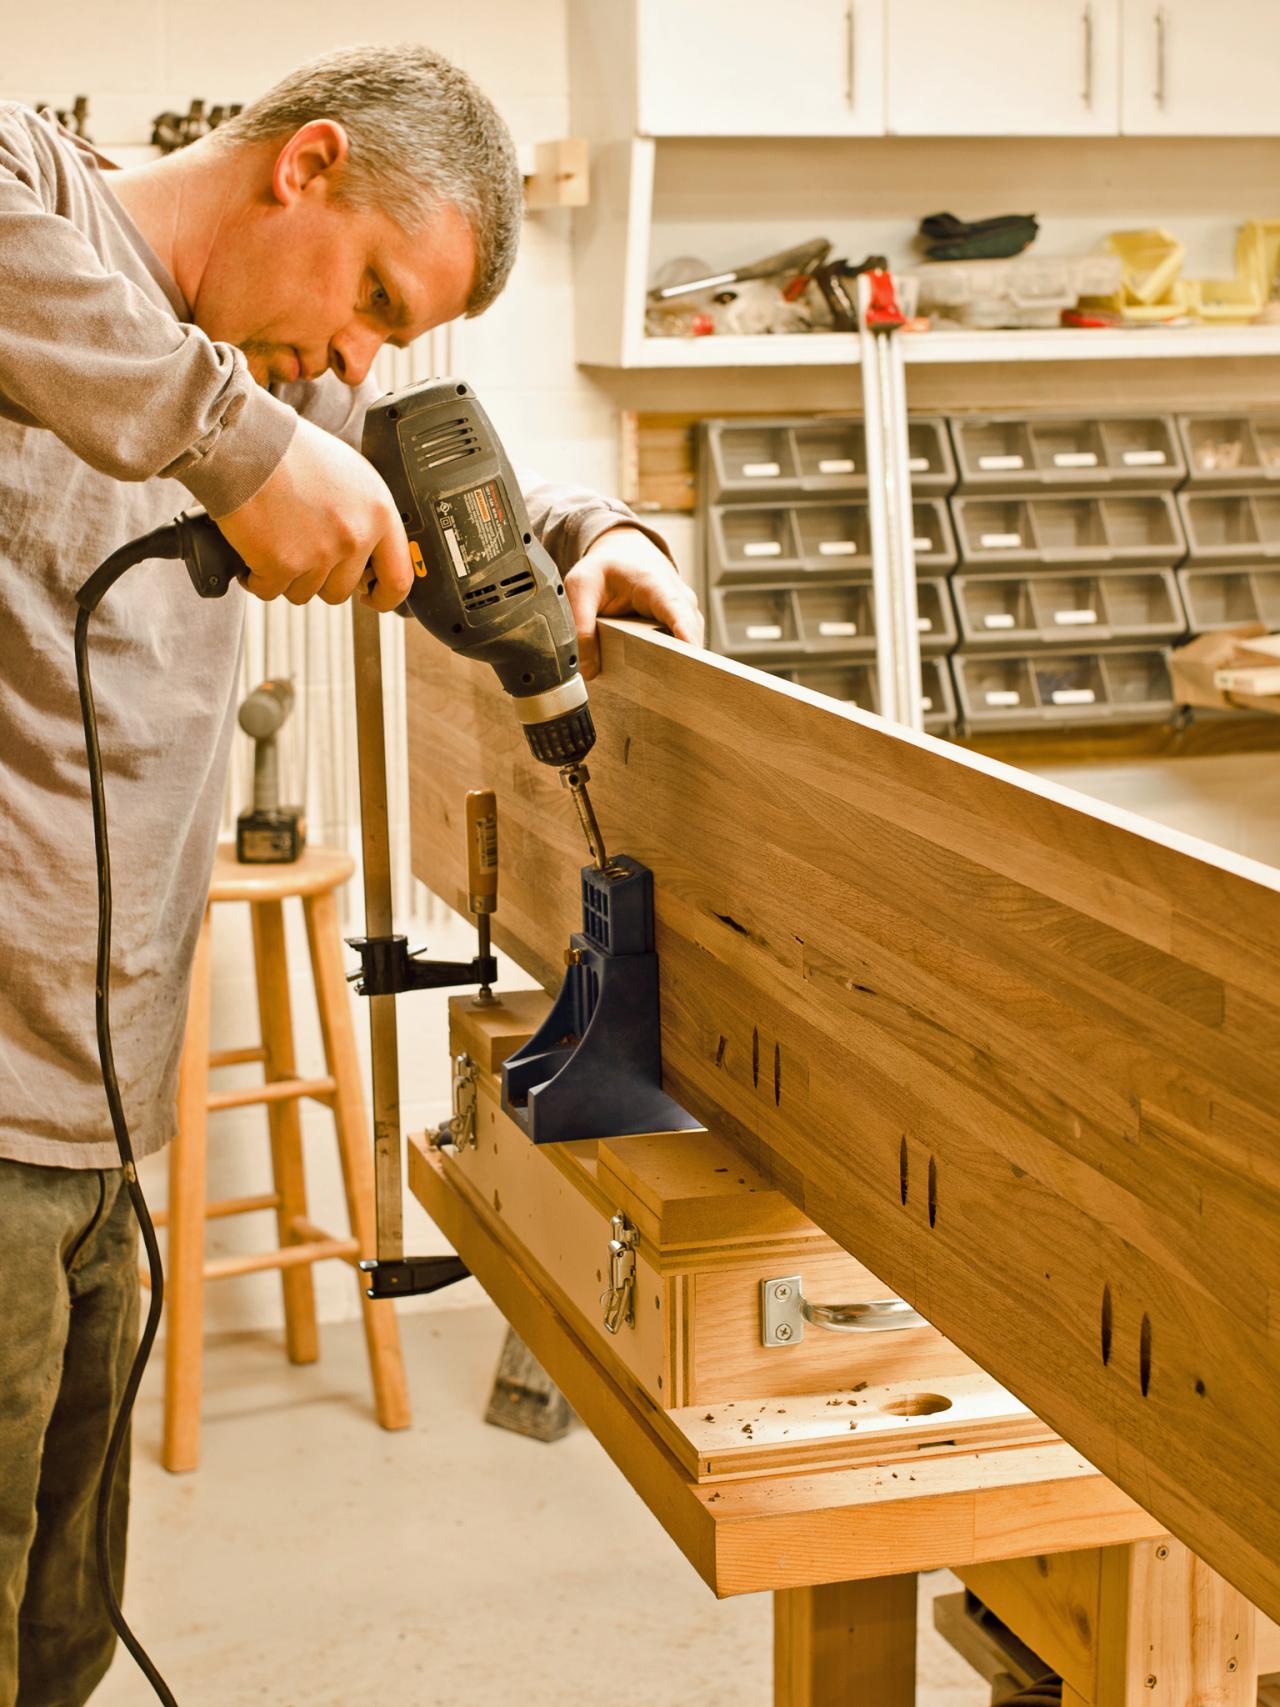
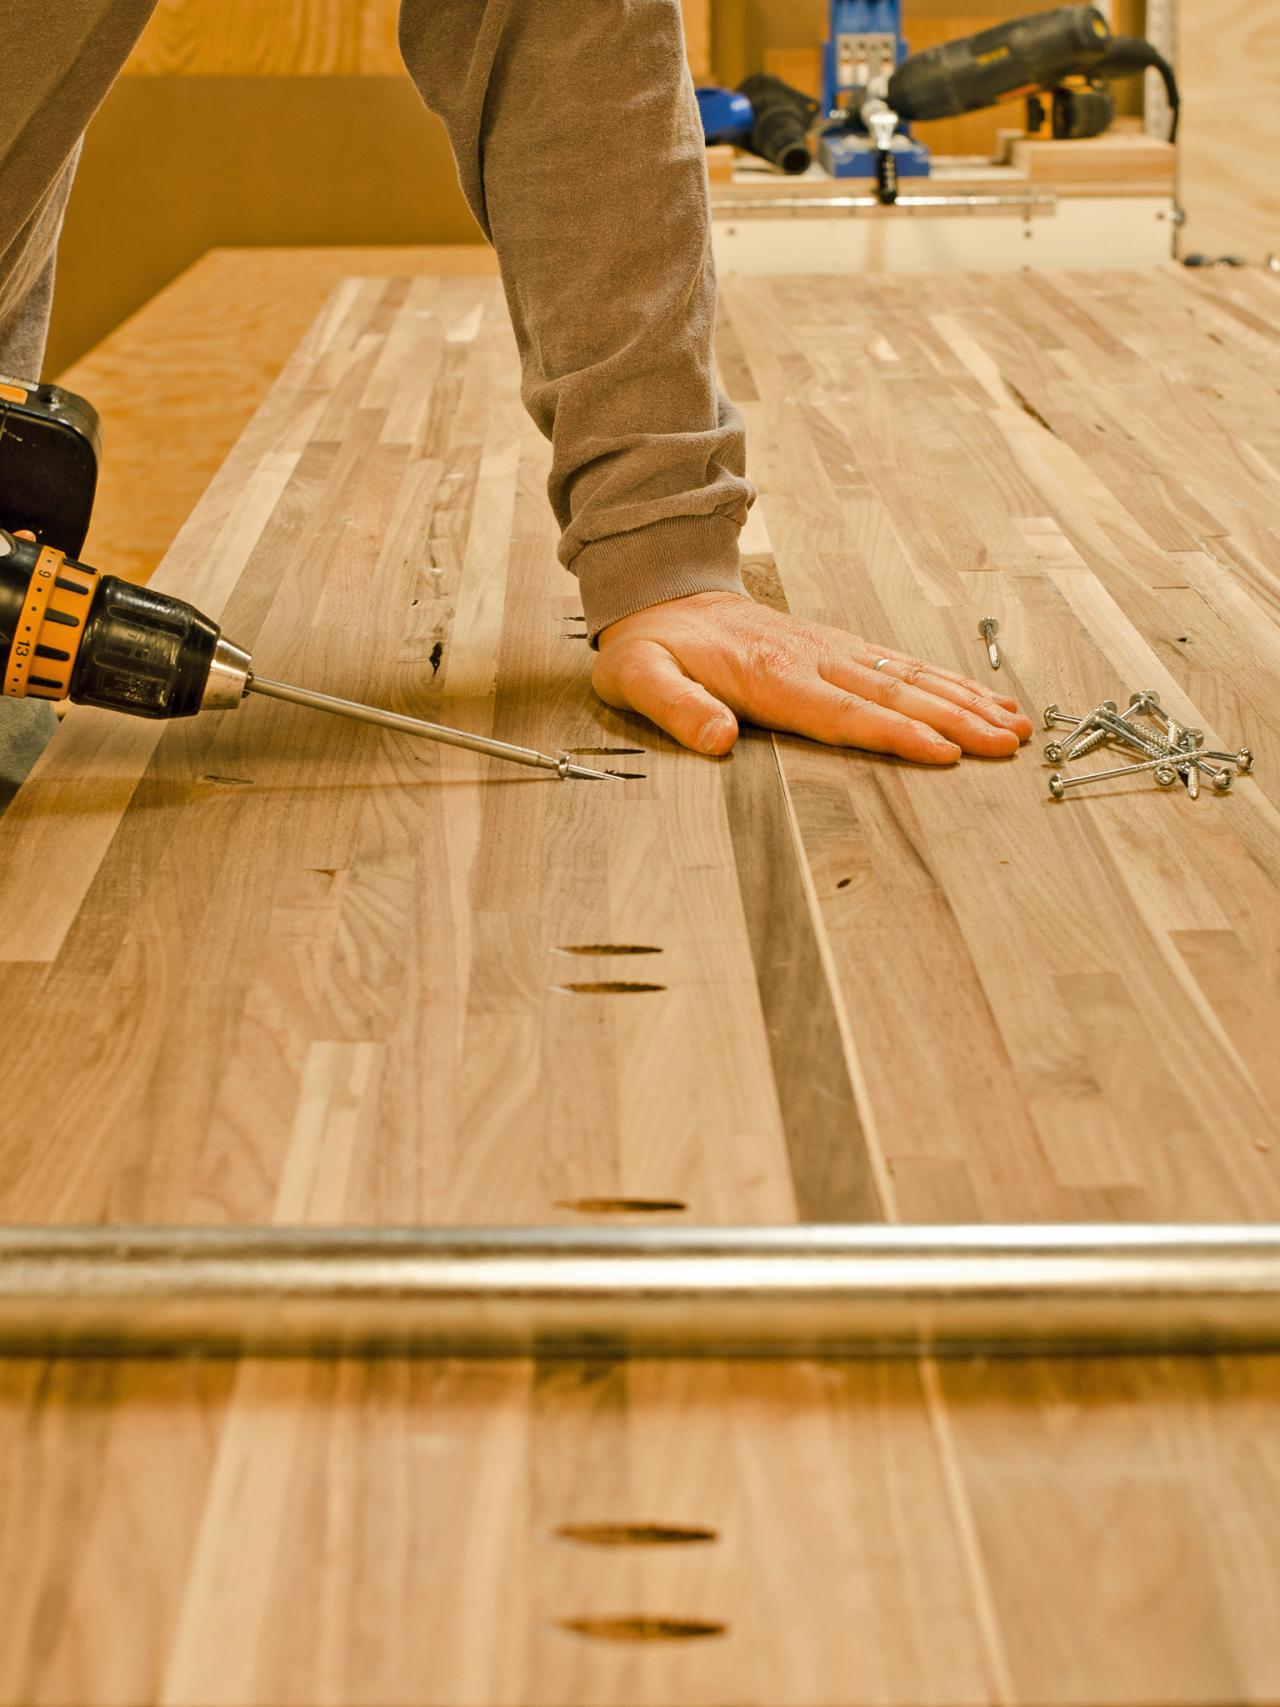
When positioning two pieces of countertop together to make an L-shape, simply cut the two pieces to size. Butt them together as they will be when installed then clamp both pieces down to work surface to hold them tightly in place (Image 1). If there is a gap, it may be necessary to trim one or both pieces with the circular saw and straight edge to achieve a straight line and a nice, tight fit. Once clamped together, rout the (optional) decorative edge as directed above. This will involve working on one side at a time and moving the clamps and straight edge. Since most islands and/or peninsulas are larger than standard counter depth, it will be necessary to connect two widths together. Cut excess off width and length of pieces that will be joined together, leaving a few inches of excess width to trim to make joining sides completely straight. Butt counter pieces together the way they will be joined to see if there are any gaps; if there are gaps, use a straight edge and circular saw to make both sides completely straight. Once trimmed, fit pieces together again. If they are flush, take the smallest width of counter and clamp upright in pocket hole jig. Drill downward into underside of counter that will be joined to other piece (Image 2). Put two screw holes about every 8-10 inches. Flip both pieces of countertop over, wrong-side up, and clamp tightly together with two pipe clamps. Insert 2-1/2" screws into pocket holes (Image 3). Rout exposed edges of island/peninsula, if desired.


Joining Boards for Butcher-Block Countertop
Pre-Drilling Holes in Underside of Countertop
Pre-Drilling Holes for Butcher-Block Countertop
Cut a Hole for the Sink
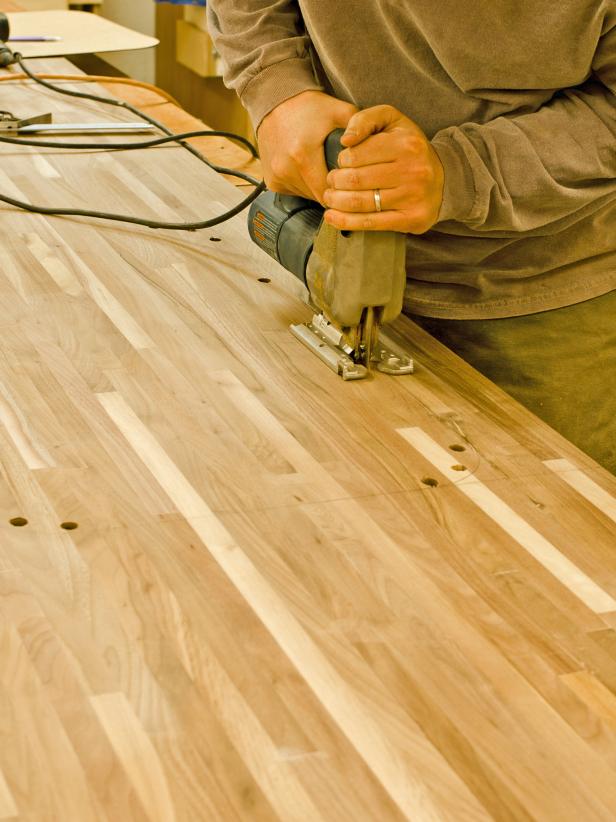
If purchasing a new sink, a template may be included. If not, measurements need to be taken of existing sink and transferred to desired location on butcher block. Trace template with a pencil. Make sure it's positioned square with the counter and in the proper location for plumbing. Drill several holes inside marked area large enough to accommodate jigsaw blade. For an undermount sink, insert jigsaw blade in the hole and cut about 1/4"-1/2" inside line. For an inset sink with a lip that will cover the cut, cut directly on the line and skip to step 8.

Tracing Template
Drilling Hole in Wood
Cutting Wood for Butcher-Block Countertop
Rout Undermount Sink Edge
Transfer template to a 1/4" piece of MDF. Cut out with a jigsaw and sand inside edges smooth (Image 1). Clamp template to counter, lining cutout with traced line. Use a router fitted with a shank-side bearing flush trim bit and allow bit to ride along template. The template can be used for entire sink hole or just corners (Image 2), while a straight-edged board is used for straight lines (Image 3). Work in small sections and reposition clamps when needed. Once top edge of sink hole is completely routed, flip countertop over, wrong-side-up.
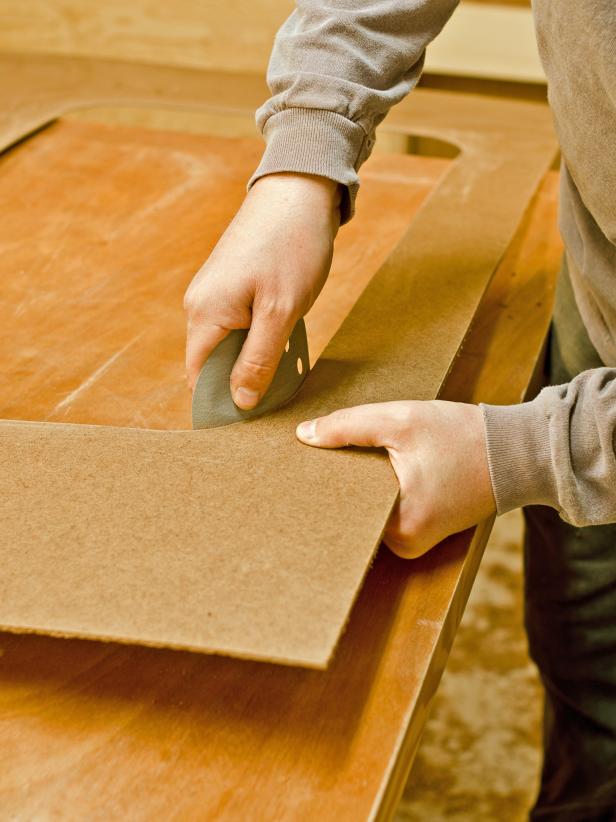
Creating Template for Sink
Using Router
Clamping Boards
Trim Underside of Sink Hole
With countertop upside-down, switch router bits to an end-side bearing flush trim bit. Run the router around sink hole to cut out remainder of material (Image 1). Turn counter over again, so right side is facing up. Use a small roundover bit to knock down edge of sink hole, if desired (Image 2).

Routering Hole for Sink
Routering Hole for Sink in Butcher-Block Countertop
Drill Holes for Faucet
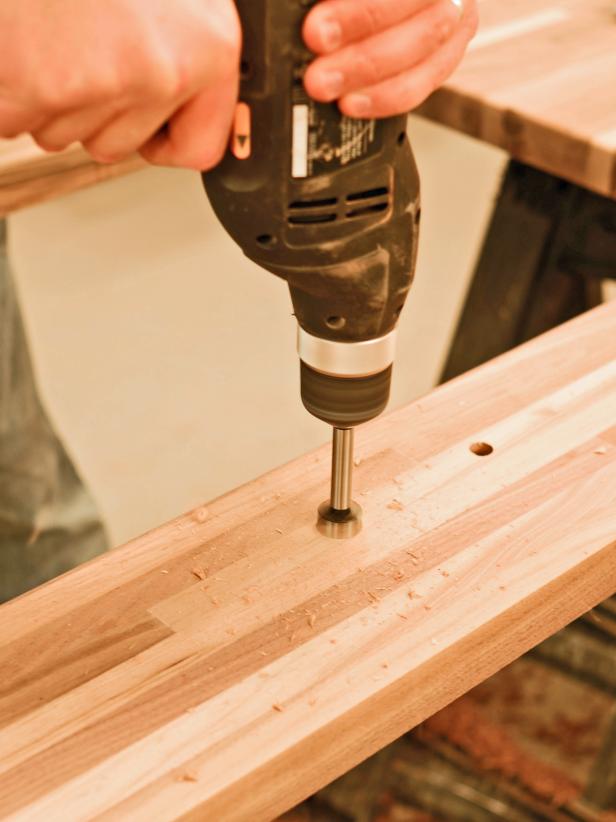
Measure and mark desired location for faucet (Image 1). Use appropriately sized drill (Image 2) and/or Forstner bits (Image 3) to drill holes in marked location. Drop faucet in holes to ensure fit is correct.
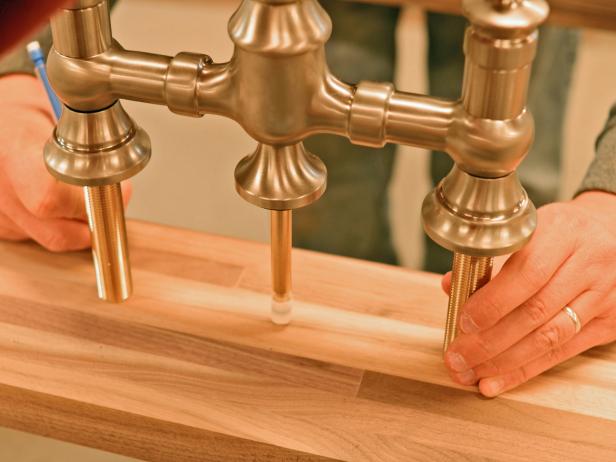
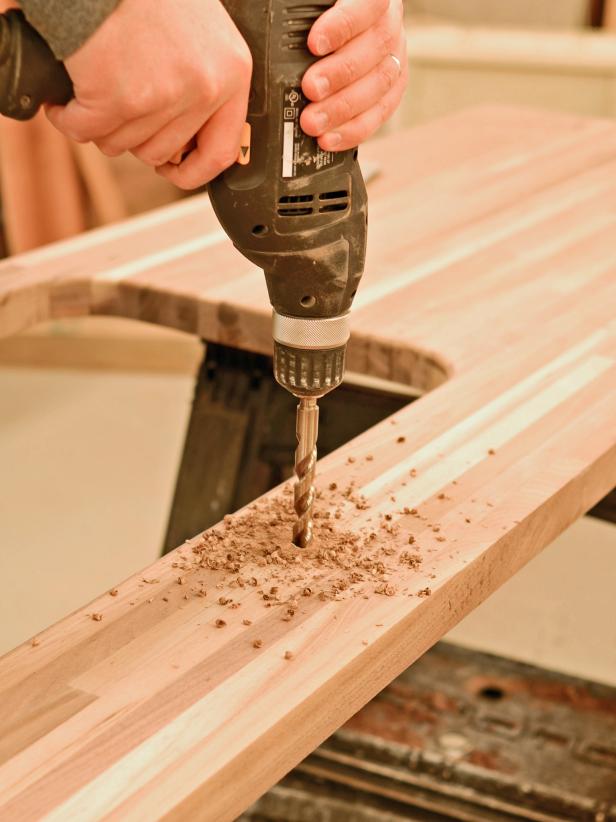
Measuring for Faucet
Drilling Hole
Drilling Hole
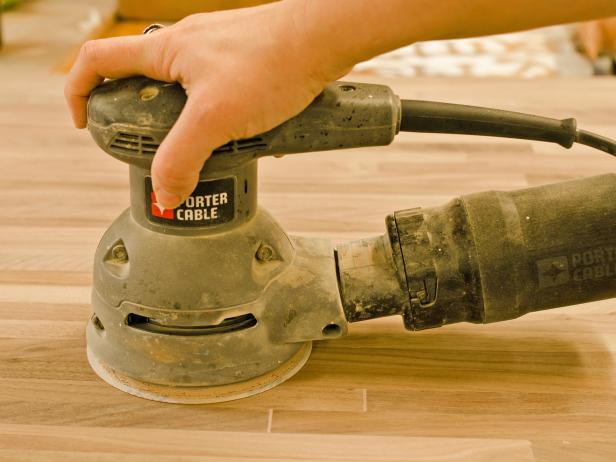
Fill and Sand
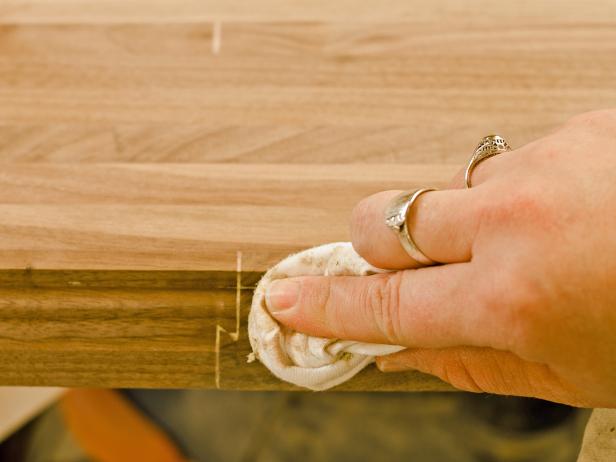
Press wood filler into any holes with finger (Image 1). Wipe away excess with a clean, slightly damp cloth (Image 2). Allow it to dry. Sand surface of countertop with an orbital sander, starting with 150 grit and gradually working up to 220 grit (Image 3). Countertop should be smooth to the touch once sanding is completed properly. Sand routed and exposed edges by hand.
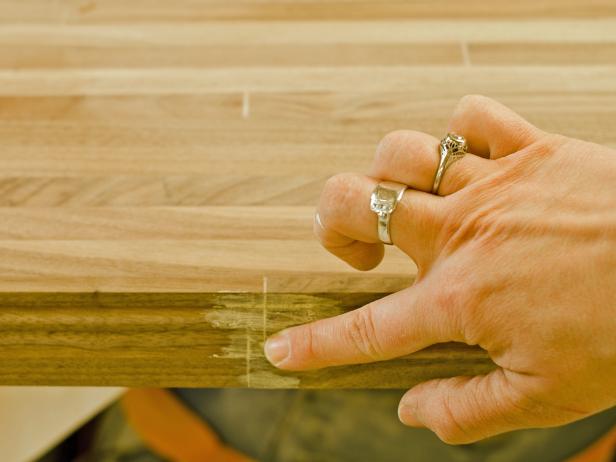
Filling Hole With Wood Filler
Cleaning Wood Putty With Rag
Sanding With Orbital Sander
Apply Finish
Remove dust with a soft cotton cloth, tack cloth or vacuum brush attachment. With a clean cotton cloth, wipe entire countertop surface with mineral spirits (Image 1). This will remove any remaining dust and also reveal any imperfections (excess filler that hasn't been sanded away, sanding marks, etc.) that will be revealed by the finish. Fix any imperfections and remove dust again. Clean work area to make it as dust-free as possible.
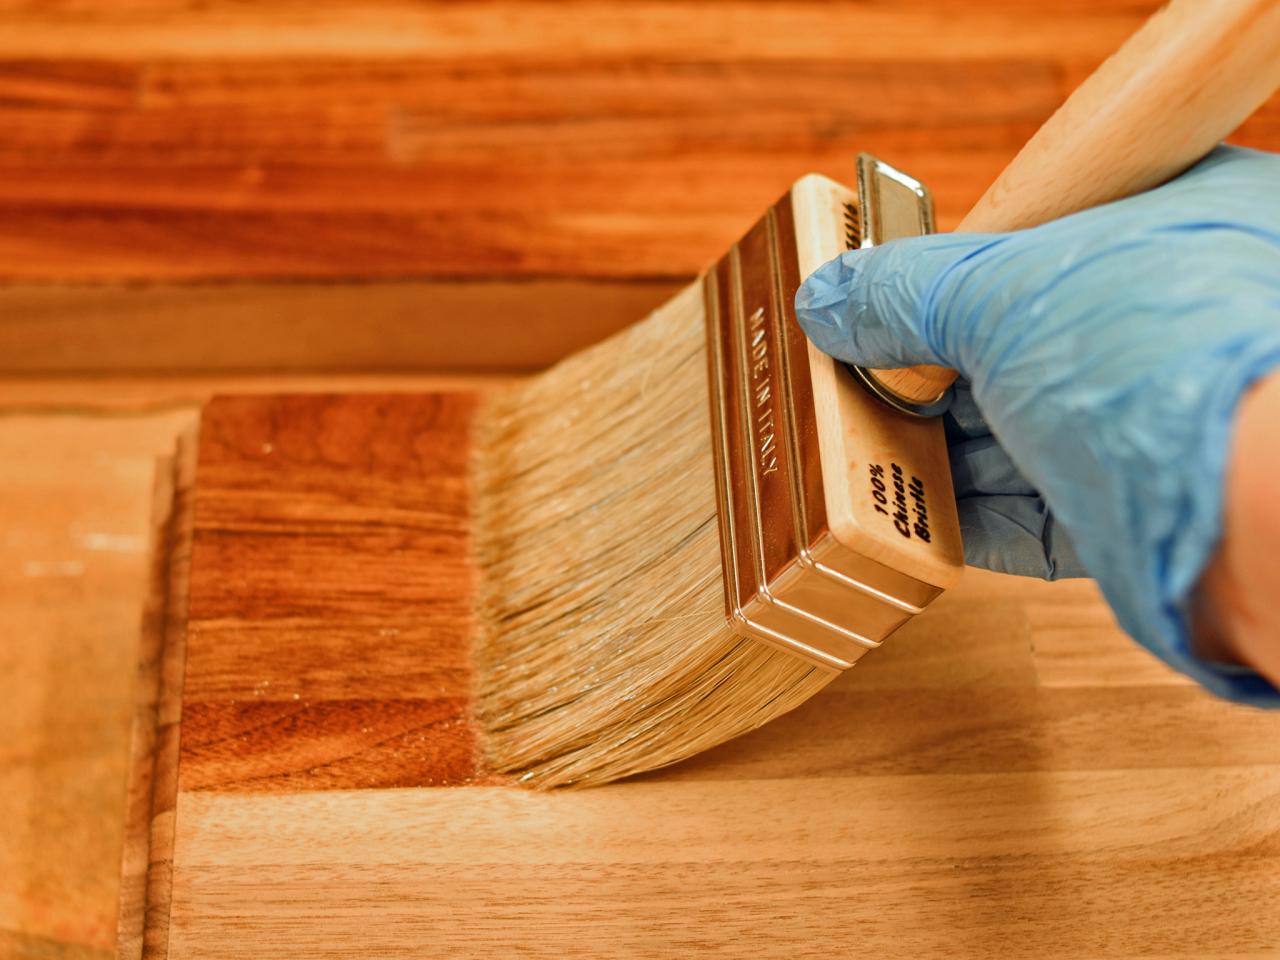
Allow dust to settle before applying finish. Follow manufacturer's instructions to apply finish (Image 2). Plan for 7-10 days to apply coats and allow for cure times before installing. Tip: There are many finishes available for butcher-block countertops that can be applied depending on how the counters will be used. If countertop will be used as a cutting and food preparation surface, apply food-safe oil like hemp or mineral oil. If a more durable, water-resistant finish is desired, use a product that's made to penetrate like an oil, but will protect like a polyurethane. Traditional polyurethane is not suggested, since it sits on the surface and will bubble or peel over time. For an even more durable and water-proof finish, use a marine finish made for yachts and sailboats.


Staining Butcher-Block Countertop
Staining Wood

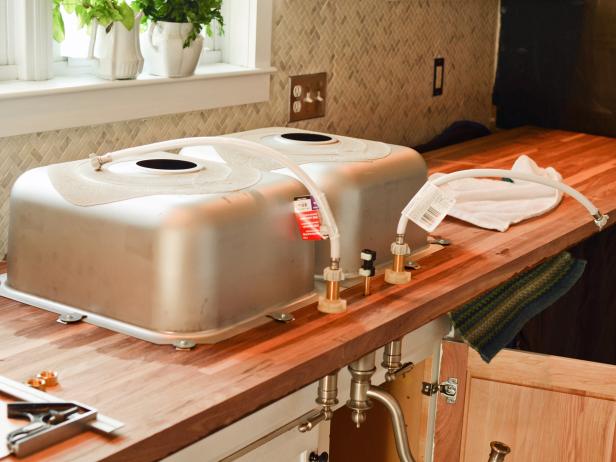
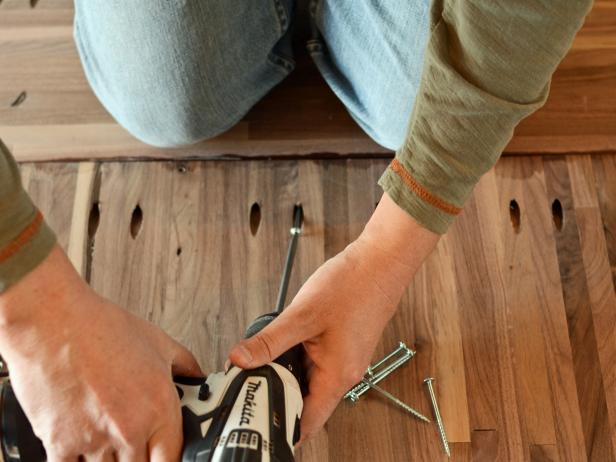
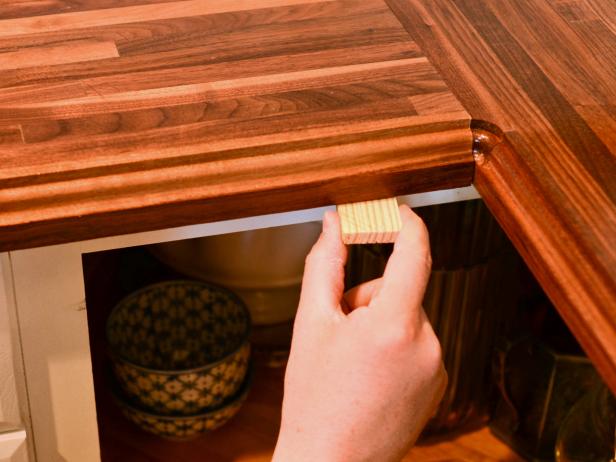
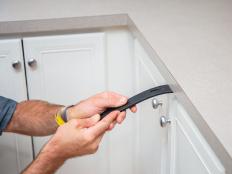
Install Countertops
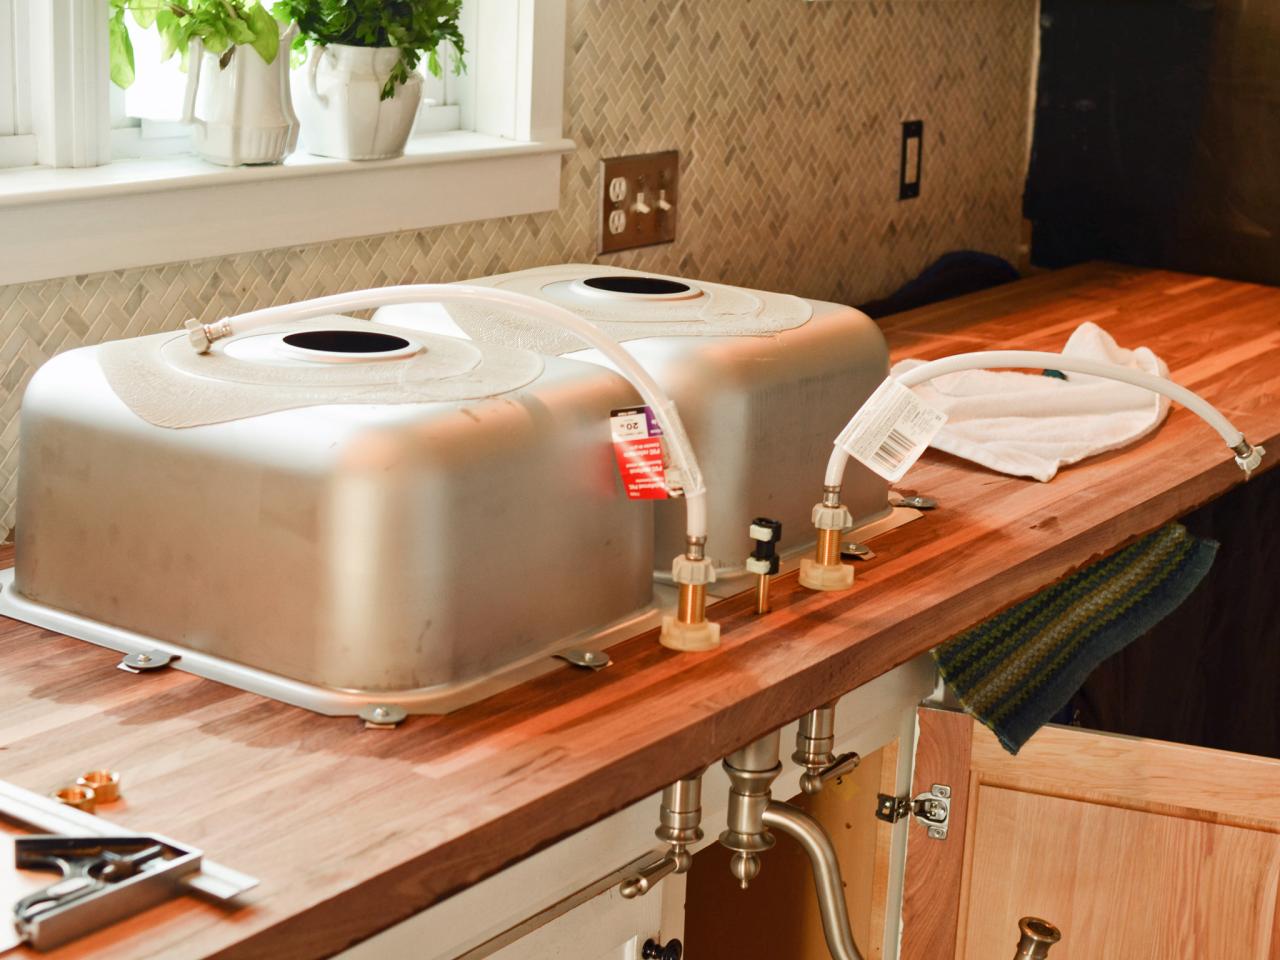
Remove old countertop, sink and faucet and slide new countertop into place. Secure countertop by inserting screws through hardware on underside of cabinets with 1-1/4" wood screws (Image 1). Install sink and faucet following manufacturer's instructions (Image 2). For L-shaped sections, lay both pieces on a flat work surface or floor face down. Insert 2 1/4" pocket-hole screws into predrilled pockets (Image 3). Flip section over and slide into place on cabinets. It may be necessary to use shims between counter and cabinets to make countertop level, especially for larger sections. Gently knock shims into place until counter is level and score off excess with utility knife (Image 4). Tip: If walls are bowed or not square, it may be necessary to use caulk or trim to fill or cover gaps. It's also a good idea to use a silicone sealer between countertop and the wall behind the sink to prevent leaks.

Installing Butcher-Block Countertop
Preparing Sink for Installation
Drilling Holes in Bottom of Countertop
Putting Shim Under Butcher-Block Countertop

Stainless Steel Kitchen Sink WIth Butcher Block Counter
A white cafe curtain and gray tile backsplash provide a white palette for the rich wood countertop. A stainless steel kitchen sink and brushed nickel faucet break up the brown countertop for an industrial touch.


