


Easy DIY Craft: Paper Dahlias


How to Make Giant Paper Dahlias
To make these oversized flowers, start with 7 pieces scrapbook paper in the color of your choice, a cardboard cake circle (available in the cake decorating section of the craft store), double-sided tape and a paper cutter or scissors.
Cut the scrapbook paper into about 60 4-inch squares using the scissors or paper cutter.
Now it's time to assemble the paper cones. Put a strip of double-sided tape on the top end of a 4-inch square of scrapbook paper. Bring the opposite corner about halfway across the square and secure the taped side atop the opposite corner. Repeat with remaining paper squares.
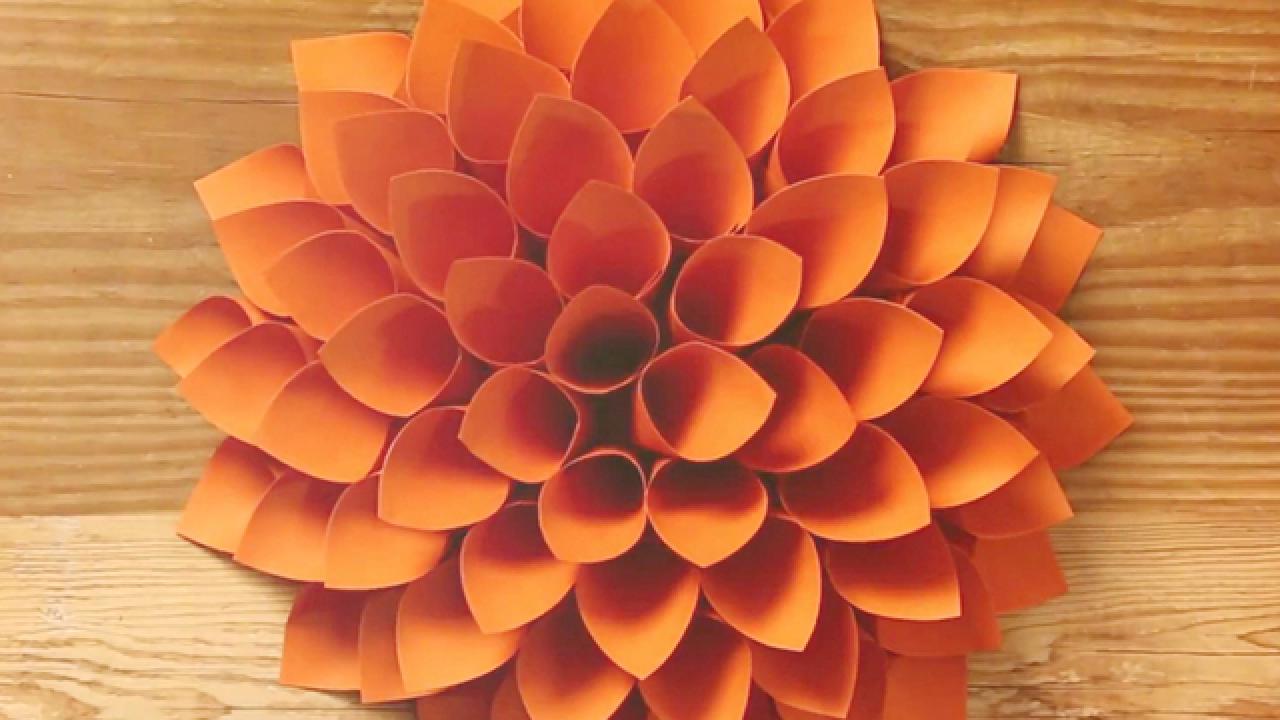
Once the cones are complete, it's time to assemble the flower. Start by flattening the bottom inch of the cone with your fingers. Apply a layer of double-sided tape to the outside of the cardboard circle. Place the cones on the tape about a finger-width apart. Add more tape inside the first ring of cones and nestle the second layer of cones in between the first layer. Repeat until you reach the center of the cardboard circle.

Display the Paper Flowers
These lightweight decorations can be attached to the wall using removable adhesive strips, making them ideal for parties, dorm rooms or rental properties.
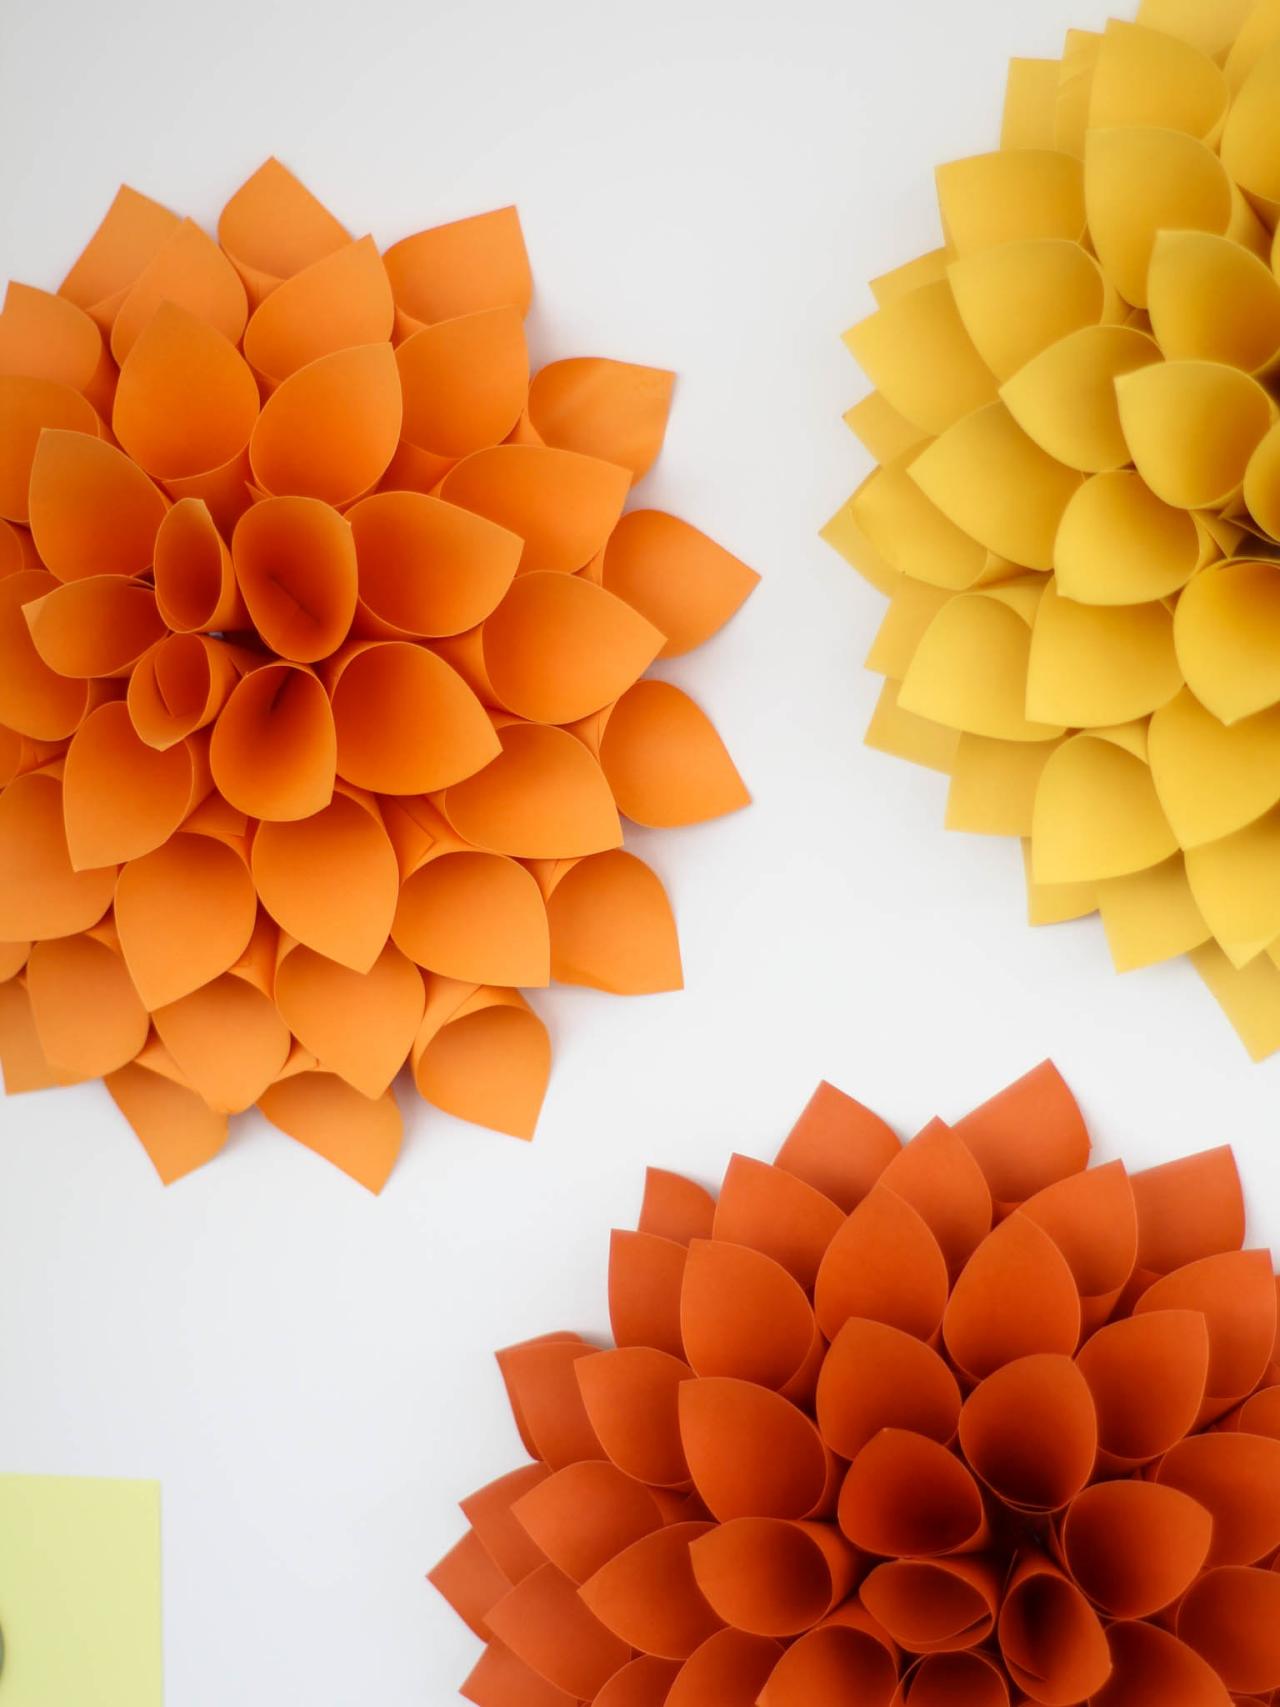
Just one of these dahlias makes a beautiful, unique wreath for the front door. Or, mix and match dahlias in coordinating hues to create a custom wall display.


