


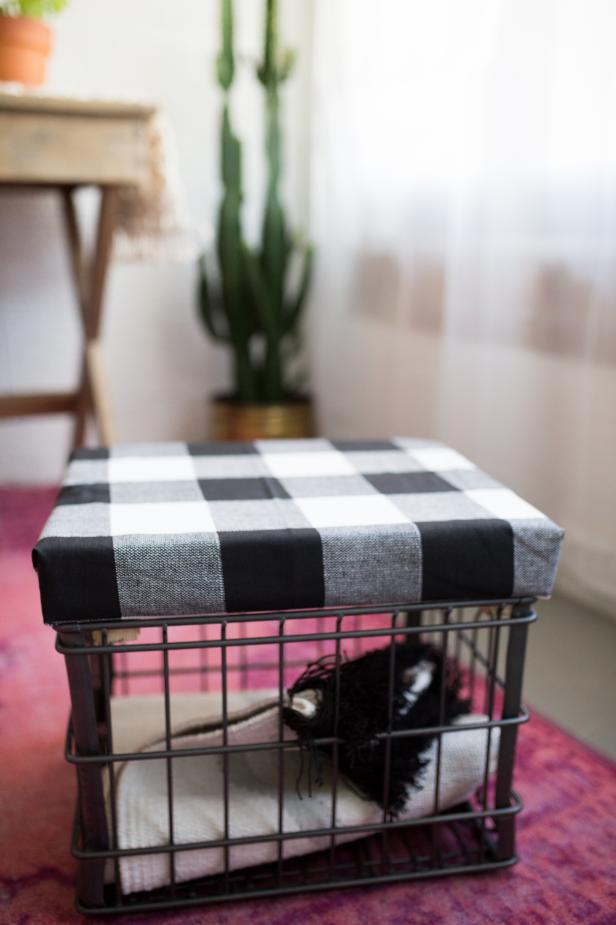
DIY Milk Crate Ottoman
Looking for a room refresh without the headache that comes with a total overhaul? This milk crate transformation is just what you've been missing.

Materials Needed
- milk crate
- fabric
- foam insert (cut to fit crate)
- plywood (cut to fit crate)
- (2) 2" wood pieces (cut to fit crate)
- glue
- staple gun + staples
- sanding block
- drill + bit
- screws
- spray paint
- spray adhesive
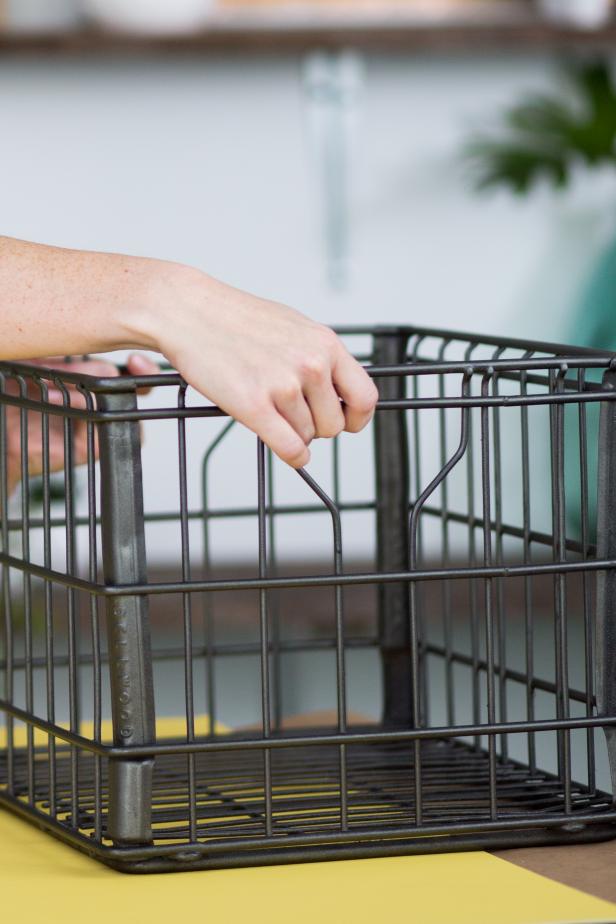
Prep Crate

Cassidy Garcia

Cassidy Garcia
Cassidy Garcia
The first step is to prep the milk crate or the soon-to-be base of the ottoman. The age and patina of the crate will determine the amount of elbow grease needed. Remove any unwanted paint or rust with a sanding block. Once the surface is smooth, add a pop of color with spray paint.
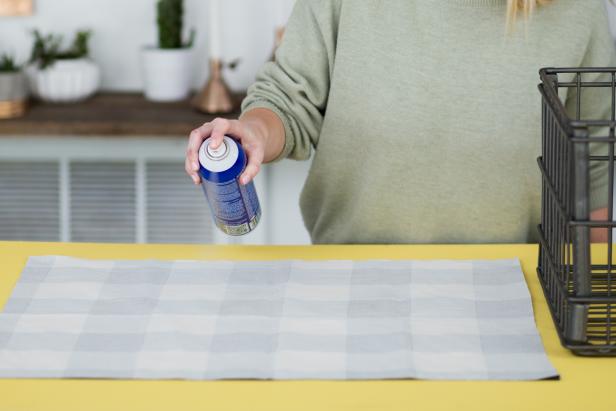
Pretty Padding
Cassidy Garcia
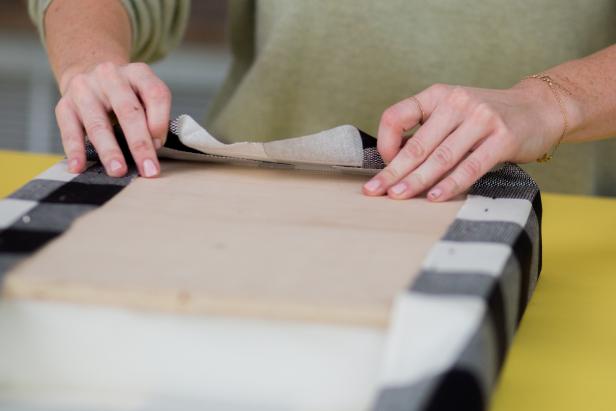
Create a cushion for added coziness and style. Measure the crate's opening to determine the size of the foam. Cut fabric wide enough on each side to wrap around the foam and a plywood board cut to the same size as the foam. Lay out the piece of fabric on a flat surface making sure the piece is laying as evenly as possible. Cover the entire surface with a layer of spray adhesive. Place the foam insert piece onto the center of the fabric.
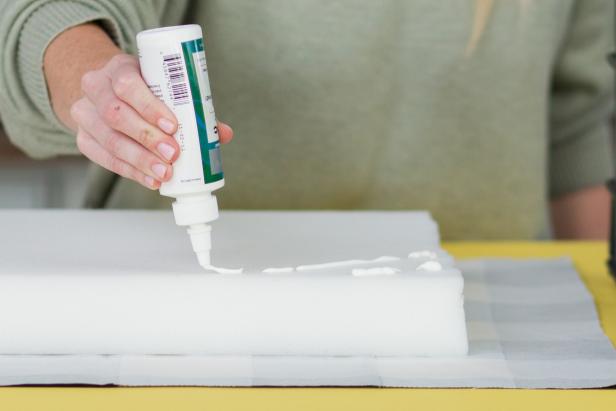
Set Structure
Cassidy Garcia
Cassidy Garcia

Cassidy Garcia
Once the foam insert is secured to the fabric, add a layer of glue to the top on the foam insert. Set the plywood piece on top of the glued surface. Wrap the fabric around the foam and plywood piece, securing the fabric to the wood with as many staples as necessary. Set the two small wood pieces (these should be cut to the same length as the wood) on the outer edges of the cushion so that they fit inside the crate and don't allow the top to slide off. Attach the wood pieces to the plywood with screws.
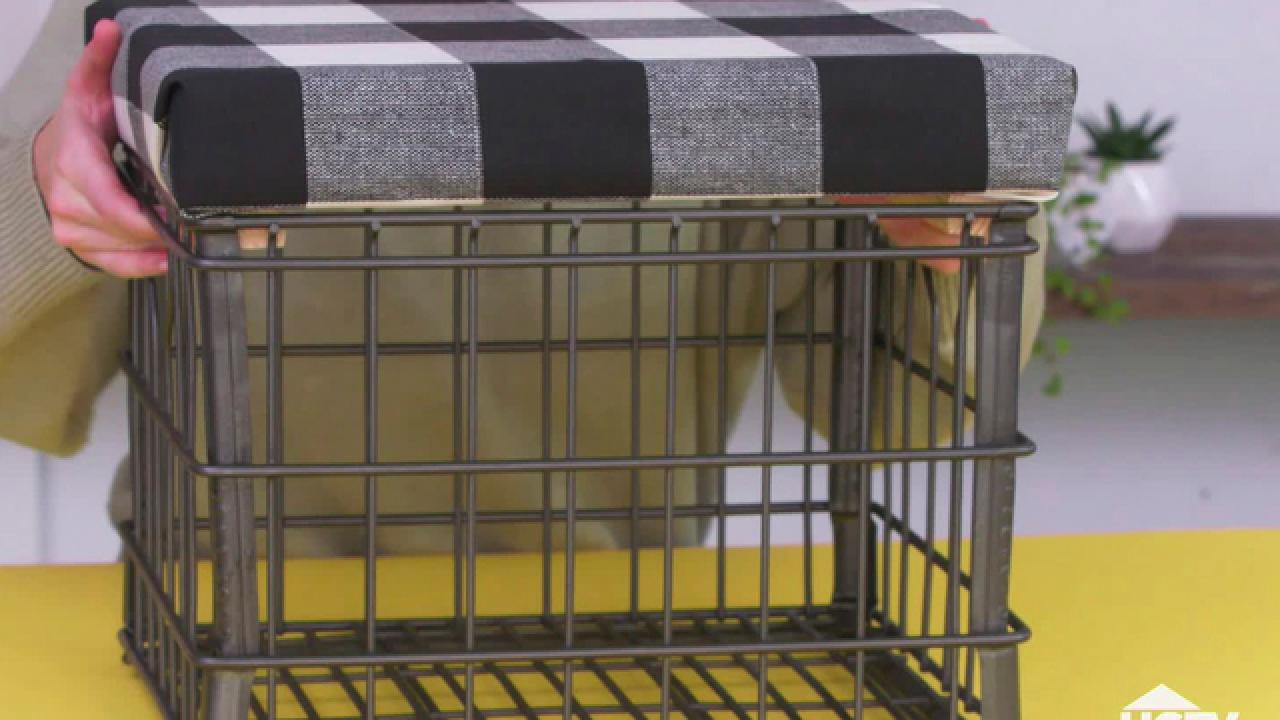
Style the Milk Crate
Cassidy Garcia
Voila! The milk crate's transformation is now complete. Use the crate to stylishly display vintage books, as a cozy blanket basket or as a sturdy footrest.


