


Turn an Old Coffee Table Into an Upholstered Storage Ottoman
This stylish storage ottoman makes a great coffee table, provides extra seating and is a cushy place to prop up your feet at the end of the day. The handy lid lifts to reveal plenty of storage for throws, kids' toys or board games.


Materials Needed
old coffee table
table saw or circular saw
1"x8" pine boards (length depends on size of table)
screwdriver
1" wood screws
1/2" MDF (dimensions depend on size of table)
finishing nails
batting
staple gun and staples
sewing machine
upholstery fabric and coordinating thread
scissors
measuring tape
marker
drill and bit
high-density foam for upholstery
electric bread knife (optional)
spray adhesive
long upholstery needle
cording
buttons
piano hinge
dust protector cloth
hot glue gun or fabric bond tape
Determine Height and Cut Legs
Determine how high you want the top of the ottoman using your sofa's height as a guide. If you aren't sure where the ottoman will go, use 19-20" as your height. Subtract 3" for the foam and the thickness of the table top from your desired height. The resulting measurement should be the length of the legs. Remove the legs and cut them to adjust for the height, if necessary. Cut the top of the legs to retain the finished end on the bottom. Reattach the legs.

Create Storage Box
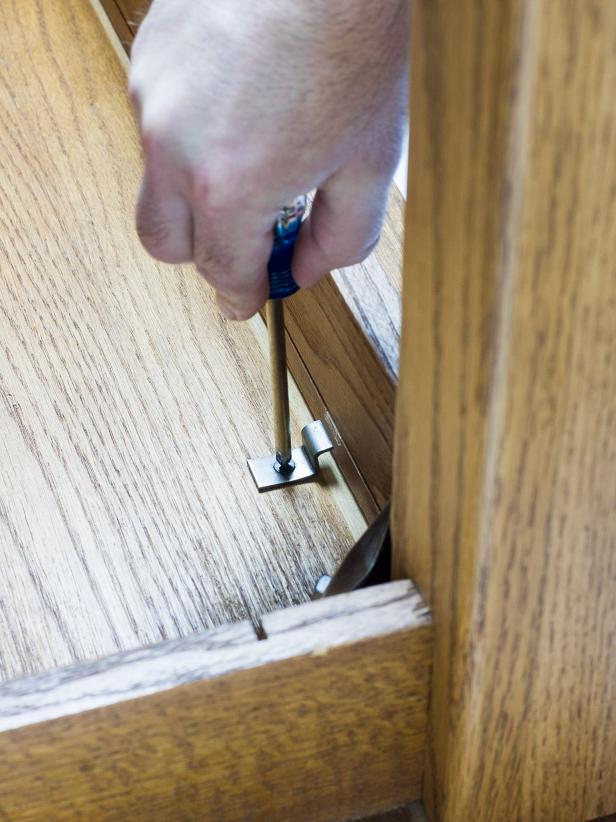
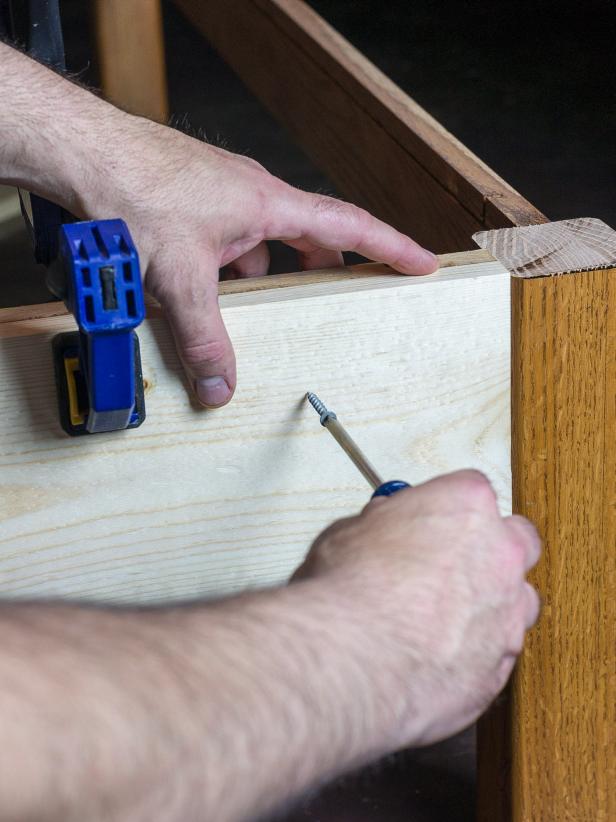
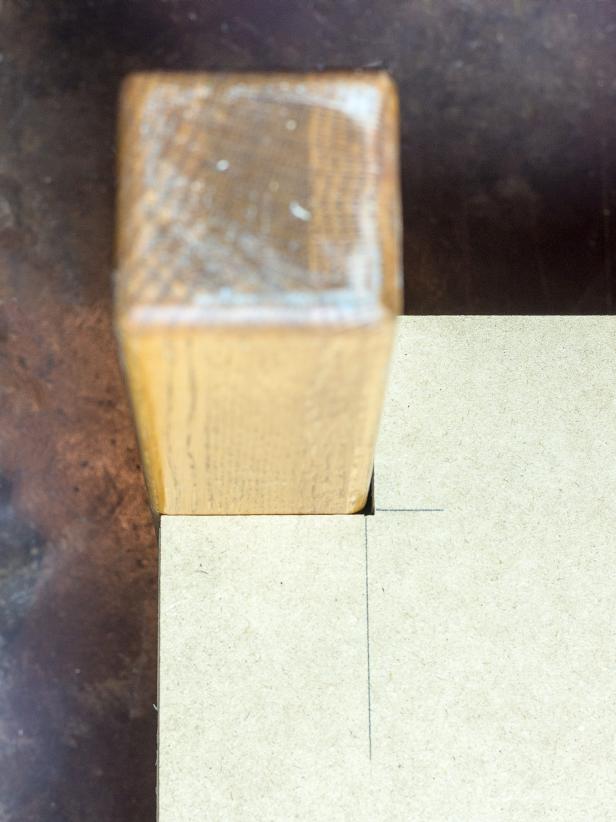
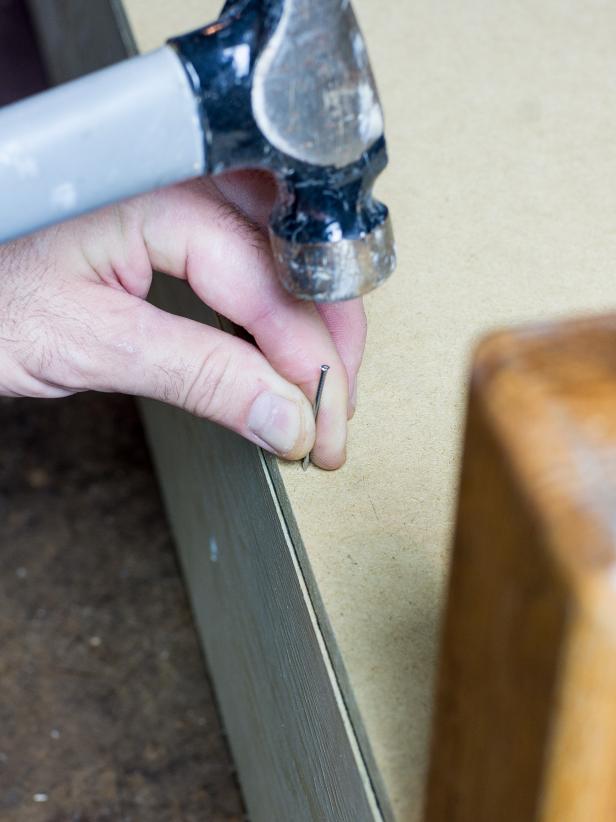
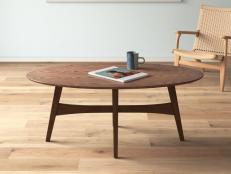
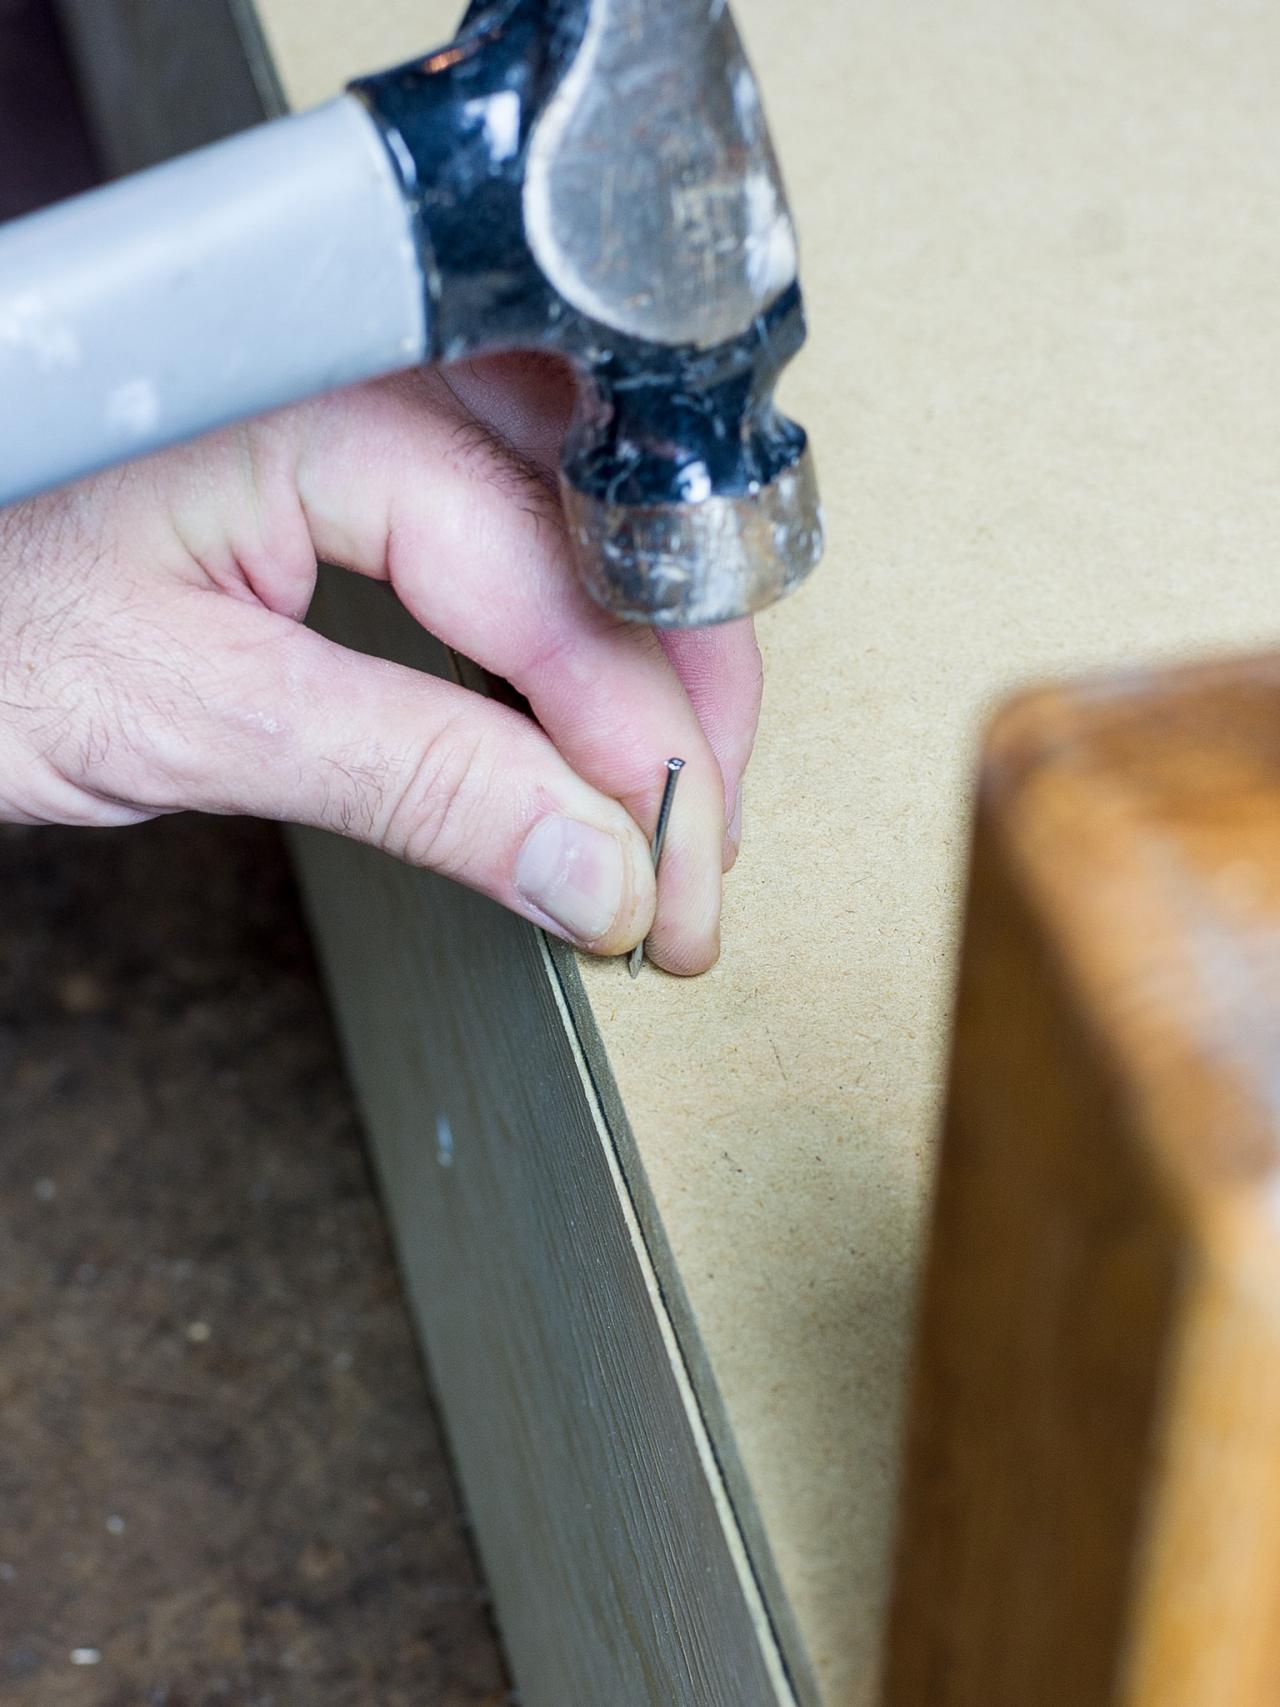
Remove the tabletop from the coffee table (Image 1). Cut it to fit the outside edges of the legs or sides -- whichever sticks out furthest. Cut 1"x 8" boards to length to wrap around the table. If the legs stick out further than the sides, cut the boards to fit between the legs. Secure them with wood screws (Image 2). Cut a piece of 1/2" MDF to completely cover the bottom of your ottoman. You may need to make notches on the corners to accommodate the legs (Image 3). Secure the bottom with finishing nails (Image 4).
Cover the Ottoman's Sides
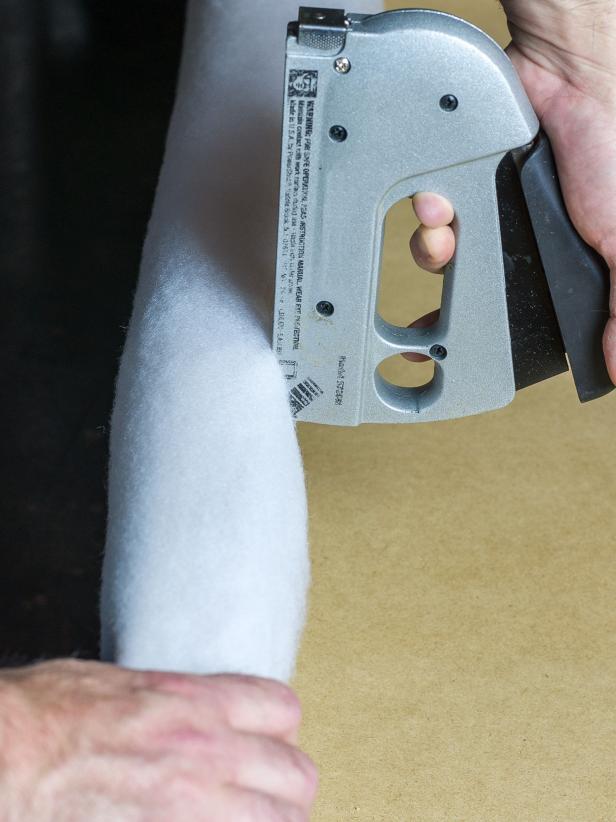
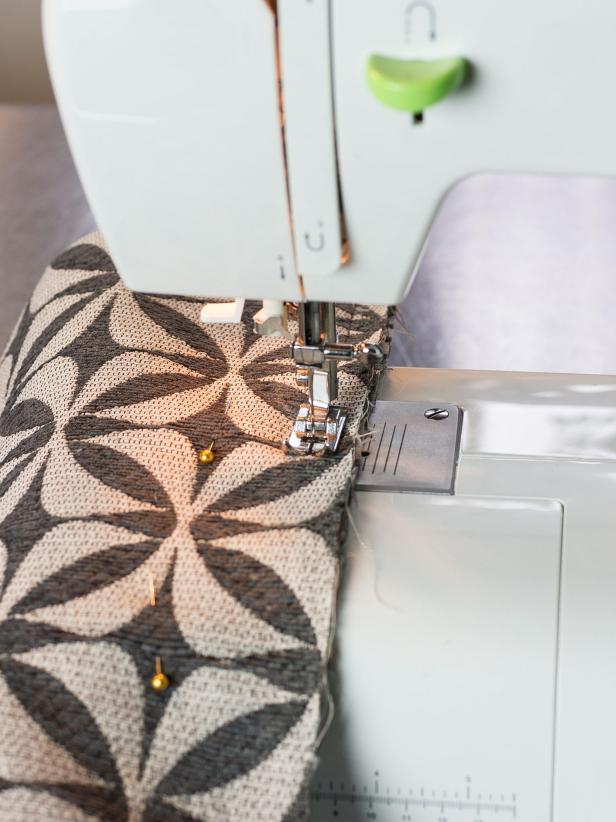
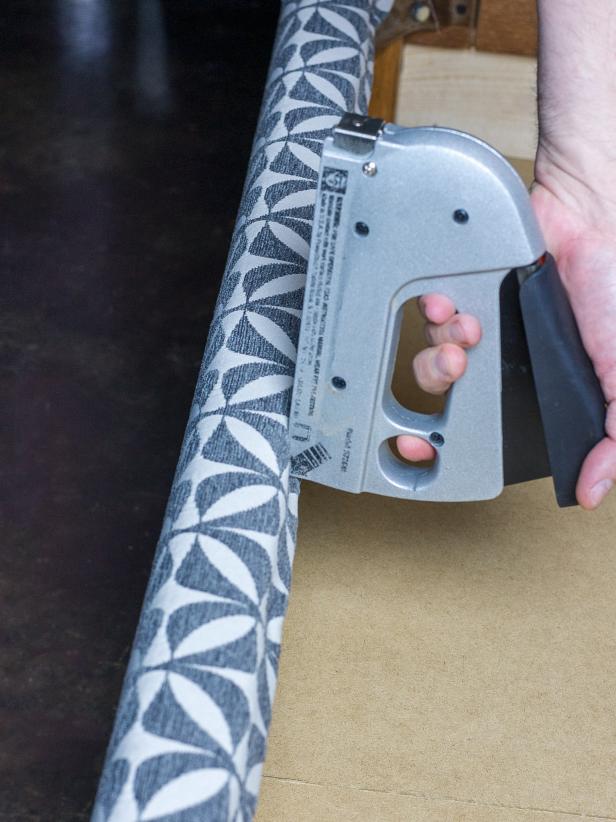
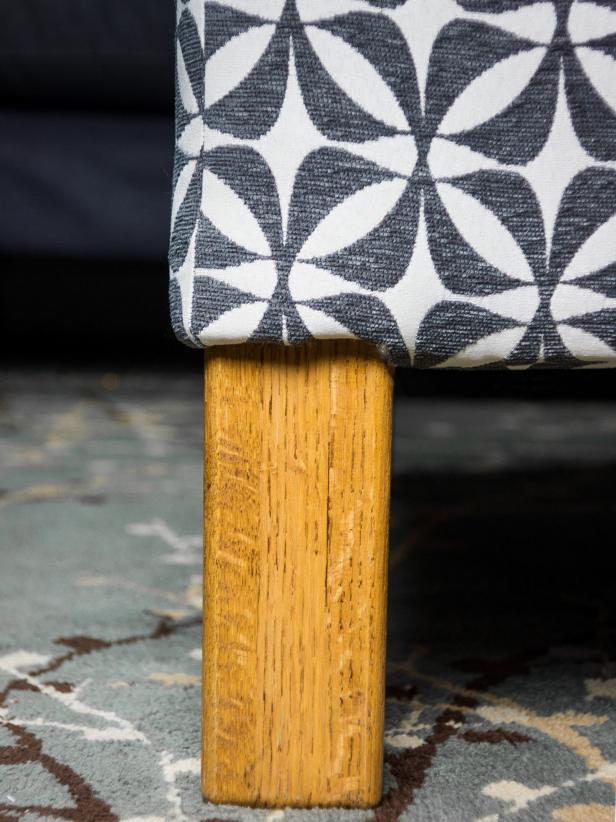
Wrap the sides of the ottoman with batting, stapling on the inside edge of the top and on the bottom (Image 1). Remove any excess. Measure the sides of your ottoman with the batting. Cut upholstery fabric for each of the four sides adding 6" to the height of each side and 1" to the length of each side. Lay the pieces together with the good sides of the fabric facing each other. Sew each corner together with a 1/2" seam allowance. Be sure to alternate long ends and short ends so the seams line up at the corners (Image 2). Note: If you are using patterned fabric, be sure to line up the pattern for a polished look. When you've sewn a complete loop with the fabric, slide it over the batting. Fold over the edges and secure them with staples over the batting on the inside edge of the top and on the bottom. Undo a few stitches on the ends if necessary to overlap fabric for a smoother finish (Image 3). For the legs, cut small notches in the fabric where the leg meets the side of the table up to the bottom of the side. Use your fingers to carefully tuck the fabric up behind the batting on the legs (Image 4).
Mark Pattern for Tufting
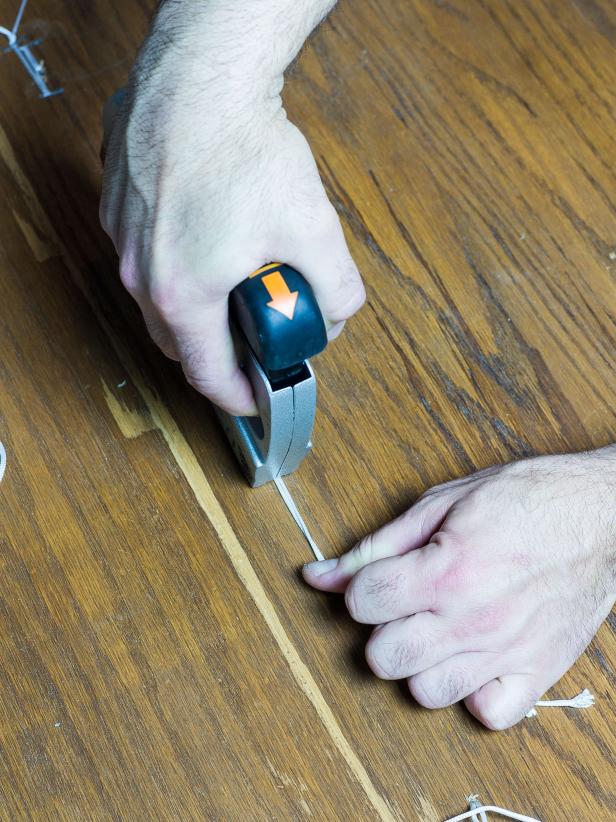
Determine your desired pattern for the tufting. Our example shows a square pattern, but you may prefer a diamond pattern. Measure your tabletop and draw the tabletop and pattern on a piece of paper. Leave an equal amount of space on the ends and the sides. Repeat your drawing on the tabletop using a marker and measuring tape to mark the spots. Drill a hole at each of these spots using a bit that is at least 1/4" in diameter.

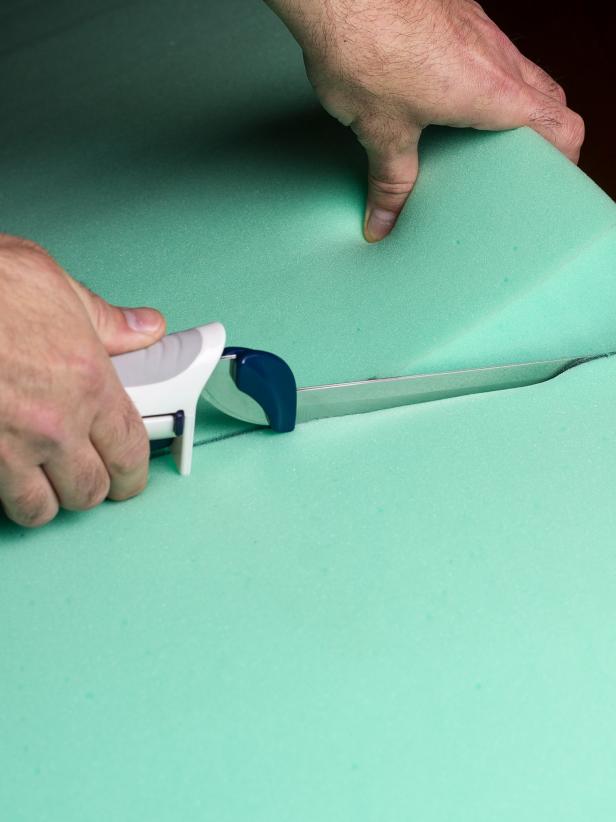
Add Foam and Batting
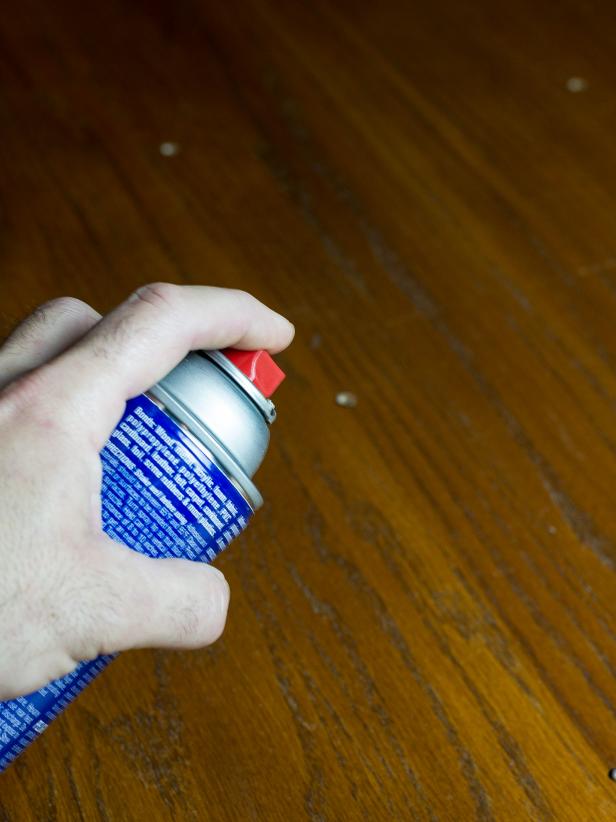
Measure and cut 3" dense foam to fit your tabletop. You may have to cut a few pieces to fit correctly. Mark the foam with a marker and cut with an electric bread knife. Note: You can cut foam by hand with a utility knife, but a bread knife will produce better results (Image 1). Spray one side of the foam pieces and the tabletop with spray adhesive (Image 2). Allow time for the glue to tack up as directed by adhesive manufacturer, then press foam onto the tabletop. Cover the foam with batting and secure on the bottom side with staples to create the ottoman's top.
Prep Fabric Cover
Cut the fabric for the ottoman top allowing for the top measurement, the sides and an additional 6" for the width and height. Cover the ottoman top with fabric upside down, lining up pattern as necessary. Pinch the corners together and pin in place. Remove the fabric and sew a seam where you have pinned the fabric. Be sure to backstitch at the inside of the corner. Cut away excess leaving about 1/2" allowance intact at the seam.

Add Fabric Cover
Place the cover over the ottoman top. Staple in place on the bottom of the ottoman top folding the fabric over and covering the batting. Begin in the center of each side and make the fabric fit snugly. Staples should be added every few inches.
Create Button Tufting
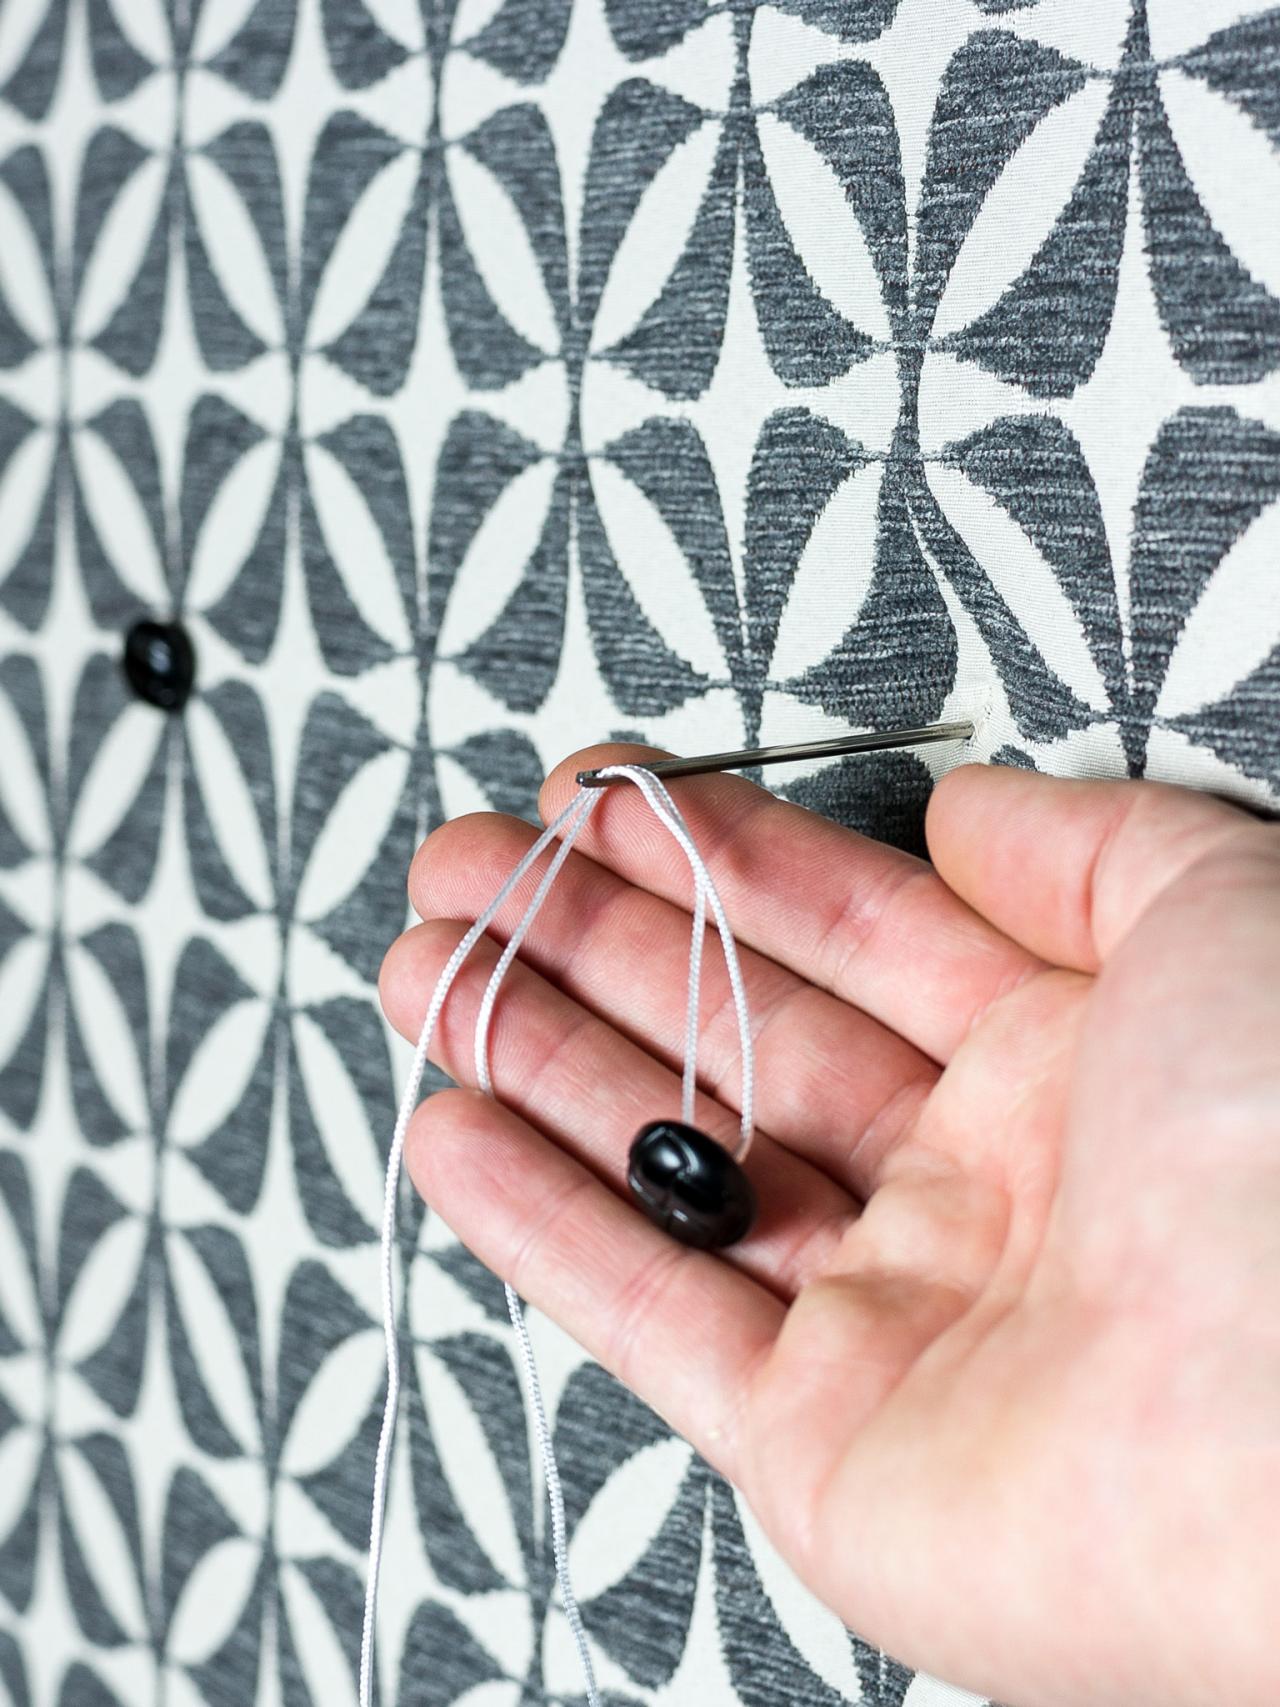
Carefully poke a long upholstery needle though the hole on the bottom of the ottoman cover, through both the foam and fabric. Thread a button with 15" of cording. Thread the needle with both ends of the cording (Image 1). Pull the cording all the way through to the bottom of the ottoman top. Repeat for all buttons. When all buttons have been threaded, place the ottoman top face-down on a flat surface. Pull each pair of cording ends very tightly in one direction and fasten to the bottom of the ottoman top with a staple. Then pull the cording in the opposite direction and staple again (Image 2). For added security you can tie a knot with the two ends to make sure they don't slip through the staples. Cut off any excess.

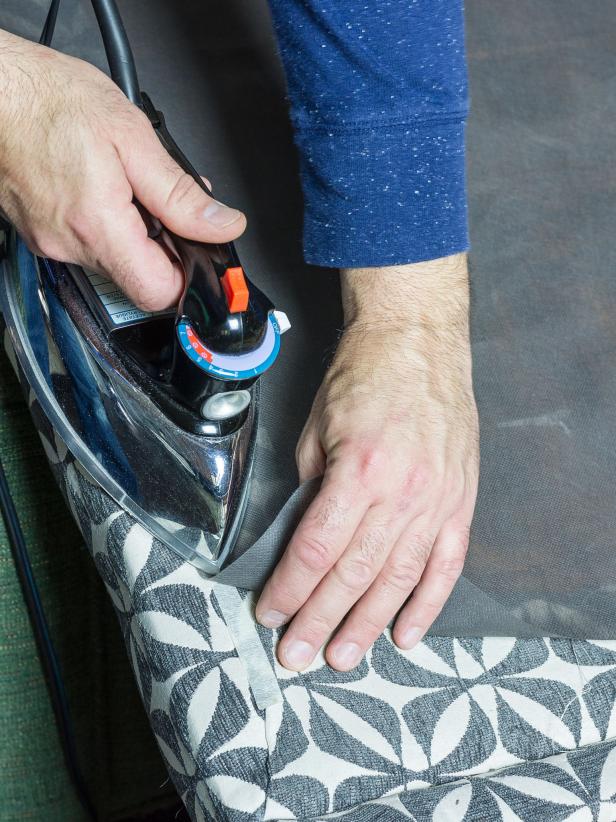
Finish Assembling Ottoman
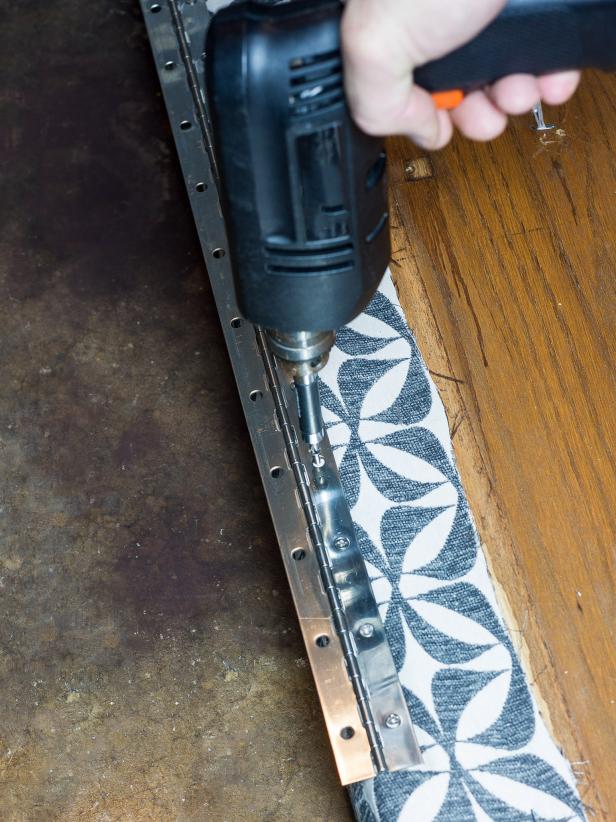
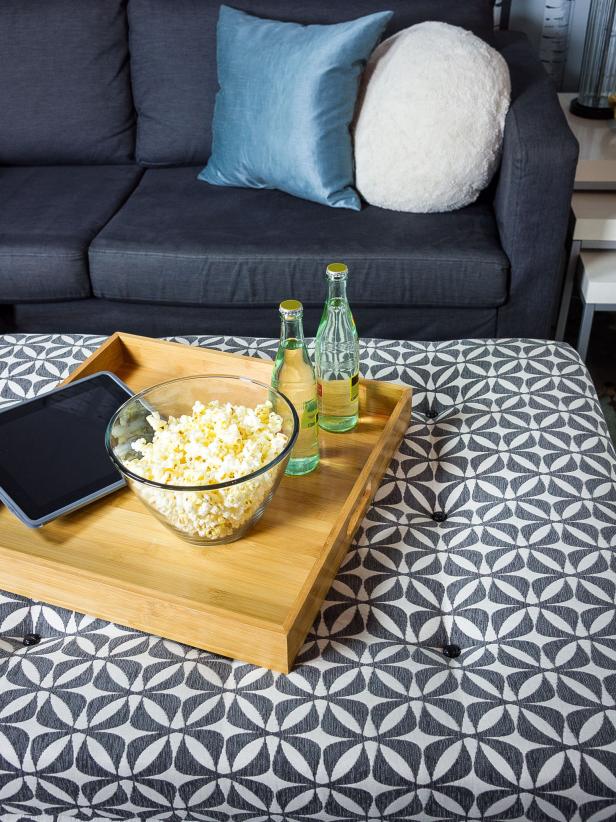
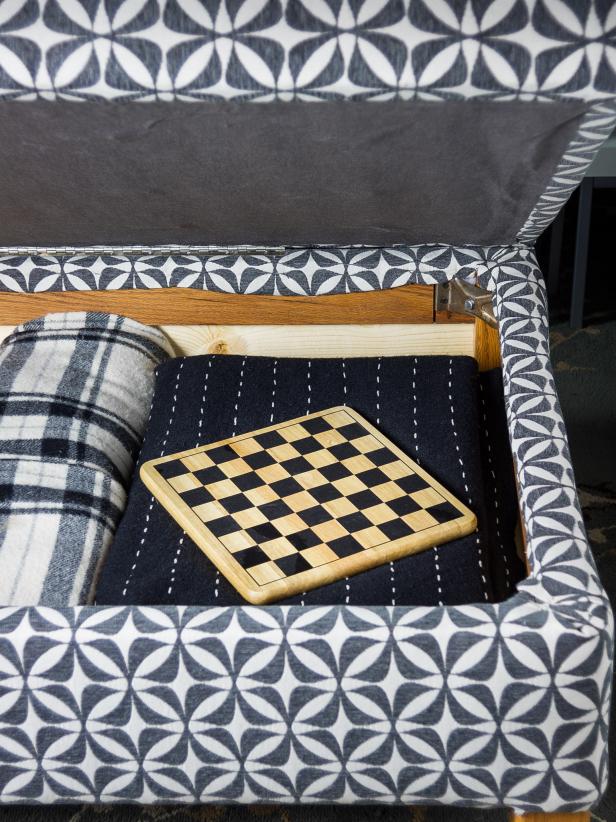
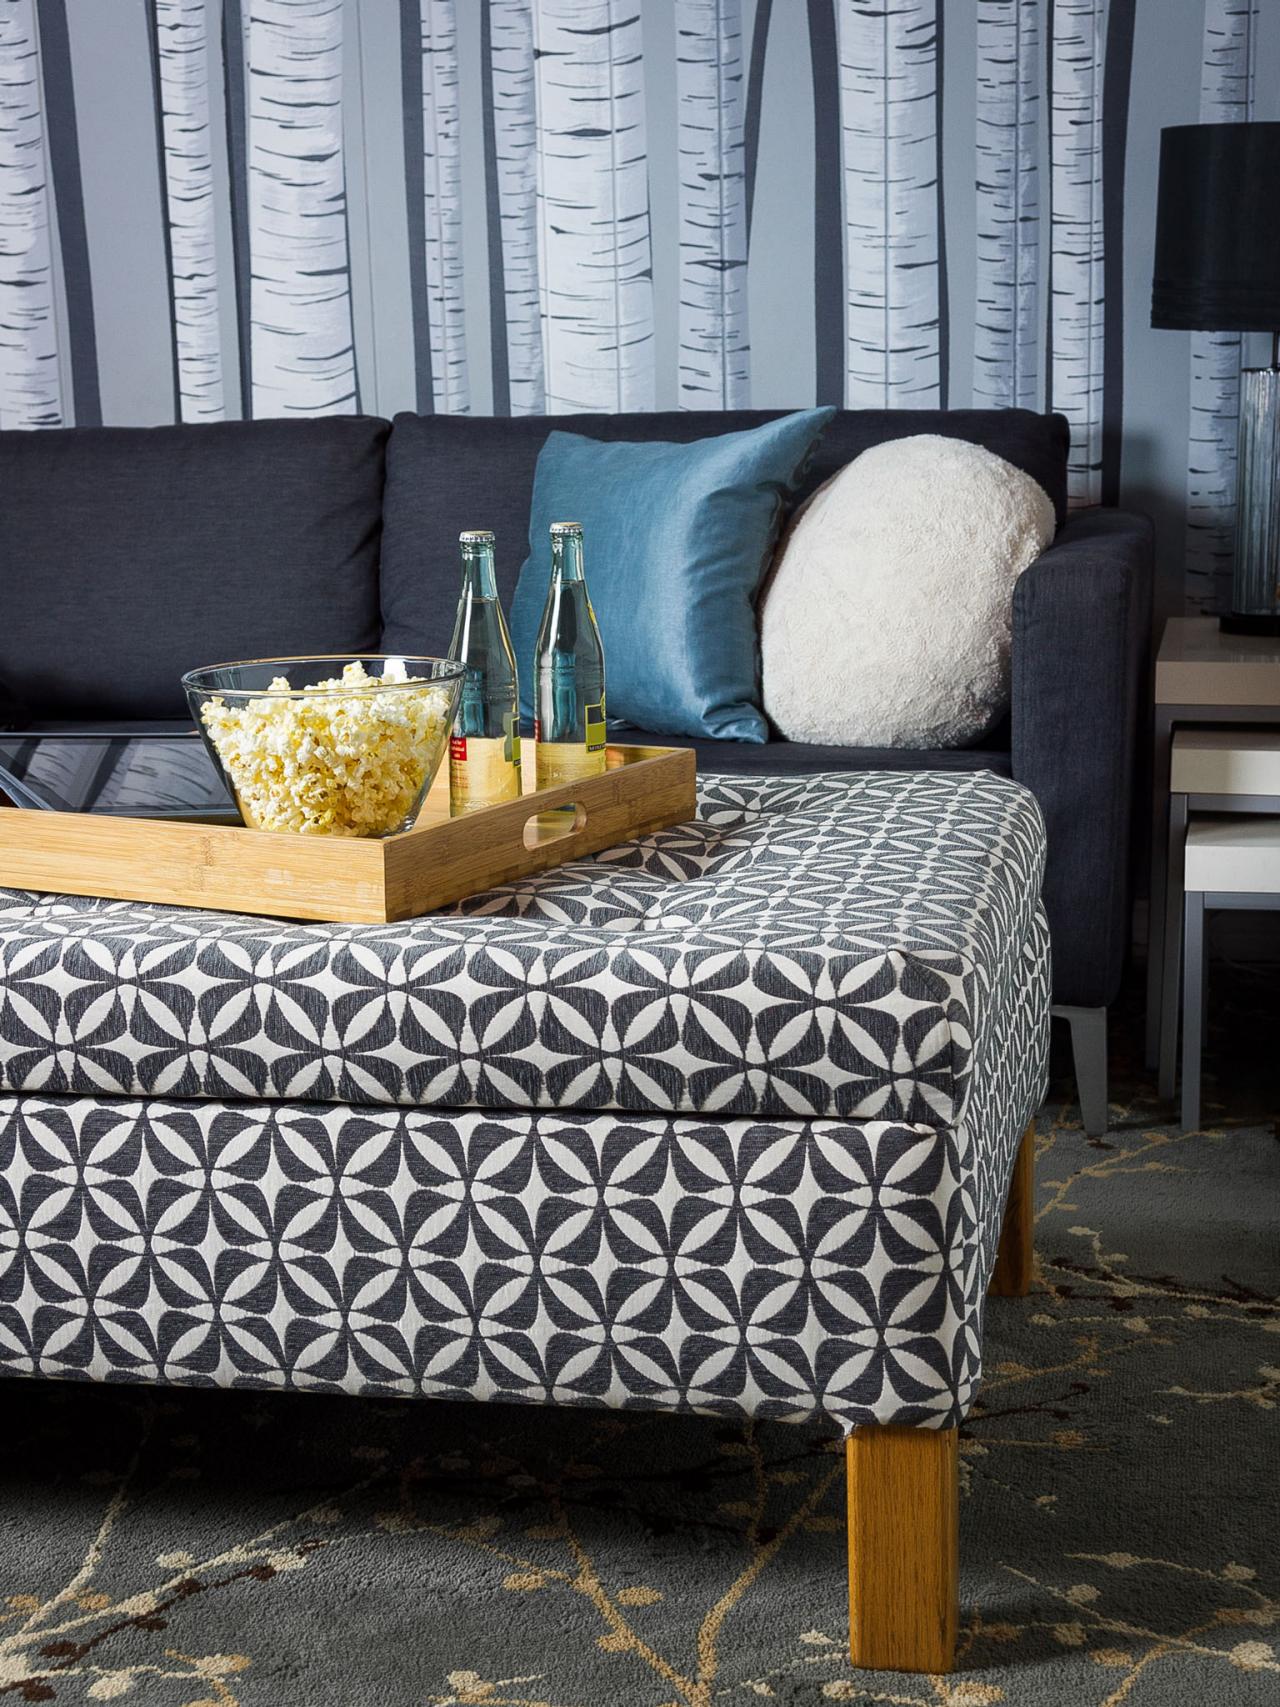
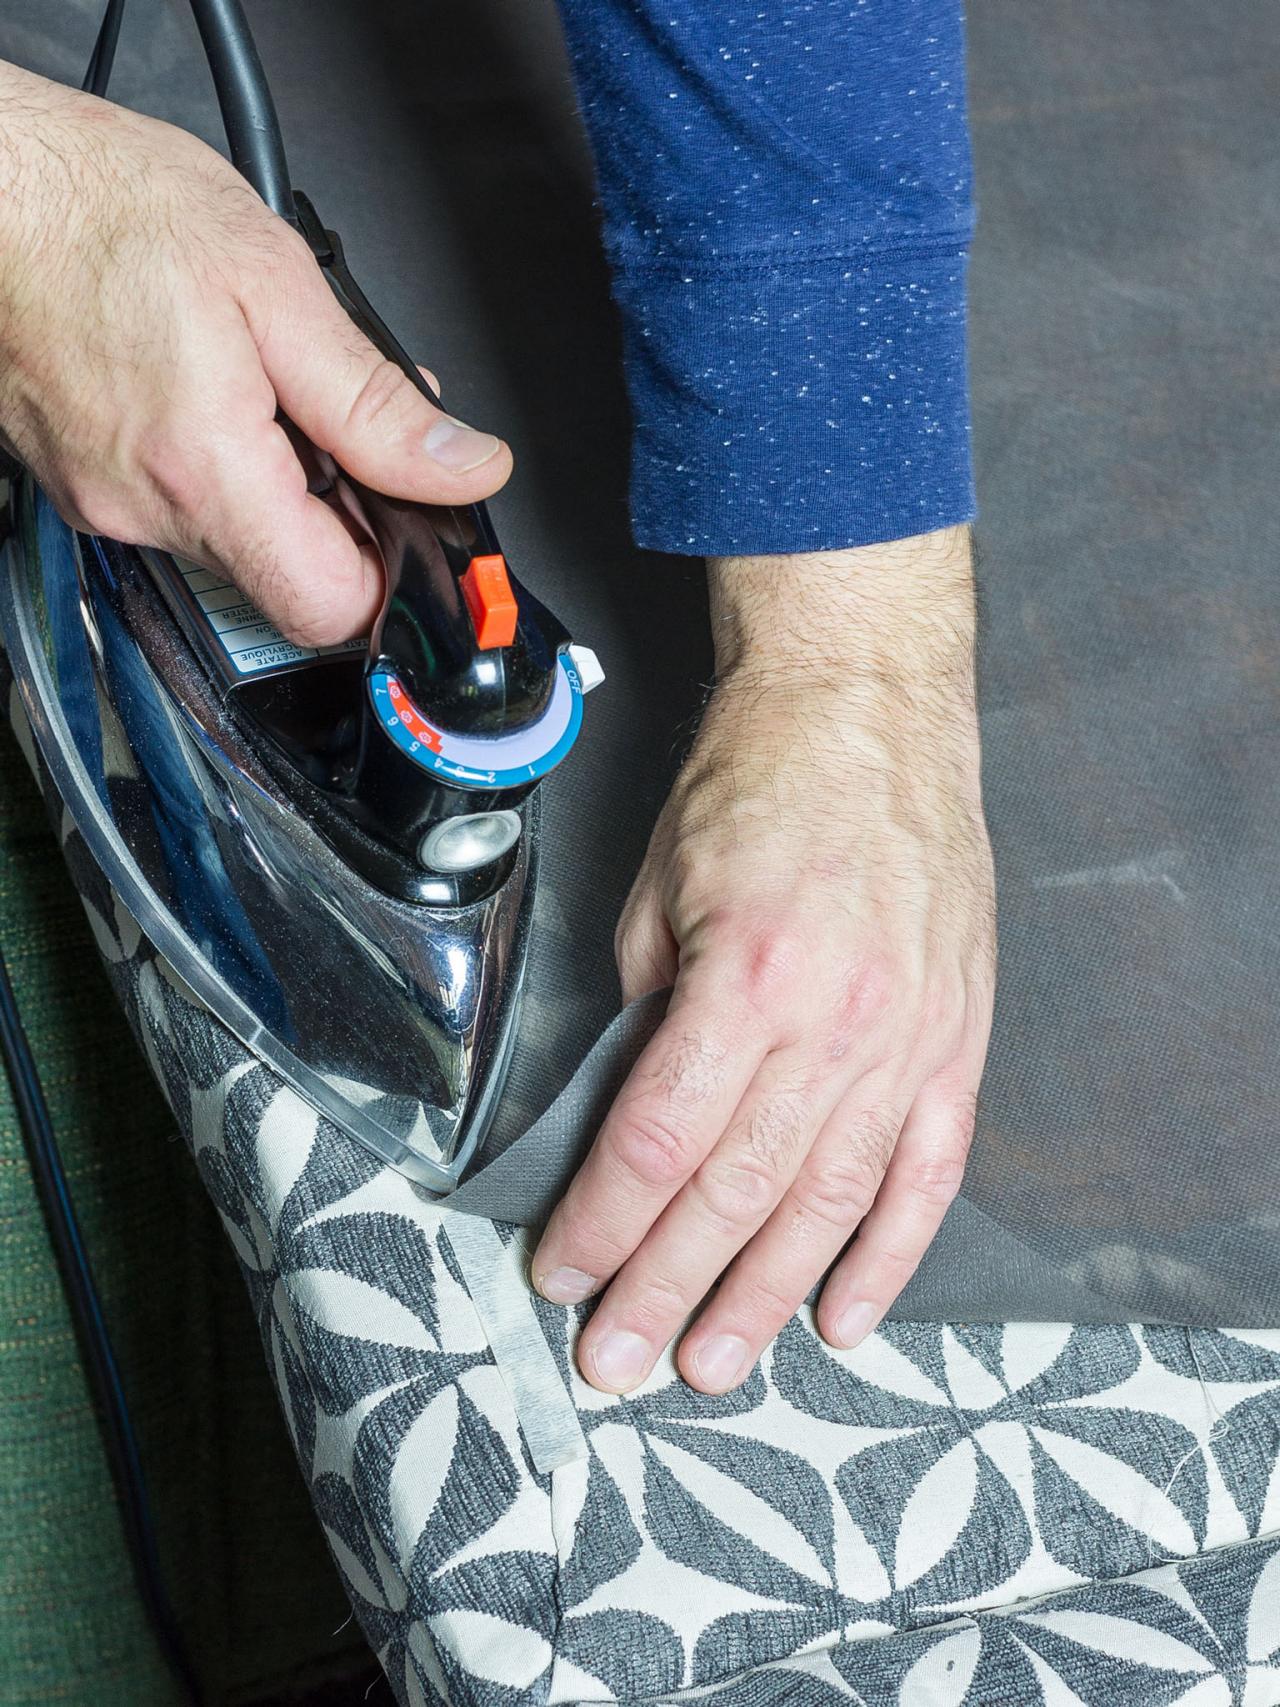
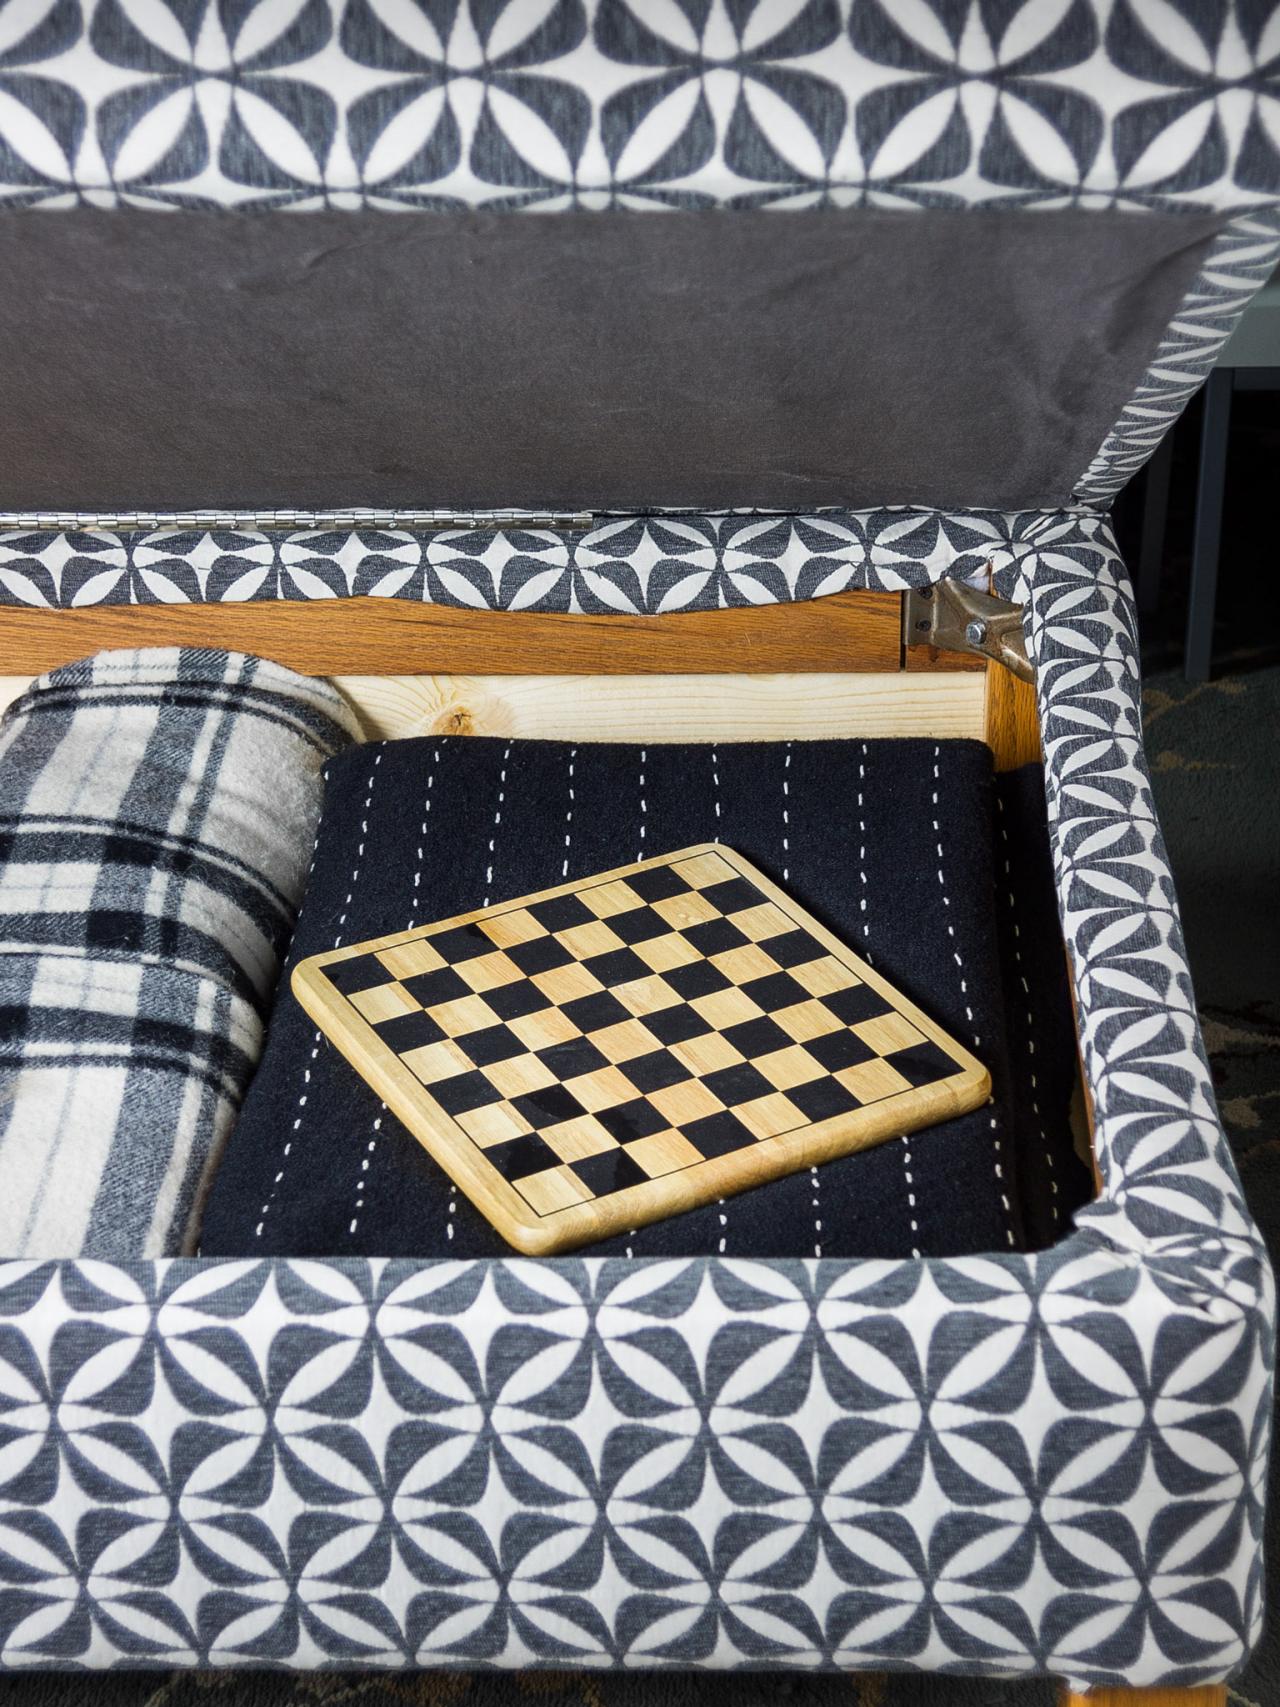
Add a piano hinge to one long edge of the ottoman top on the bottom side (Image 1). If the hinge is shorter than the overall length it should be centered. Cut dust protector cloth to fit the bottom of the ottoman top. It should be slightly smaller than the overall dimensions of the ottoman top, but wide enough to cover any staples used to secure the fabric. Add the dust protector cloth to the bottom of the ottoman top using hot glue or fabric bond tape and an iron (Image 2). Attach the other side of the piano hinge to the ottoman base. Place your completed storage ottoman in the family room, master bedroom, kids' playroom or any spot that could use a little more stylish storage (Image 3). Lift the lid to stash kids' games, toys or throws (Image 4).


