


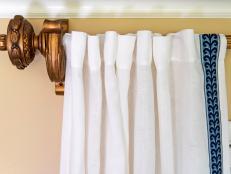
How to Hang a Curtain Rod
Hang a curtain rod with an easy, DIY template that makes the job straightforward and stress free.

Hanging curtain rods can be a pain! You can spend lots of time measuring and marking the brackets’ placement, yet the end result might still be off. It’s especially challenging if you’re hanging several rods in one room. Make hanging a curtain rod straightforward and stress free with this DIY template.

Cottage Living Room with Curtained Window
Hanging curtain rods can be a pain! All of the measuring and levels and the end result might still be off. It’s especially challenging if you’re hanging several rods in one room. An easy-to-make template makes hanging curtain rods quick and stress free.
Photo by: Marian Parsons, Mustard Seed Interiors
Marian Parsons, Mustard Seed Interiors
Materials + Supplies
- 1 piece of foam core poster board
- carpenter’s square
- utility knife
- permanent marker
- drill equipped with driver and drill bits appropriately sized for curtain rod hardware
- curtain rod hardware
1. Measure and Cut Template
Use a carpenter’s square to measure out a template on white foam core board that is 12 inches square. Mark out square with permanent marker and cut on both lines with a utility knife (Images 1 and 2). Tip: A larger square may be required if curtain rod hardware will be positioned wider and/or higher than the 12-inch square will allow. The 12-inch square should work in most cases, though.

Marian Parsons, Mustard Seed Interiors

Marian Parsons, Mustard Seed Interiors
Hanging Curtain Rods with a Template: Step 1: Measure and Cut Template
Use a carpenter’s square to measure out a template on white foam core board that is 12” square. Mark out square with permanent marker and cut on both lines with a utility knife. Tip: A larger square may be required if curtain rod hardware will be positioned wider and/or higher than the 12” square will allow. The 12” square should work in most cases, though.
Photo By: Marian Parsons, Mustard Seed Interiors
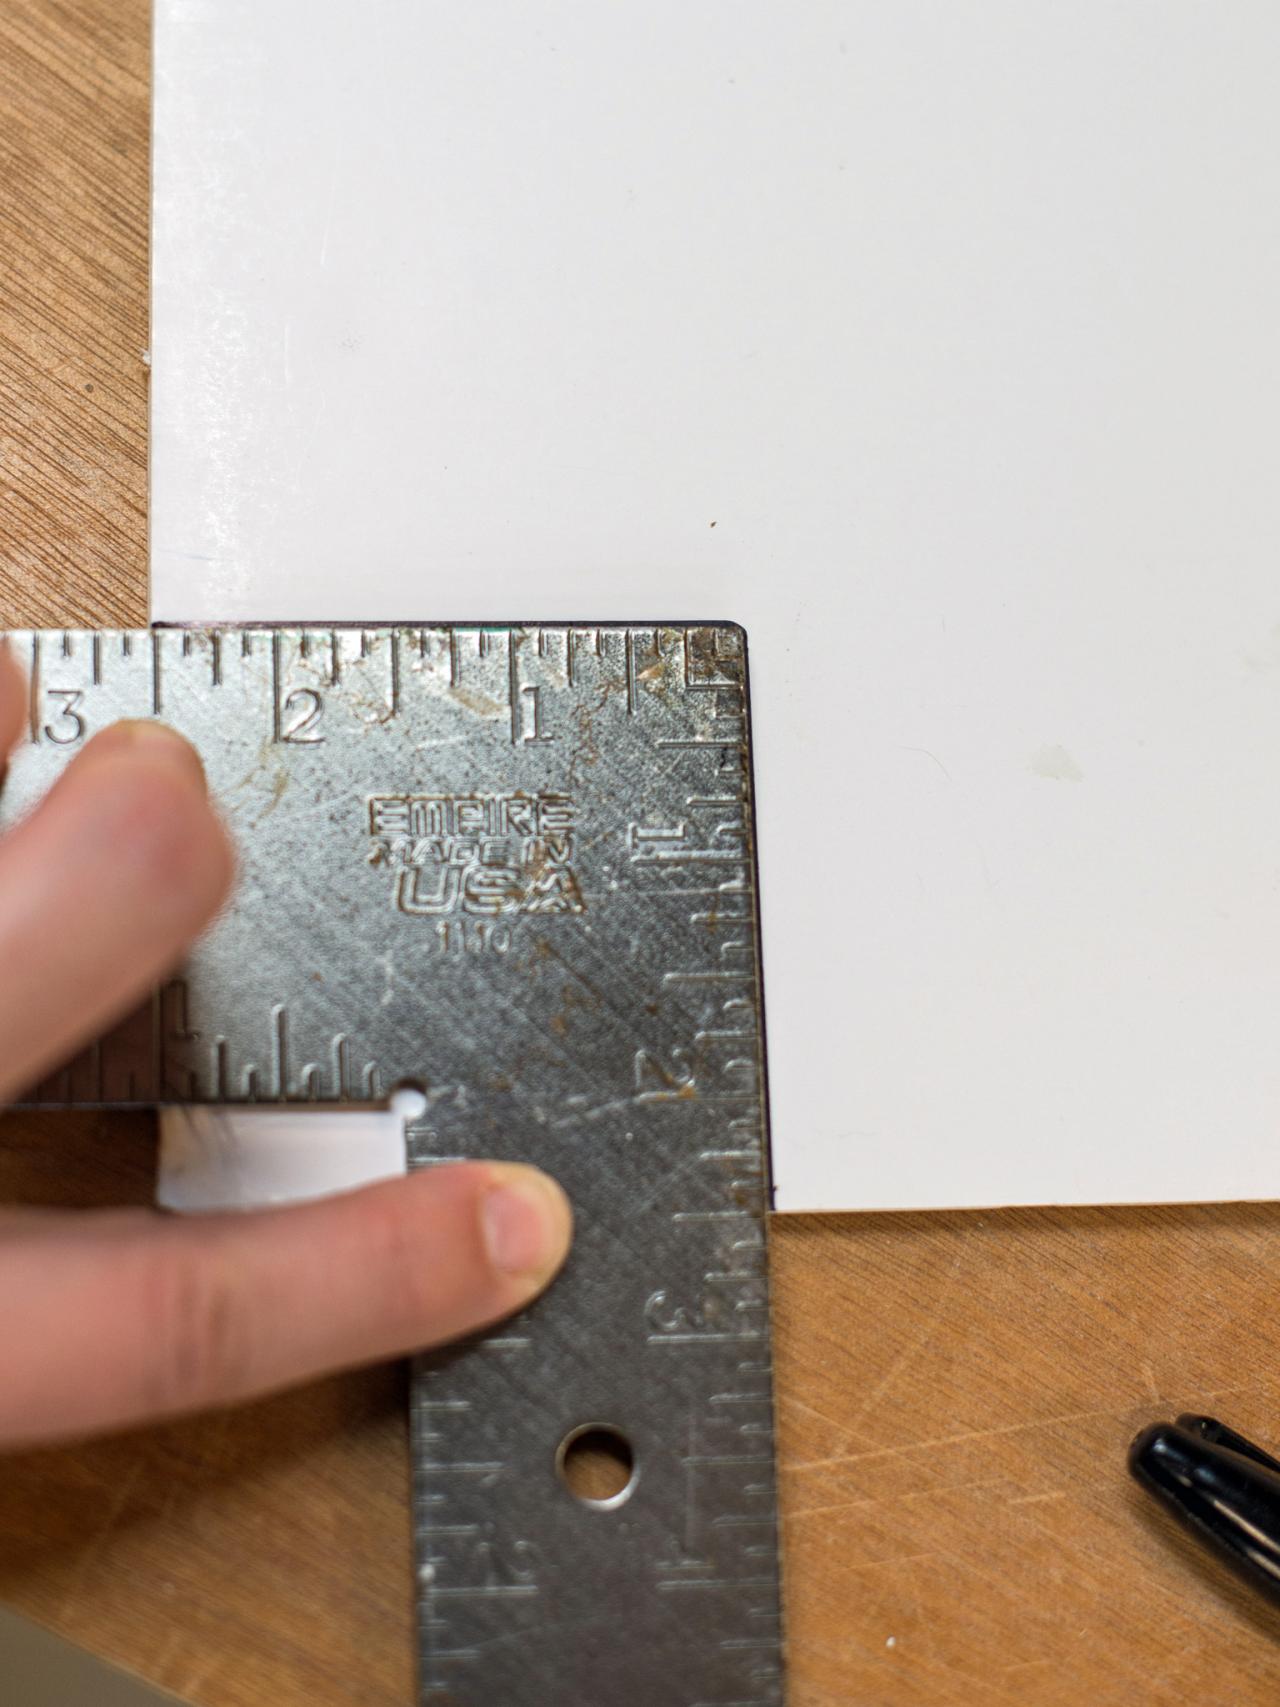
2. Measure and Cut Notch for Trim
On one corner of 12-inch square template, measure a 2.5-inch square. Mark with permanent marker and cut out with utility knife. This notch out of the template will rest on the corner of the window molding.

Hanging Curtain Rods with a Template: Step 2: Measure and Cut Notch for Trim
On one corner of 12” square template, measure a 2.5” square. Mark with permanent marker and cut out with utility knife. This “notch” out of the template will rest on the corner of the window molding.
Photo by: Marian Parsons, Mustard Seed Interiors
Marian Parsons, Mustard Seed Interiors
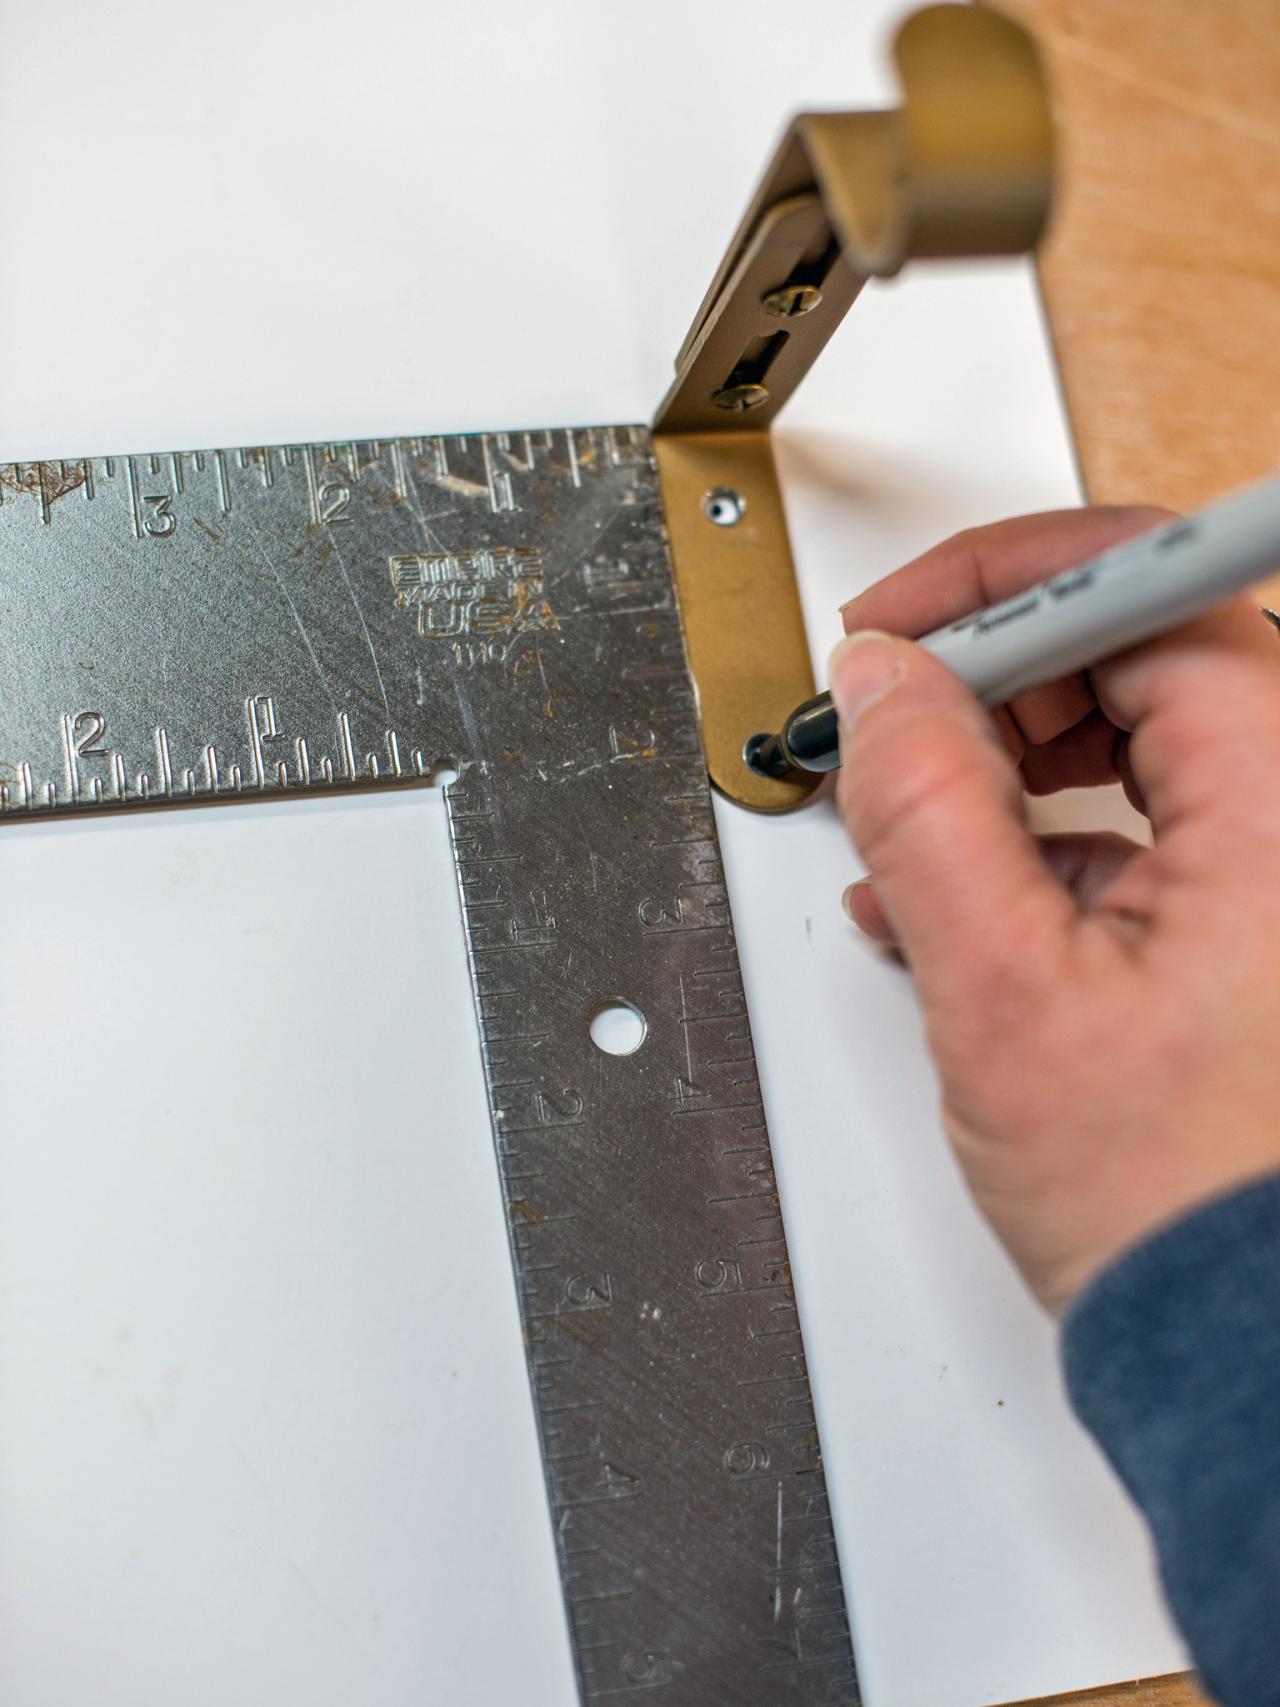
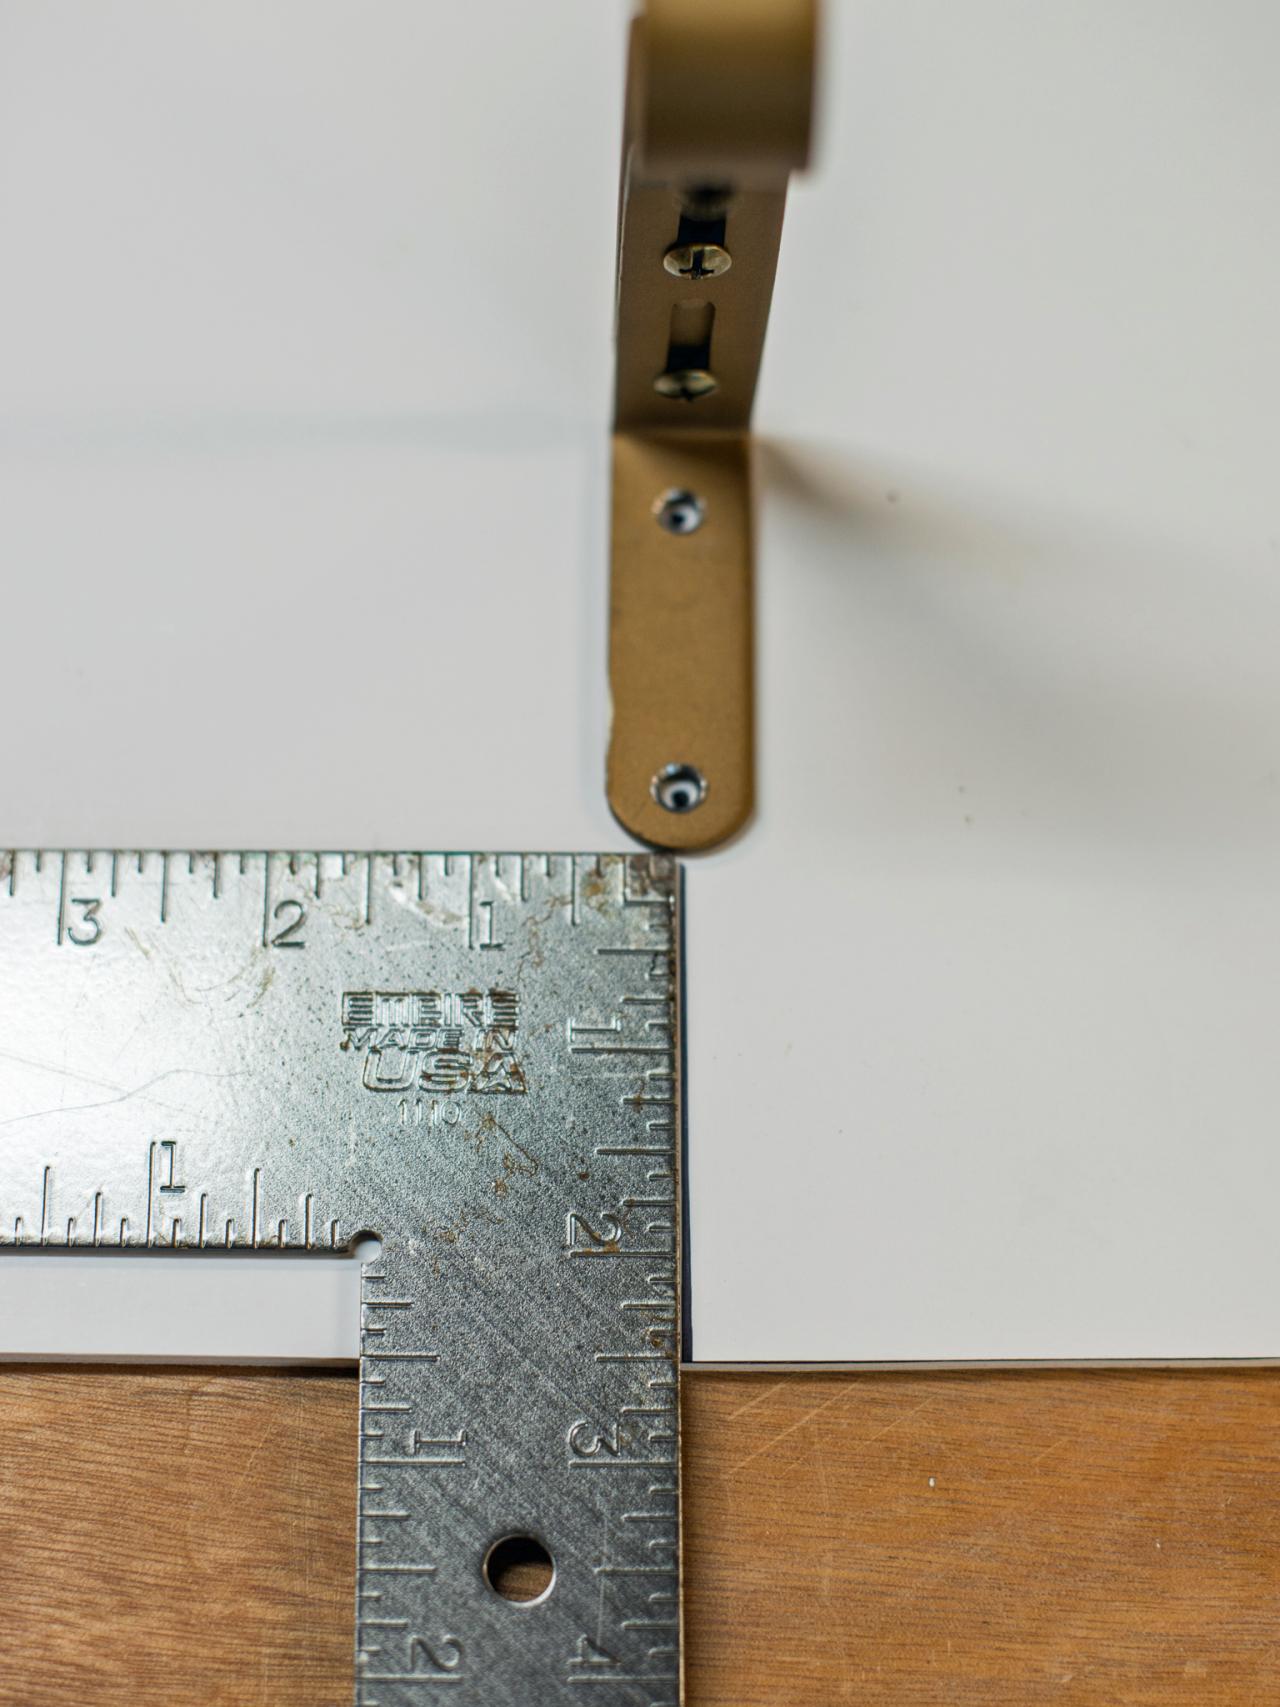
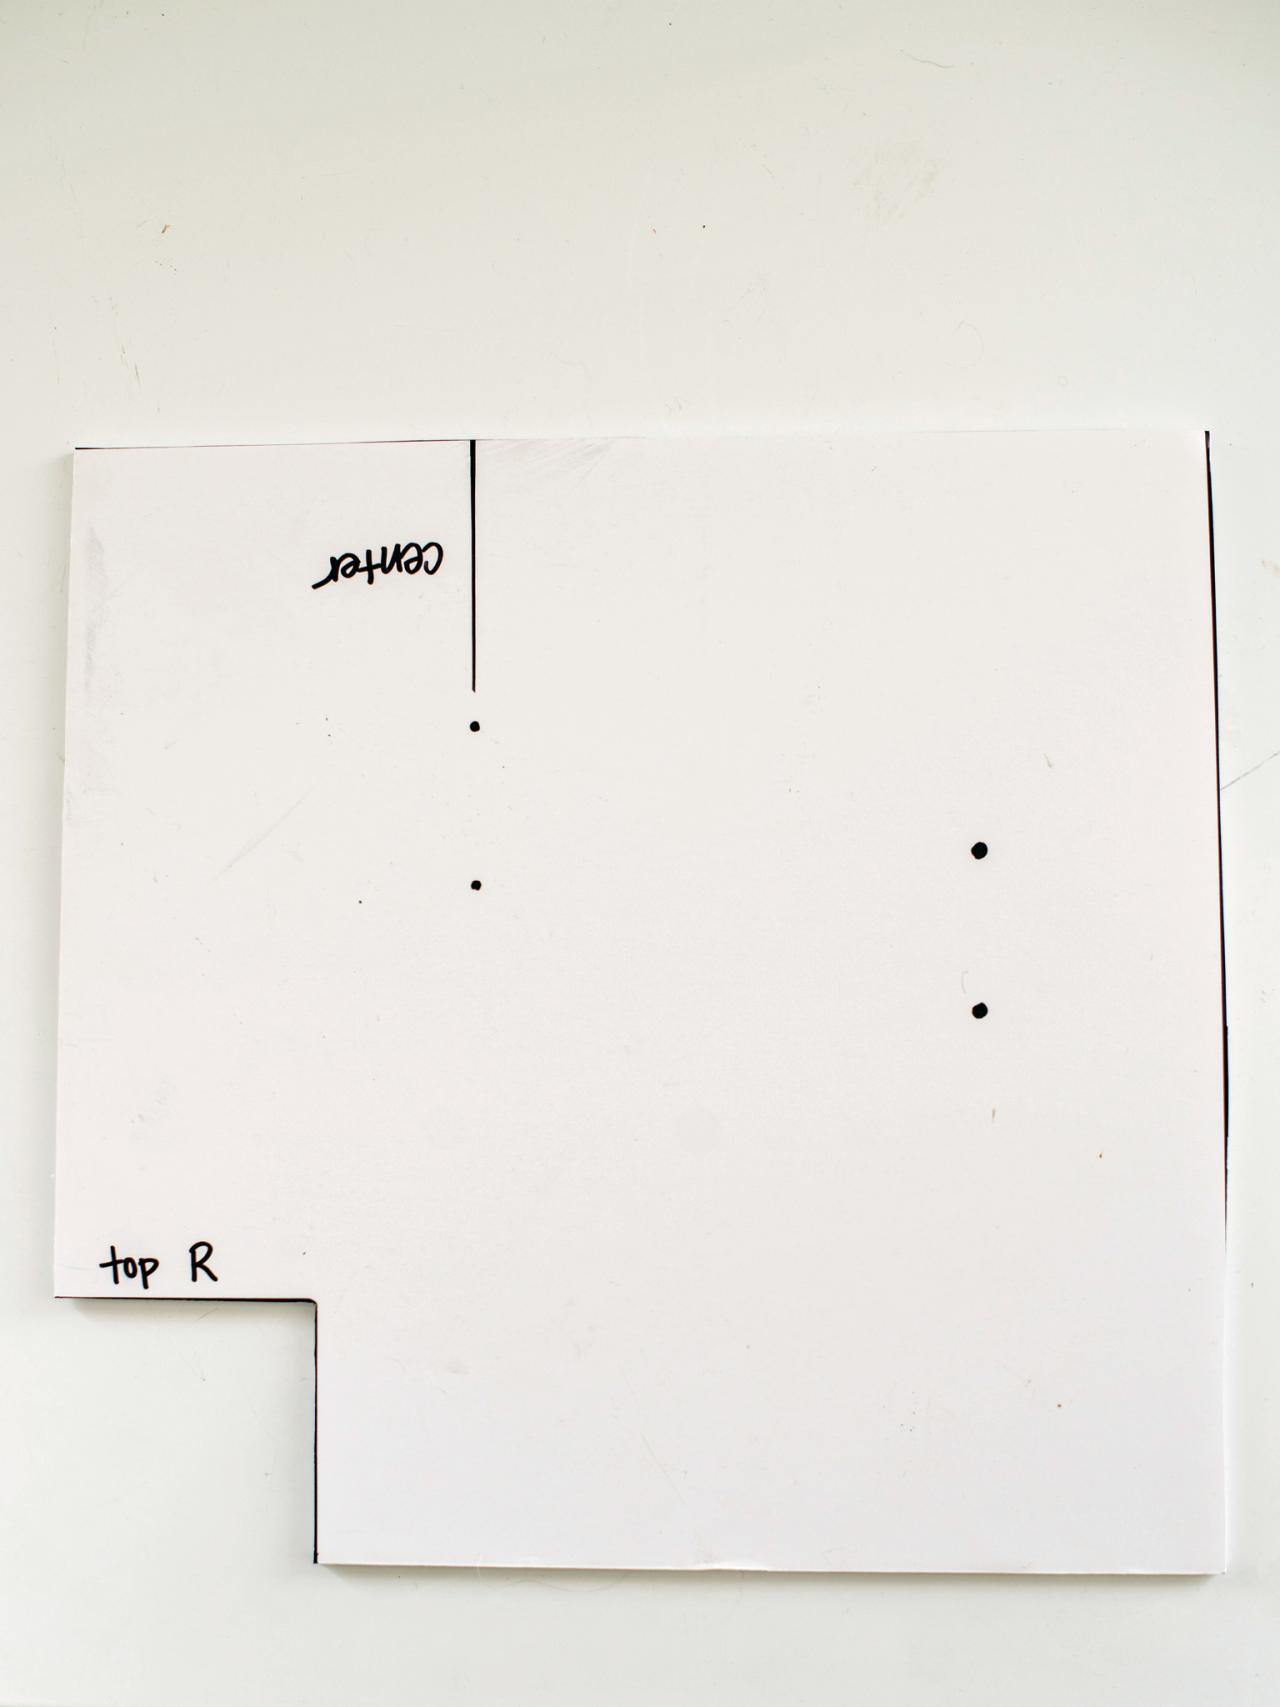
3. Mark Hardware Position and Label Template
Pretending that the notch is the top right corner of the window trim, position curtain rod bracket on template in desired location in relation to trim. Use square to confirm measurements and make sure hardware is square on the template. Mark screw holes with a permanent marker (Image 1). On one flat side of the template, position curtain rod bracket where center bracket will be hung (Image 2). In this case, the flat side is the top of the window trim. Mark the side that is used for the center hardware and right side (Image 3). Flip template over and label that side for the left template (Image 4).

Marian Parsons, Mustard Seed Interiors

Marian Parsons, Mustard Seed Interiors

Marian Parsons, Mustard Seed Interiors

Marian Parsons, Mustard Seed Interiors
Hanging Curtain Rods with a Template: Step 3: Mark Hardware Position & Label Template
Use square to confirm measurements and make sure hardware is square on the template. Mark screw holes with a permanent marker.
Photo By: Marian Parsons, Mustard Seed Interiors
Hanging Curtain Rods with a Template: Step 3: Mark Hardware Position & Label Template
Use square to confirm measurements and make sure hardware is square on the template. Mark screw holes with a permanent marker. On one flat side of the template, position curtain rod bracket where center bracket will be hung. In this case, the flat side is the top of the window trim. Mark the side that is used for the center hardware and right side. Flip template over and label that side for the left template.
Photo By: Marian Parsons, Mustard Seed Interiors
Hanging Curtain Rods with a Template: Step 3: Mark Hardware Position & Label Template
Pretending that the “notch” is the top right corner of the window trim, position curtain rod bracket on template in desired location in relation to trim.
Photo By: Marian Parsons, Mustard Seed Interiors
Hanging Curtain Rods with a Template: Step 3: Mark Hardware Position & Label Template
On one flat side of the template, position curtain rod bracket where center bracket will be hung. In this case, the flat side is the top of the window trim. Mark the side that is used for the center hardware and right side. Flip template over and label that side for the left template.
Photo By: Marian Parsons, Mustard Seed Interiors
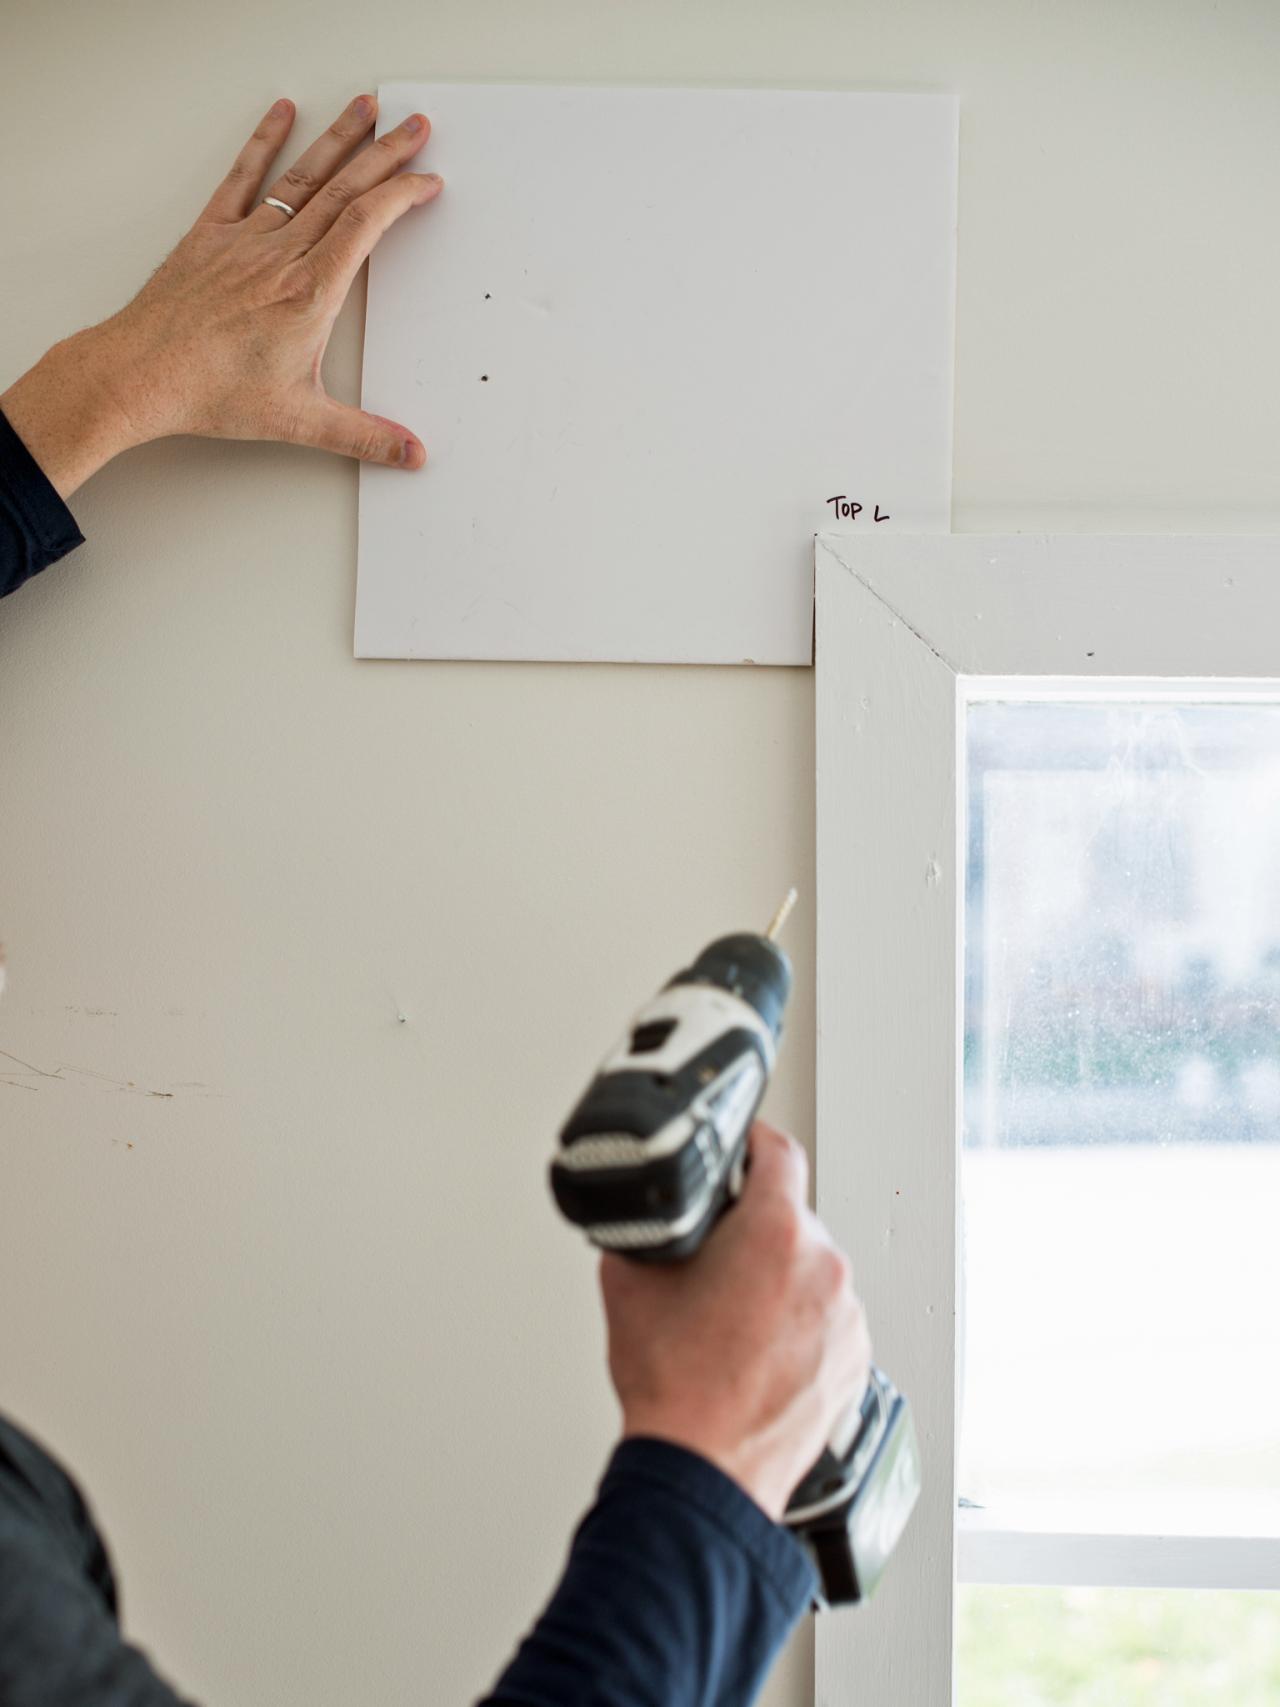
4. Hang Curtain Rod
Place template on window trim (either left, center or right) and drill through marks (Images 1, 2 and 3). Install curtain brackets in drilled holes, either with wall anchors or directly into the wall material. Tip: For windows without wood trim, temporarily tack up a level wooden board to use as a guide and remove once holes are drilled. Slide draperies onto rod and enjoy your beautifully dressed windows (Image 4).

Marian Parsons, Mustard Seed Interiors

Marian Parsons, Mustard Seed Interiors

Marian Parsons, Mustard Seed Interiors
Marian Parsons, Mustard Seed Interiors
Hanging Curtain Rods with a Template: Step 4: Hang Curtain Rod
Place template on window trim (either top, left, or right) and drill through marks.
Photo By: Marian Parsons, Mustard Seed Interiors
Hanging Curtain Rods with a Template: Step 4:Hang Curtain Rod
Place template on window trim (either top, left, or right) and drill through marks. Install curtain brackets in drilled holes, either with wall anchors or directly into the wall material. Tip: For windows without wood trim, temporarily tack up a level wooden board to use as a guide and remove once holes are drilled.
Photo By: Marian Parsons, Mustard Seed Interiors
Hanging Curtain Rods with a Template: Step 4: Hang Curtain Rod
Place template on window trim (either top, left, or right) and drill through marks. Install curtain brackets in drilled holes, either with wall anchors or directly into the wall material. Tip: For windows without wood trim, temporarily tack up a level wooden board to use as a guide and remove once holes are drilled.
Photo By: Marian Parsons, Mustard Seed Interiors
Cottage Living Room with Curtained Window
Hanging curtain rods can be a pain! All of the measuring and levels and the end result might still be off. It’s especially challenging if you’re hanging several rods in one room. An easy-to-make template makes hanging curtain rods quick and stress free.
Photo By: Marian Parsons, Mustard Seed Interiors
Watch How to Hang a Curtain Rod

More Window Coverings Advice

The Best Window Treatments for Every Style + Budget
Treat your window to something pretty with our curtain picks for every style, budget and function.

How to Install Window Blinds
Learn how to measure for and install window blinds in your home.


