


How to Construct a Rustic Trunk-Style Coffee Table
Trunk-style coffee tables are not only stylish, they also provide practical storage for toys, extra throws and pillows, a movie collection and anything that needs to be stored for a busy family. This rustic trunk-style coffee table is an easy build, but the result will have your friends thinking you're a pro woodworker.

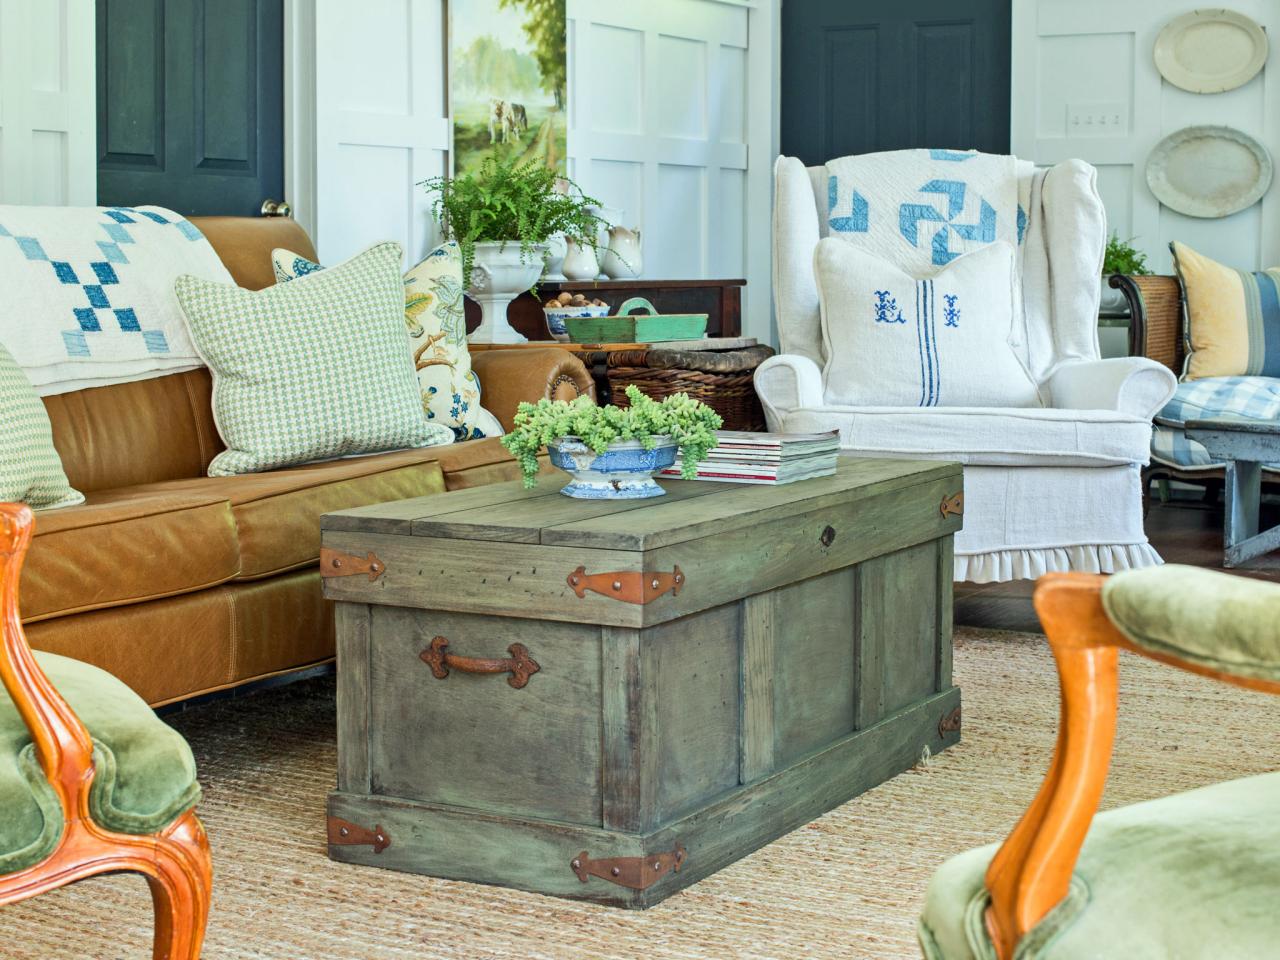
Rustic Trunk-style Coffee Table
Trunk-style coffee tables are not only stylish, but provide practical storage for toys, extra throws and pillows, a movie collection and anything that needs to be stored for a busy family. This rustic trunk-style coffee table is an easy build, but the result will have your friends thinking you're a pro woodworker!

Photo by: Marian Parsons
Marian Parsons
Materials Needed:
poplar or pine boards in the following dimensions:
· two 1” x 2” x 37” (shelf supports for long side of bottom)
· two 1” x 2” x 15-1/2” (shelf supports for short side of bottom)
· four 1” x 4” x 41-1/2” (mitered at corners, measurement is of outside edge)
· four 1” x 4” x 18-1/2” (mitered at corners, measurement is of outside edge)
· four 3/8” x 4” x 9-15/16” (decorative trim for front and back)
· eight 8/8” x 2” x 9-15/16” decorative trim for corners (mitered at corners, measurement is of outside edge)
· two 1” x 6” x 41-5/8” (outside planks of lid)
· one 1” x 8” x 41-5/8” (middle plank of lid)
· three 1” x 3” x 15-7/16” (supports for inside of lid)
3/4” cabinet-grade birch plywood cut to the following dimensions:
· two 40” long x 17” wide (long sides)
· two 15-1/2” long x 17” wide (short sides)
1/2” MDF cut to the following dimensions:
· 38-1/2” x 15-1/2” (trunk bottom)
ear and eye protection
tape measure
miter saw (to miter boards specified above)
finish or brad nailer with 1-1/4” and 1” brads (or hammer and nails)
drill equipped with drill and driver bits
self-boring 1-1/4”” wood screws and matching driver bit
8 decorative corner trunk straps (optional)
decorative tacks or screws (optional)
hammer
keyhole escutcheon (optional)
2 trunk-style handles
wood stain
milk paint
tinted furniture wax
2" natural bristle brush
2" angled-sash brush
wax brush
lint-free cotton cloth
120-220 grit sandpaper
dust mask
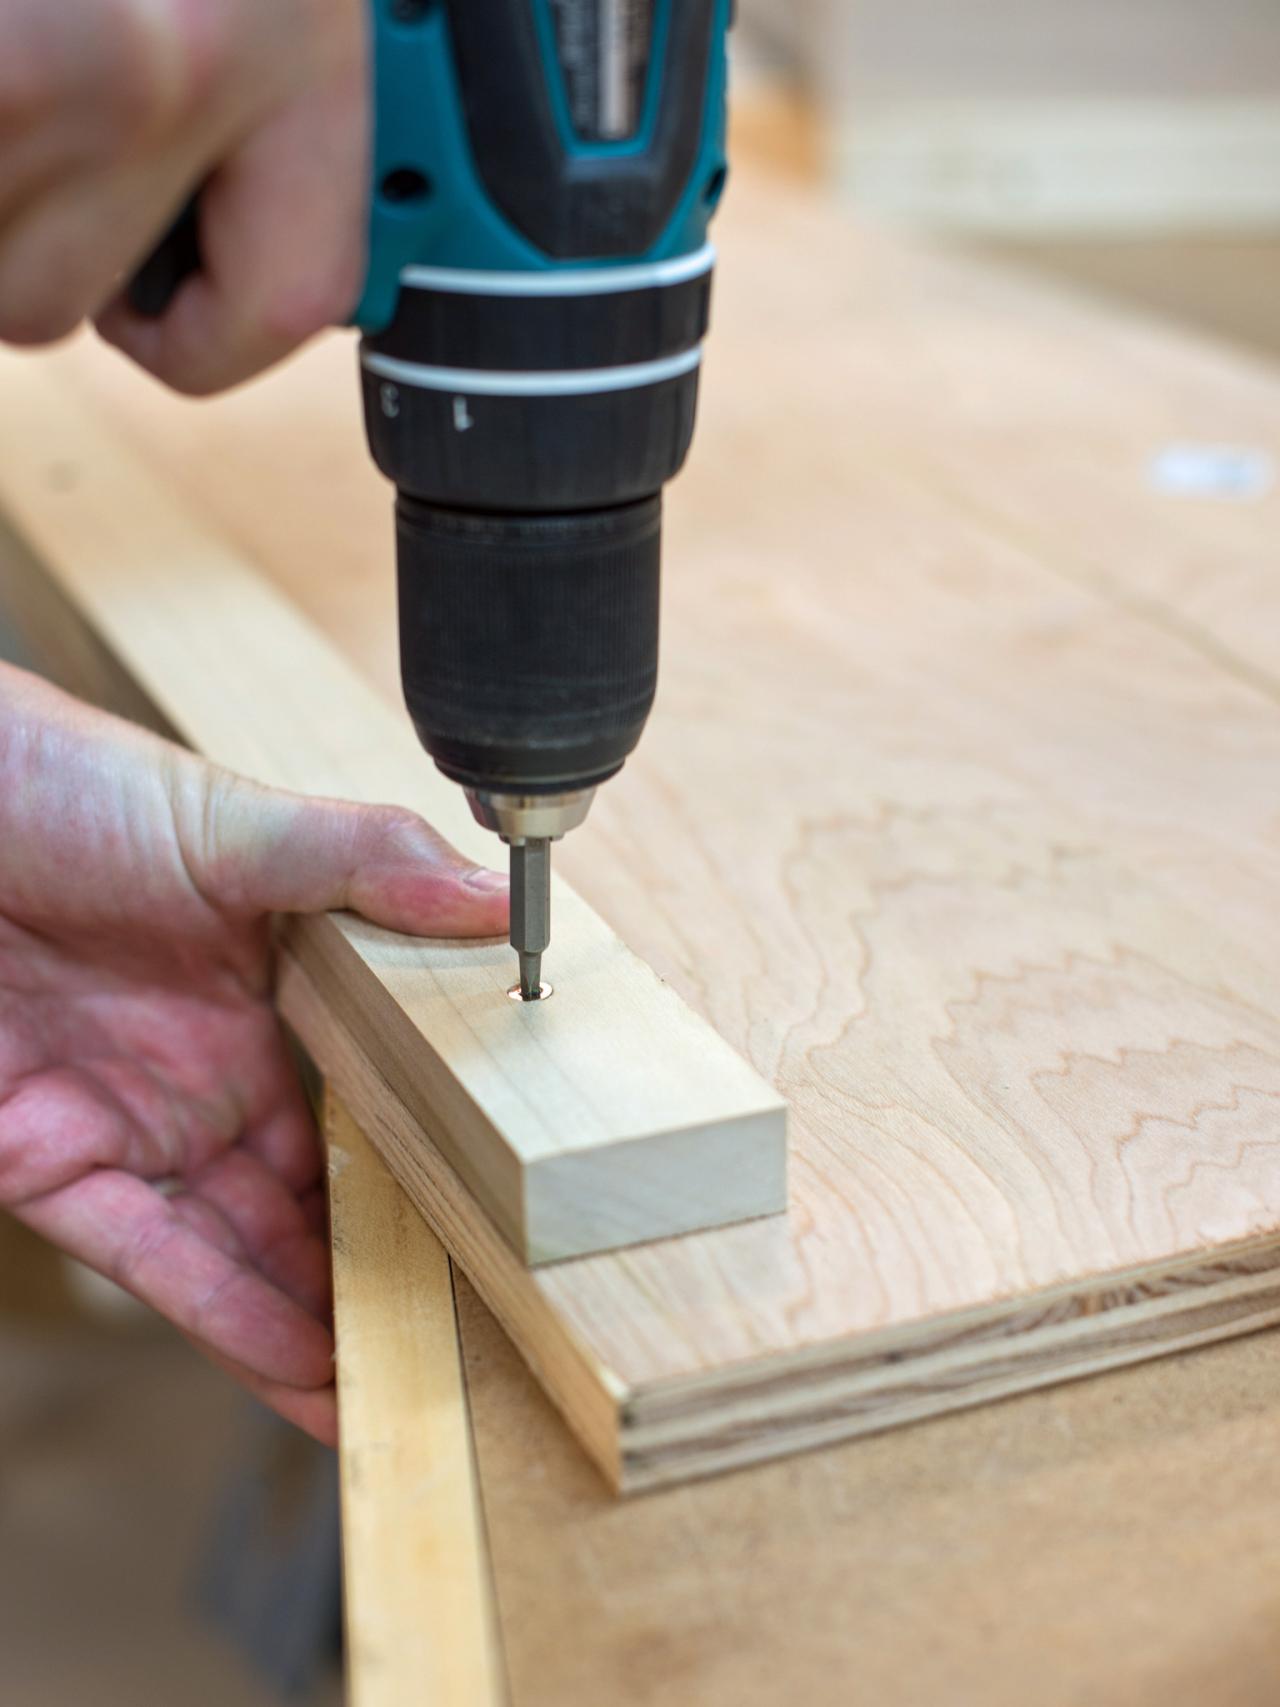
Attach Supports for Trunk's Bottom Shelf
Working with one short side of trunk, attach one 1 x 2 shelf support, flush with bottom. Support should be exact width of side panel. Secure with three evenly spaced wood screws and repeat on other short side panel. Lay one long side panel flat on work surface and center long 1 x 2 shelf support, flush with bottom. There should be 1-1/2” gap on each end, so it can fit with short side panels. Screw into place with three evenly spaced wood screws. Repeat on other long side panel.

Attach supports for Bottom Shelf of Trunk
Working with one short side of trunk, attach one 1 x 2 shelf support, flush with bottom. Support should be exact width of side panel. Secure with three evenly spaced wood screws and repeat on other short side panel. Lay one long side panel flat on work surface and center long 1 x 2 shelf support, flush with bottom. There should be 1-1/2” gap on each end, so it can fit with short side panels. Screw into place with three evenly spaced wood screws. Repeat on other long side panel.
Photo by: Marian Parsons
Marian Parsons
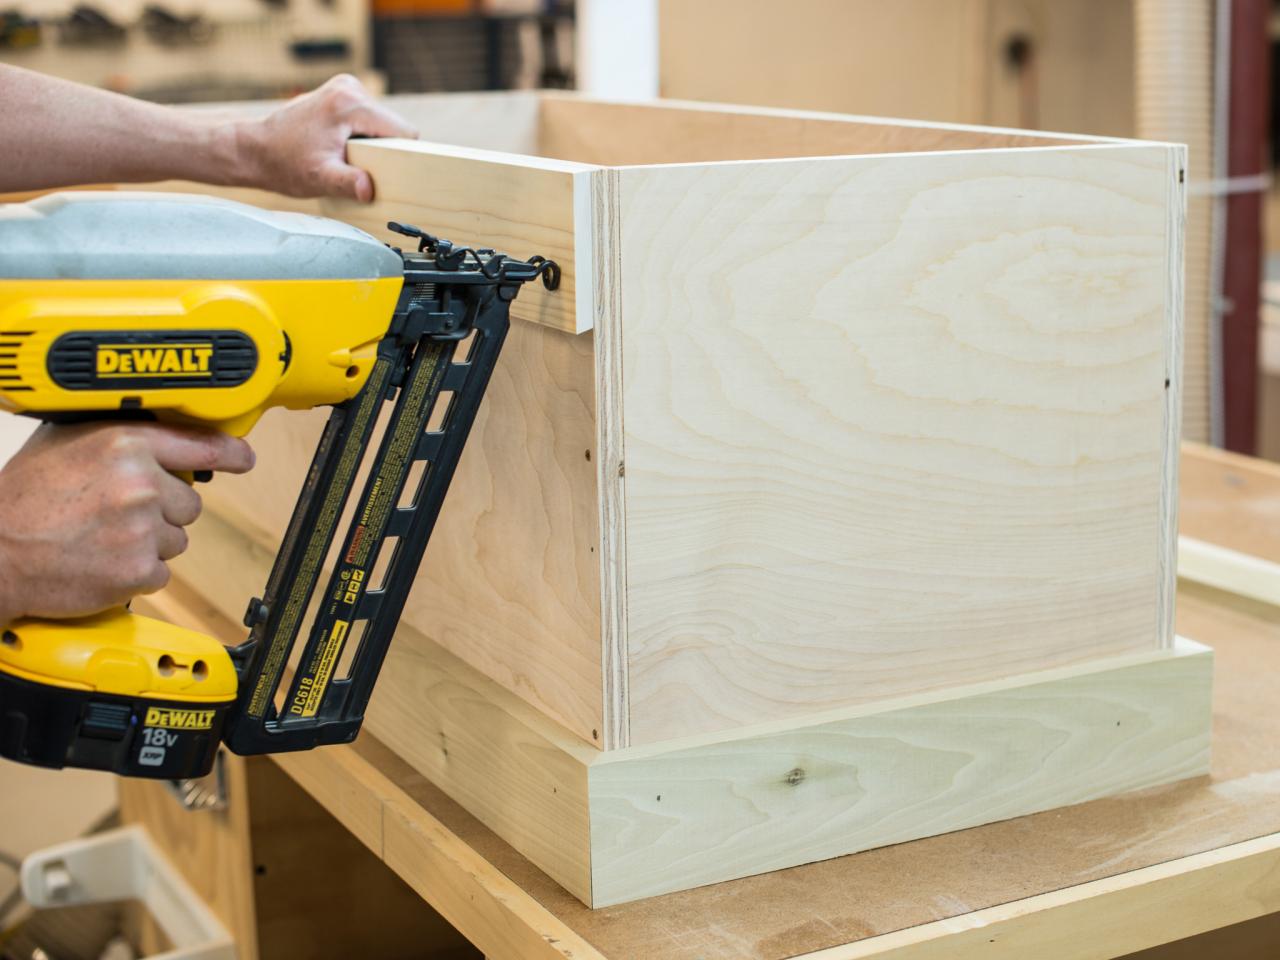
Assemble Sides
On a flat and level work surface, stand one long side panel and one short side panel together, fitting the corners tightly together. Insert three evenly spaced 1-1/4” wood screws through long side panel into short side panel to secure. The screws and end grain will be covered with decorative trim. Repeat with three other corners. Tip: Tack sides together with brad nailer to hold securely in place while screws are being inserted.
Photo by: Marian Parsons
Marian Parsons
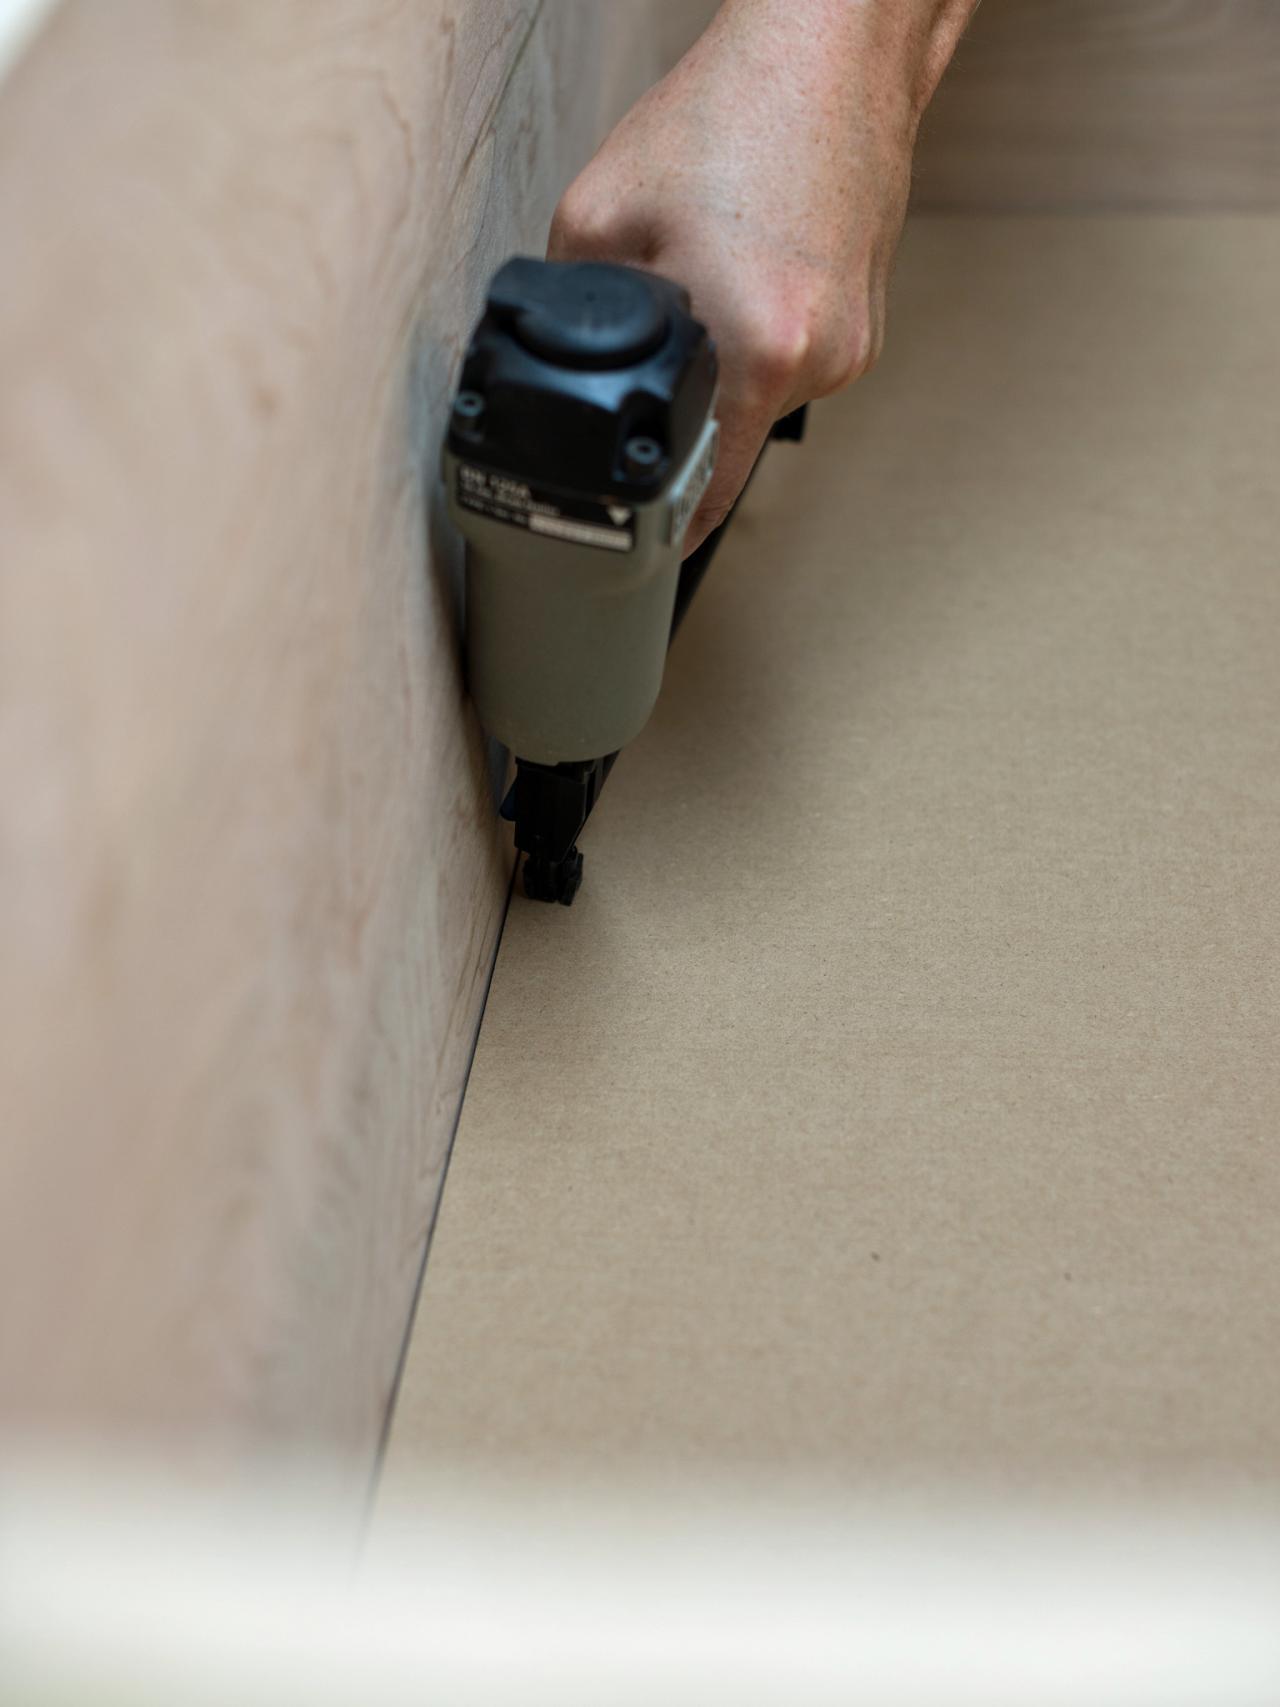
Attach Bottom
Lay MDF trunk bottom inside trunk, resting it on shelf supports. Tack into supports with 1-1/4” brads.

Nail in Bottom
Lay MDF trunk bottom inside trunk, resting it on shelf supports. Tack into supports with 1-1/4” brads.
Photo by: Marian Parsons
Marian Parsons
Add Top and Bottom Trim
Starting with top of trunk attach mitered 1 x 4 boards to each side of trunk, making sure top is flush with top of trunk and mitered corners match up. Tack into place with 1-1/4” brads. Repeat on bottom of trunk, making sure bottom of trim is flush with bottom of trunk. Tip: To get perfectly matching mitered corners, cut the 1 x 4 a little longer than needed length. Hold against side where board will be attached and make pencil marks for each inside miter point. Cut to the line on a miter saw. Repeat with each board.

Add Top & Bottom Trim
Starting with top of trunk attach mitered 1 x 4 boards to each side of trunk, making sure top is flush with top of trunk and mitered corners match up. Tack into place with 1-1/4” brads. Repeat on bottom of trunk, making sure bottom of trim is flush with bottom of trunk. Tip: To get perfectly matching mitered corners, cut the 1 x 4 a little longer than needed length. Hold against side where board will be attached and make pencil marks for each inside miter point. Cut to the line on a miter saw. Repeat with each board.
Photo by: Marian Parsons
Marian Parsons
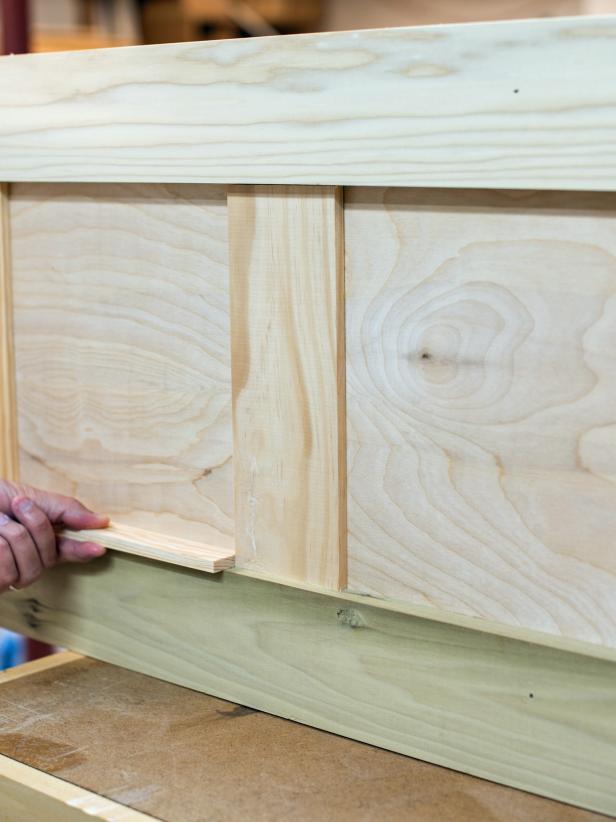
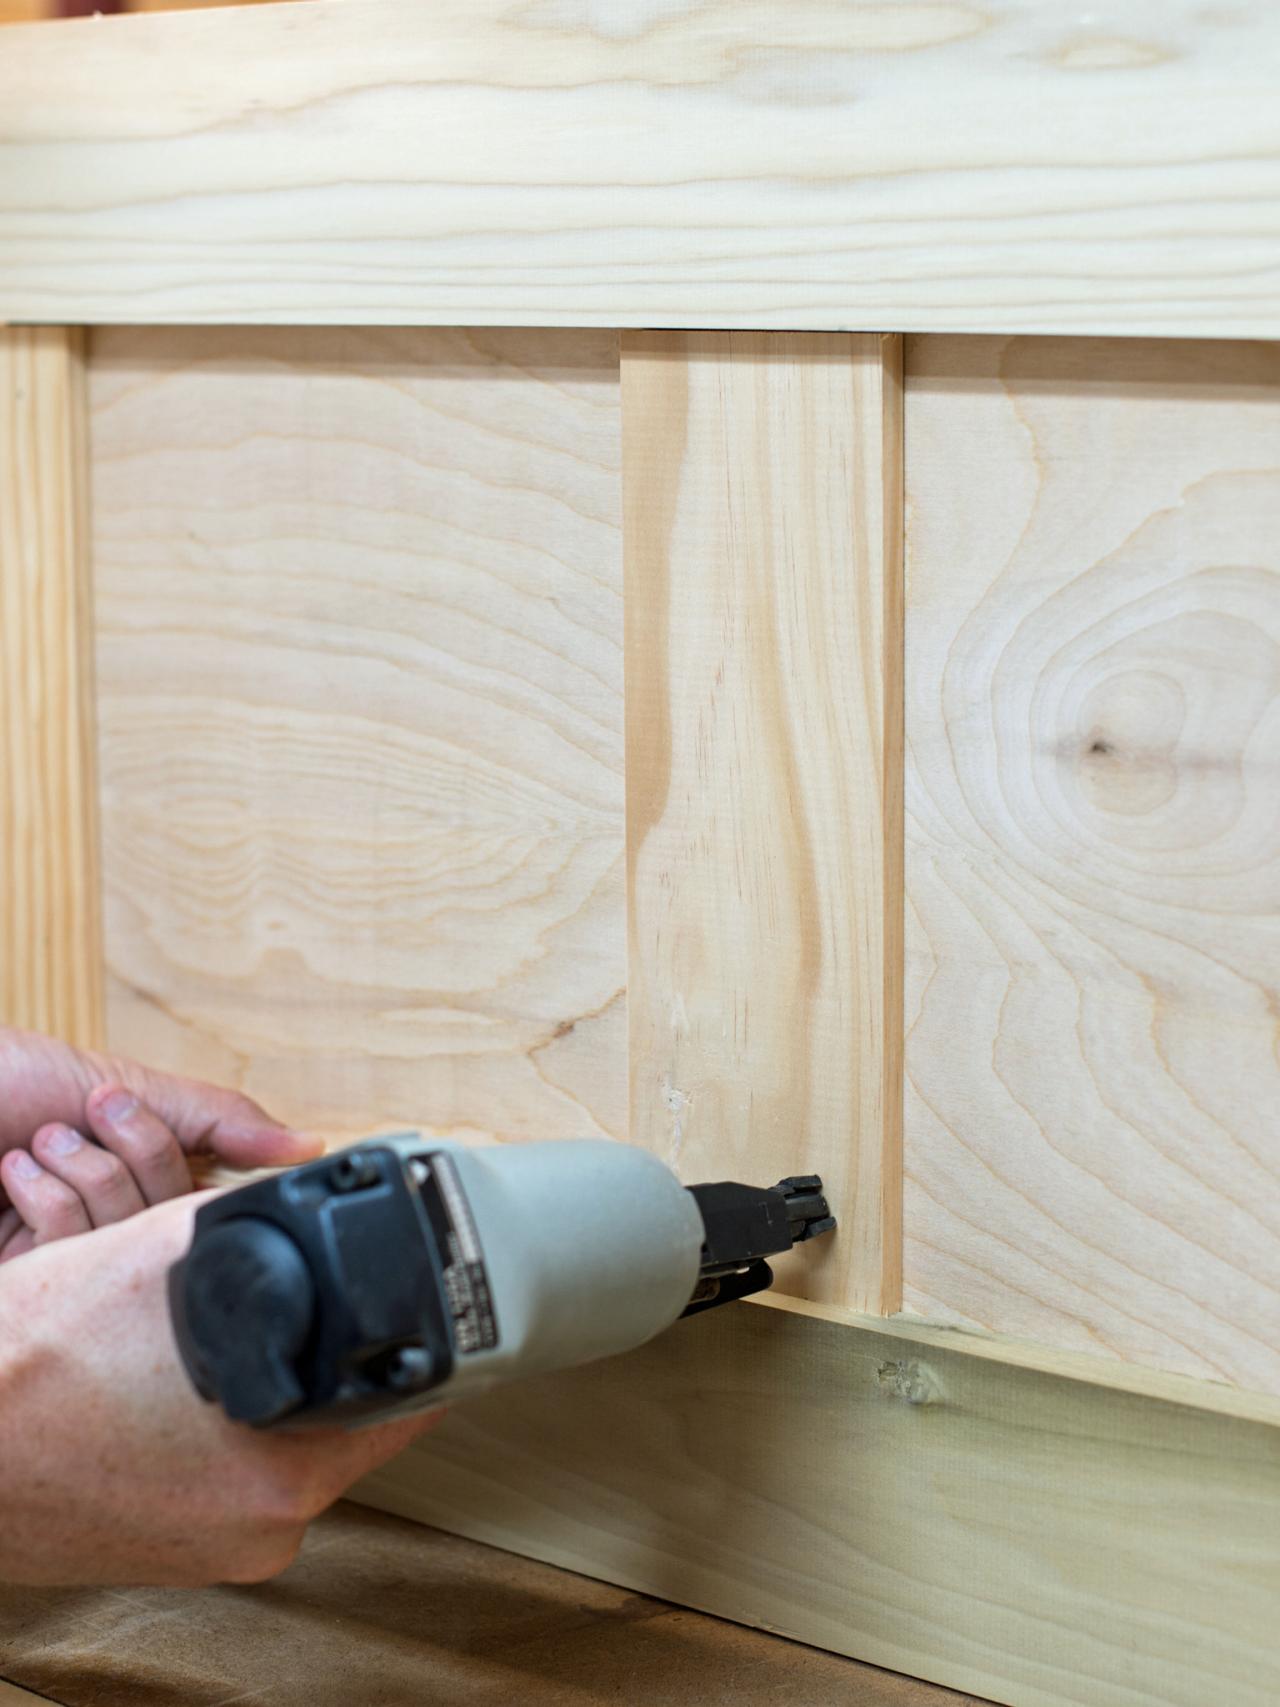
Add Decorative Trim
Collect eight 3/8 x 2” mitered trim pieces. Position two on one of the trunk corners, so mitered edges meet. Tack into place with 1” brads. Repeat on three other corners. Use either a scrap piece of wood as a spacer or a tape measure to determine placement of 3/8” x 4” trim pieces for front and back of trunk. Once proper placement is determined, tack into place with 1” brads.
Marian Parsons
Marian Parsons
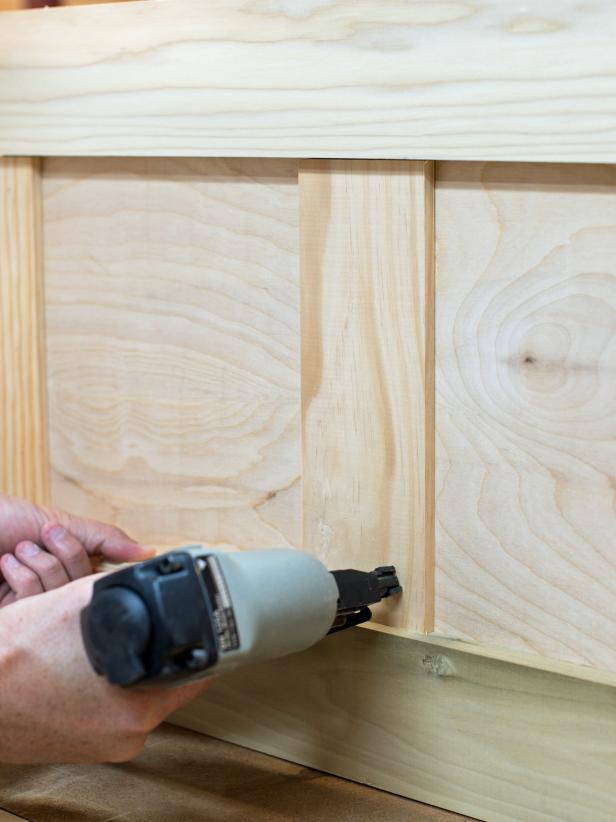
Add Decorative Trim
Collect eight 3/8 x 2” mitered trim pieces. Position two on one of the trunk corners, so mitered edges meet. Tack into place with 1” brads. Repeat on three other corners. Use either a scrap piece of wood as a spacer or a tape measure to determine placement of 3/8” x 4” trim pieces for front and back of trunk. Once proper placement is determined, tack into place with 1” brads.
Photo By: Marian Parsons
Assemble Top
On flat work surface, position 1” x 8” board in center with desired topside facing down. Put two 1” x 6” boards on either side of 1” x 8”, topsides also facing down. Allow a slight gap between the boards. A ruler or combo square can be used as a spacer. Position three 1” x 3” boards cut for lid supports, perpendicular over lid planks. Use tape measure or combo square to make sure supports will fit inside trunk opening to ensure lid sits flush with sides. Secure lid supports with 1-1/4” self-boring wood screws. Do not attach lid to trunk, so it can be lifted for storage.
Photo by: Marian Parsons
Marian Parsons
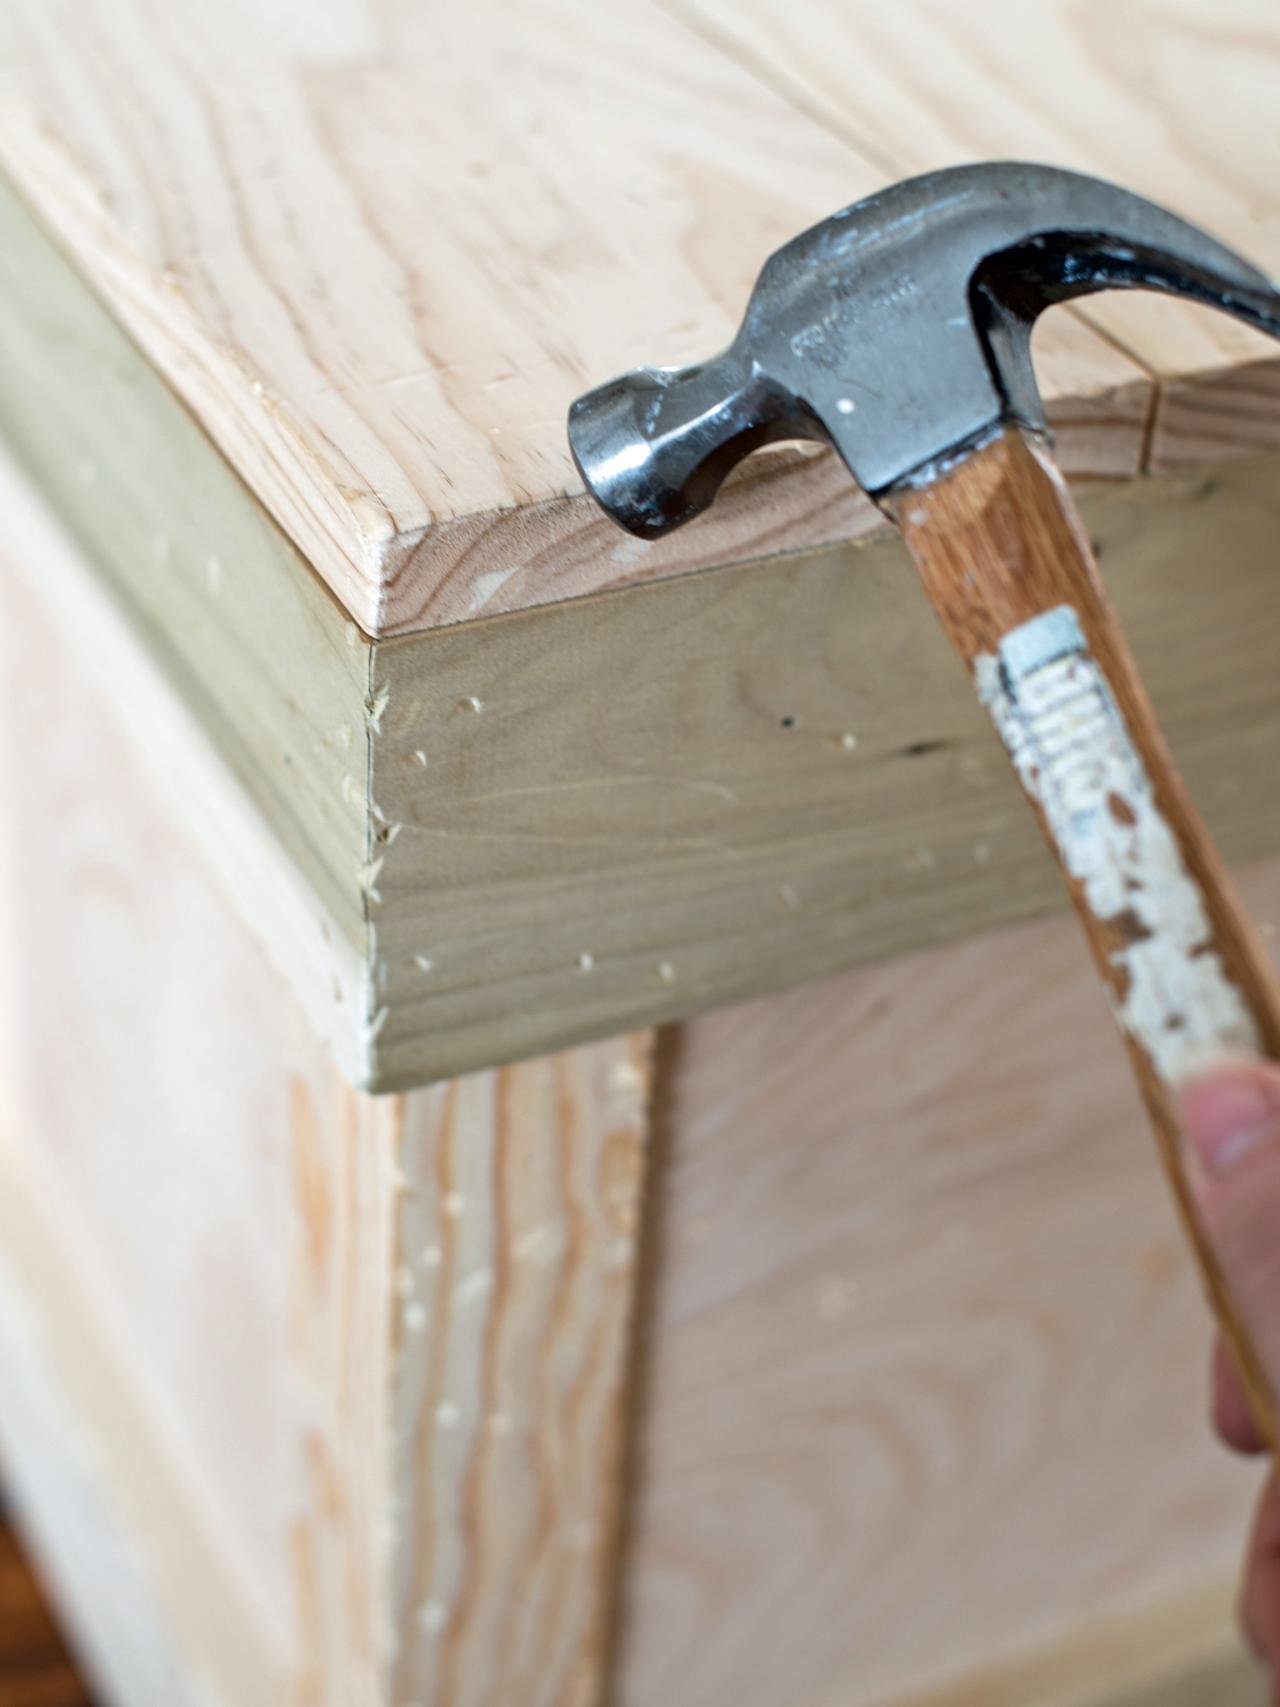
Distress Wood
In order to make the new wood look aged, hit edges with the head and claw of a hammer. Use a nail to make clusters of “worm holes”. Hitting the wood with a chain is also a good way to make random dents and dings.

Distress Wood
In order to make the new wood look aged, hit edges with the head and claw of a hammer. Use a nail to make clusters of “worm holes”. Hitting the wood with a chain is also a good way to make random dents and dings.
Photo by: Marian Parsons
Marian Parsons
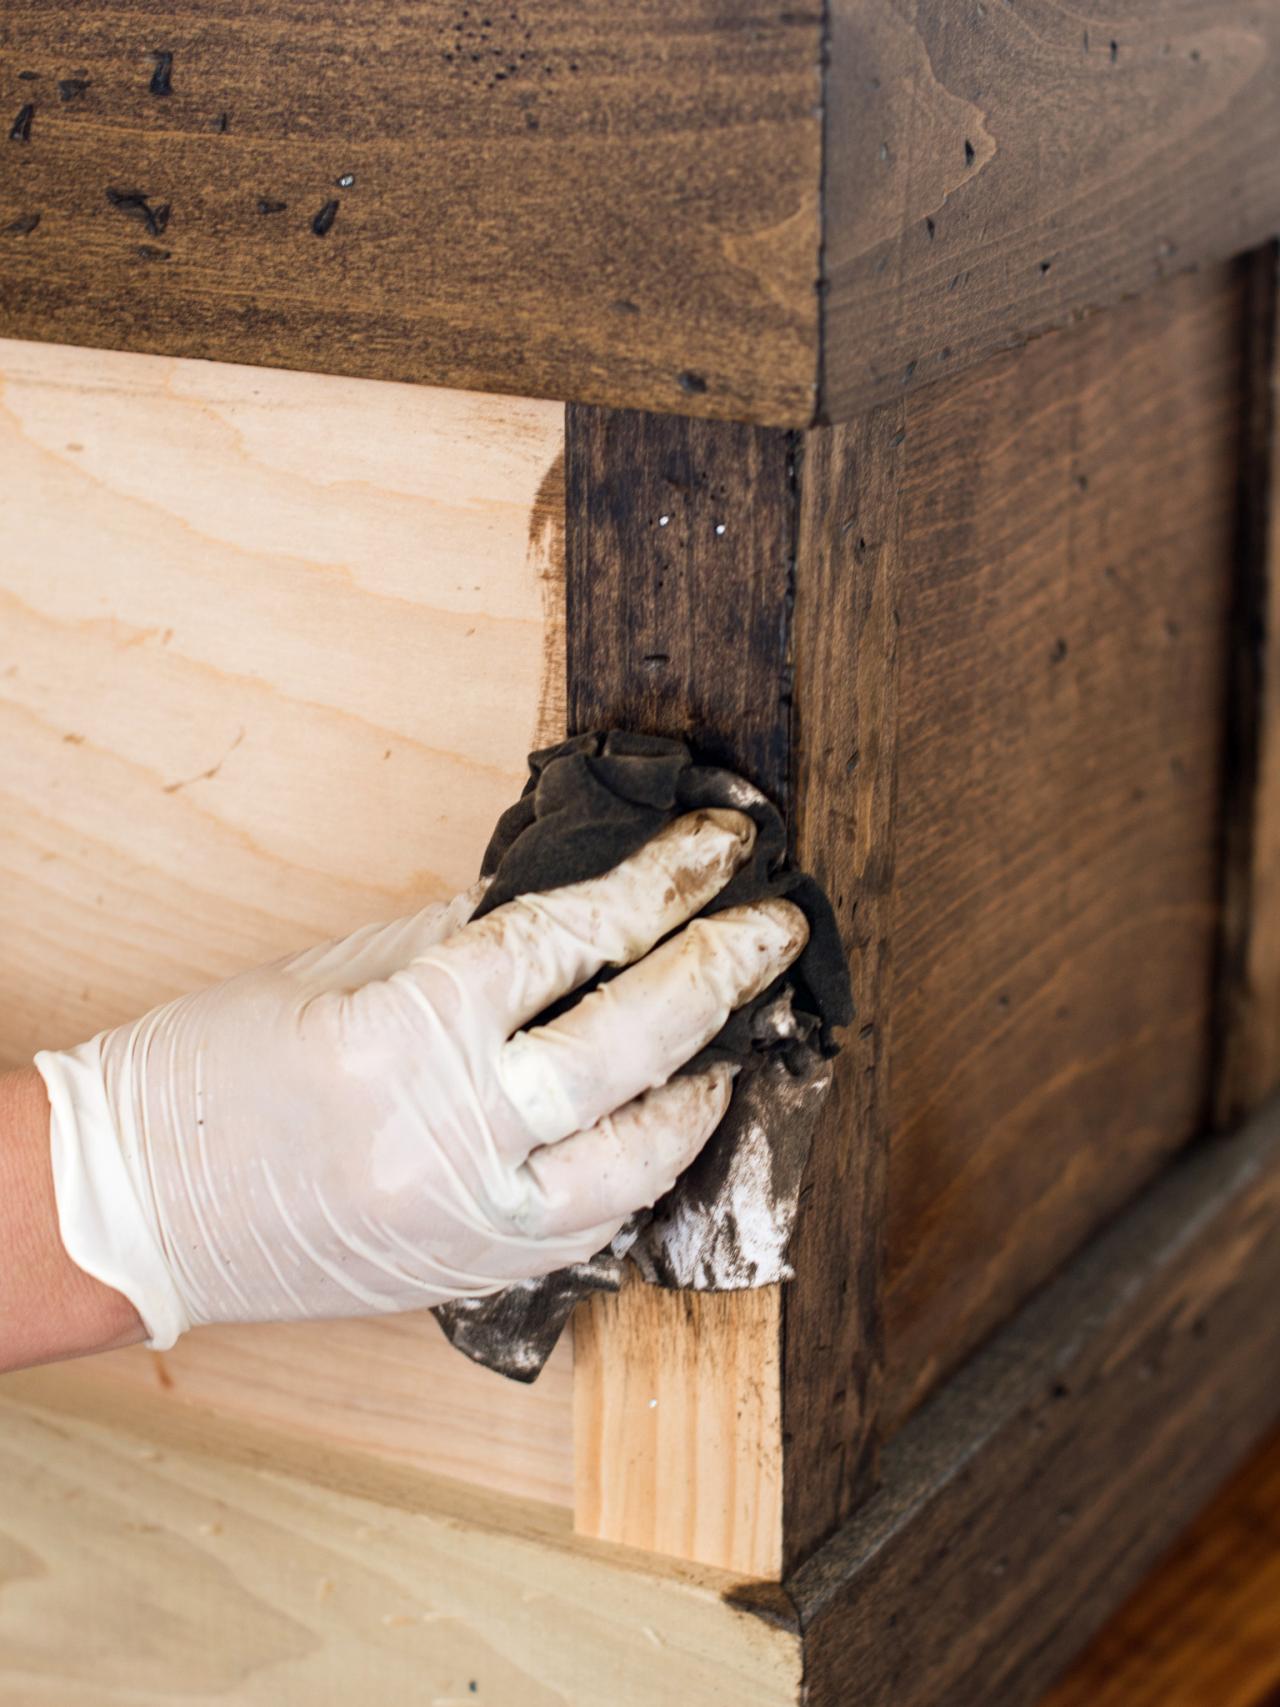
Stain Wood
Apply a dark wood stain with 2” natural bristle brush (Image 1). Wipe off excess with lint-free cotton cloth (Image 2). Tip: Wear latex or rubber gloves to protect hands from the stain. If desired, stain interior of trunk as well.

Marian Parsons

Marian Parsons
Stain Wood
Apply a dark wood stain with 2” natural bristle brush. Wipe off excess with lint-free cotton cloth. Tip: Wear latex or rubber gloves to protect hands from the stain. If desired, stain interior of trunk as well.
Photo By: Marian Parsons
Stain Wood
Apply a dark wood stain with 2” natural bristle brush. Wipe off excess with lint-free cotton cloth. Tip: Wear latex or rubber gloves to protect hands from the stain. If desired, stain interior of trunk as well.
Photo By: Marian Parsons
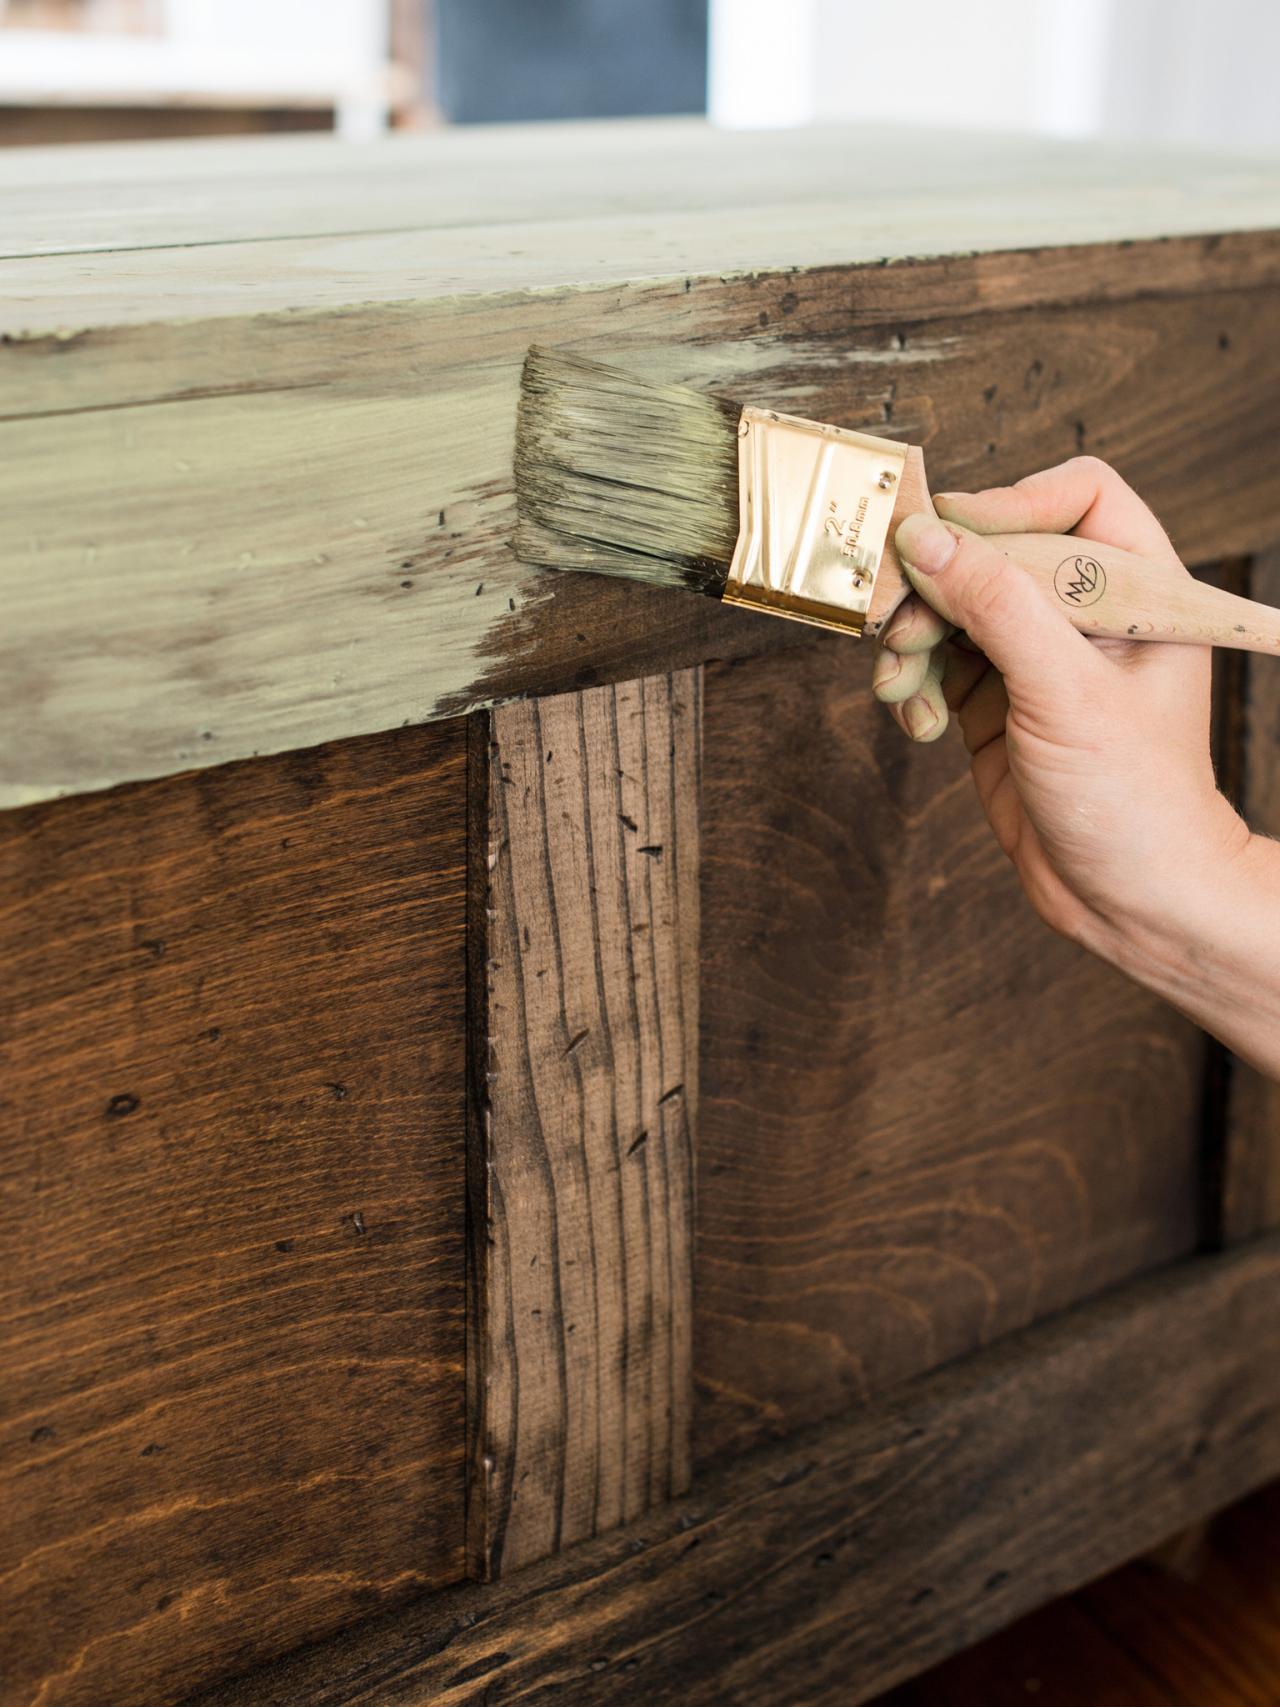
Paint Wood
With only a little bit of paint on a 2” angled sash brush, apply a thin coat of milk paint to surface of trunk. This application should be somewhat streaky. Blot or rub in paint with a lint-free cotton cloth to mute appearance of brush strokes, if desired. Tip: A flat acrylic, latex or chalk-type paint may be used as well. Just add water to thin it down to the consistency of a stain.
Photo by: Marian Parsons
Marian Parsons
Distress Paint
Once paint is dry, run 120-220 grit sand paper gently over entire painted surface. Apply more pressure on the edges to remove more paint and expose stained wood. Remove dust with cloth, broom or vacuum. Tip: Wear a dust mask when sanding.

Distress Paint
Once paint is dry, run 120-220 grit sand paper gently over entire painted surface. Apply more pressure on the edges to remove more paint and expose stained wood. Remove dust with cloth, broom or vacuum. Tip: Wear a dust mask when sanding.
Photo by: Marian Parsons
Marian Parsons
Install Hardware (optional)
Install corner trunk straps, keyhole escutcheon and handles. Tip: Antique and reproduction trunk hardware can be found on online auction sites and marketplaces.
")
Install Hardware (optional)
Install corner trunk straps, keyhole escutcheon and handles. Tip: Antique and reproduction trunk hardware can be found on online auction sites and marketplaces.
Photo by: Marian Parsons
Marian Parsons
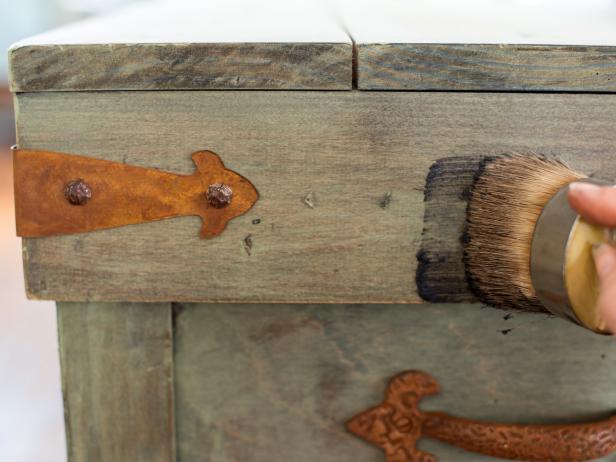
Apply Tinted Furniture Wax
Using a large wax brush, apply tinted wax over entire surface of trunk (Image 1). Push wax into the grain of the wood and the dents and dings created during distressing. Wipe excess away and buff finish with lint-free cotton cloth. Tip: Apply wax to a small section at a time to prevent wax from drying and getting sticky prior to buffing. This final step of adding tinted wax will both protect the painted finish and lend an authentic-looking antique patina (Image 2).
Marian Parsons

Marian Parsons
Apply Tinted Furniture Wax
Using a large wax brush, apply tinted wax over entire surface of trunk. Push wax into the grain of the wood and the dents and dings created during distressing. Wipe excess away and buff finish with lint-free cotton cloth. Tip: Apply wax to a small section at a time to prevent wax from drying and getting sticky prior to buffing.
Photo By: Marian Parsons
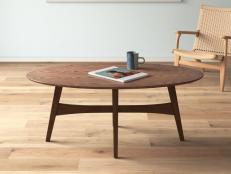
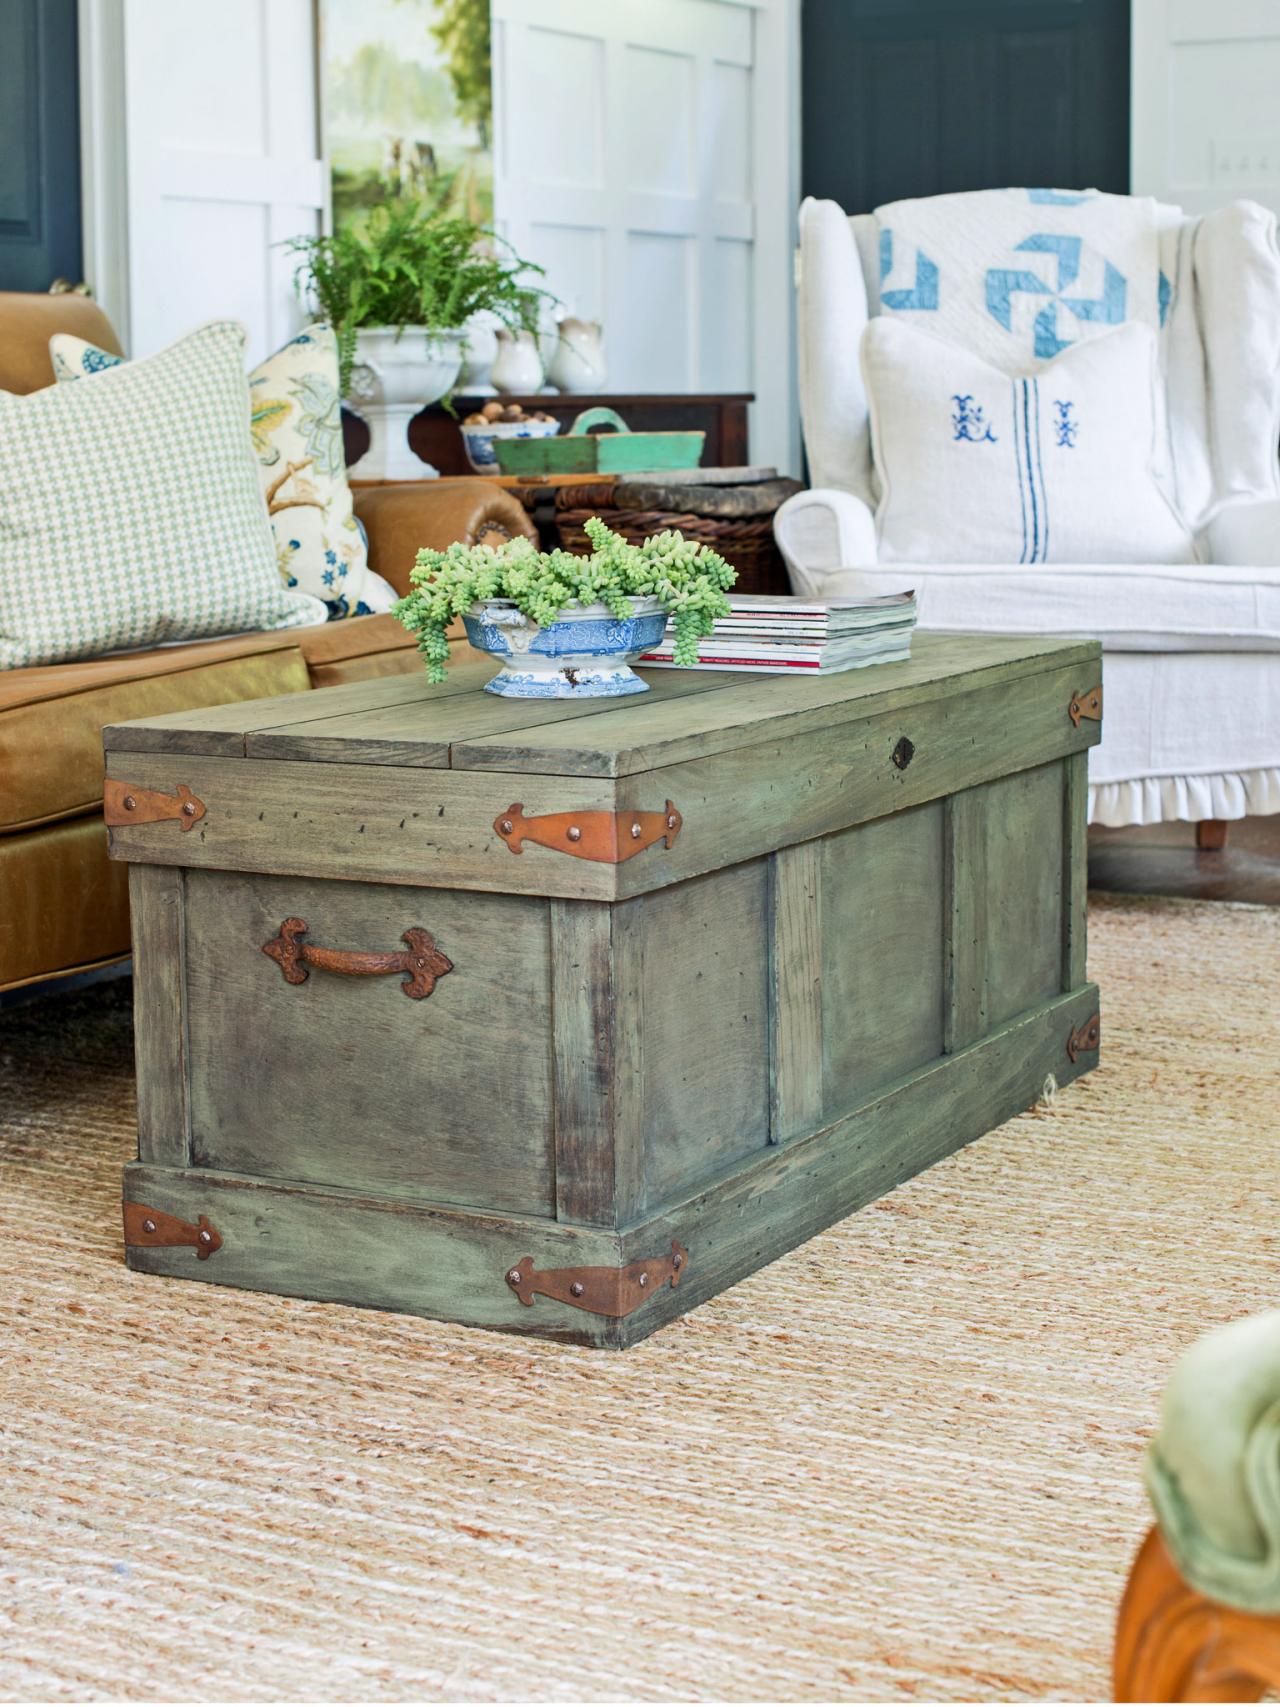
Rustic Trunk-style Coffee Table
Trunk-style coffee tables are not only stylish, but provide practical storage for toys, extra throws and pillows, a movie collection and anything that needs to be stored for a busy family. This rustic trunk-style coffee table is an easy build, but the result will have your friends thinking you're a pro woodworker!
Photo By: Marian Parsons


