


How to Add Decorative Tape Trim to Plain Curtains
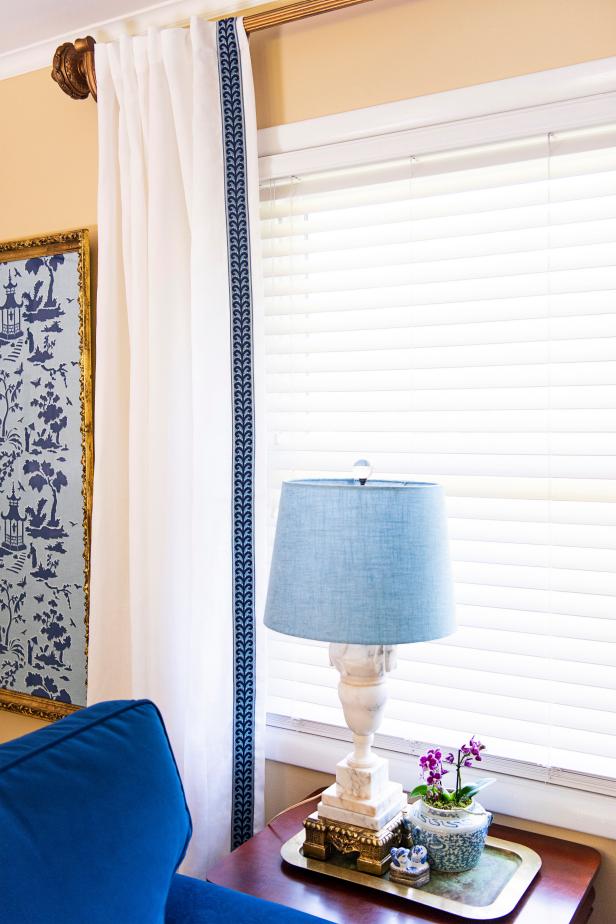
Give plain window treatments major wow factor — the designer way — by adding a leading edge of decorative tape trim to readymade drapery panels; no sewing machine (or designer) required.
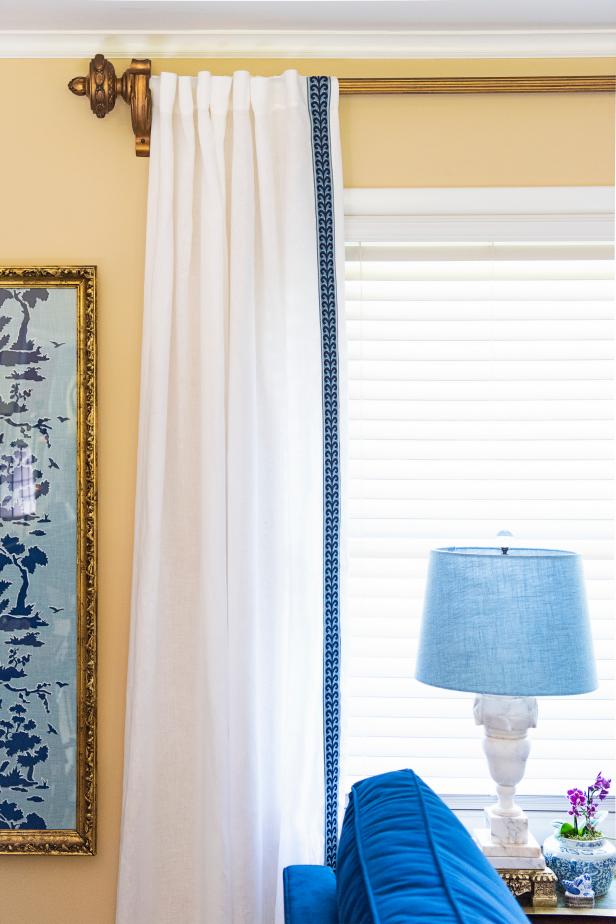

Photo by: Sarah Busby; Styling by H. Camille Smith
Sarah Busby; Styling by H. Camille Smith
Materials Needed
- plain drapery panel
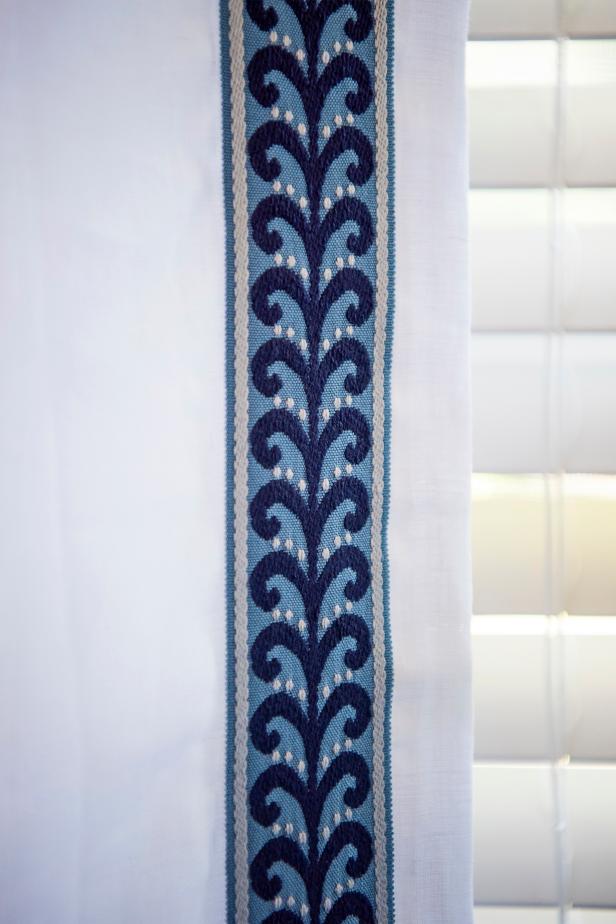
- decorative tape trim in a pattern/color that suits your style, just a bit longer than your panel's length
- iron-on hem tape
- iron and ironing board, blanket or pad
- scissors
- needle and thread in coordinating colors to tape trim
What’s the Curtain’s Leading Edge?
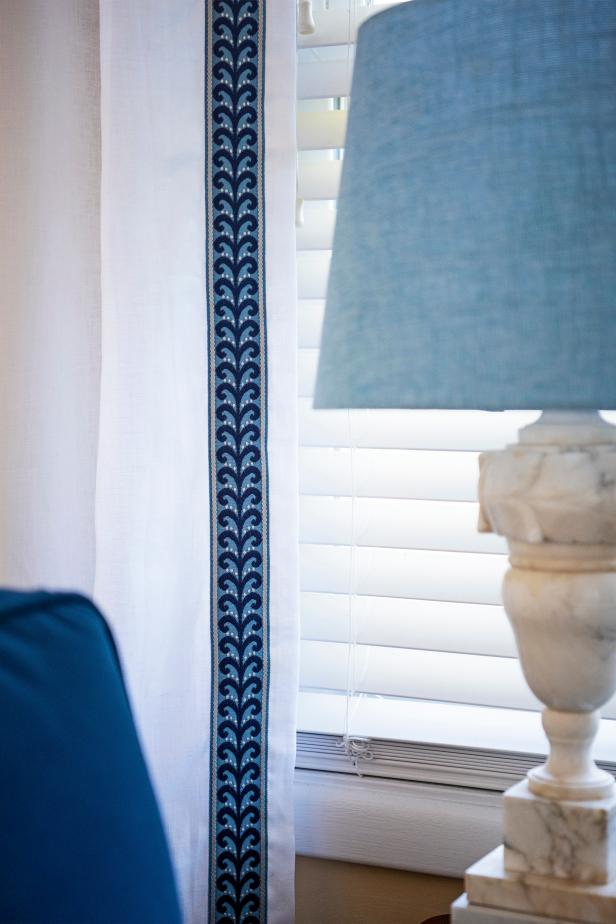
Designers refer to drapery panels' inside edge (the bits of fabric that overlap when curtains are closed) as the leading edge or lead edge. Because tape trim can get pricey — and this is one area where a little can go a long way — designers often embellish only this leading edge for a decorative detail that's visible both when the curtains are pulled back and when they're closed.

Photo by: Sarah Busby; Styling by H. Camille Smith
Sarah Busby; Styling by H. Camille Smith
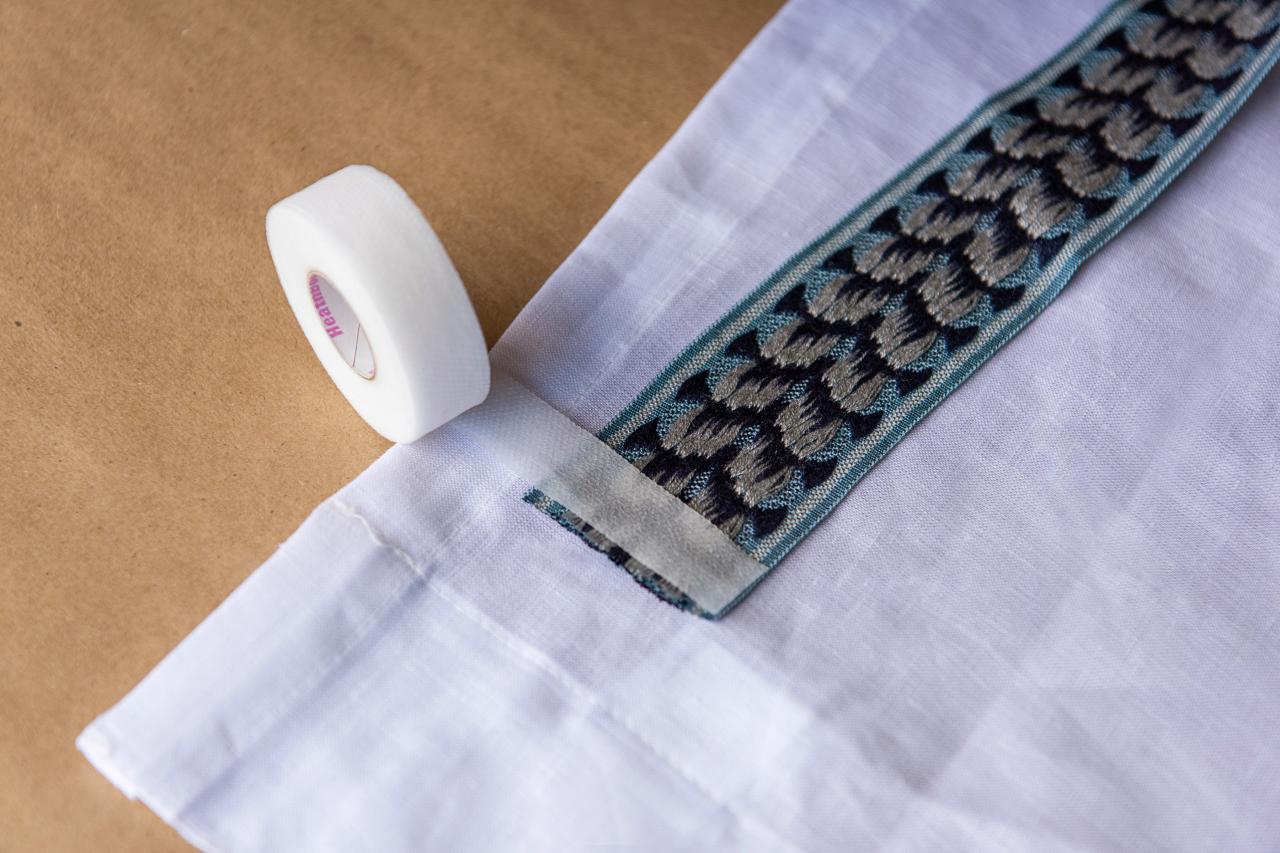
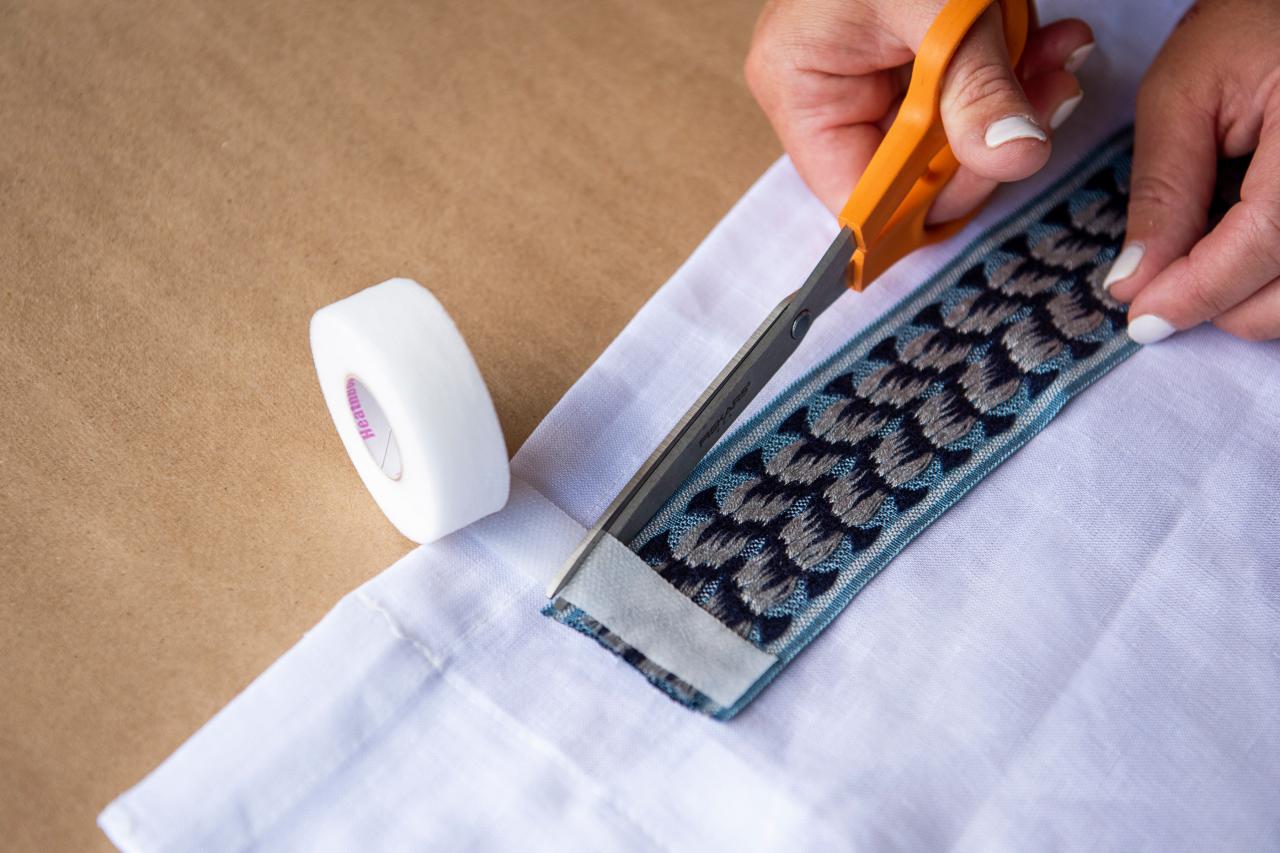
Create Finished Top Seam
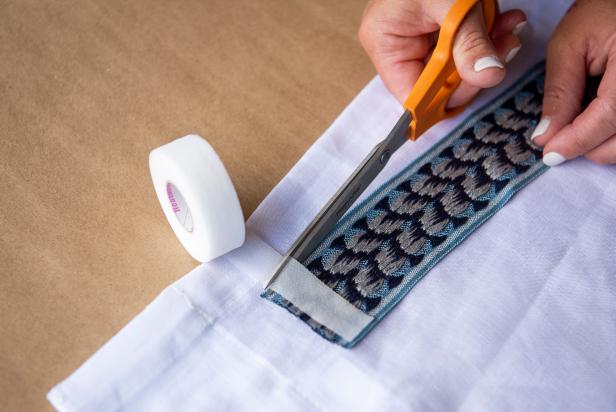
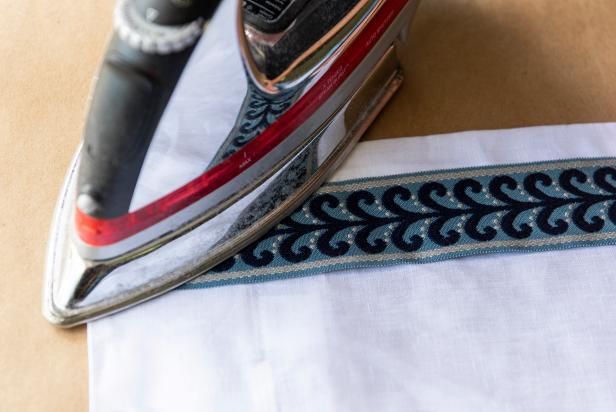
Position drapery panel on a flat, heat-resistant surface, like an ironing board or ironing blanket or mat. Before adding tape trim to the top edge of the drapery panel, first create a hemmed top edge by turning a bit of the trim’s end under and securing with iron-on hem tape and a hot iron (Images 1-3).

Sarah Busby
Sarah Busby

Sarah Busby
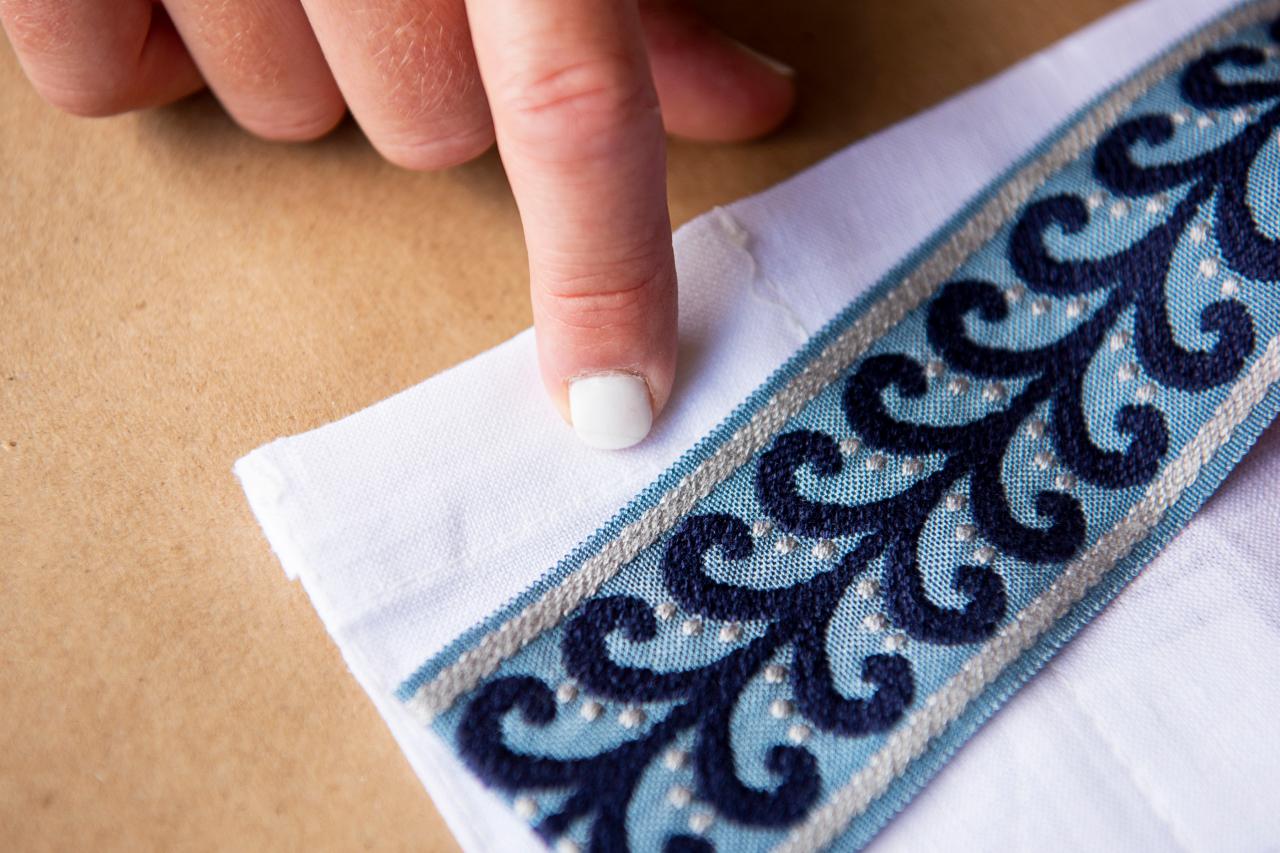
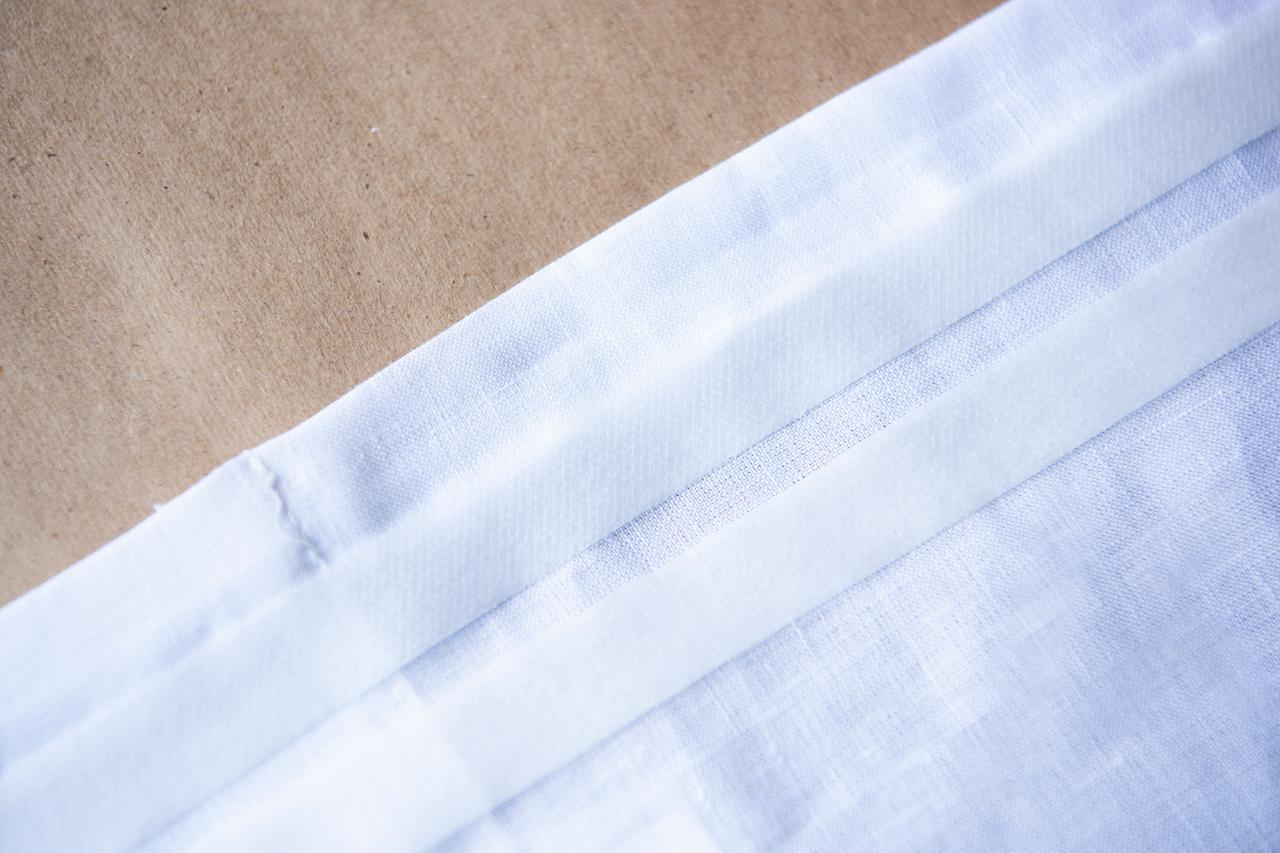
Allow for a Reveal
Leaving an inner inch or so of the drapery panel visible creates a pretty reveal. The easiest way to create this is to position your decorative tape trim against the curtain's inner, stitched hem.

Sarah Busby
Position Hem Tape
Working in sections, add a row or rows (depending on your tape trim's width) of hem tape directly to the curtain, being sure to leave the reveal mentioned above. To properly attach our decorative tape trim, we needed two rows of hem tape spaced so the edges of the tape trim would just overlap. Note: Just position the hem tape on top of the curtain, no iron needed at this step.

Sarah Busby
Attach Tape Trim
Carefully position the tape trim's finished top edge right at the top of your curtain with the trim completely covering the underlying hem tape and begin bonding the tape trim to the curtain using an iron set to the hem tape manufacturer's recommended heat setting and bonding times (Image 1). Note: Keep the iron stationary as you press; don't move it back and forth or you risk shifting the hem tape and decorative trim. Working your way down the curtain's leading edge, continue adding sections of hem tape, covered by the tape trim, using the curtain's stitched edge as a guide (Image 2).
Sarah Busby

Sarah Busby
Create Finished Bottom Seam
As you near the bottom leading edge of the panel, follow the same steps as the top to create a clean, hemmed bottom edge, then press in place.
Secure With a Few Stitches
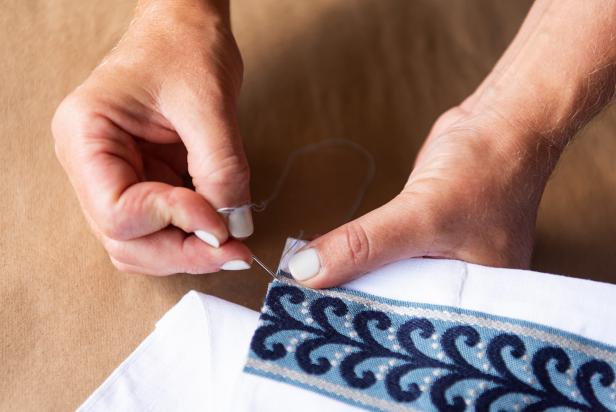
For added durability, use a needle and thread to handstitch along the top and bottom seam of the curtain panel where the tape trim is attached.
Sarah Busby
Hang and Admire Your Handiwork
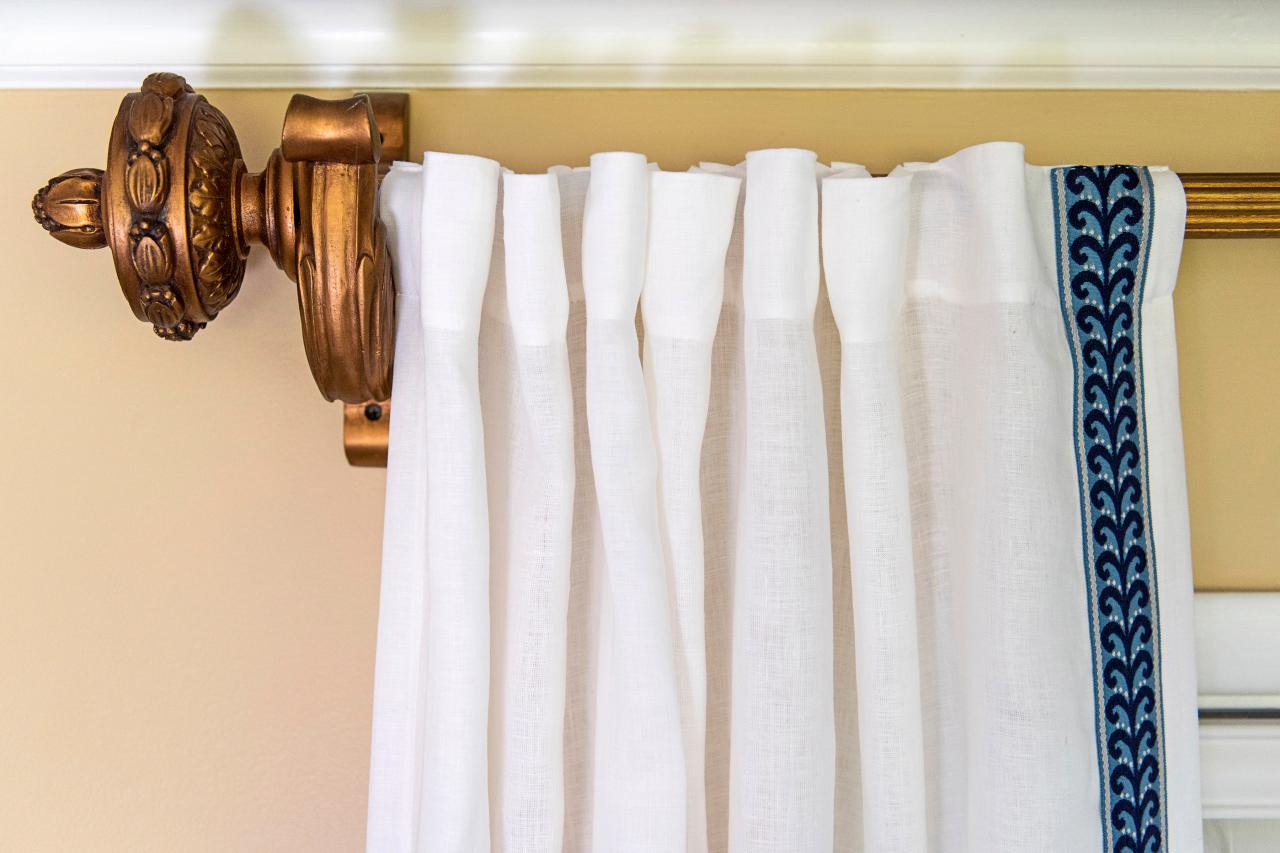
From blah to beautiful, this is one decor project you can complete while bingeing your favorite show. Hang embellished curtains however you prefer (from rings, tabs or on the rod itself) and prepare to bask in the compliments.
Sarah Busby; Styling by H. Camille Smith
Sarah Busby; Styling by H. Camille Smith
Sarah Busby; Styling by H. Camille Smith
Photo By: Sarah Busby; Styling by H. Camille Smith
Photo By: Sarah Busby; Styling by H. Camille Smith
Photo By: Sarah Busby; Styling by H. Camille Smith


