


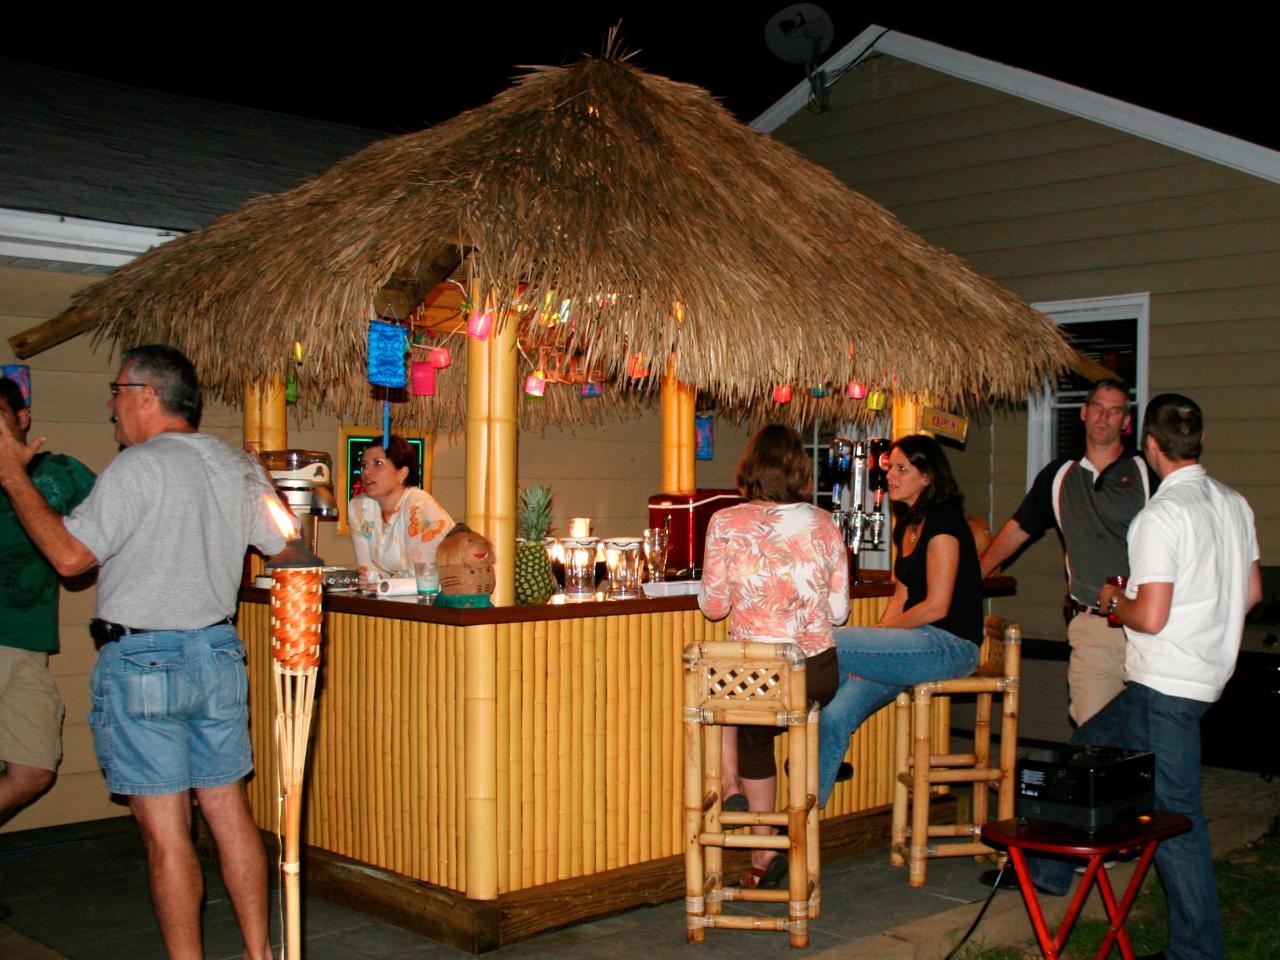
How to Build a Tiki Bar With a Thatched Roof

Tools and Materials:
air compressor and hoses
framing nailer and a finish nailer
screw gun
circular saw
safety goggles
tape measure
six 8-foot 4x4 cedar posts
fifteen 8-foot 1x2 poplar boards
ten 8-foot pine 2x4s
bamboo sheets
seven sheets 3/4” exterior-grade (pressure-treated) plywood
heavy-duty plastic sheets
thatch
L brackets
polyurethane
Steps:
1. Determine the size of your structure. The base of the bar will be built in three separate sections and should be assembled in place.
2. Start with the vertical inner walls of the bar using the pressure-treated plywood. Measure and cut the three pieces for each of three sections of the bar (for a total of nine – two outer and one middle support for each). Our vertical pieces are all 38-1/2“ tall.
3. Measure and cut the inner shelves for the bar. We have two shelves on each side of the middle vertical support piece. On the two side sections of the bar, our shelves are approximately 30 inches long – this makes the total length of each side of our bar 62-1/4”. The front section of the bar is shorter than the two sides; the shelves are approximately 19 inches long, making the total length of the front section of our bar 50 inches long. Decide the placement of your shelves according to what you’ll be storing on the shelves.
4. Measure and cut for the bottom and top horizontal pieces of each side of the bar (for a total of six pieces).

5. Start assembling the first side of the bar. Use glue and framing nails to attach the two outer side walls with the top and bottom pieces (making a rectangle). Attach the inner vertical piece to the top and bottom pieces. Then attach the inner horizontal shelves in between the vertical sides and middle.
6. Repeat the process for remaining two sections of the bar.
7. Dry fit the three sections together. Measure and cut the plywood for the face of each bar section. Miter cut the adjoining sides. Attach the plywood to the bar sections using glue and framing nails. Move the bar into its permanent place and nail the three sections together. (It might be too heavy to move after you attach the three sections together.) Use L brackets to attach the sections together.
8. Mark the top of the bar base at each corner where you’ll be placing the posts for the roof.
9. Measure and cut the plywood for the countertops. Determine how many inches of overhang you’d like on the front and back of the bar. Before attaching countertop to the bar sections, measure and cut out the four holes at each corner of countertop to allow for 4x4 posts. Dry fit the countertop through the posts to make sure they fit.
10. Attach the countertops to the bar sections with glue and nail them on from the bottom.

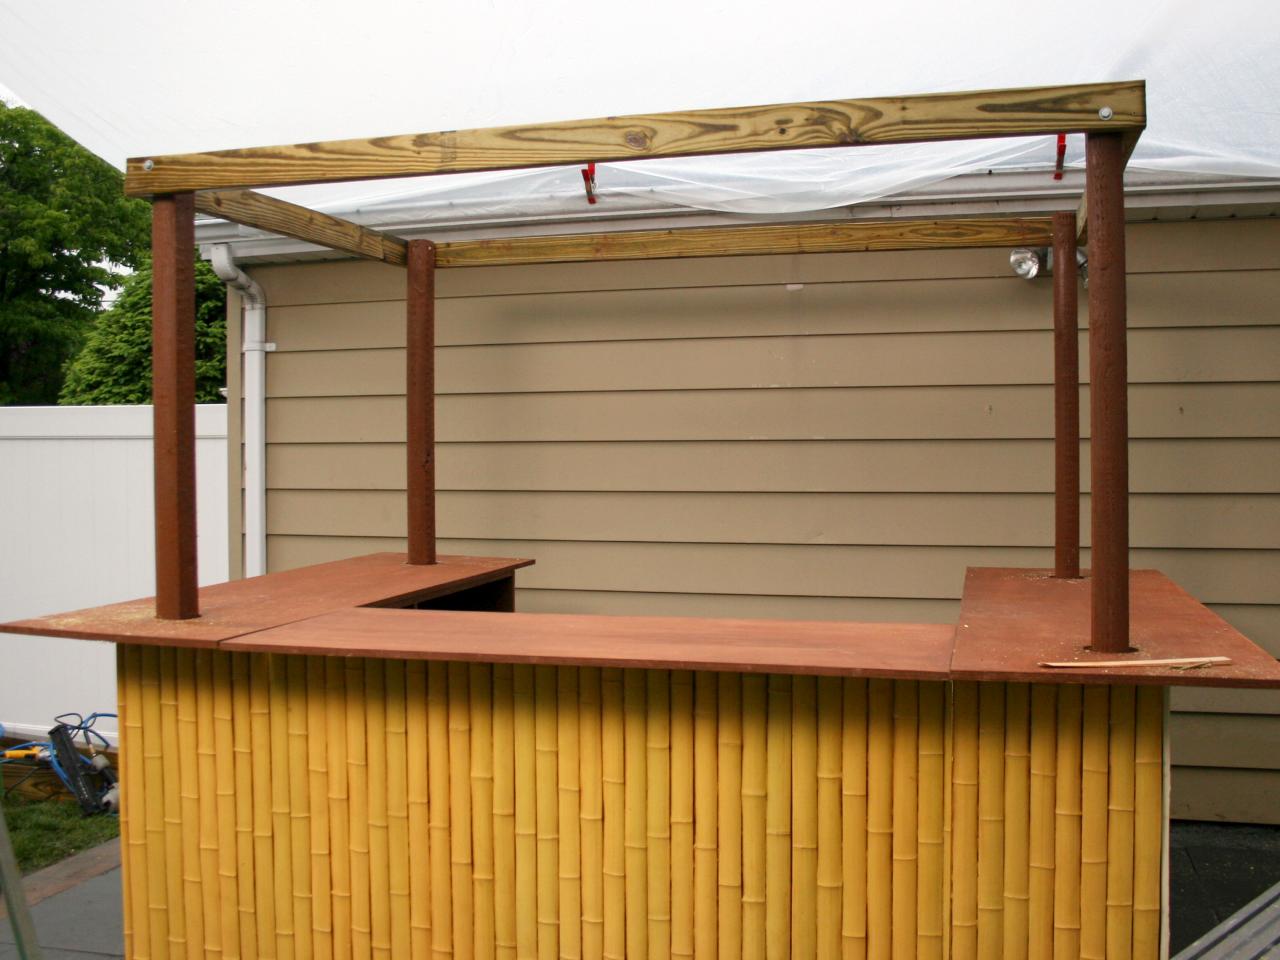
11. Spread glue into the post holes in the countertop. Insert the posts into the hole and hold it level while someone else nails it into place from underneath. For extra support, nail a piece of plywood to the underside of the bar up through the post.

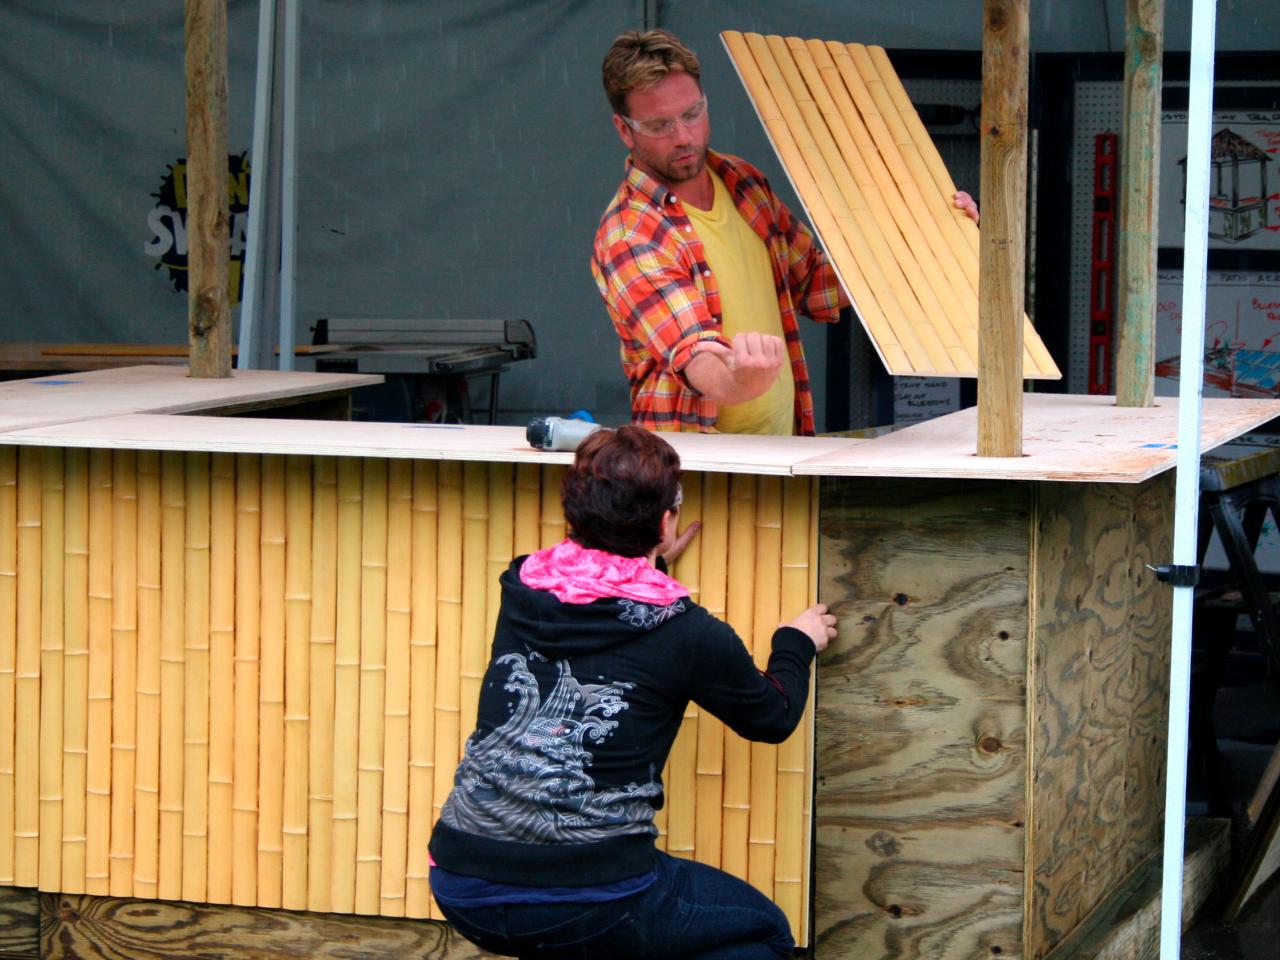
12. Sheath the face of the bar base. We used bamboo panels that we fastened to the plywood with finish nails.

13. Cut two sets of 2x4s (eight pieces) to fit around the top perimeter of the four posts. Attach one set of the boards to the outside of the posts with lag bolts. The second set of 2x4s will be used to make the frame of the roof structure.
14. Attach the second set of 2x4s together in a square. Cut a 4x4 to run across the middle of the square to serve as a horizontal support beam. Fasten all the pieces together with framing nails. This will be the base of the roof structure.
15. Determine the pitch of the roof from the peak to corner. (Ours roof overhangs by approximately one foot on all sides.) Determine the height from the middle horizontal support beam to the roof’s peak. Cut a 4x4 to this height. At the top end of this post, cut a notch on all four corners. Fasten the post vertically to the top of the horizontal support beam so that the flat sides are facing the corners of the roof frame.
16. Cut four 4x4 posts the length of the pitch (from the peak to the corners, or past the corners depending on how much of an overhang). At the peak end of the post, cut the posts at angle to meet the notch in the vertical post. Pre-drill the posts and fasten them together with lag bolts.
17. For extra support, cut a 4x4 to fit in each corner of the frame attaching the pitched posts to the 2x4 square frame. The bottom of the small support post should sit flush with the bottom of the square frame and the top should be angled up to meet the angle of the post. Lag bolt the pieces together.

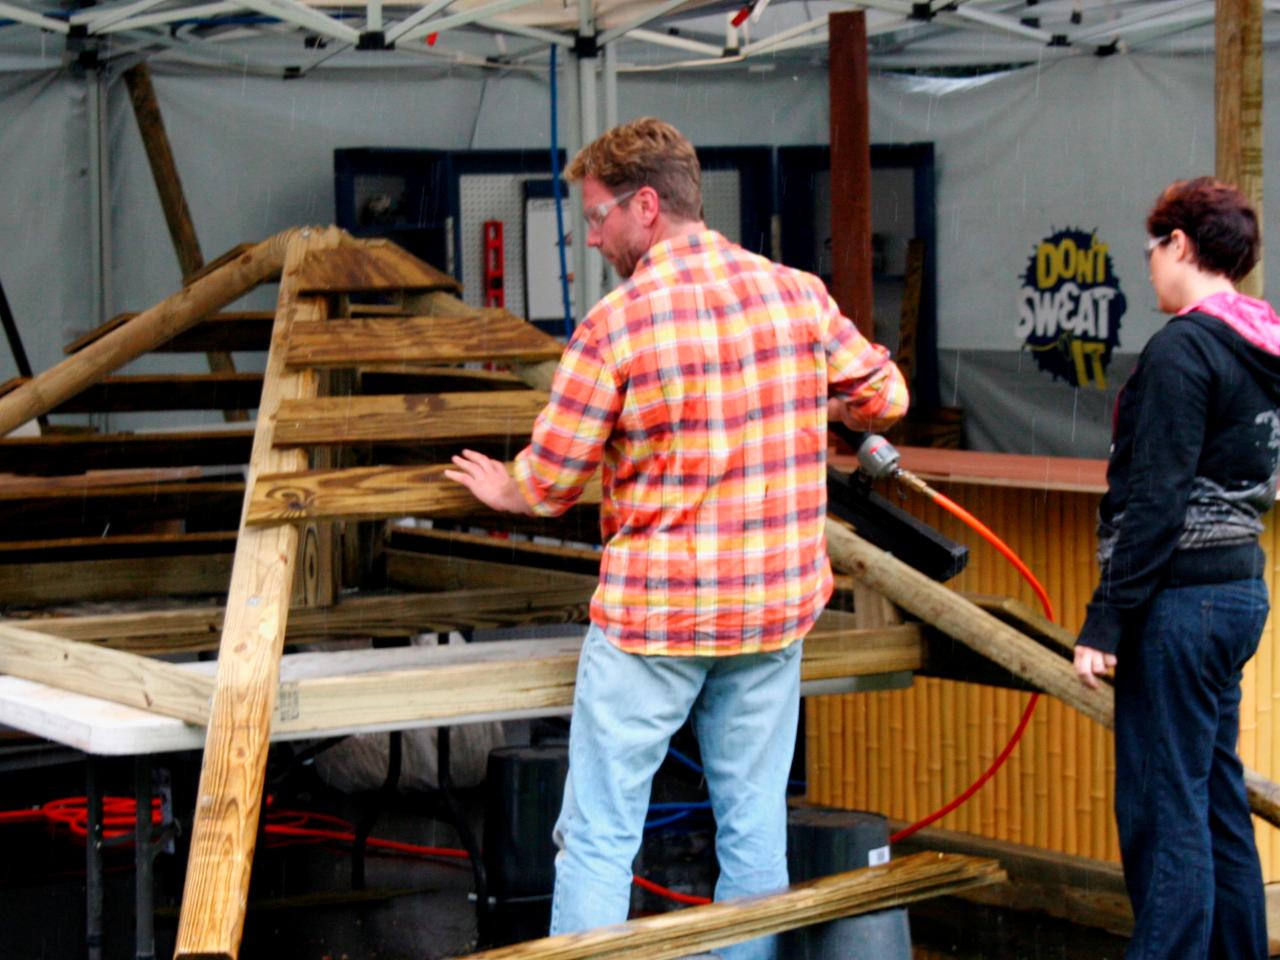
18. Measure and miter cut plywood to fit together around the four sides of the roof. Start at the center and work your way down (the size of the plywood pieces will increase as you move from down to bottom of roof structure).

Use framing nails to attach the plywood to the posts. Leave roughly four inches between each piece of plywood.

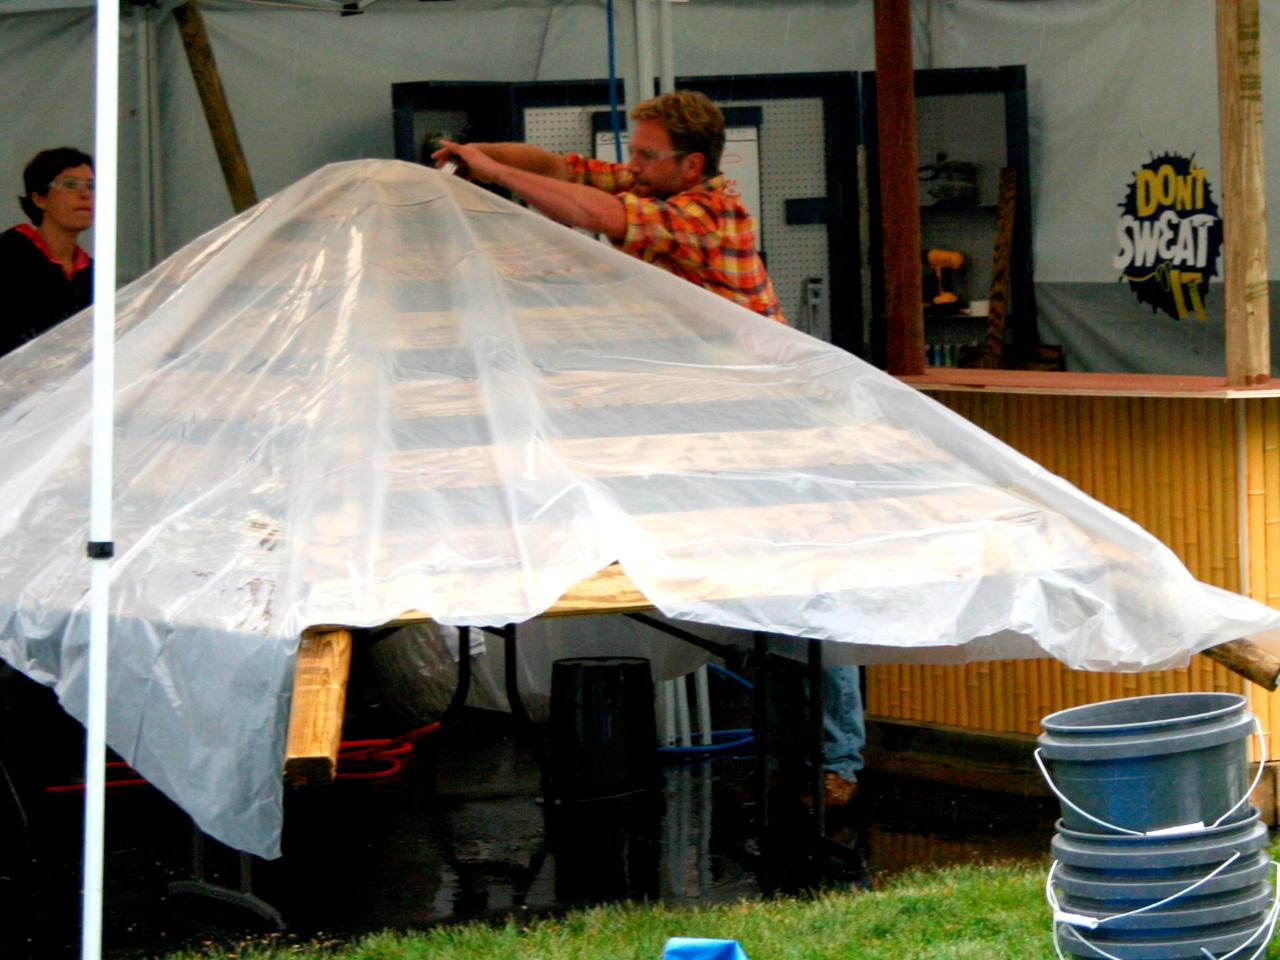
19. Wrap the roof structure tightly in heavy-duty plastic sheeting and staple it into place.

20. Attach the thatching to the roof structure using heavy-duty staples. Trim the excess as needed.

21. Lift the assembled roof structure on to bar structure and use lag bolts to secure at all points of contact.
22. For decorative purposes, wrap the posts in bamboo stalks.


")


