


How to Build a Bar with a Butcher-Block Countertop

Materials and Tools:
miter saw
table saw or circular saw
nails and nail gun
screws and a screw gun
electric sander/sandpaper
at least four sheets of 3/4" birch plywood (depending on the size of your bar)
butcher-block countertop
wood glue
construction adhesive
wainscoting
wood filler
paint

Steps:
1. Determine what size you want your bar to be, including length, width and height.
2. Cut the four pieces of birch plywood to form the top, bottom and sides of your bar. Basically you will be building a open rectangle.
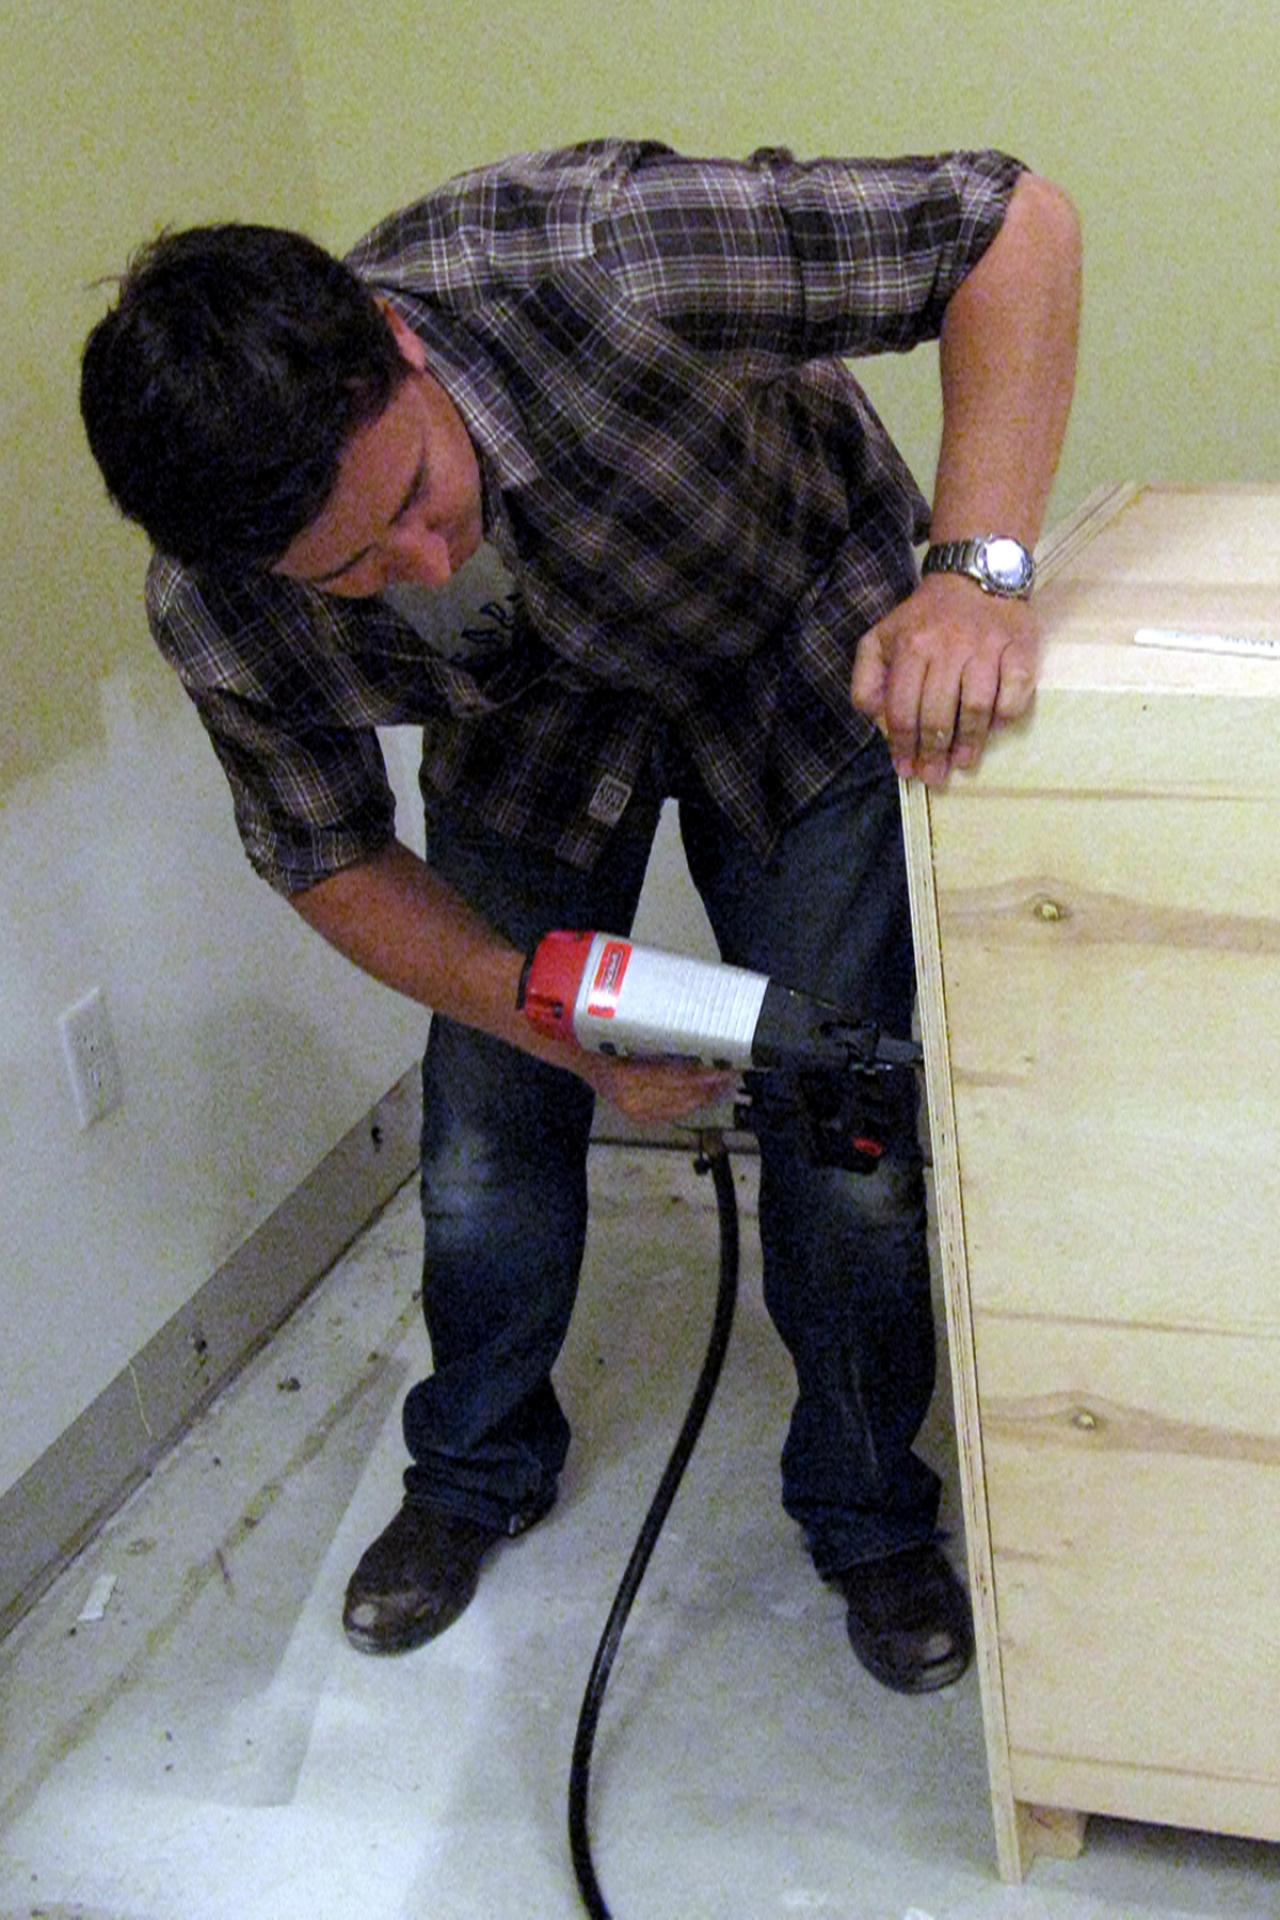
3. Assemble these four pieces using glue and the nail gun.
4. Cut the front panel of the bar then attach it to your rectangle with wood glue and nails. Now your box will be enclosed on all sides but one.
5. Determine how many shelves you want in your bar and their layout. We decided to place one shelf running all the way across the middle. Again, we cut it out of the birch plywood, gluing then nailing it in place through the sides and front.
6. Cut the butcher-block countertop so it will overhang the bar by a few inches on each side. Use a sander to round the corners on the butcher block.
7. Apply construction adhesive to the top of the bar. Lay the butcher block down on top of the adhesive. When you have it in place, secure it from underneath with screws.
8. Cover the front and sides of the bar with wainscoting. Where the wainscot panels meet, cut the panels on a 45-degree angle (a scarf joint) so the pieces match up to hide the seams. Adhere each panel to the bar with wood glue and nails.
9. To give the wainscoting a finished look, attach baseboard around the bottom of the bar.
10. Fill in the nail holes with wood filler then paint as desired.


