


How to Add Columns and Corbels to a Front Entry
Take your curb appeal up a notch by framing your entryway with columns and decorative corbels.

Gary Payne
Premade corbels come in a lot of styles and sizes. Do your research to determine if a simple or detailed design would work best with your home style. Look at similar homes in your neighborhood to get ideas. Getting the correct proportion is also very important. You don’t want corbels and columns that are too small or ones that overwhelm your entryway. Always test-fit the corbels before you paint and install.
Tools and Materials
- corbels
- pneumatic staple gun and staples
- air compressor
- wood filler and putty knife
- 2x4s for blocking
- 1x8s for columns
- exterior paint and primer
- paintbrush
- measuring tape
- miter saw
Skill Level: Intermediate
Estimated Time: 1/2 day
Estimated Cost: $300

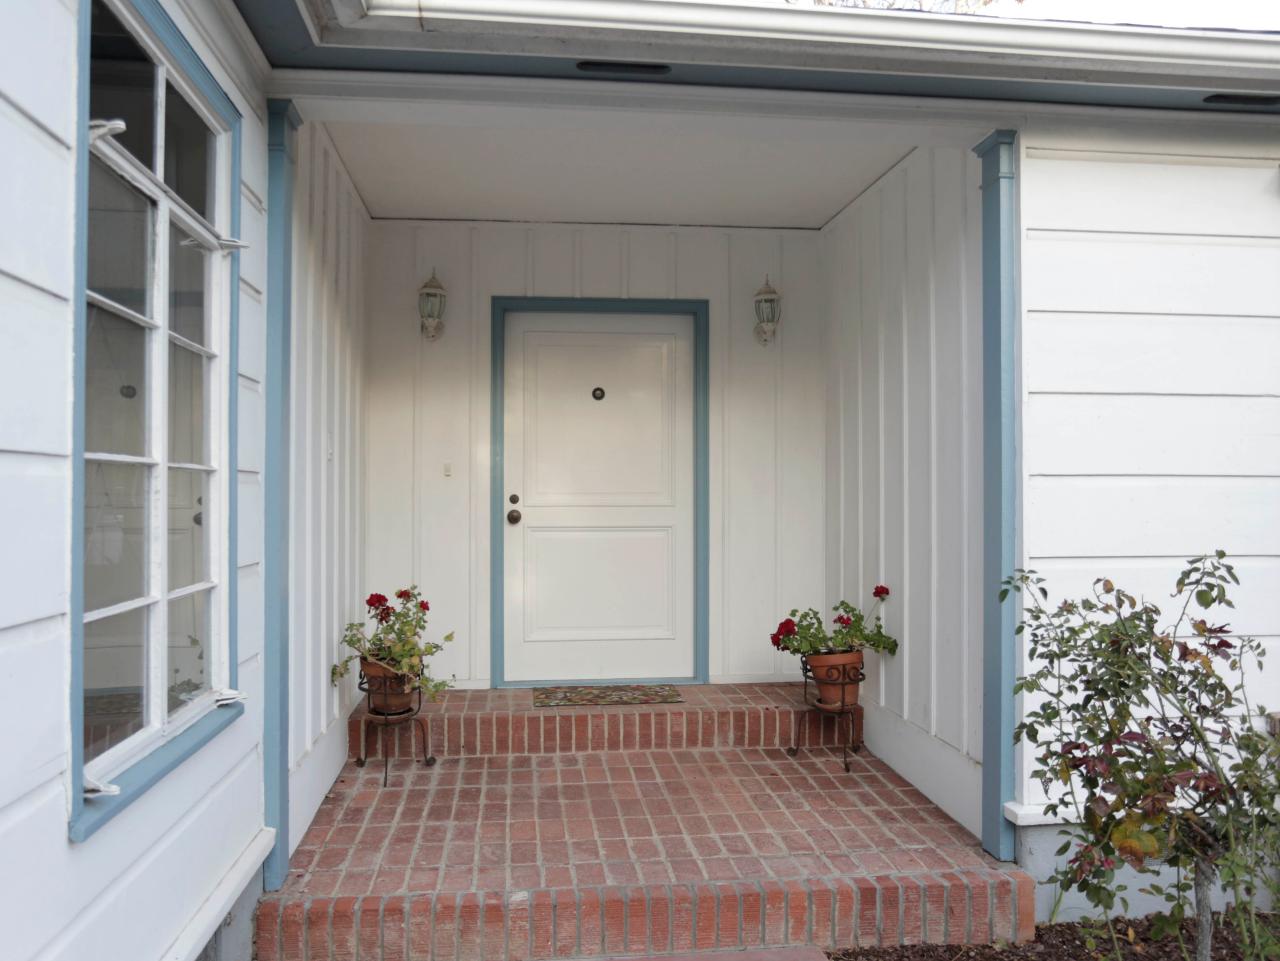
Before: The entry was just a boring recessed box.
Make Column Supports
To attach the columns to your home, add blocking pieces using 2x4s. Cut two 2x4s to about 4” long. Fasten them to existing column or siding vertically flush to one side of the column placement. That will be the side you start with.
Cut Column Pieces
Measure the length of your existing column or how tall you want your columns to be. Cut six (three for each column) 1x8s to length. Test-fit the placement.
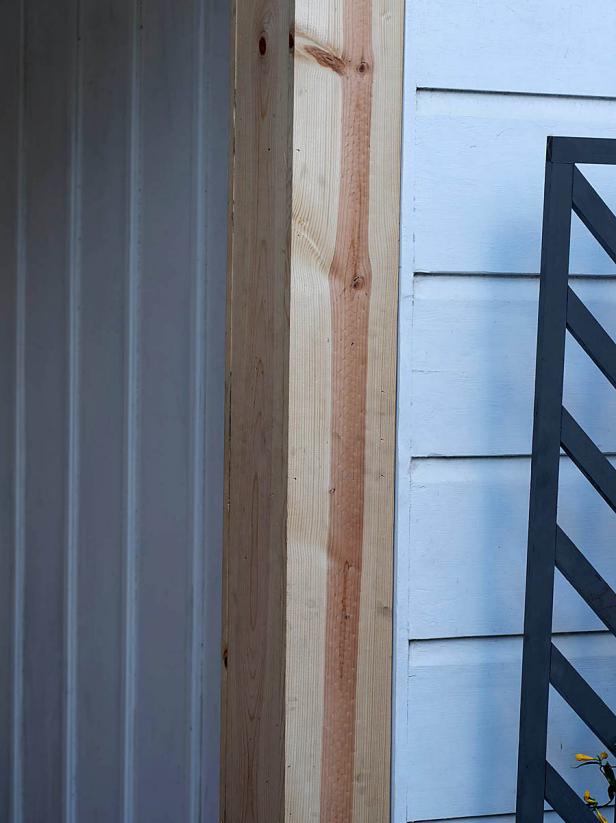
Attach Column Sides

Gary Payne

Gary Payne
Gary Payne
Fasten the first 1x8 to the blocking. For the middle 1x8, fasten it to the first 1x8 along the edges. For the last side, attach the blocking to the inside of the 1x8, place the blocks 3/4” from the edge that will go against the middle piece. Attach additional blocking to the house for the last 1x8. Fasten the middle and last side together through the blocking, and fasten the last side onto the blocking that is attached to the house. Repeat the process to create the other column.
Build Header

Gary Payne
To make it easier, assemble the header piece on the ground. Measure and cut the three 1x8s for the sides and bottom of the header. Cut three pieces of scrap 2x4 to 7-1/4” to make the interior support pieces. Place the bottom of the header face-down then evenly space the 2x4s along the board and fasten the two side 1x8s to the 2x4s.
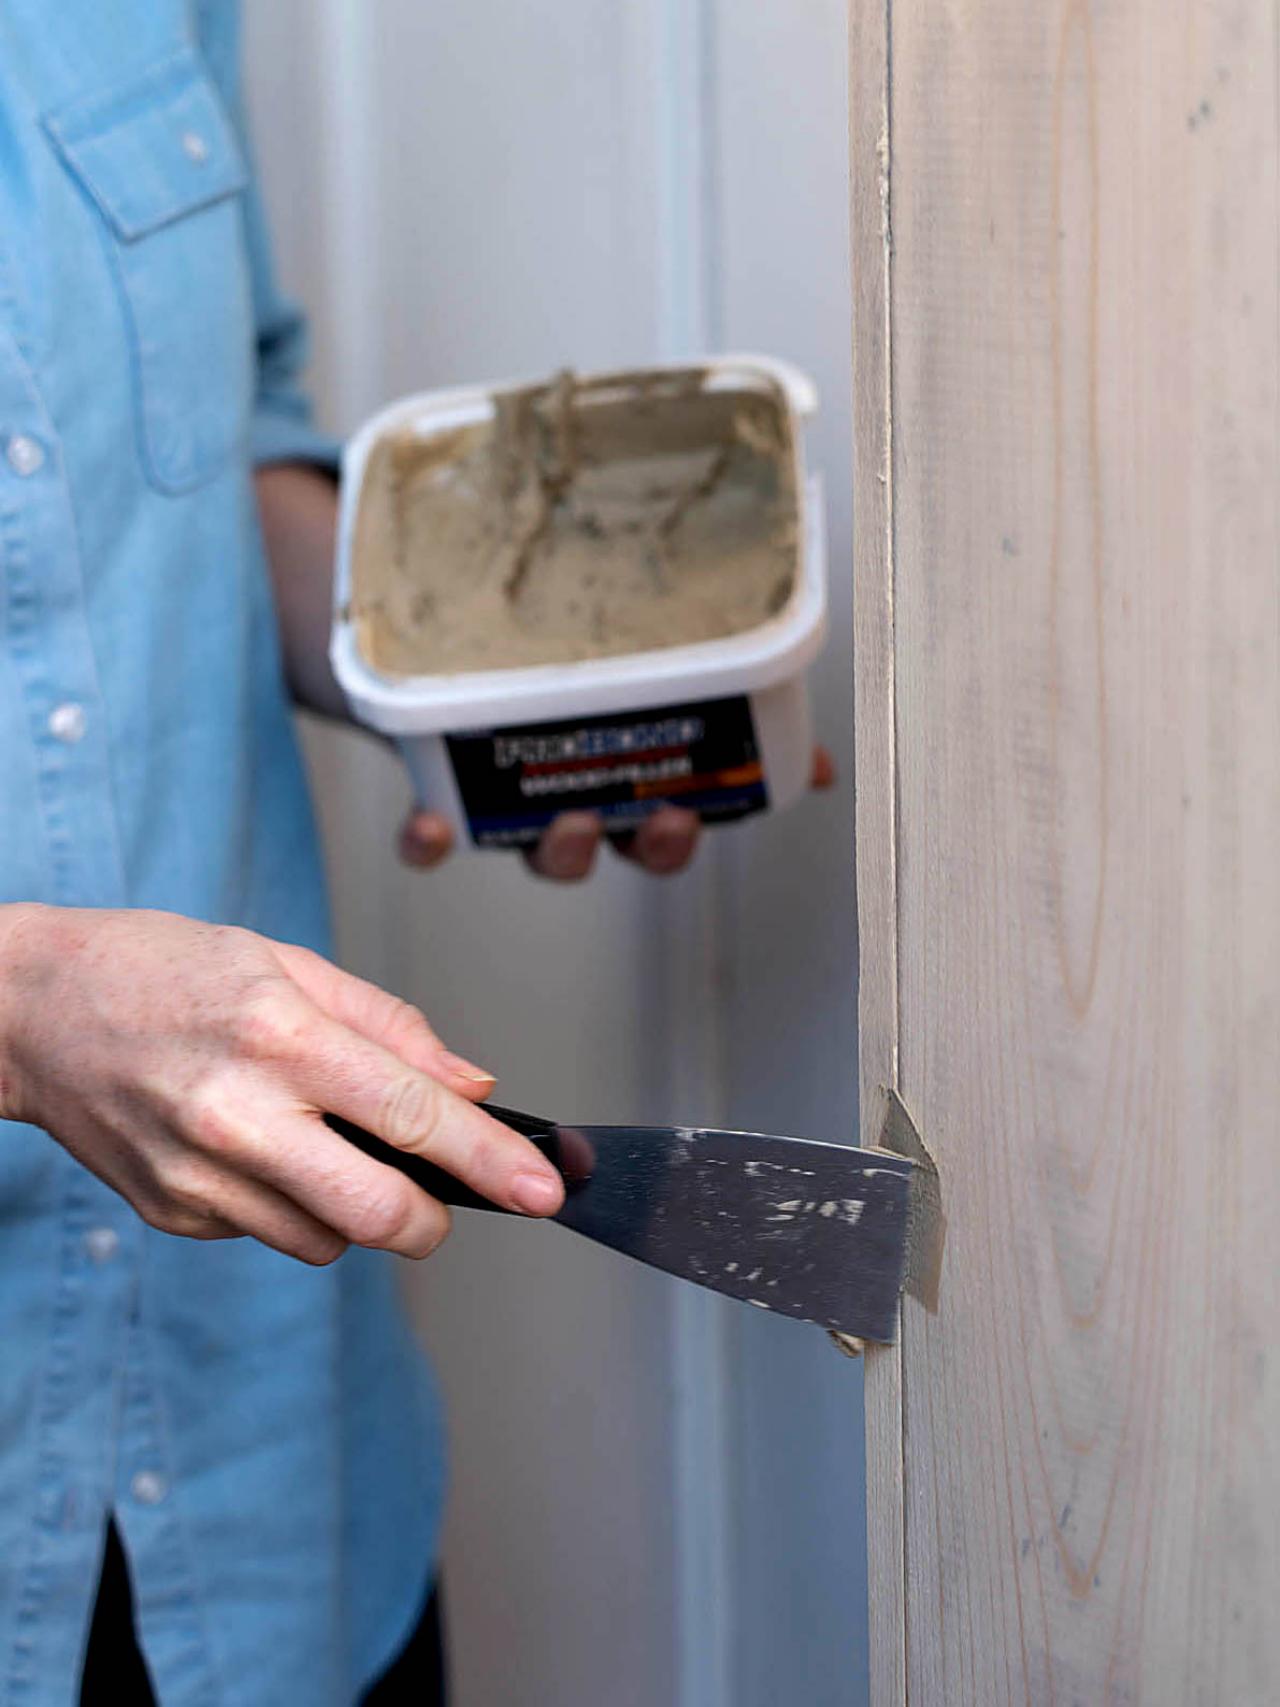
Fill Gaps

Gary Payne
Use wood filler to patch any gaps or divots in the column. This will help paint go on smoothly.
Paint or Stain
Paint or stain the columns, corbels and the header. We used an exterior-grade paint-and-primer-in-one. Let dry.
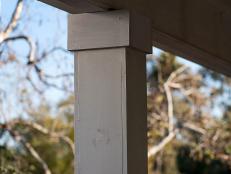
Install Header

Gary Payne

Gary Payne
Use scrap 1x8s and 2x4s to make blocking to attach the header to the columns. Fasten the header to the blocking on each column and along the top.
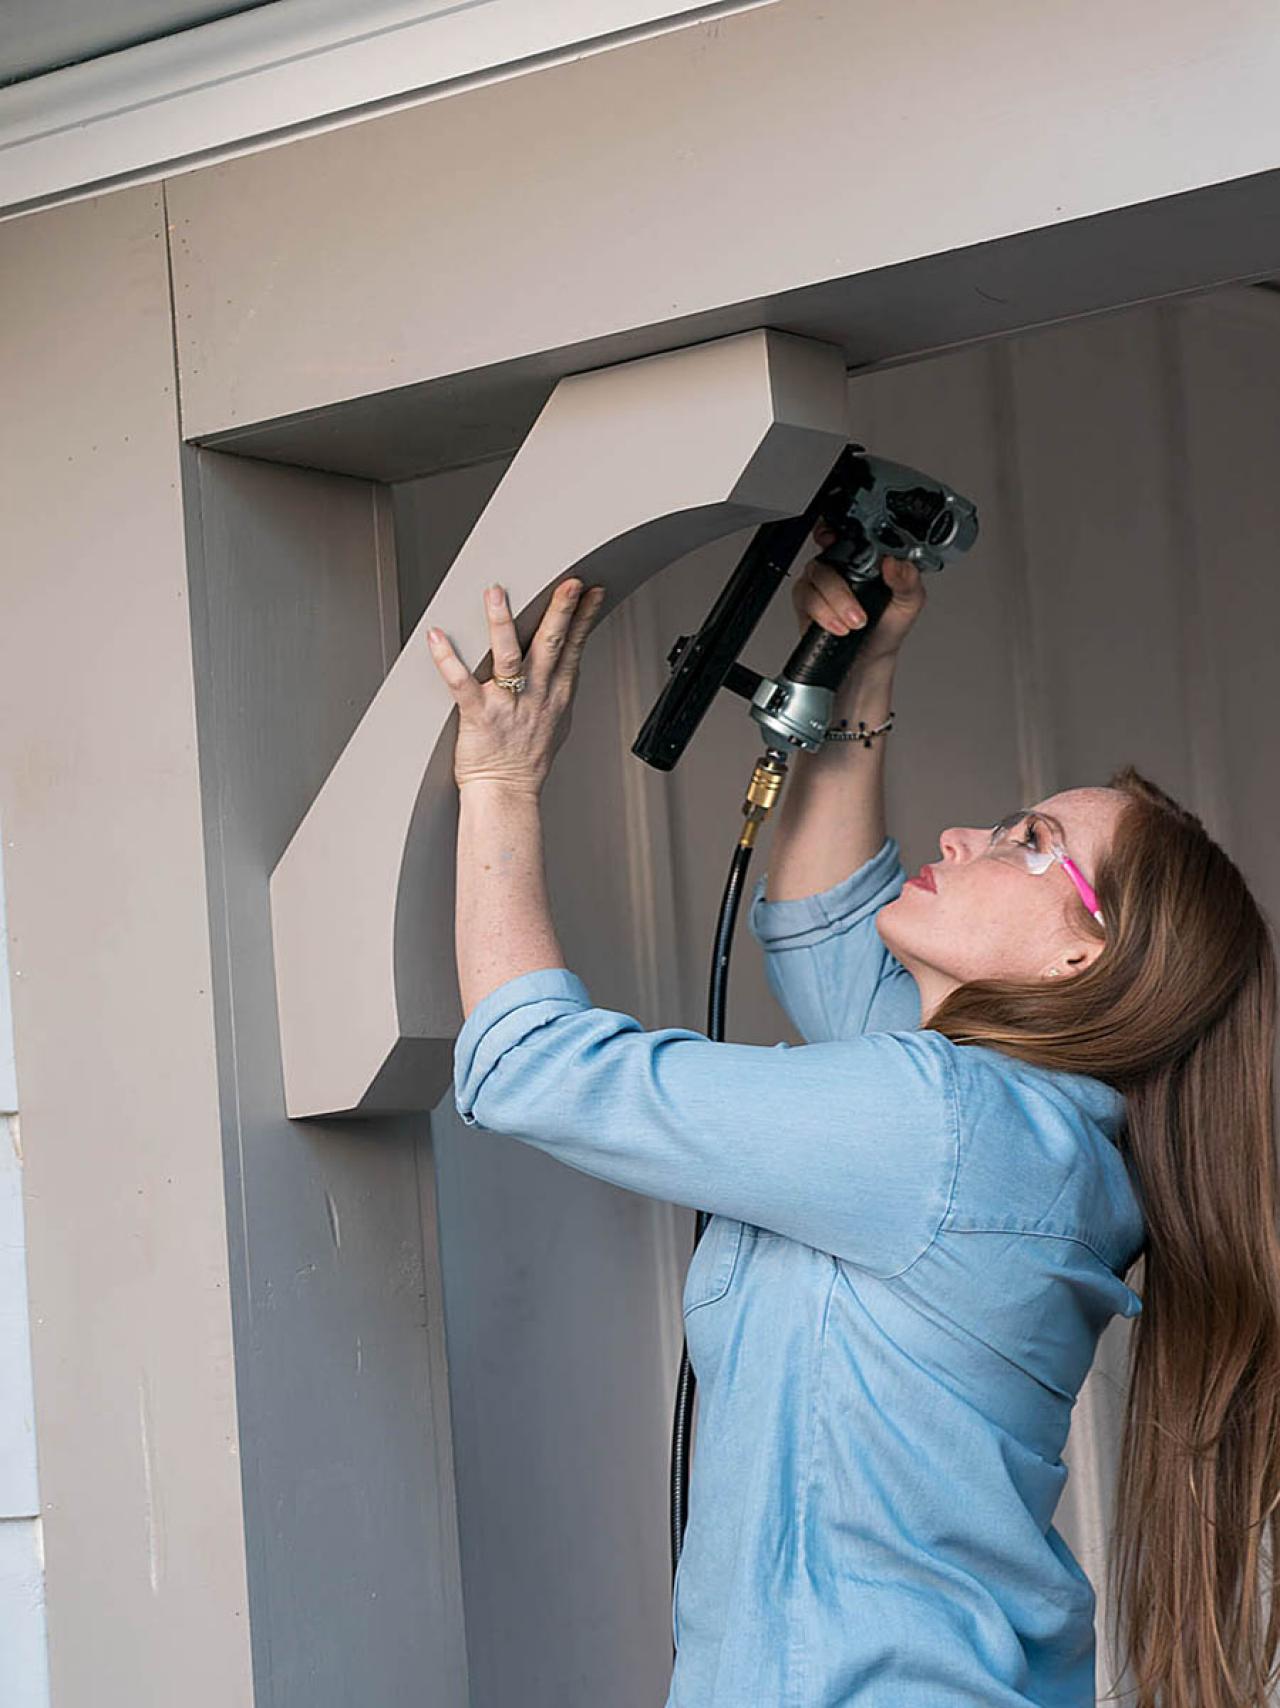
Attach Corbels

Gary Payne

Gary Payne
Rip a few scraps of 1x8 in half to use as blocking to attach the corbels to the header and columns. Fasten the corbels to the blocking.

Gary Payne
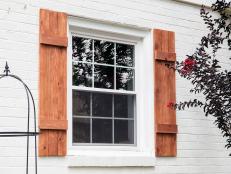
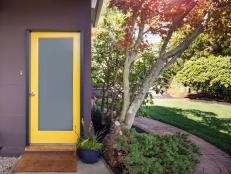
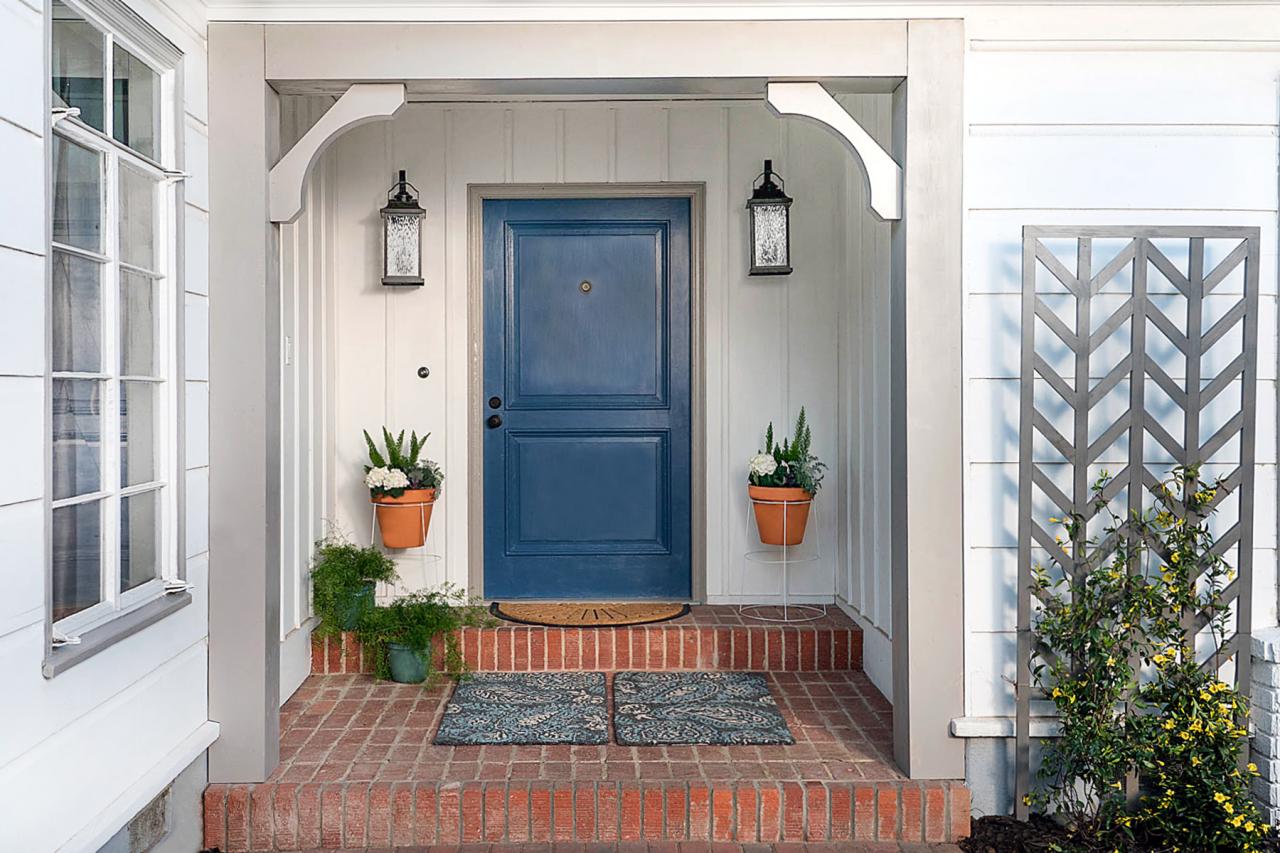
Jazz Up the Rest of the Entry
To make this porch even more welcoming, see how we painted the front door and get step-by-step instructions on how to build that herringbone trellis.


