


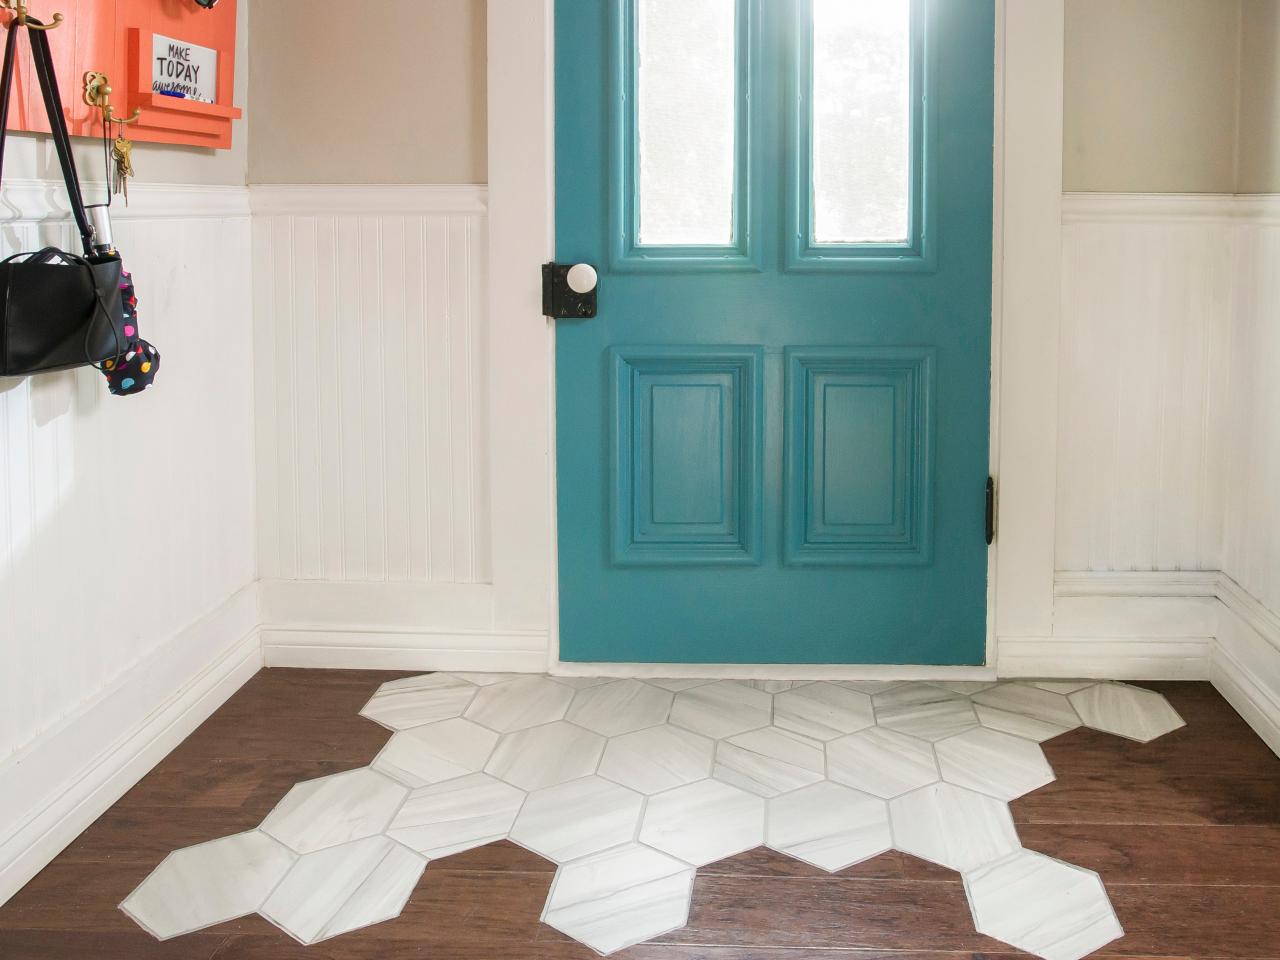
How to Install a Tile "Rug" Within a Hardwood Floor
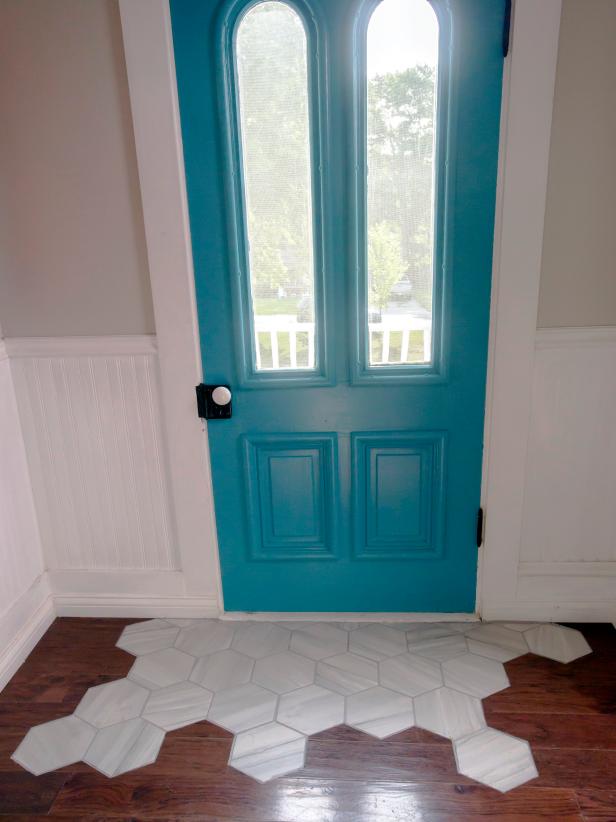
Add high style to your high-traffic entry with this transitional floor tile inset.

MaryAnnCarter
Tools and Materials
- tile
- mastic
- premixed grout
- caulk
- caulk gun
- putty knife
- dust mask
- safety glasses
- gloves
- 1/4" x 1/4" notched trowel
- float
- sponge
- bucket
- water
- oscillating saw
- permanent marker
- tile spacers
- measuring tape
- stain touch-up pen
- hammer
- painter's tape
Skill Level: Intermediate
Estimated Time: 2 days
Estimated Cost: $200
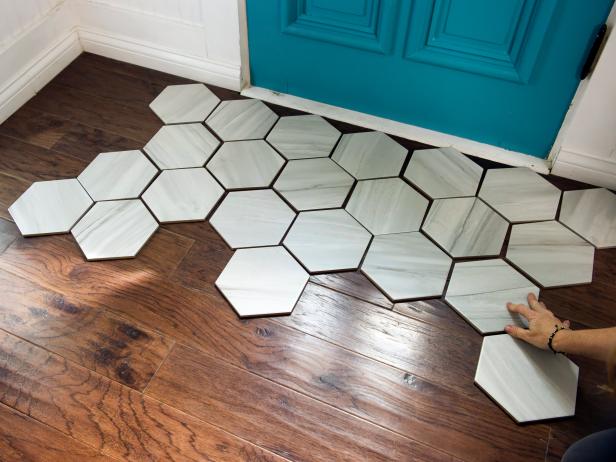
Step 1: Plan the Design

MaryAnnCarter
MaryAnnCarter
Start by choosing a tile that contrasts with your existing floor in both shape and scale. Larger tiles are easier to work with. Lay out a pattern to determine your design. If you want a transition look like ours, feather out the edges of the pattern. Be sure to leave room between each tile for spacers.
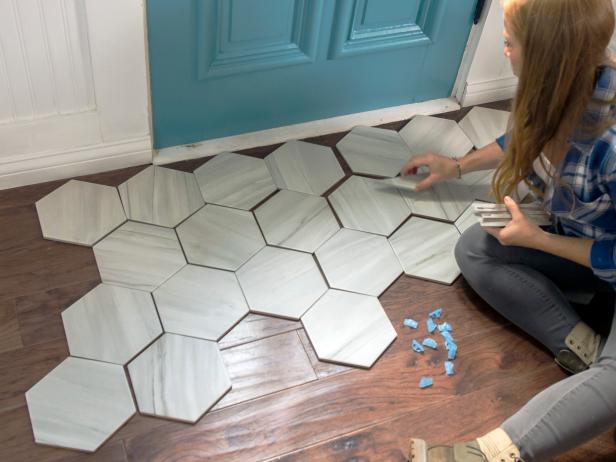
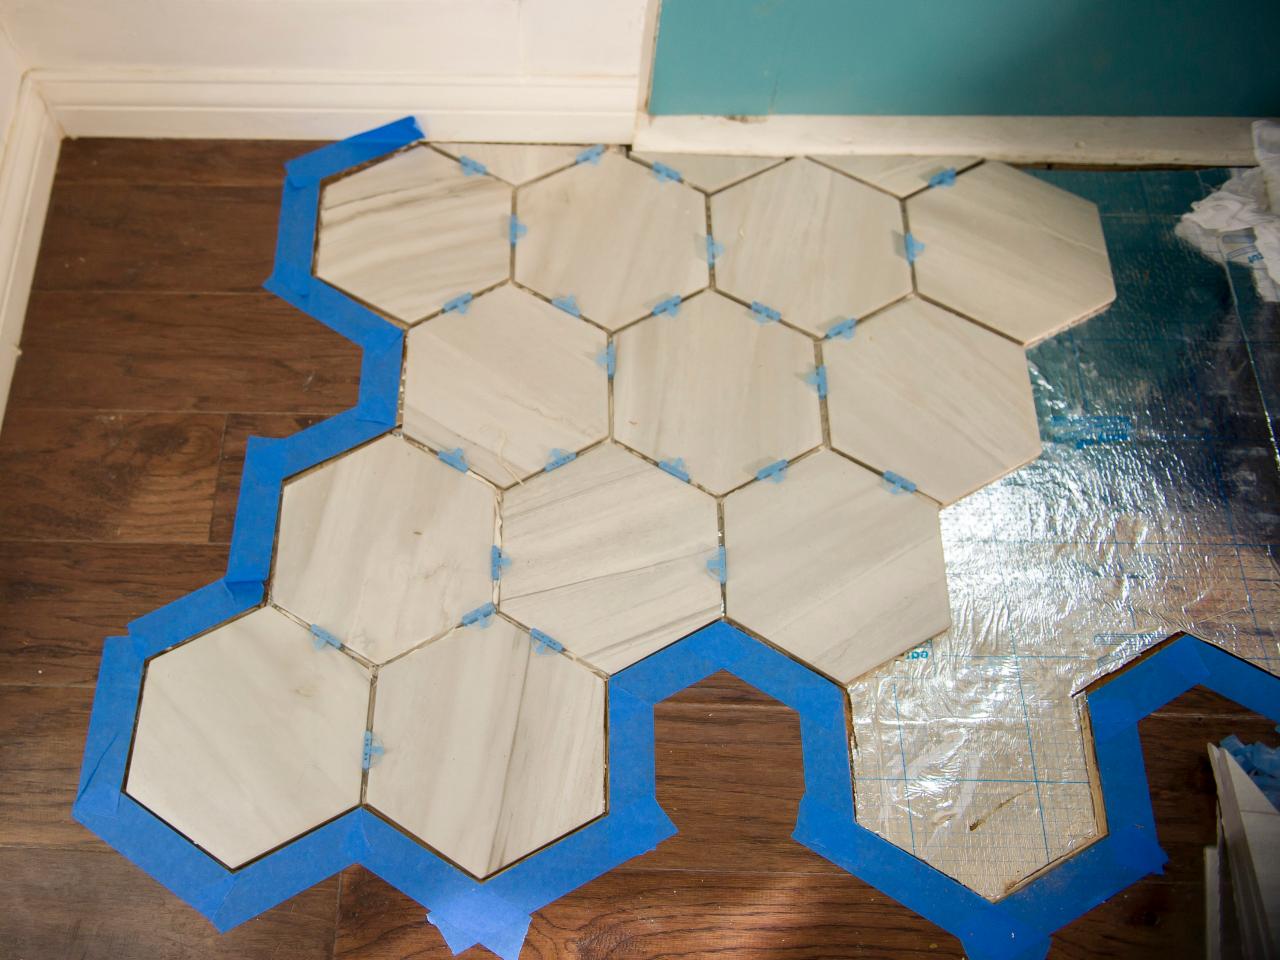
Step 2: Add Spacers and Trace Pattern

MaryAnnCarter
MaryAnnCarter

MaryAnnCarter

MaryAnnCarter
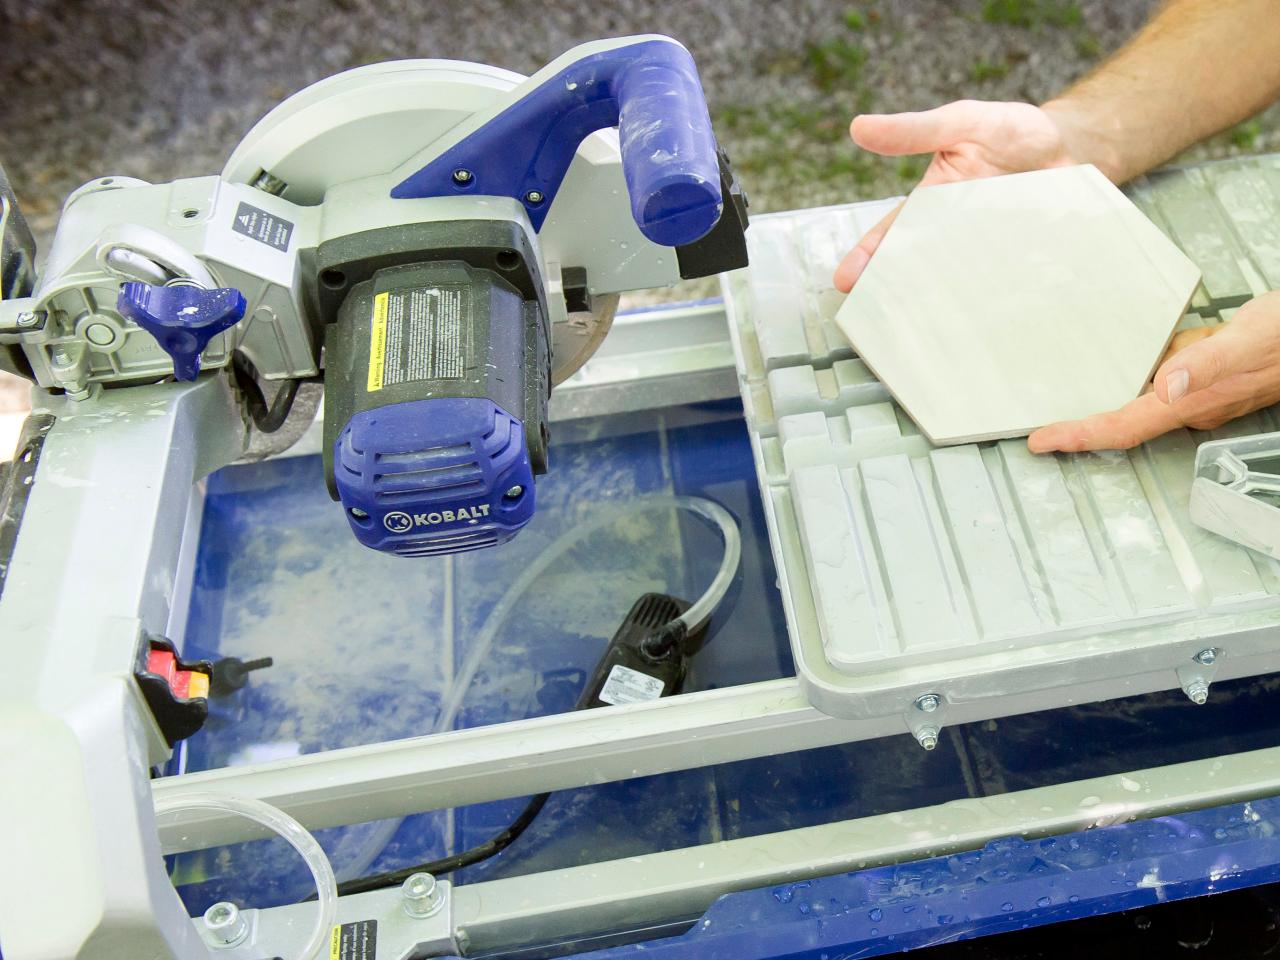
Use a tile saw to make any necessary cuts. Insert spacers in between the tiles so that the pattern is balanced. When you’ve got everything in place, use a permanent marker to trace your pattern on the floor so you know where to cut.
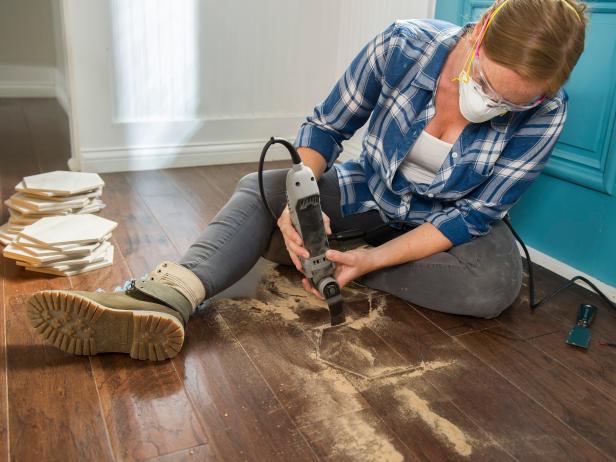
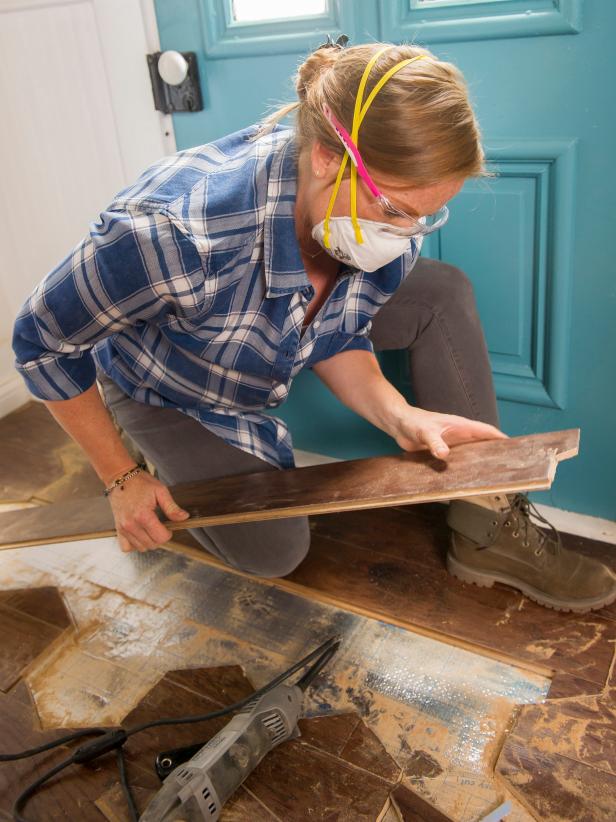
Step 3: Cut Existing Floor
MaryAnnCarter

MaryAnnCarter

MaryAnnCarter
MaryAnnCarter
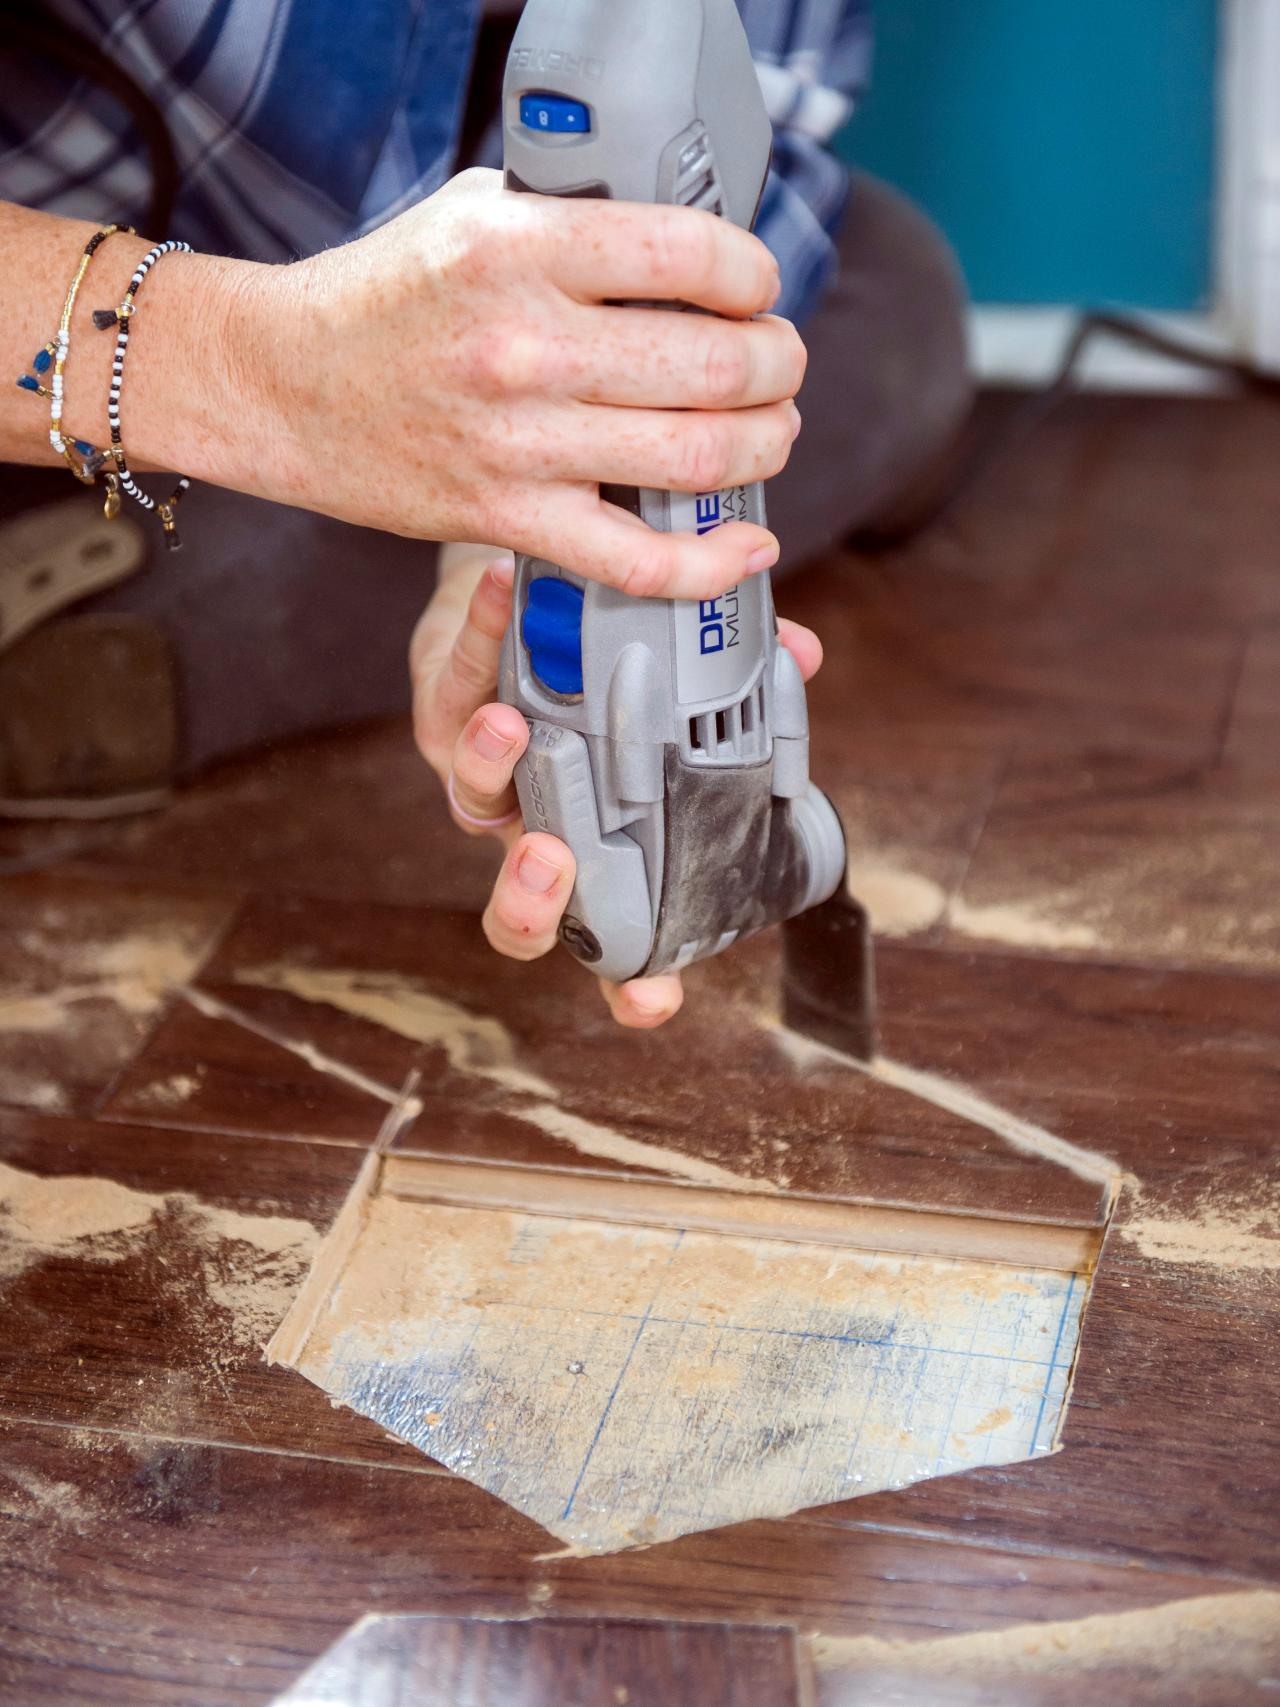
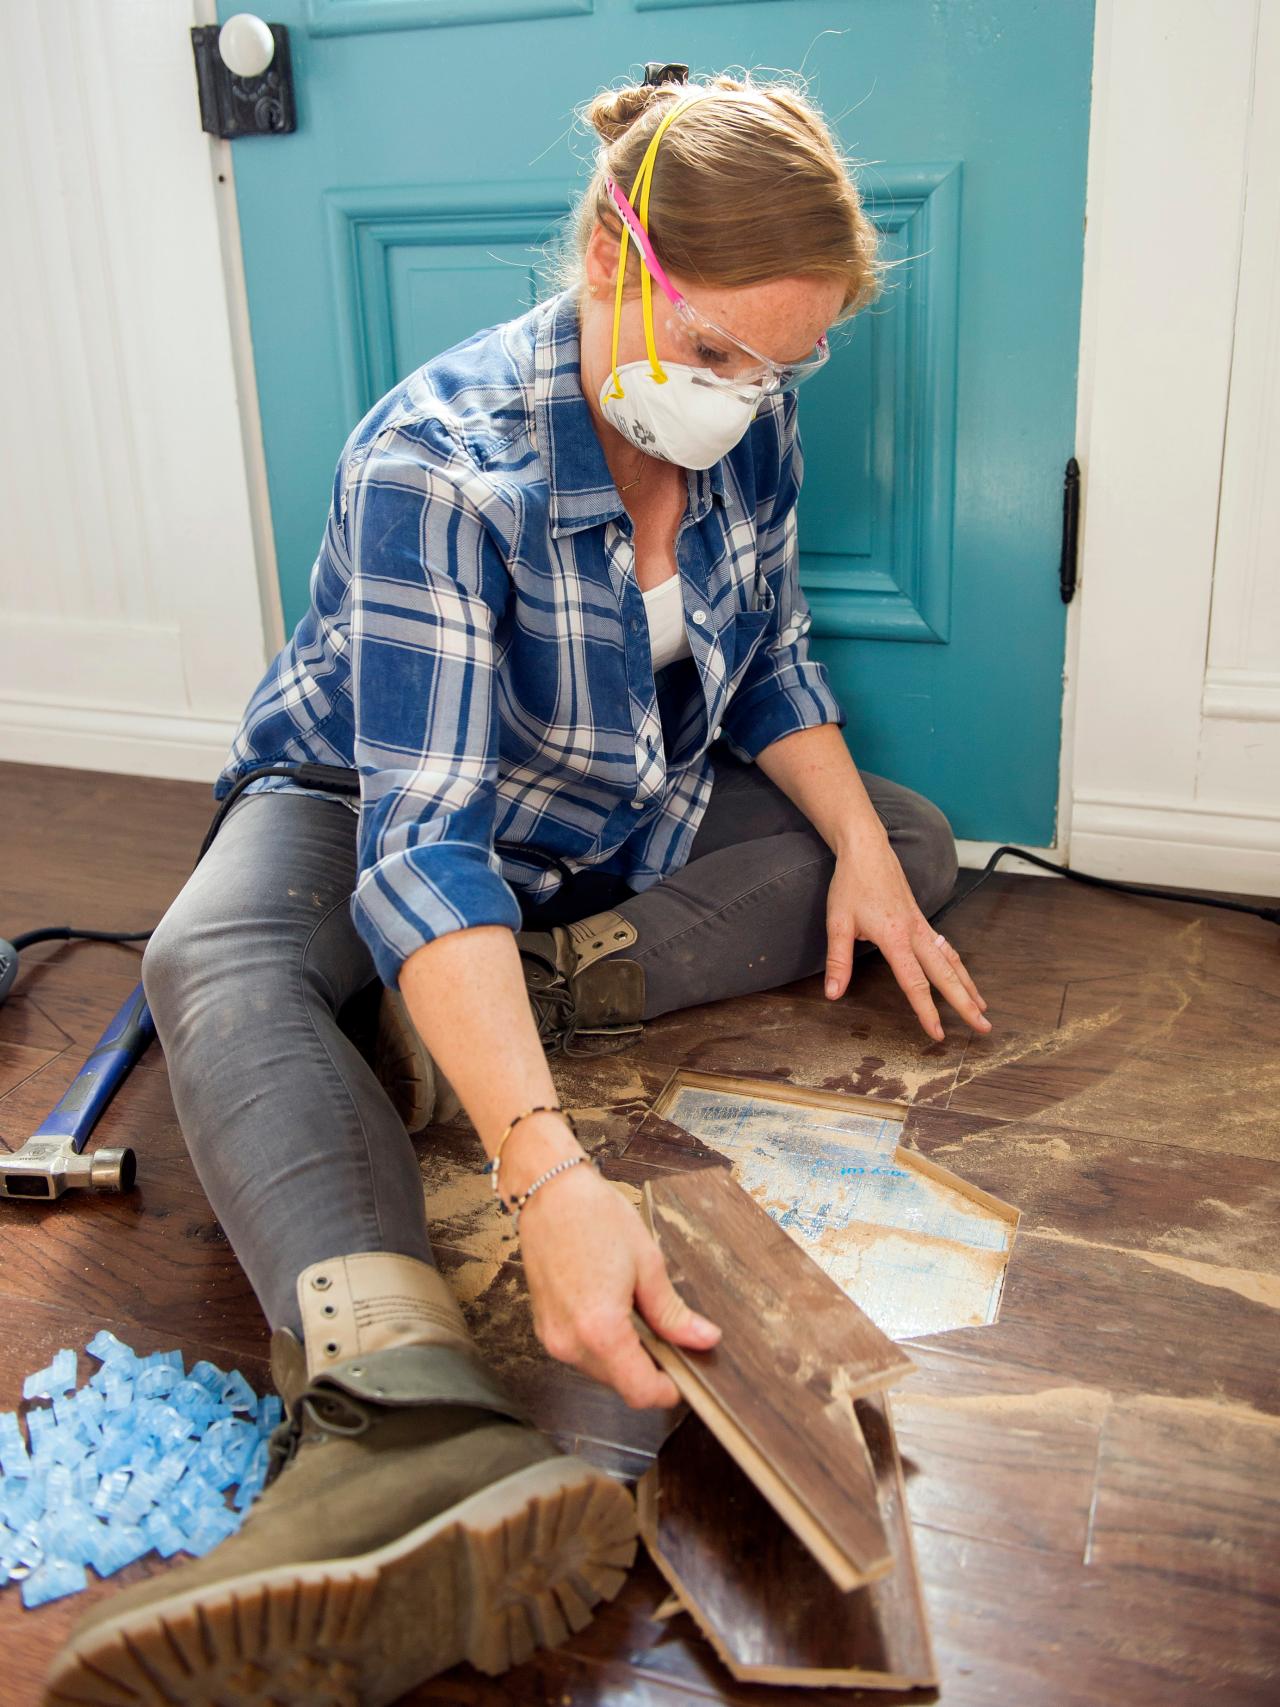
Use an oscillating saw to cut the flooring to fit around the tile design. Use a putty knife and hammer to pry off the flooring. If necessary, use a stain touch-up pen on the existing floor to cover any areas that may have chipped during removal.
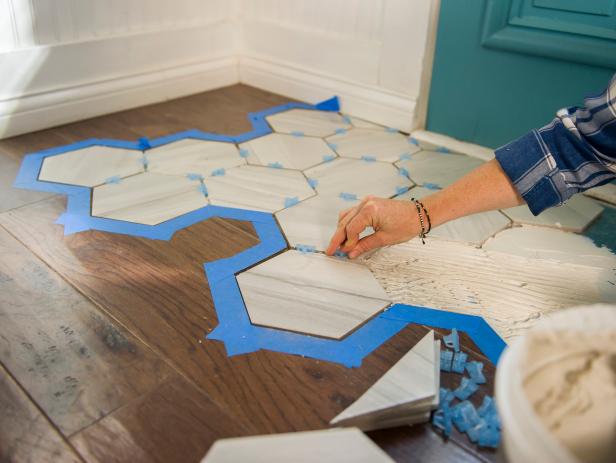
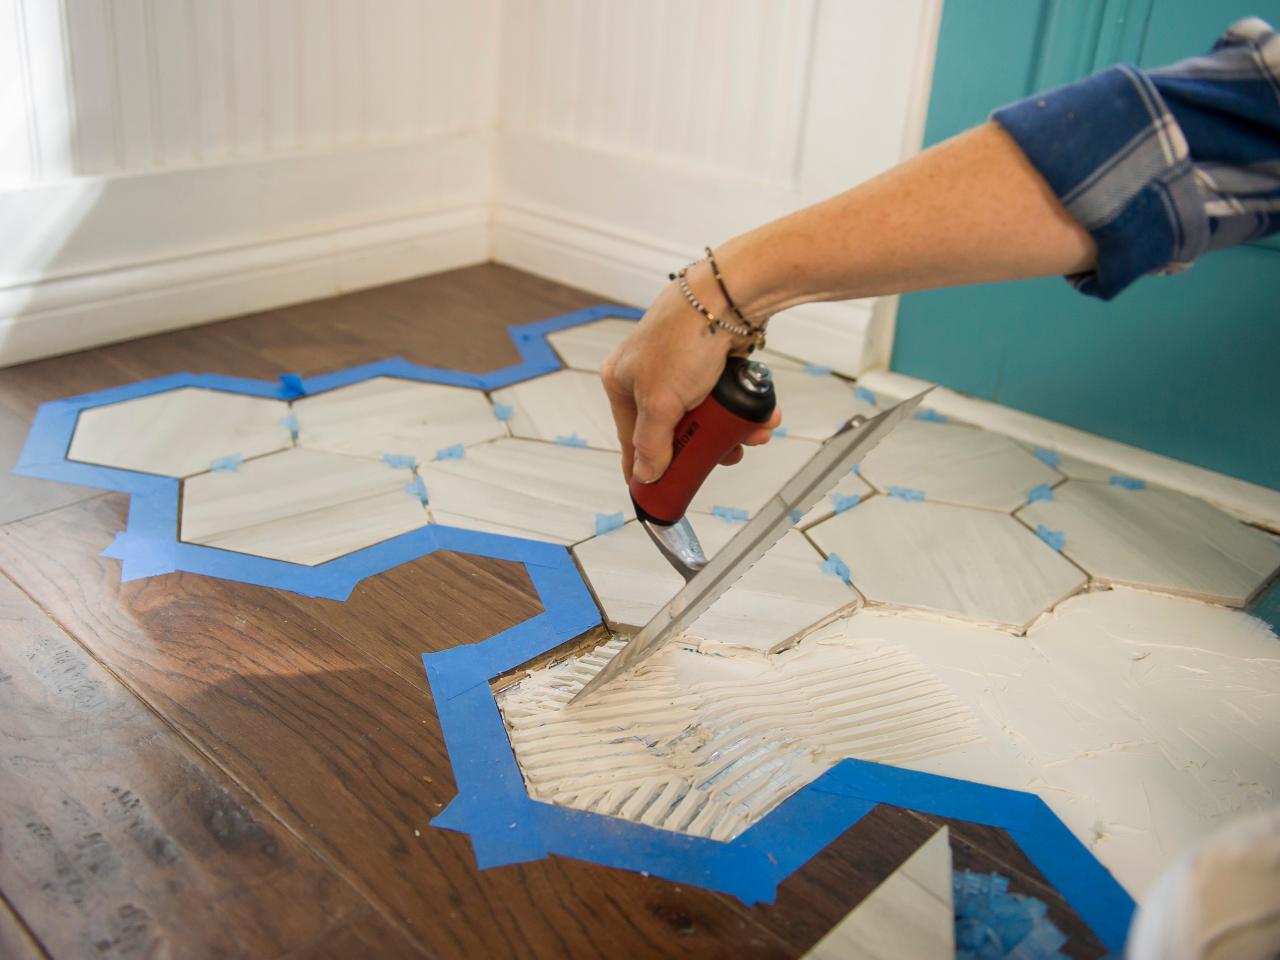
Step 4: Lay Tile

MaryAnnCarter

MaryAnnCarter
MaryAnnCarter

MaryAnnCarter
Apply painter’s tape to the edge of the pattern to protect the transition between the tile and current flooring. Spread mastic on the flooring substrate with a putty knife and a square-notch trowel for any tiles between 4” x 4” and 12” x 12”. Pull the trowel toward you at a 45-degree angle. Lay the mastic as thin or thick as needed to keep the tile the same height as the existing flooring. Twist the tile into place and add spacers between each tile. Be sure to clean up any smudges before the mastic dries. Let mastic dry for 24 hours.
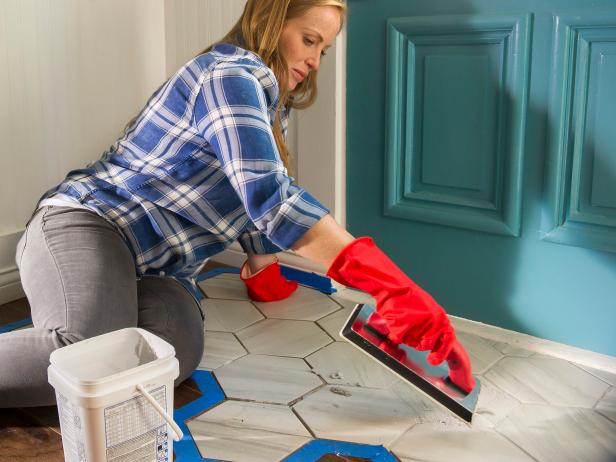
Step 5: Apply Grout
MaryAnnCarter

MaryAnnCarter

MaryAnnCarter
Choose a grout color that coordinates with the colors in the tile. Load up the grout float and spread across the tile diagonally at a 45-degree angle to ensure the grout gets into the tile joints. Clean off the excess grout using a wet sponge.
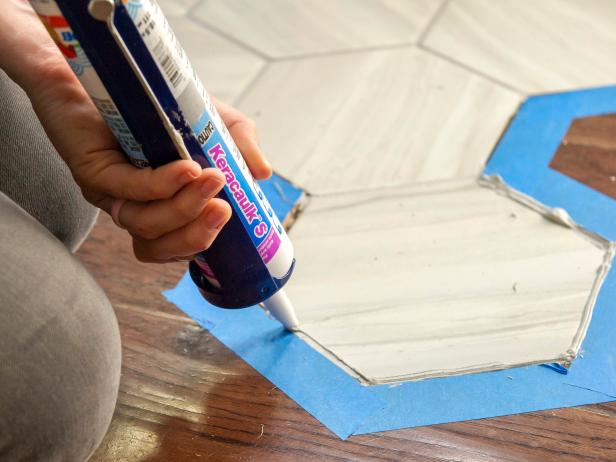
Step 6: Caulk Edges
MaryAnnCarter
Apply caulk as necessary to fill gaps where the tile meets the existing floor. Match the caulk color to grout color for a cohesive look.
Step 7: Let Dry
MaryAnnCarter
Let grout and caulk dry for 24 hours.


