


Craft Throwback: Valentine’s Day Shrinky Dinks 3 Ways
Skip the chocolates and roses and make cute handmade gifts with this retro craft by The Crafty Lumberjacks.


Remember Shrinky Dinks? This Valentine’s Day, The Crafty Lumberjacks are throwing it back to those lovable, magical shrinking plastics with three adorable crafts. And you don’t even need official Shrinky Dinks shrinking paper for these projects. Andrew and Dennis have figured out an upcycling hack using plastic takeout boxes that you probably already have in your recycling bin. Watch the video and read on to learn how to make these great gifts for loved ones or just cute decor for yourself.
Cat Emoji String Lights Garland

Materials Needed:
- Shrinky Dinks frosted sheet
- alcohol-based permanent markers
- scissors
- parchment paper
- baking tray
- mini LED battery operated lights
- low-temp hot glue gun
- hot glue sticks

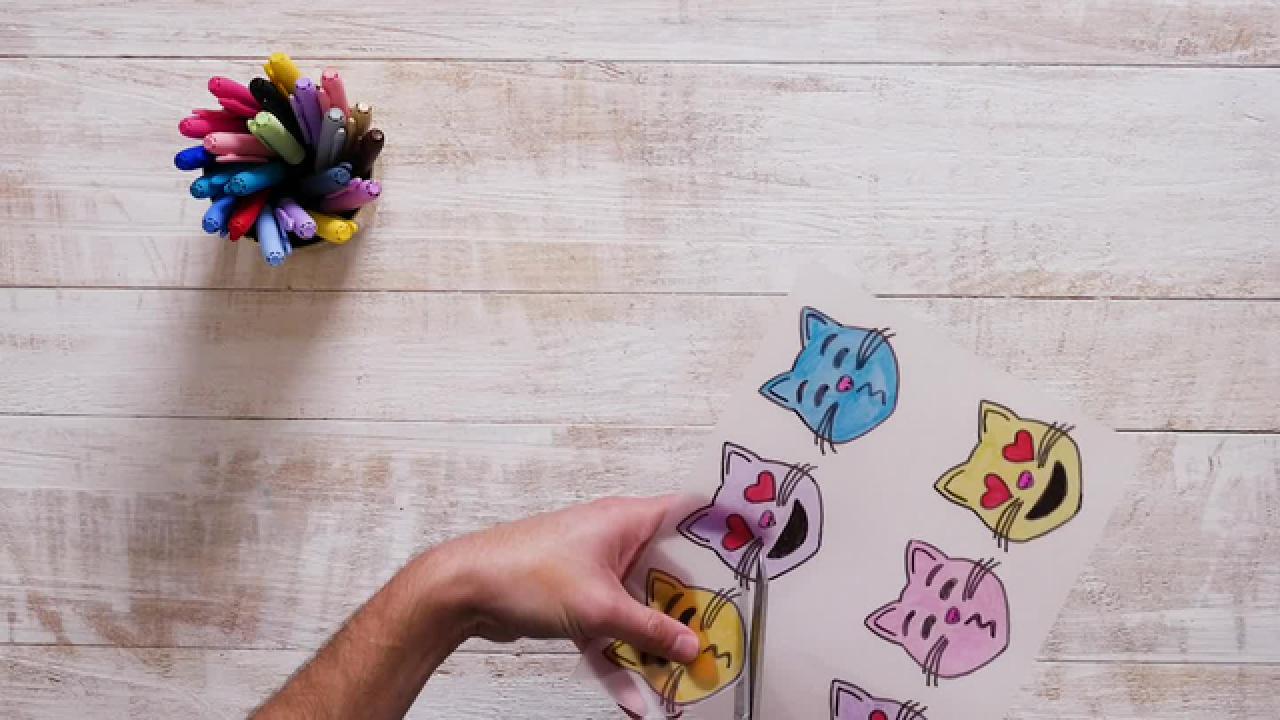
Find a picture of a cat emoji online. Enlarge the design and print out to use as a template. Note: Shrinkable plastic paper will shrink down to about one third the original design size after it’s baked.


Lay the plastic sheet shiny side up over the printed template. Trace the outline and details with a black, alcohol-based permanent marker. Flip the plastic sheet over to the rough side and color inside the traced lines with colorful alcohol-based permanent markers. Using scissors, cut around the design as smoothly as possible.


Preheat the oven to 325 degrees F or as directed on the Shrinky Dinks package. Line a baking sheet with parchment paper. Place Shrinky Dinks on cookie sheet, colored-side up, leaving space between the pieces so that they don't overlap. Put the cookie sheet in the preheated oven and bake for one to three minutes or as directed on the Shrinky Dinks package. Watch them as they bake; the shapes will first soften, curl up at the edges and then settle back down as they shrink. Once the pieces flatten out again, let them bake for another 30 seconds. Remove the cookie sheet from the oven, and carefully lift off parchment paper lining with your Shrinky Dinks. Press each shape with a spoon for 30 seconds or until they are cool enough to handle. Using a low-temp hot glue gun, glue a cat Shrinky Dinks design in front of every LED light until the strand is complete. Meow!
Valentine’s Day Pun Magnets
Materials Needed:
- Shrinky Dinks bright white sheet
- alcohol-based permanent markers
- rubbing alcohol
- magnets
- paint brush
- small dish
- scissors
- parchment paper
- baking sheet
- low-temp hot glue gun
- hot glue sticks
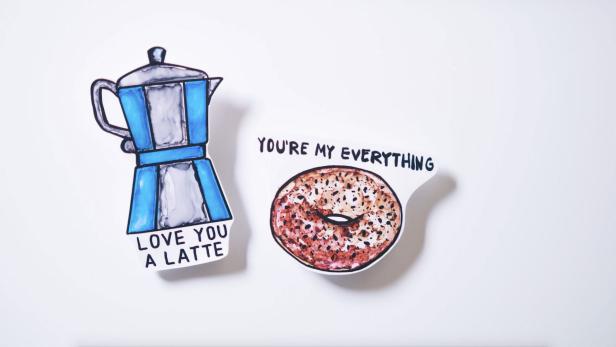
If you don’t want to freehand a design, find a picture online of your favorite food and add a “punny” phrase that goes along with the image. Enlarge the design and print out to make a template.
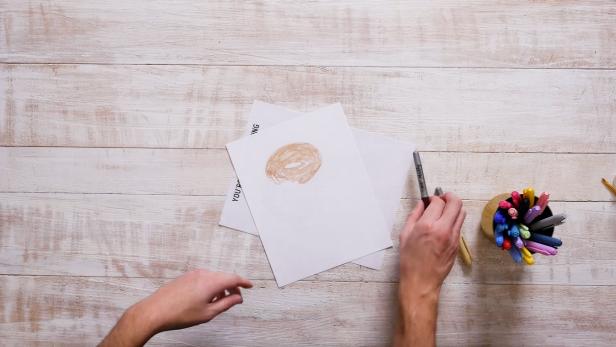


Lay the plastic sheet on top of the image. Roughly color in the image with colorful, alcohol-based permanent markers. Pour a small amount of rubbing alcohol into a small dish. Slowly and carefully paint over the marker to create a watercolor effect. Let dry completely. Using a black permanent marker, trace the outline, additional details and any text. Using scissors, cut around the image and the phrase as smoothly as possible.


Preheat the oven to 325 degrees F or as directed on the Shrinky Dinks package. Line a baking sheet with parchment paper. Place Shrinky Dinks on cookie sheet, colored-side up, leaving space between the pieces so that they don't overlap. Put the cookie sheet in the preheated oven and bake for one to three minutes or as directed on the Shrinky Dinks package. Watch them as they bake; the shapes will first soften, curl up at the edges and then settle back down as they shrink. Once the pieces flatten out again, let them bake for another 30 seconds. Remove the cookie sheet from the oven, and carefully lift off parchment paper lining with your Shrinky Dinks. Press each shape with a spoon for 30 seconds or until they are cool enough to handle. Using a low-temp hot glue gun, glue a small magnet to the back of the Shrinky Dinks design.
Upcycled Handmade Heart Keychain

Materials Needed:
- #6 plastic takeout container
- alcohol-based permanent markers
- hole punch
- scissors
- parchment paper
- baking sheet
- jump ring
- key ring
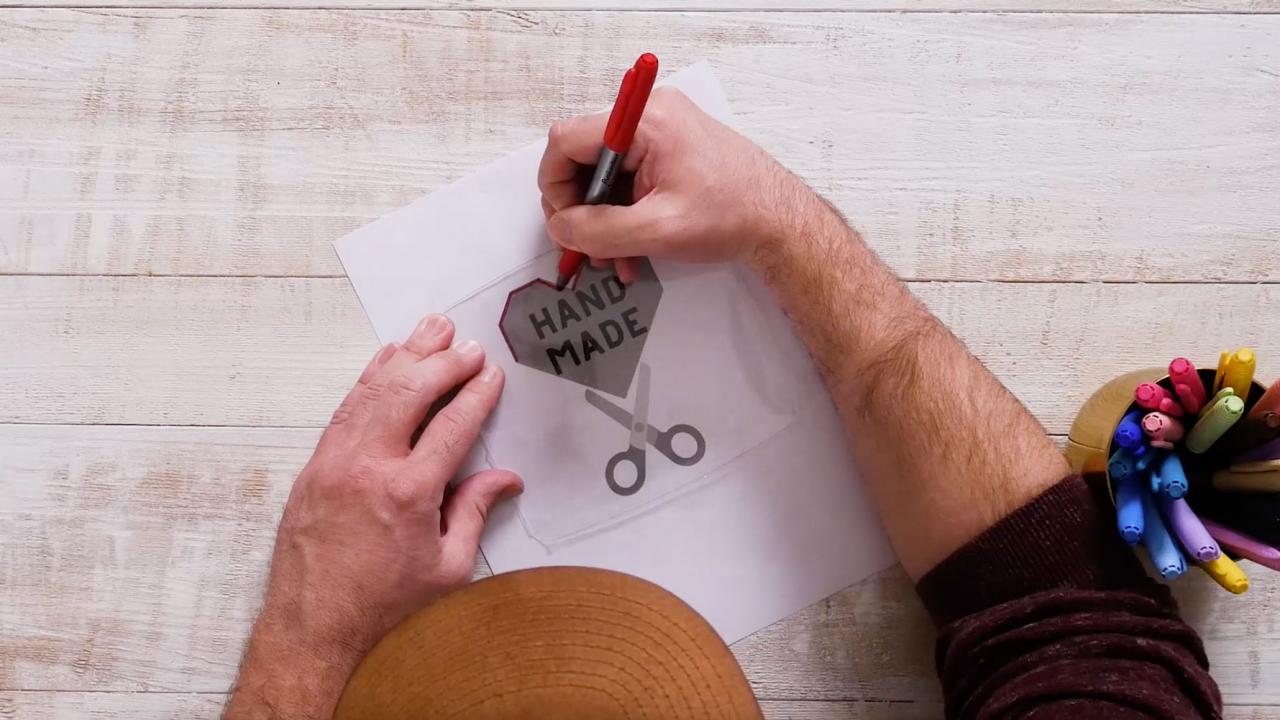
Using scissors, cut out the flat surface of a #6 plastic take-out container to use as a shrinkable plastic sheet. Note: The number of the plastic is usually found on the bottom of most plastic containers.


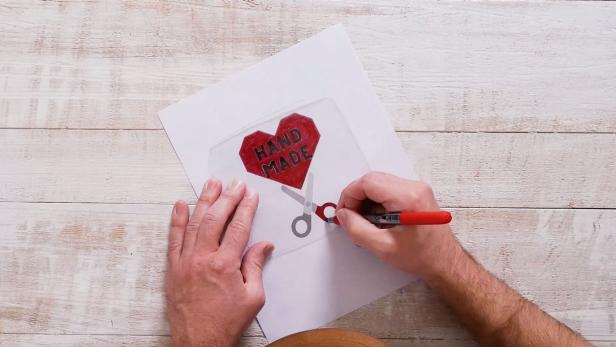

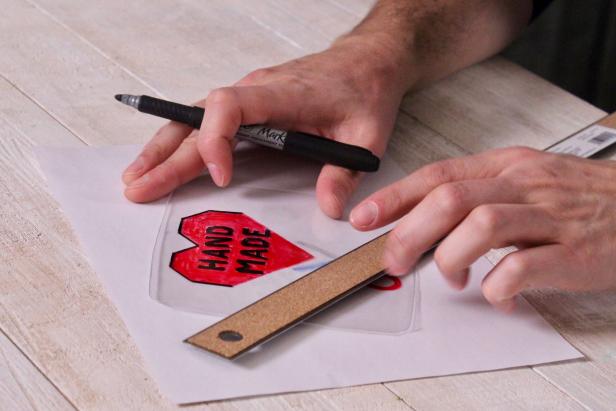
If you don’t want to freehand a design, find a picture online. Enlarge the design and print out to use as a template. #6 plastic will shrink down to about one fourth the size after baked. Lay the plastic sheet on top of the image template. Color in the image with colorful alcohol-based permanent markers. Trace the outline and details with a black alcohol-based permanent marker. Using scissors, cut around the image as smoothly as possible leaving an area large enough at the top for a hole punch. Punch a hole at the top using a standard size hole punch for the jump ring.

Preheat the oven to 325 degrees F. Line a regular cookie sheet with parchment paper. Place #6 plastic on cookie sheet, colored-side up. Put the cookie sheet in the preheated oven and bake for one to three minutes. Watch it bake; the shape will first soften, curl up at the edges and then settle back down as it shrinks. Once the piece flattens out again, bake for another 30 seconds. Remove the cookie sheet from the oven and carefully lift off the parchment paper. Press the shapes with a spoon for 30 seconds or until they are cool enough to handle. Slide a jump ring into the hole and add a key ring to the jump ring to make a keychain.


