


Cupid's Arrow Wreath

Original_Kayla-Kitts-Valentine-Wreath-Beauty-Glittered-Letters-Vertical_s3x4

Photo by: Photo by Jeff Romaniuk
Photo by Jeff Romaniuk
Materials Needed:
- styrofoam wreath (I used a 3/16 x 11 7/8-inch wreath)
- 40 yards 1/4-inch sequin trim
- 1/8 x 39-inch wooden dowel
- high-temperature glue gun and glue stick refills
- spray paint (I used metallic gold) or acrylic paint
- scissors
- utility knife
- glue stick
- pen
- ruler
- cardstock
- small wooden letters, for embellishment (optional)
- glitter, for embellishment (optional)
Create Holes for Arrow
Preheat hot glue gun. Use a pen to mark on the wreath where your "arrow" (the wooden dowel) will enter at the bottom and come through at the top (Image 1). Note: You want the dowel to be at a 45-degree angle. The foam should be soft enough for the dowel to push through without using a tool (Image 2), but if not, you can use a metal skewer to create the holes. Allow more of the dowel to poke through at the top of the wreath than the bottom. Depending on the size of the dowel, use an X-Acto knife or razorblade to cut your "arrow" to size.
Paint Dowel
Remove the dowel from the wreath and spray-paint. Set aside and let dry. Note: When using spray paint, make sure you cover your workspace and are in a well-ventilated area.
Paint Letter Embellishments
For the wooden letter embellishments, apply school glue to the front of each letter and sprinkle glitter on top. Shake off the excess glitter and reapply for an even coating. Set aside and let dry.

Original_Kayla-Kitts-Valentine-Wreath-Step3_s4x3
Draw Arrow Details
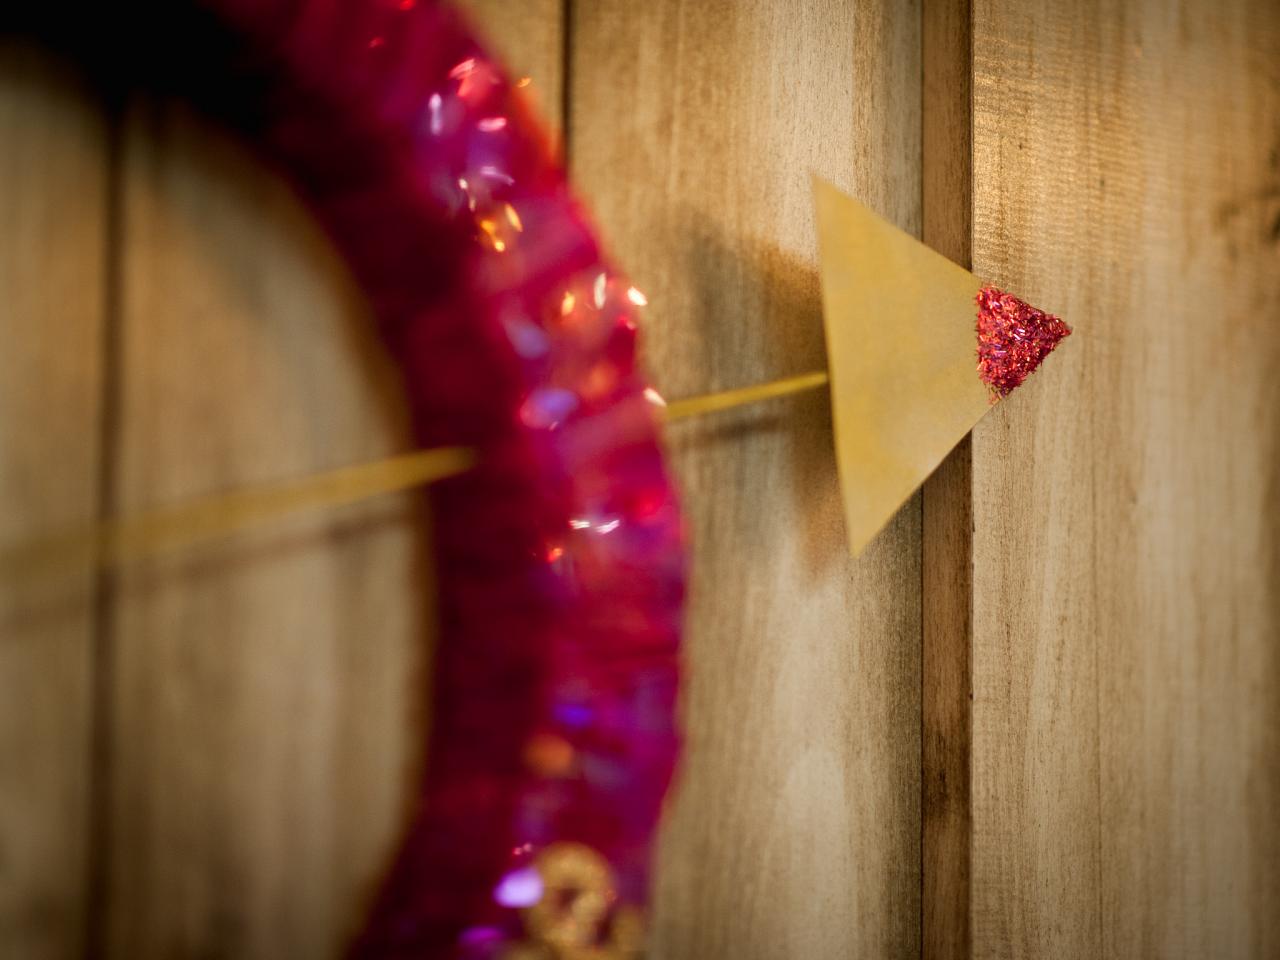
To create the point and ends of the arrow, use a ruler to draw a triangle on a folded piece of cardstock. Cut out. Then, use the ruler to draw a chevron-style arrow tail on a folded piece of cardstock (Image 1). Cut out. Once all four pieces are cut out, paint them to match your dowel. Set aside and let dry. Tip: For extra sparkle, I added fuchsia glitter to the tip of the arrow's point.

Original_Kayla-Kitts-Valentine-Wreath-Step4_s4x3
Insert Dowel Into Wreath
Once the dowel has dried, insert it back through the wreath form.
Add Sequin Trim to Wreath
Find the top center of the wreath and turn it over; this will be your starting point. Apply a vertical strip of glue to the wreath and attach an end of sequin trim. From here, wrap the sequin trim around the wreath, ensuring none of the wreath form pokes through. You can wrap the sequins as thick, loose, straight or imperfect as you like to create the look you desire.

Original_Kayla-Kitts-Valentine-Wreath-Step6_s4x3
Continue Adding Sequin Trim
Once you reach the end of the first roll of trim, apply a strip of glue to the back of the wreath and attach the end of sequin trim. Continue this process until you have fully covered the wreath with sequin trim. Note: Try to always finish and glue a roll of trim on the back of the wreath so that possible imperfections will not be visible.
Glue Arrow Ends Together
The painted arrow ends should be dry. Use school glue to attach both chevron and triangular pieces together, making sure the painted sides face outward.
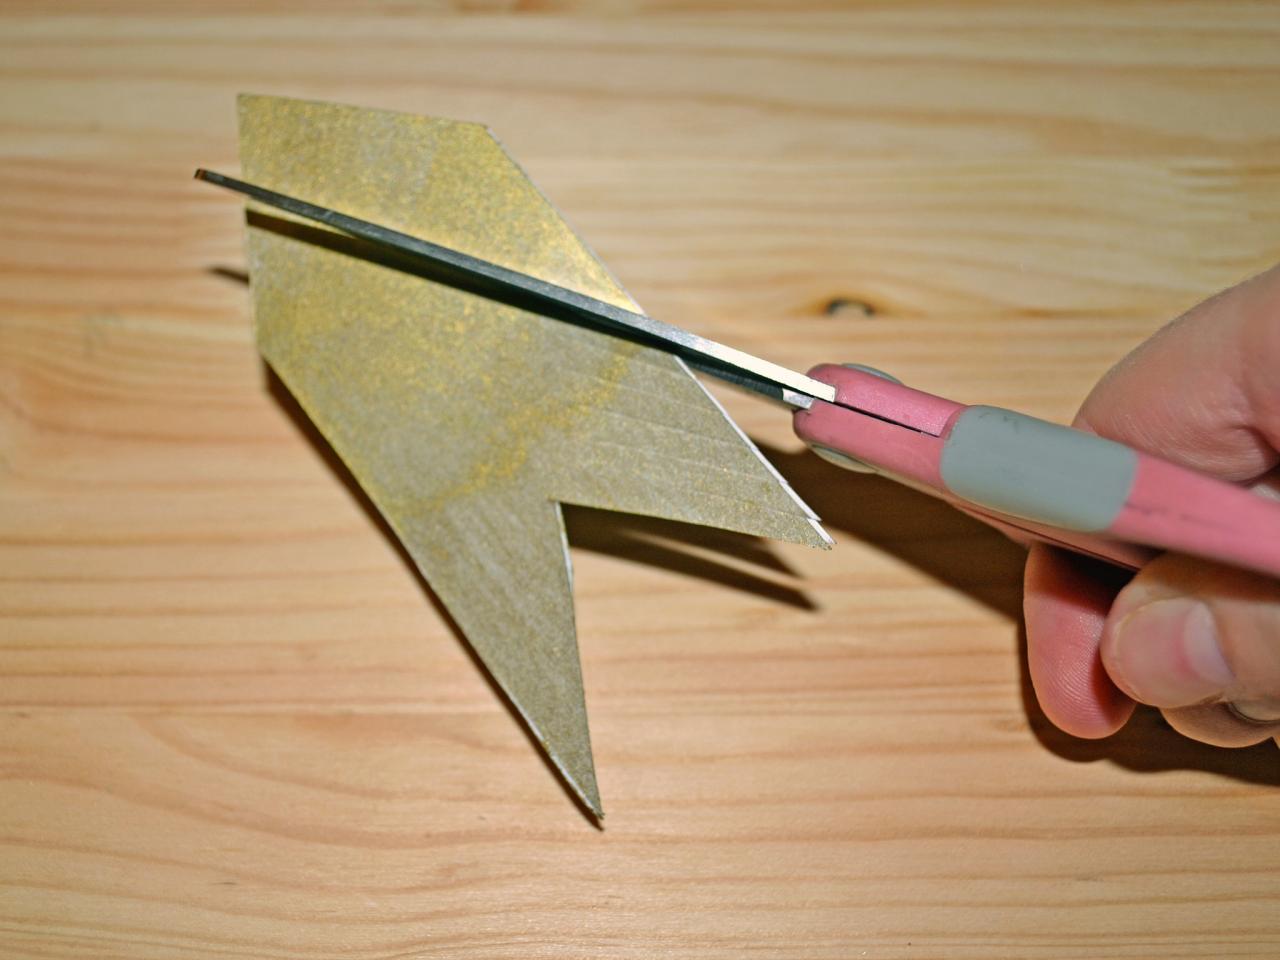
Add Texture to Arrow Tail
To add texture, cut diagonal lines approximately 1/8-inch apart up both sides of the chevron to create a feathered look.

Original_Kayla-Kitts-Valentine-Wreath-Step9_s4x3
Glue Arrow Ends to Dowel
Apply a strip of hot glue about two inches up from the bottom of the dowel and add the chevron piece. (The chevron should point toward the wreath.) Apply a strip of hot glue at the top of the dowel and add the arrow tip.
Add Letter Embellishment
Now, apply hot glue to the back of each wooden letter and place on the wreath. Once dry, your wreath is complete.

Jeff Romaniuk
Photo by Jeff Romaniuk
Photo by Jeff Romaniuk
Photo by Jeff Romaniuk
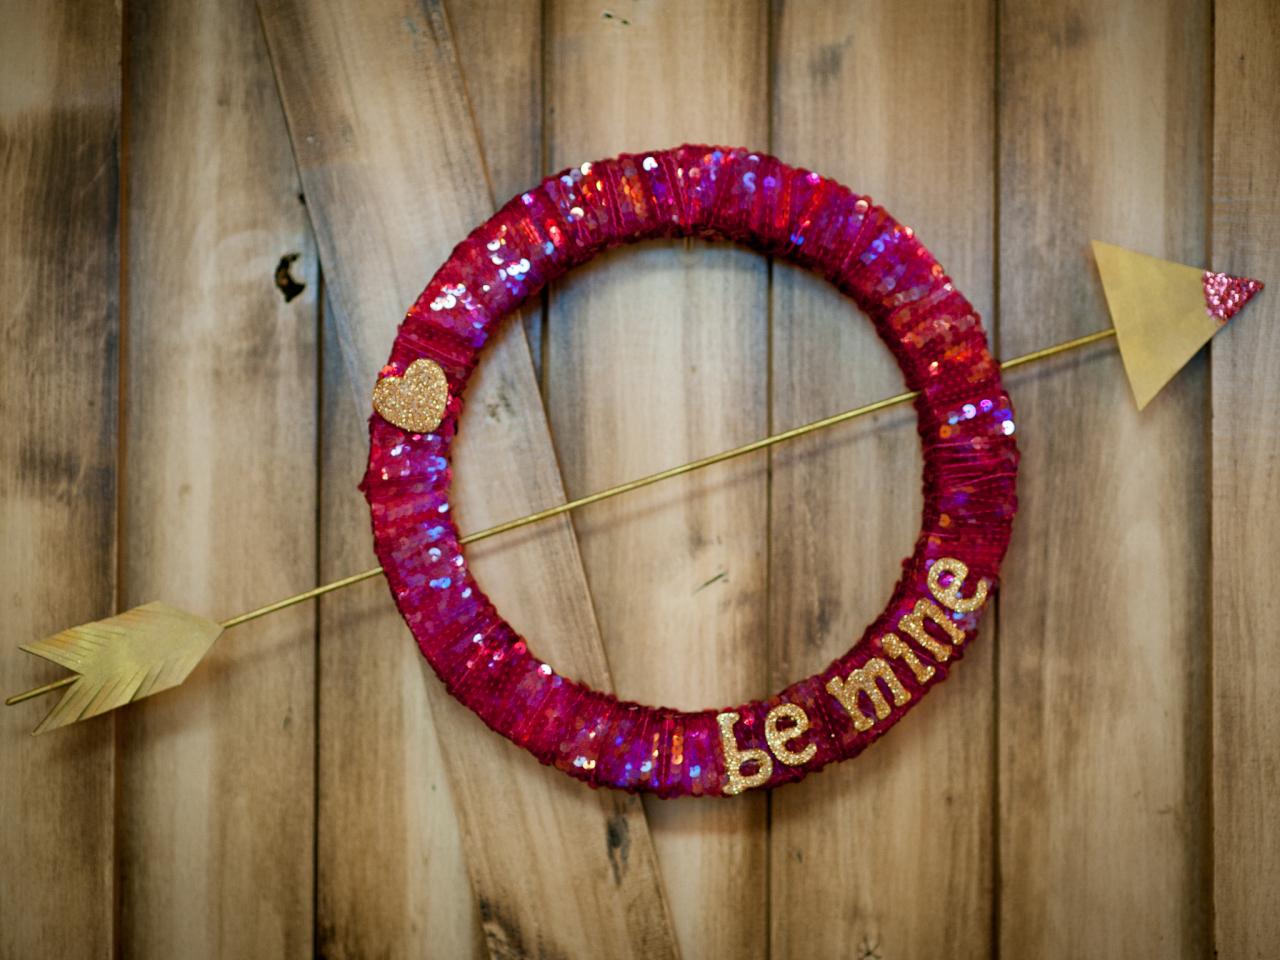
DIY Cupid's Arrow Valentine's Day Wreath
Follow our instructions to create this cute, simple Cupid's Arrow Wreath just in time for Valentine's Day!
Photo By: Jeff Romaniuk
Original_Kayla-Kitts-Valentine-Wreath-Beauty-Glittered-Letters-Vertical_s3x4
Photo By: Photo by Jeff Romaniuk
Original_Kayla-Kitts-Valentine-Wreath-Beauty-Arrow-Tip_s4x3
Photo By: Photo by Jeff Romaniuk
Original_Kayla-Kitts-Valentine-Wreath-Beauty-Feathered-Arrow_s4x3
Photo By: Photo by Jeff Romaniuk


