


Use Shaving Cream to Create Easy, Marbleized Easter Eggs
Give wooden eggs a fuss-free marbleized effect with inexpensive items you likely already have on hand.

Sarah Busby; Styling by H. Camille Smith

Materials Needed
- wooden eggs, painted white
- shaving cream (not gel)
- food coloring, assorted colors
- small bowls (1 for each color combo)
- disposable gloves
- wooden skewer or chopstick
- sheet pan or tray
- paper towels
- spoon
Prep Workspace
Protect your workspace with disposable paper or plastic. Fill small bowls with shaving cream, then compact and smooth the shaving cream with a spoon. Line a sheet pan with paper towels to hold the marbleized eggs while they dry.

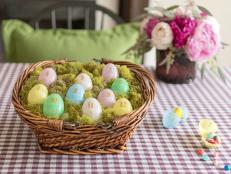
Easy Marbleized Easter Eggs
Use household essentials like shaving cream and food coloring to create beautiful marbleized Easter eggs.
Photo by: Sarah Busby
Sarah Busby
Add Dye to Shaving Cream
Add 4-5 drops per color of food coloring to bowls (Image 1). You can keep each bowl a single color or add 2-3 shades for a multicolor effect as we did (Image 2).

Sarah Busby

Sarah Busby
Easy Marbleized Easter Eggs
Use household essentials like shaving cream and food coloring to create beautiful marbleized Easter eggs.
Photo By: Sarah Busby
Easy Marbleized Easter Eggs
Use household essentials like shaving cream and food coloring to create beautiful marbleized Easter eggs.
Photo By: Sarah Busby
Swirl Colors
Using a wooden skewer or chopstick, swirl colors together being careful not to overcombine them which could create a muddy color.

Sarah Busby
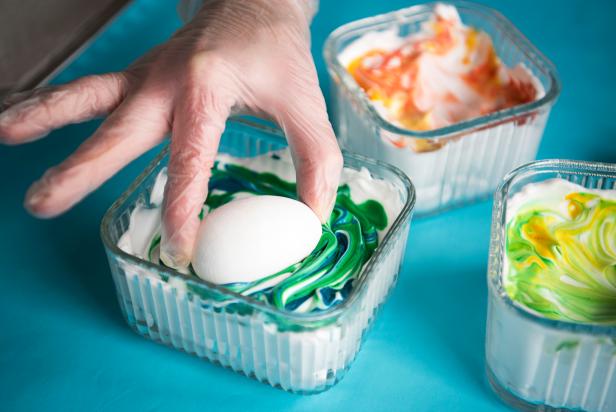
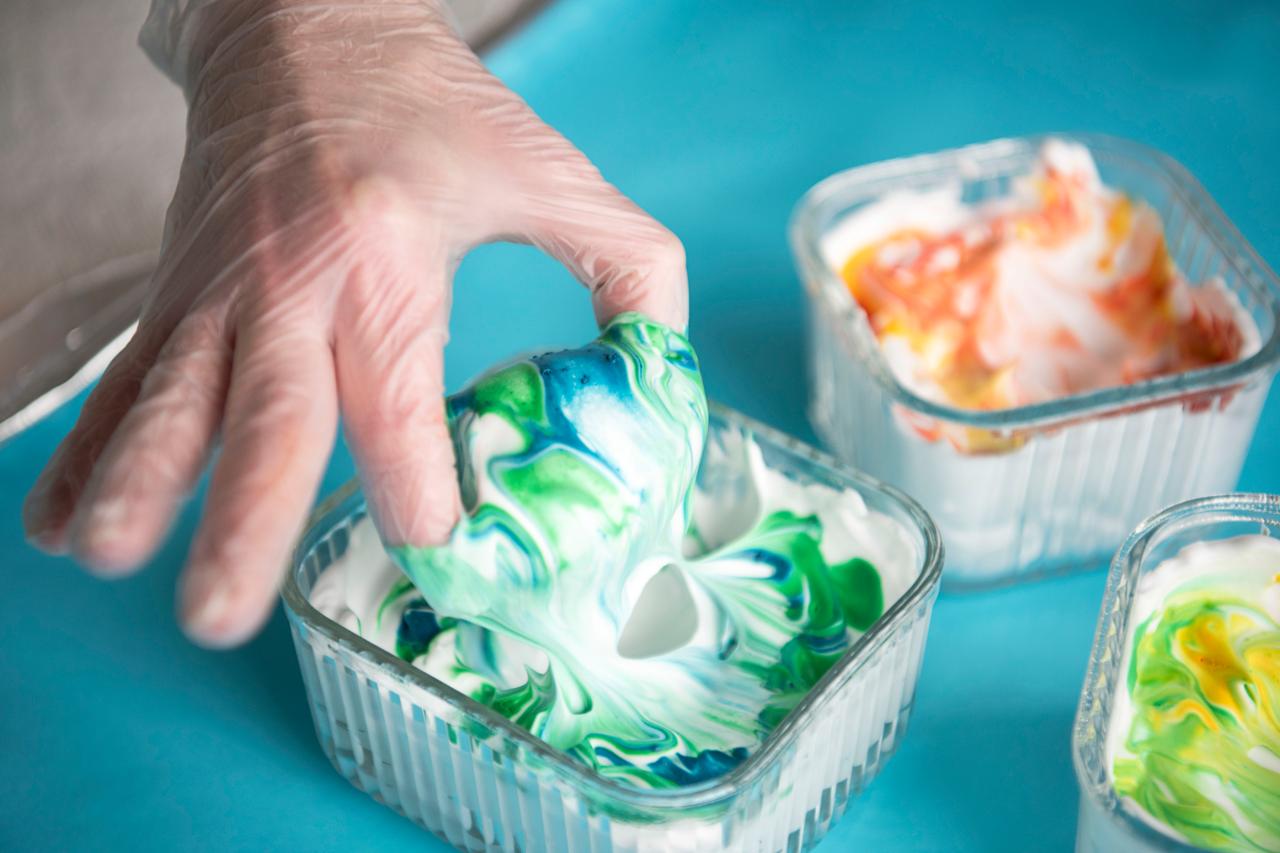
Dip Eggs
Don disposable gloves, and place an egg on top of the swirled food dyes — no need to 'dip' the egg as the food dyes are resting on the surface of the shaving cream (Image 1). Carefully roll the egg over the dye resting on the surface, making sure to cover the entire egg (Images 2 and 3).
Sarah Busby

Sarah Busby

Sarah Busby
Easy Marbleized Easter Eggs
Use household essentials like shaving cream and food coloring to create beautiful marbleized Easter eggs.
Photo By: Sarah Busby
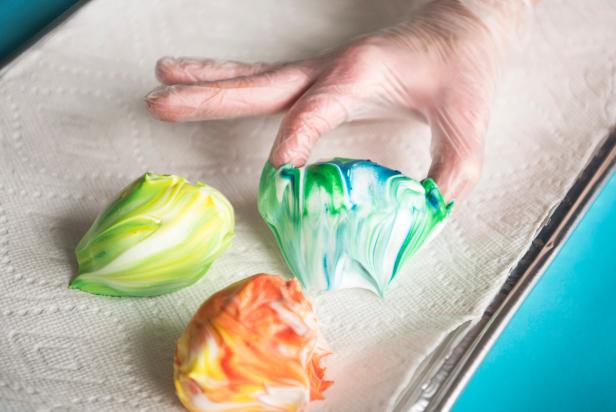
Allow to Dry
Place dipped eggs on the paper-towel-covered pan (Image 1) and set aside, leaving the eggs to dry overnight (or longer) to allow plenty of time for the dye to soak into the painted surface (Image 2).
Sarah Busby

Sarah Busby
Easy Marbleized Easter Eggs
Use household essentials like shaving cream and food coloring to create beautiful marbleized Easter eggs.
Photo By: Sarah Busby
Easy Marbleized Easter Eggs
Use household essentials like shaving cream and food coloring to create beautiful marbleized Easter eggs.
Photo By: Sarah Busby
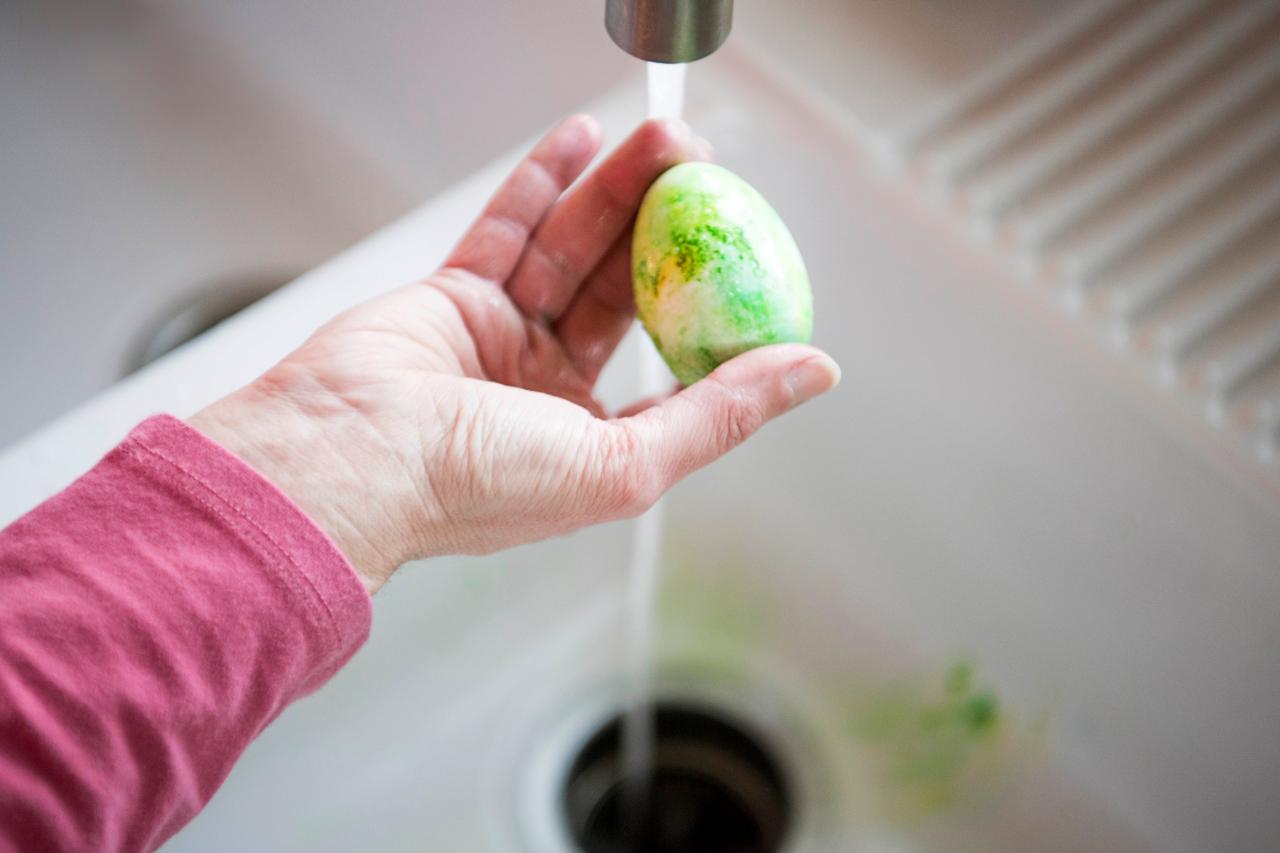
Wash Off Dried Shaving Cream
Quickly run the dried eggs under cold running water to remove the dried shaving cream, being careful not to leave them under water for too long and risk removing the dye as well. Set aside and allow the eggs to dry — the color will deepen somewhat.

Easy Marbleized Easter Eggs
Use household essentials like shaving cream and food coloring to create beautiful marbleized Easter eggs.
Photo by: Sarah Busby
Sarah Busby
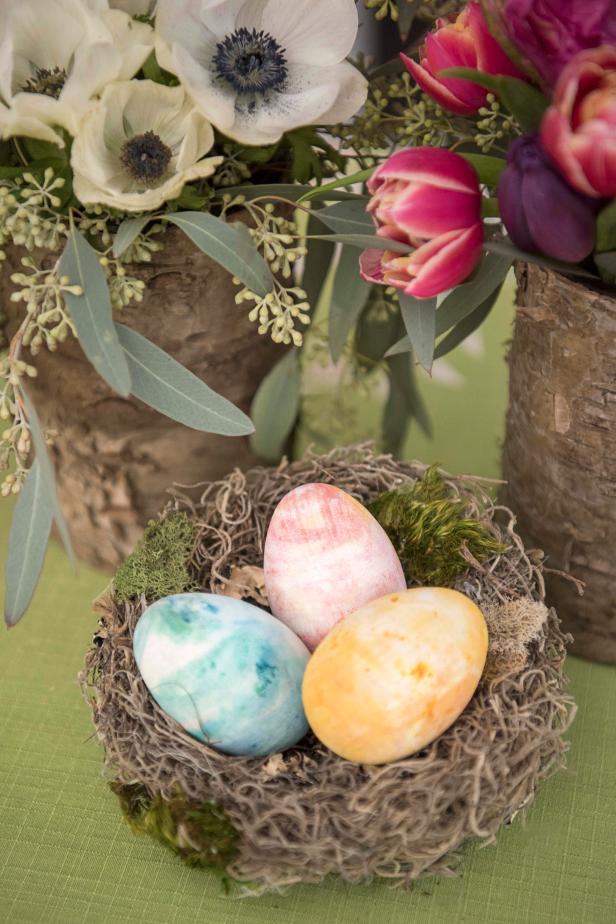
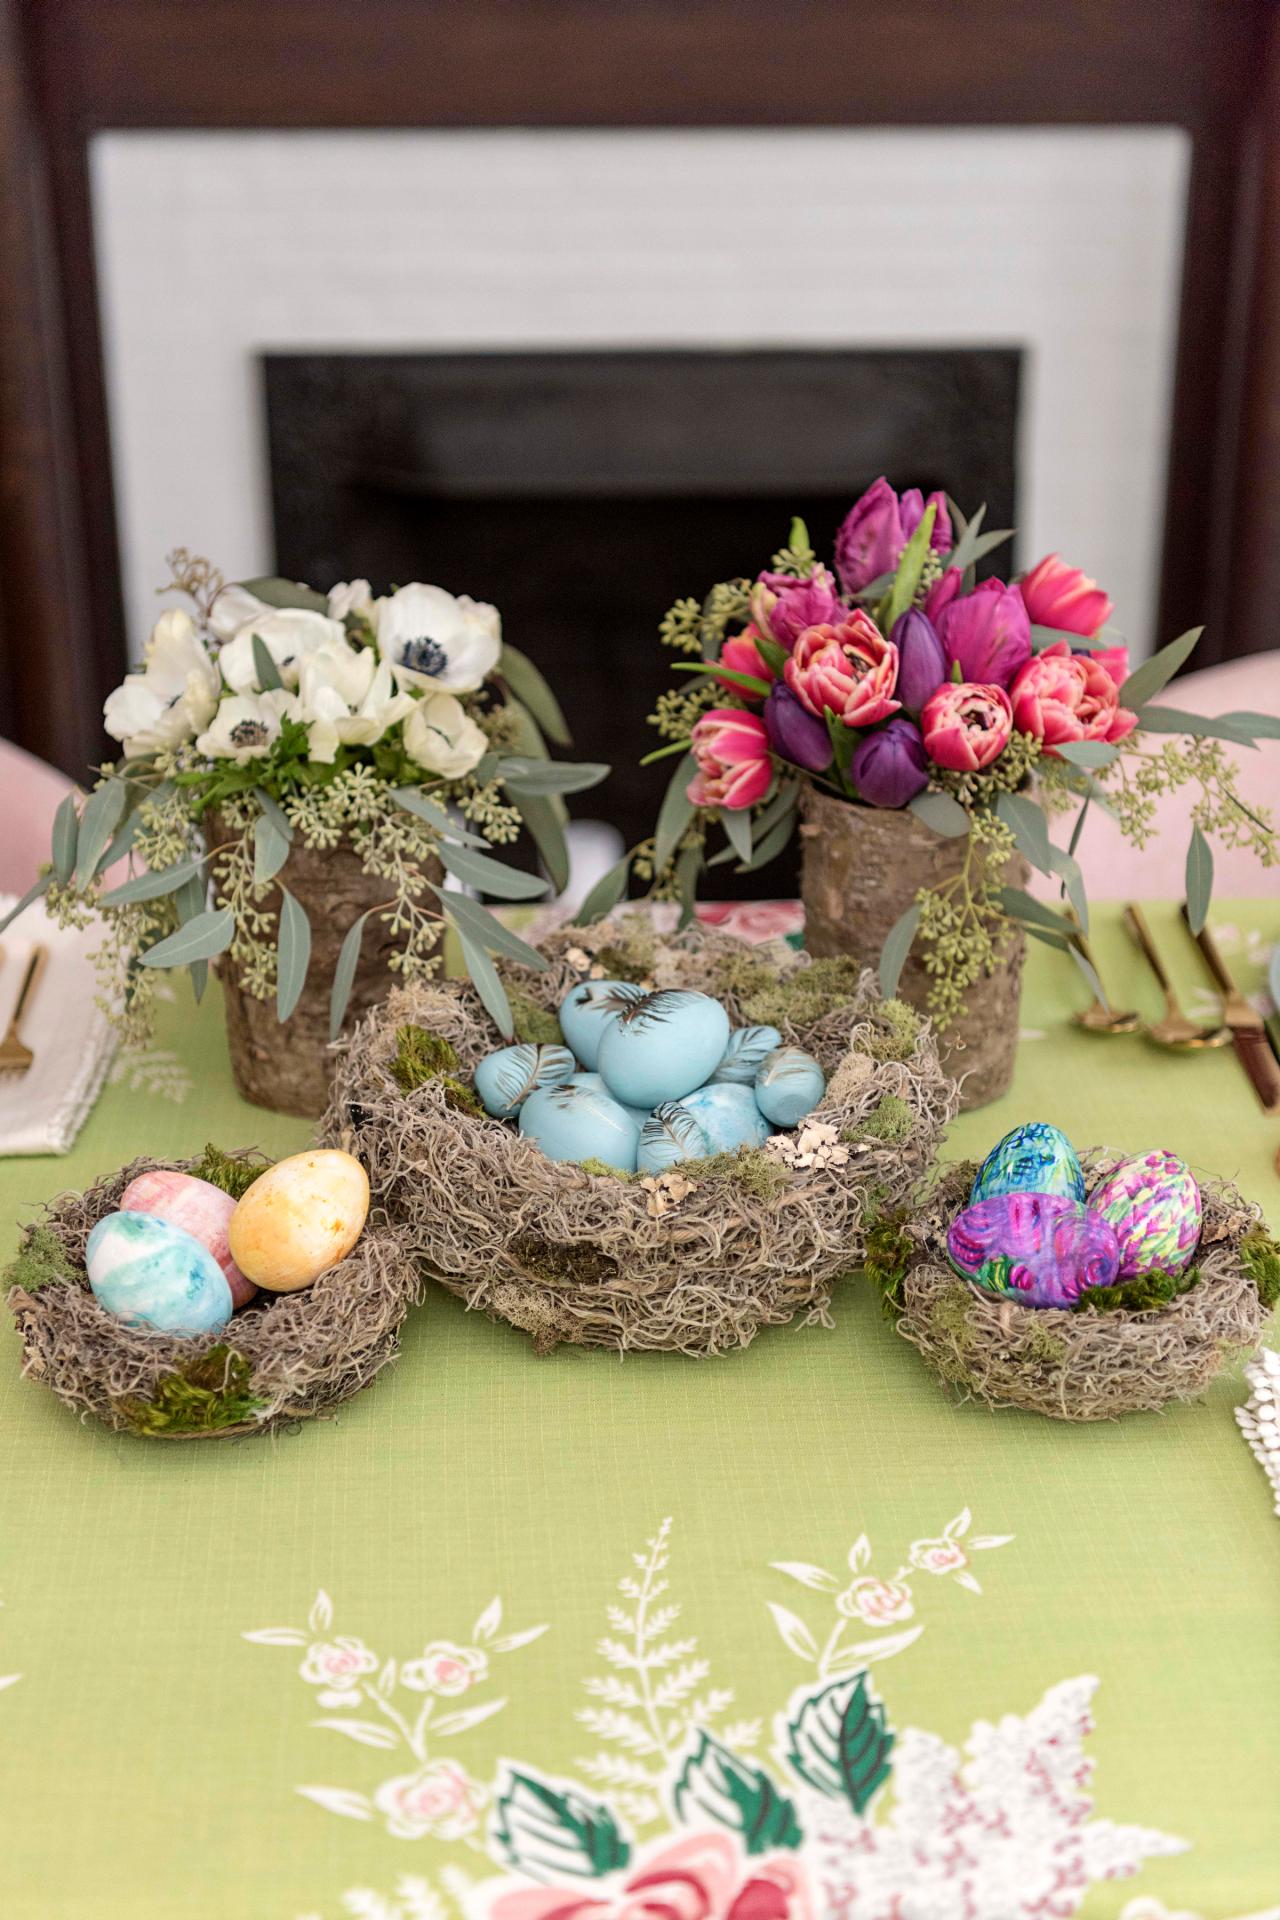
Proudly Display
Use your marbleized eggs as part of an Easter display or group them together in our DIY bird's nest as a colorful centerpiece.
Sarah Busby; Styling by H. Camille Smith

Sarah Busby; Styling by H. Camille Smith
Photo By: Sarah Busby; Styling by H. Camille Smith
Photo By: Sarah Busby; Styling by H. Camille Smith


