


Count Down to Easter With a DIY Advent Calendar
Put those plastic eggs and basket to use in the 12 days leading up to the Easter Bunny’s arrival with this easy project that’ll help kids count down to Easter morning.


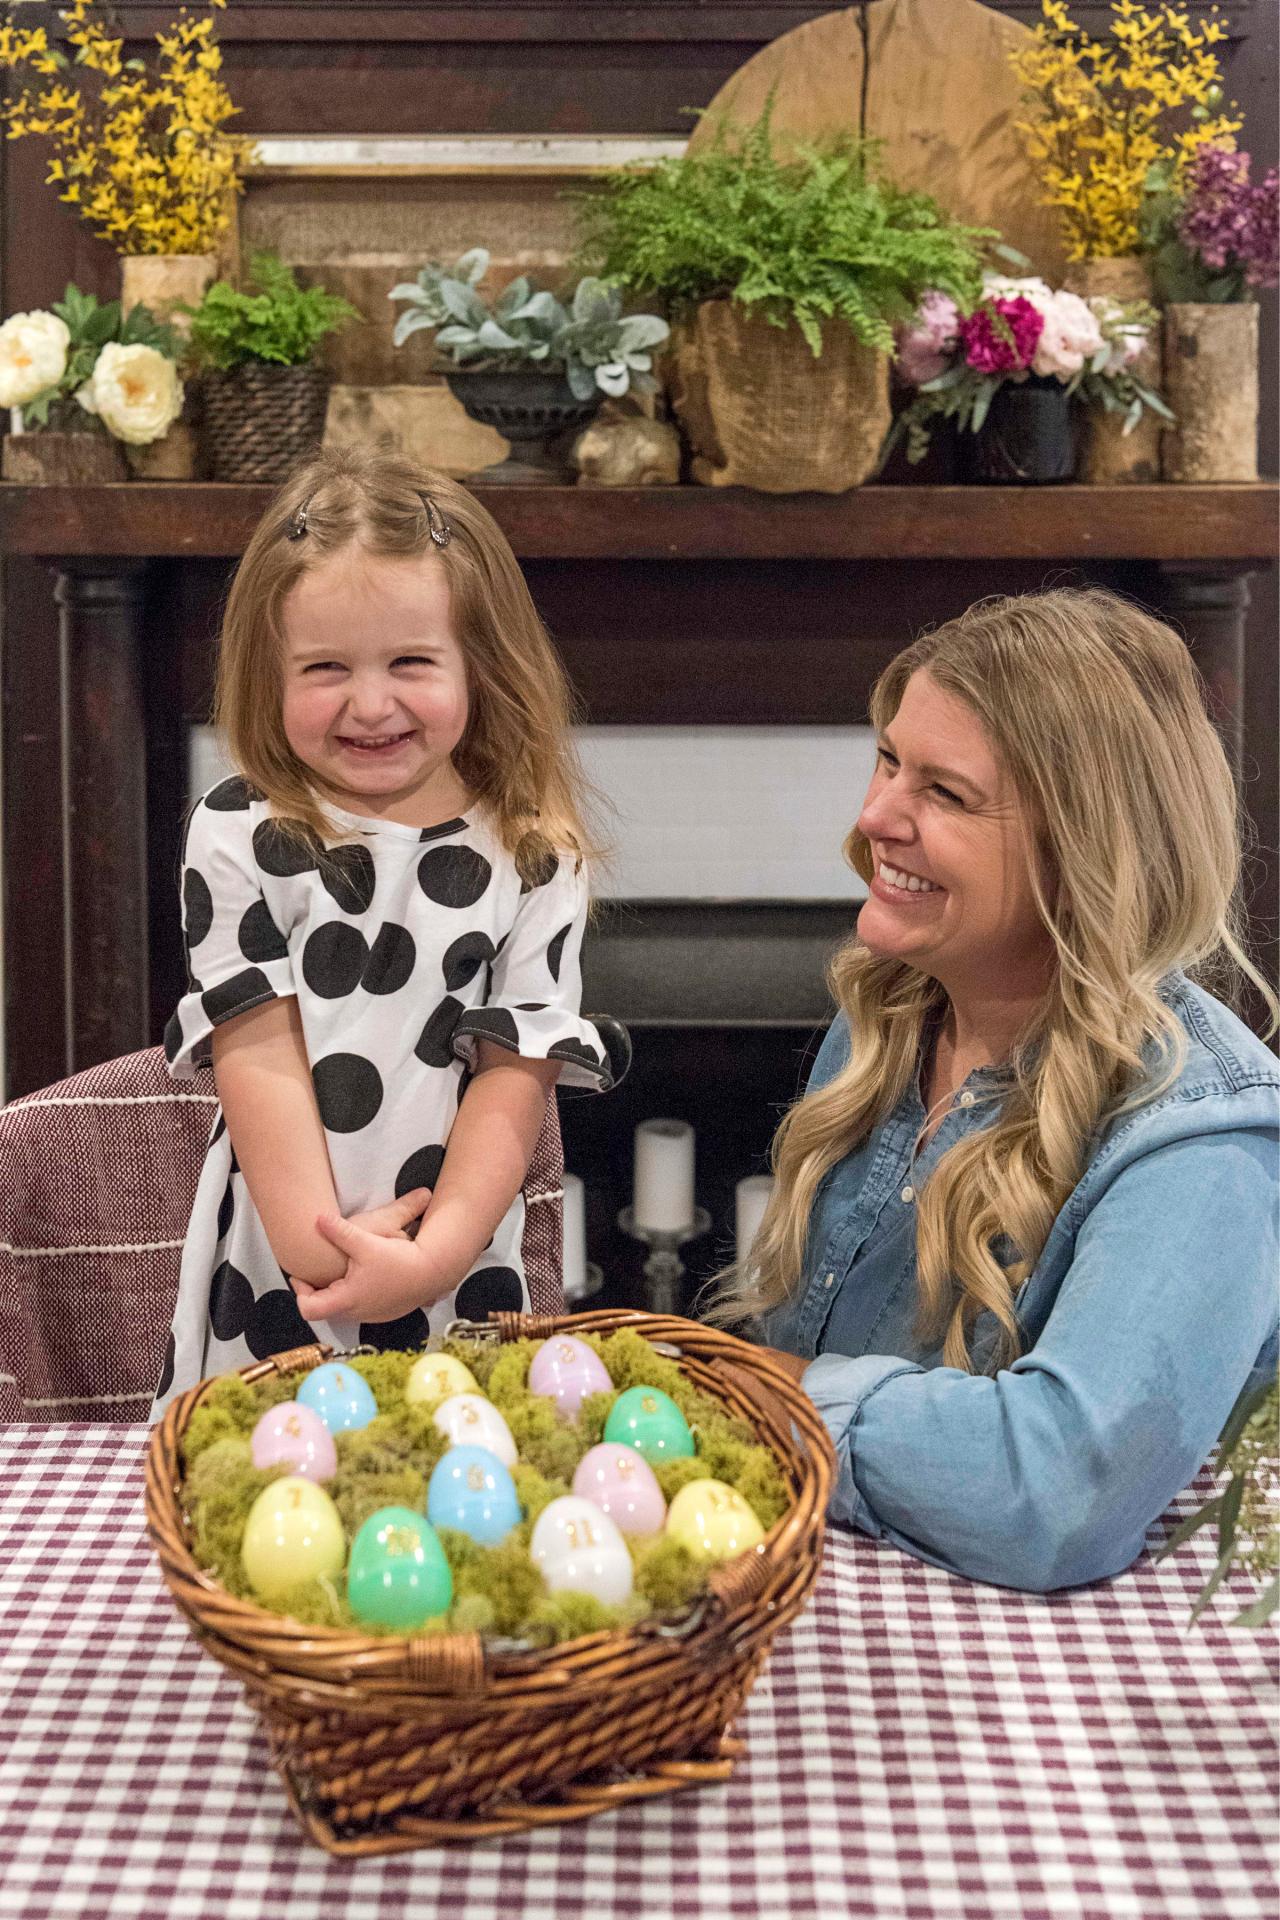
Photo by: Sarah Busby; Styling by H. Camille Smith
Sarah Busby; Styling by H. Camille Smith
Materials Needed
- dozen plastic eggs
- basket (that you'll ultimately use as the child's Easter basket)
- scrapbook numeral stickers
- shredded paper or wood excelsior (for filler)
- preserved moss
- small assorted foil-wrapped chocolates
- jelly beans
- pom-pom chicks or bunnies
- small toys, erasers or stickers
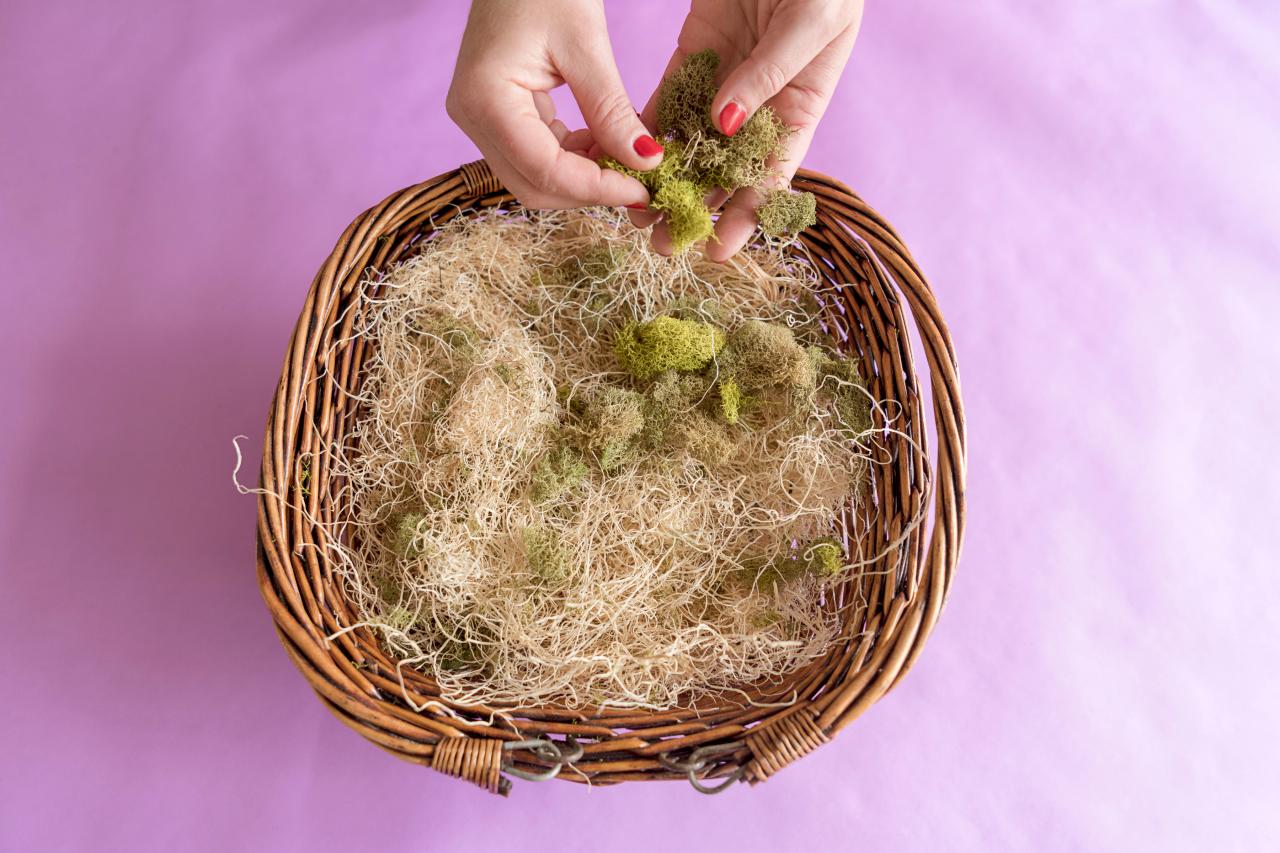
Prep Basket
Add a layer of Easter grass, shredded paper or wood excelsior to fill the bottom of the basket (Image 1). Top with a decorative layer of preserved moss (Image 2).

Sarah Busby; Styling by H. Camille Smith

Sarah Busby; Styling by H. Camille Smith
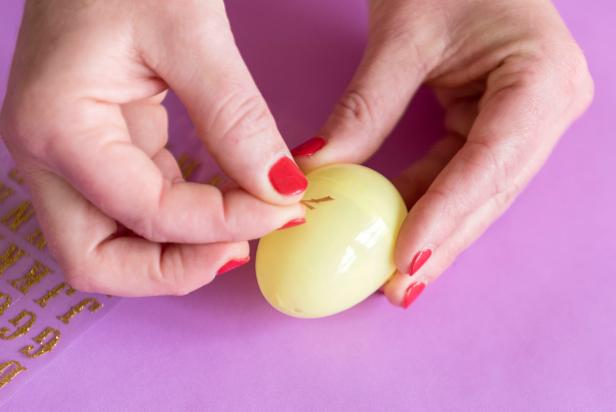
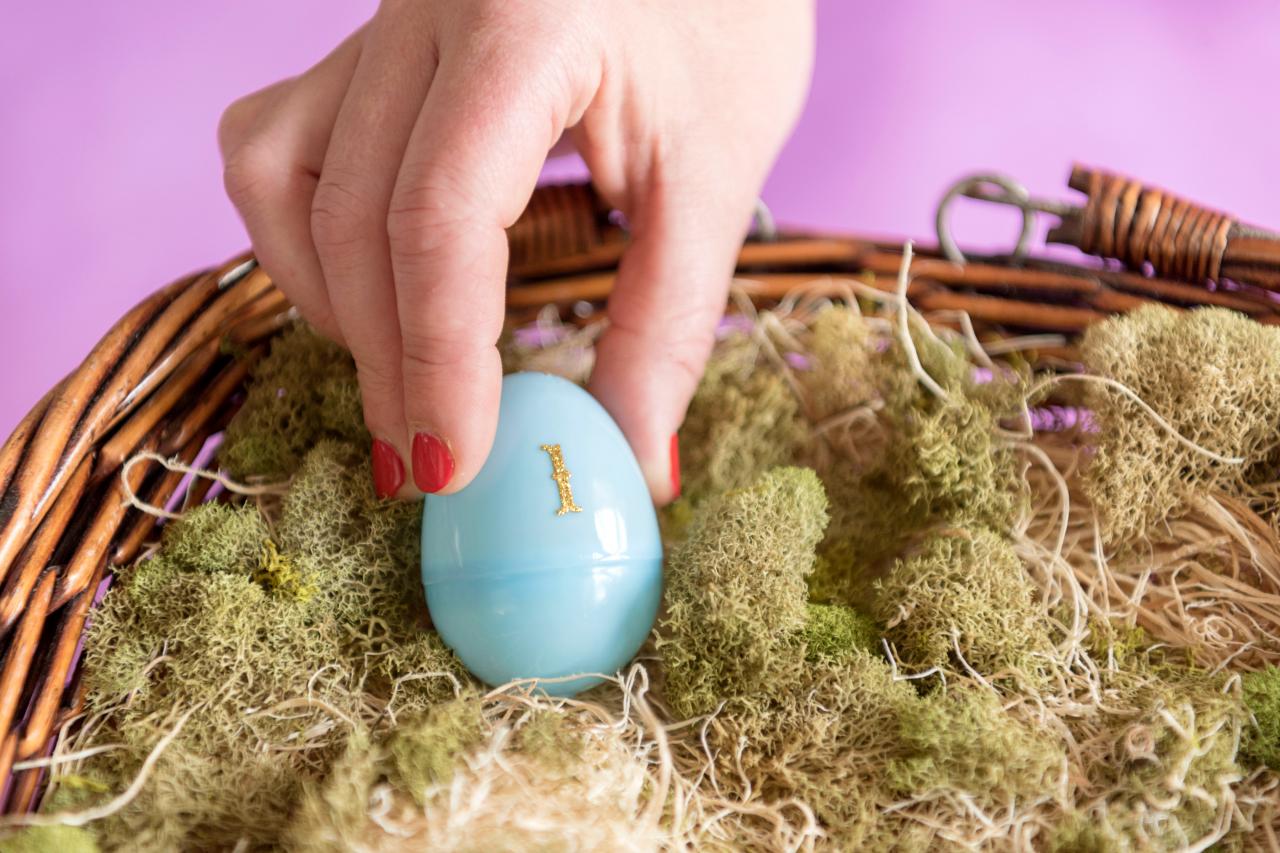
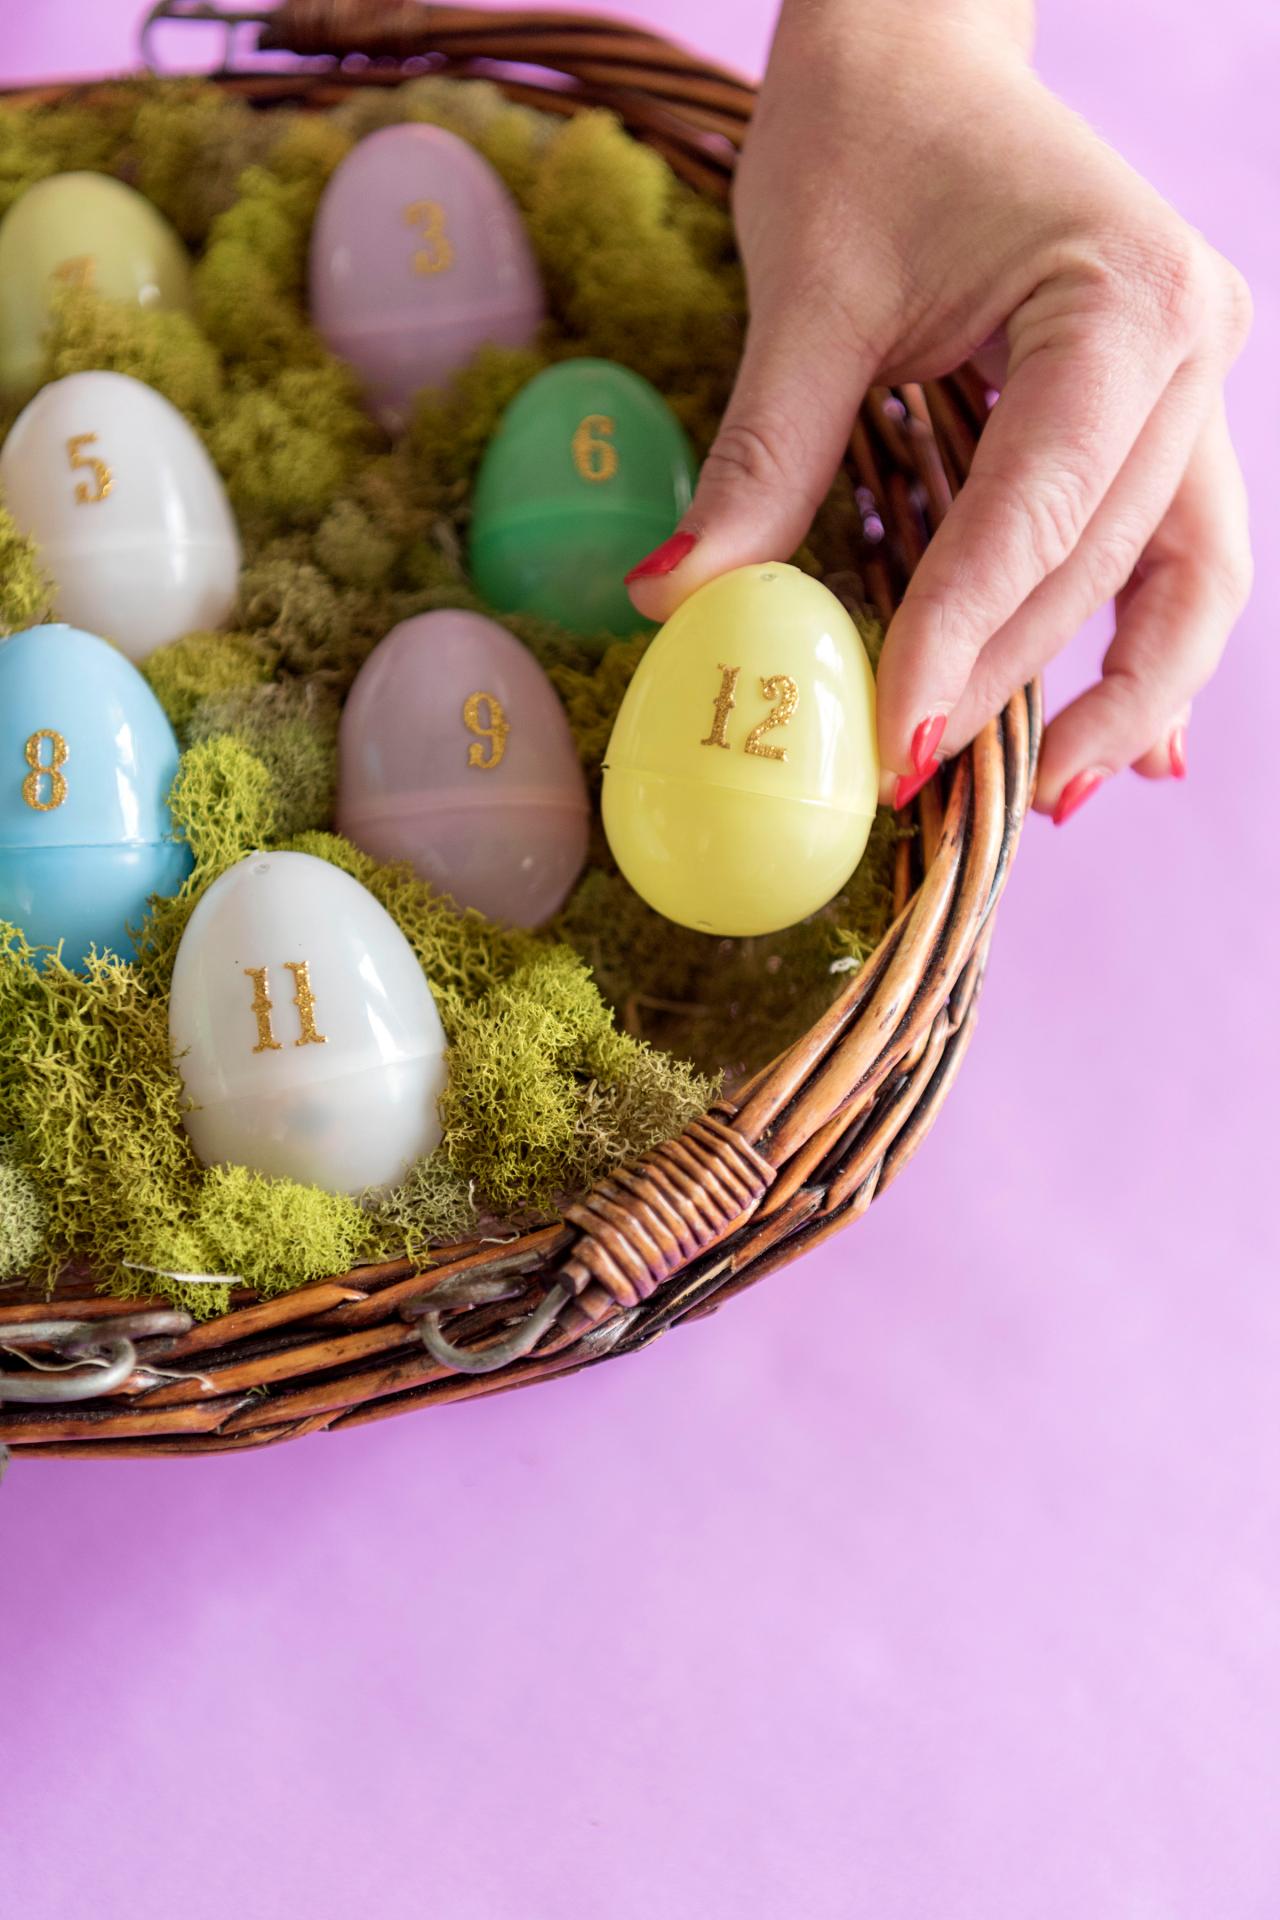
Prep Eggs
Add numeral stickers, 1-12, to the top half of each plastic egg, leaving the hinged area uncovered so the egg can freely open.
Sarah Busby; Styling by H. Camille Smith
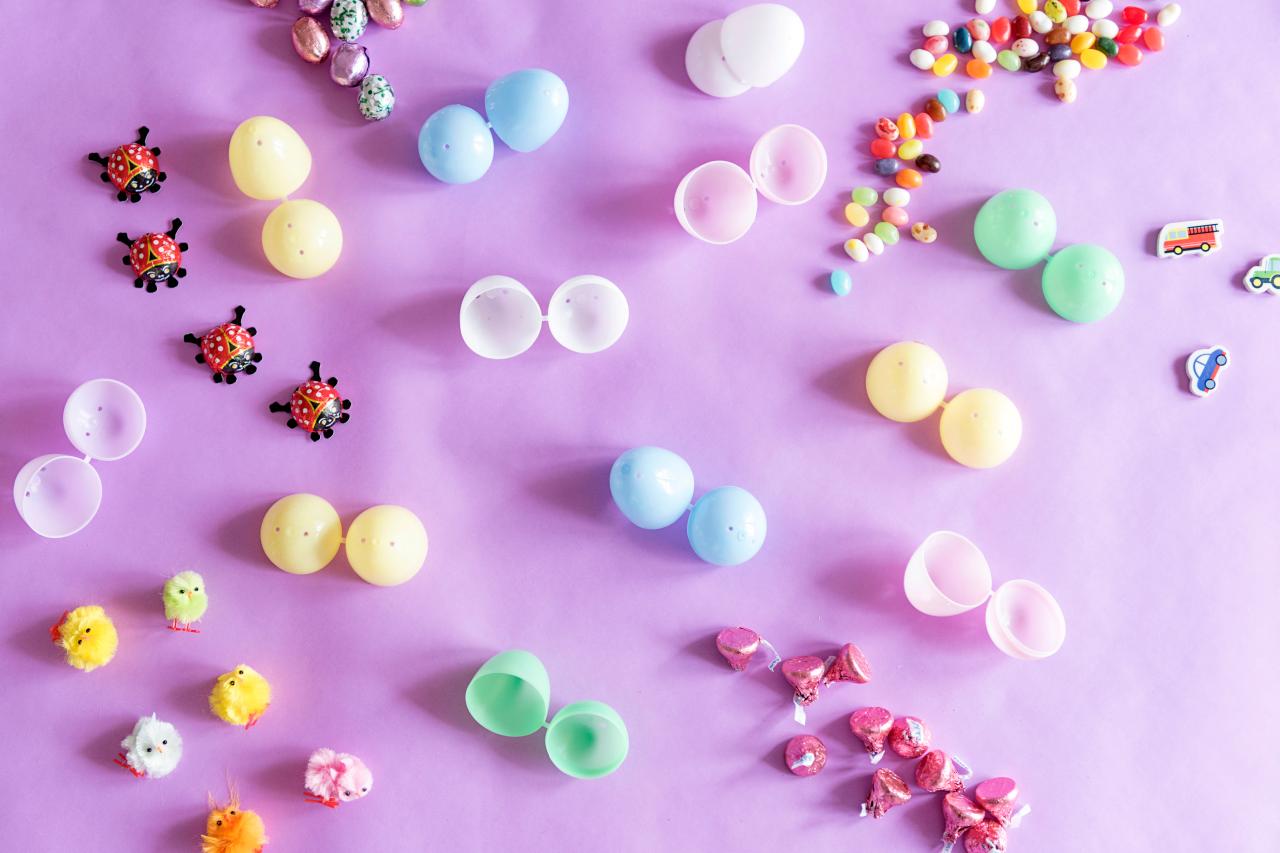
Fill Eggs
Add an assortment of surprises (Image 1), like candy and small toys (Image 2) to the numbered eggs – one for each of the 12 days.

Sarah Busby; Styling by Jill Tennant Anderson

Sarah Busby; Styling by H. Camille Smith
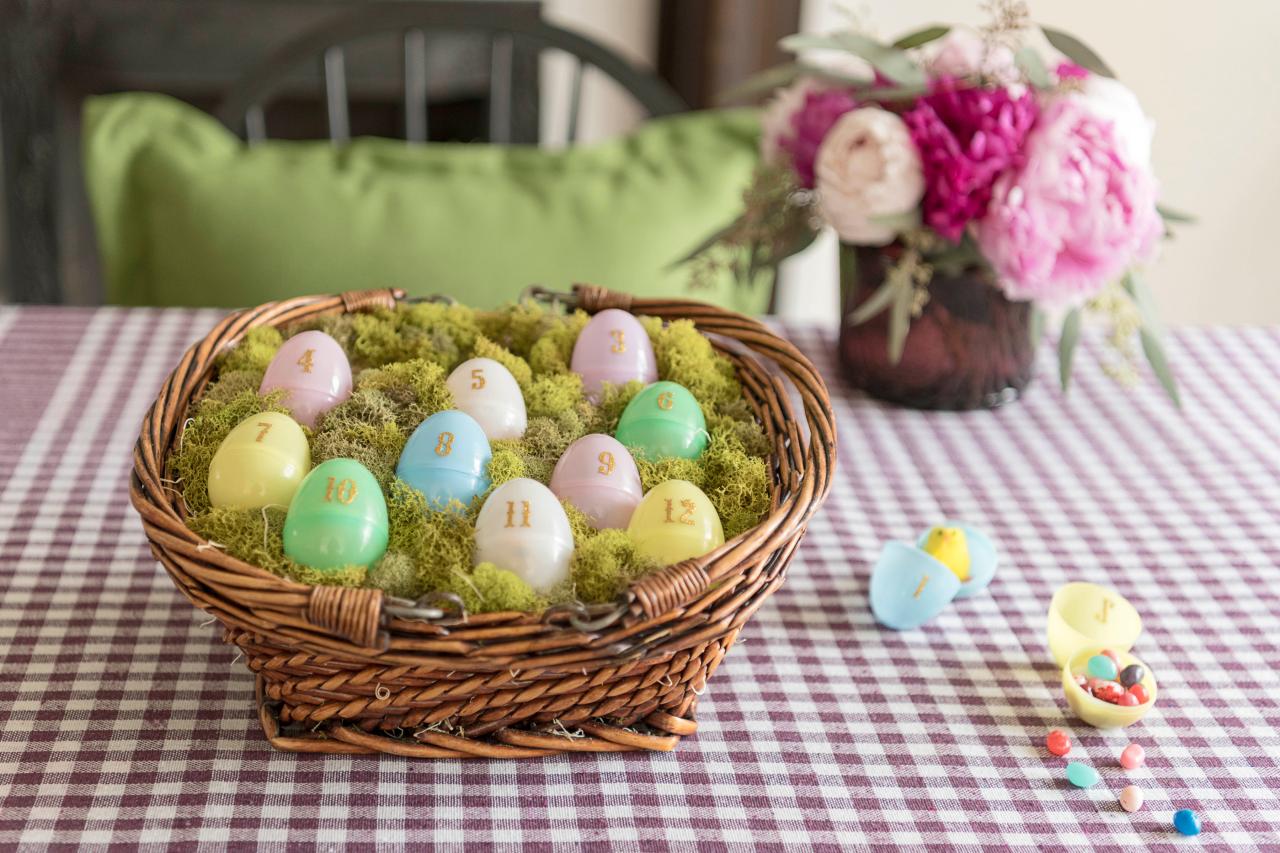
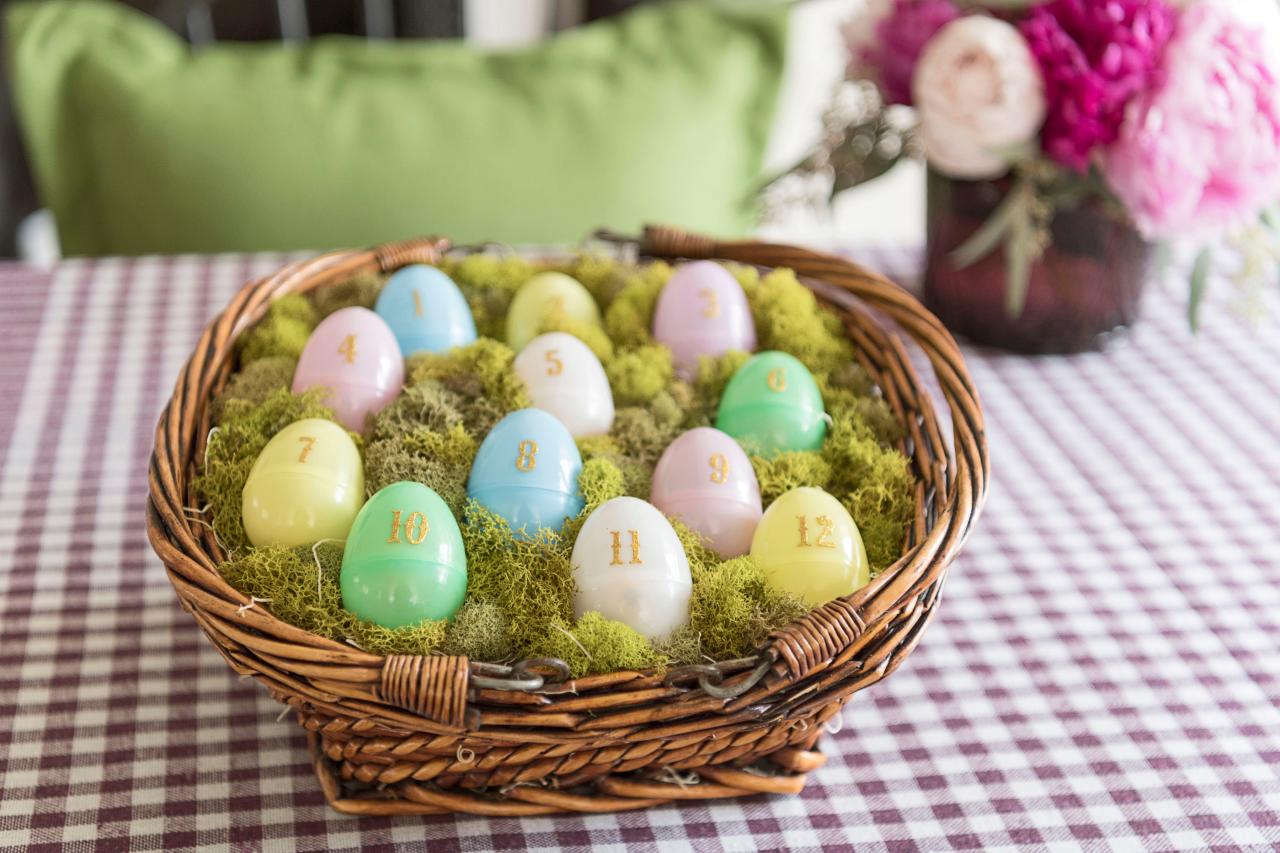
Fill Basket
Place filled eggs in basket, lining them up from day 1 to day 12 (Images 1 and 2). Note: For our basket, 4 rows of 3 fit perfectly but create a layout to best suit your basket (Image 3).

Sarah Busby; Styling by H. Camille Smith

Sarah Busby; Styling by H. Camille Smith

Sarah Busby; Styling by H. Camille Smith
Photo By: Sarah Busby; Styling by H. Camille Smith
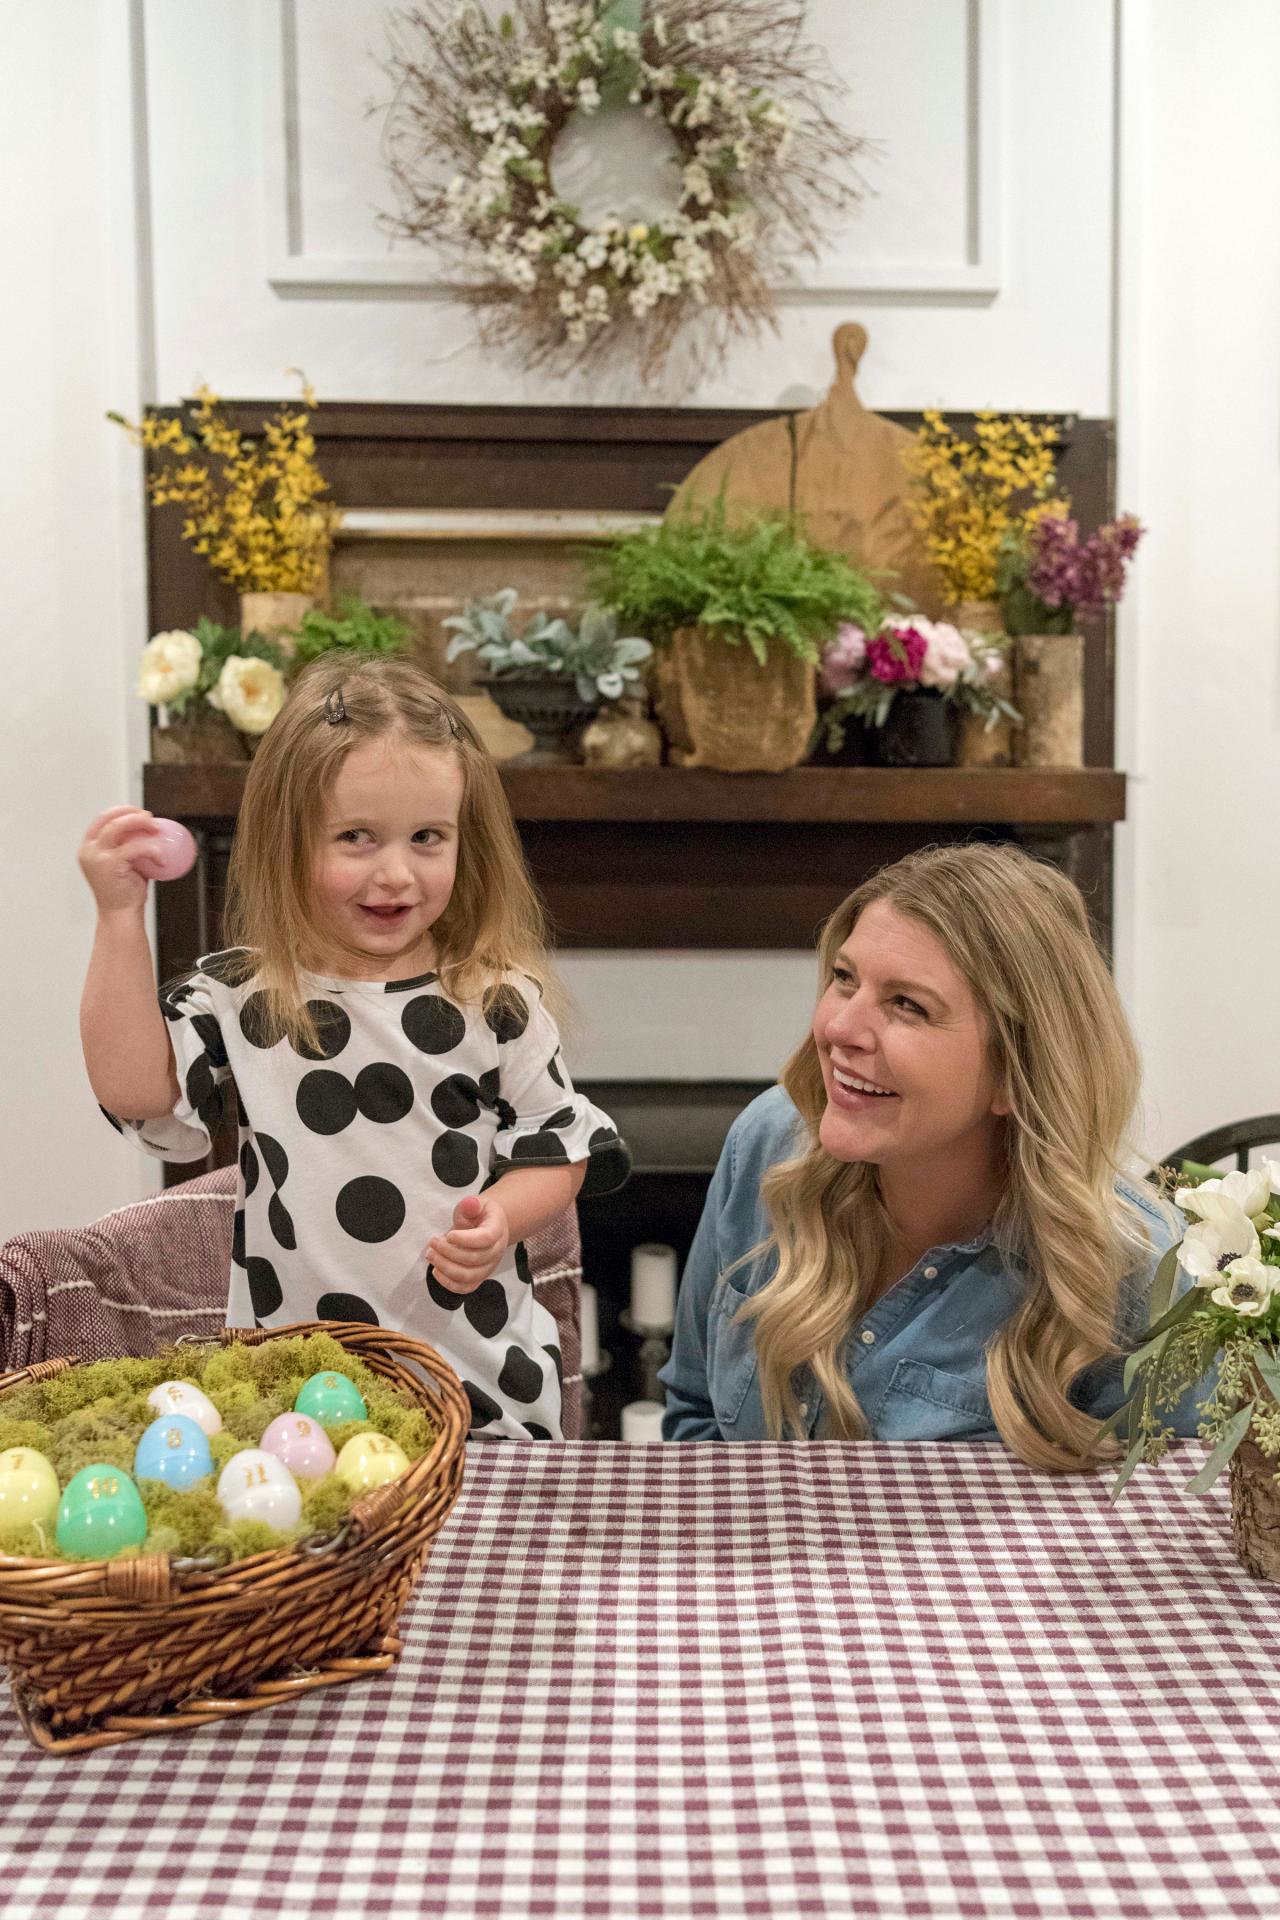
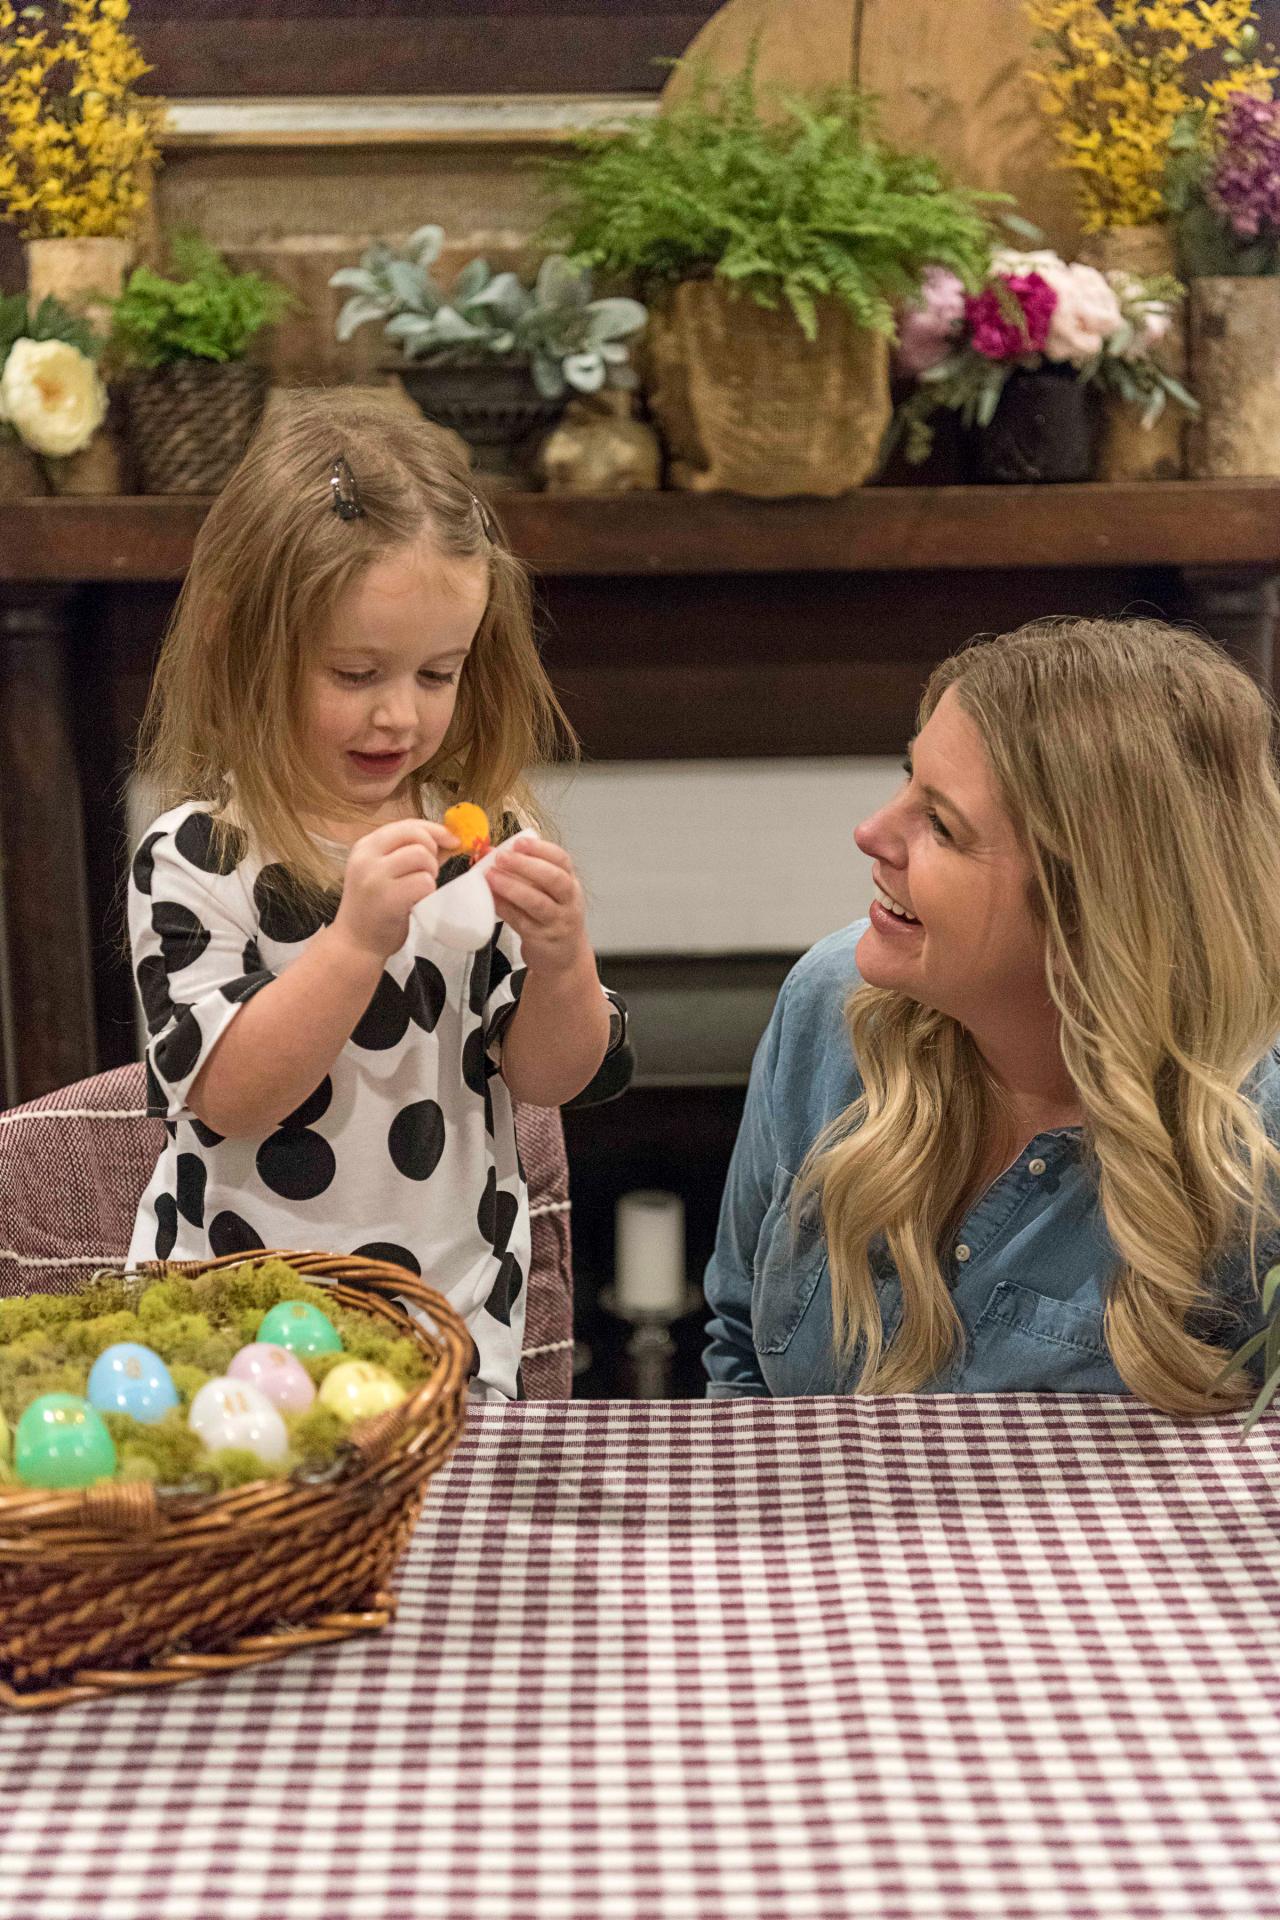
Have Fun
Each day, let kids open that day’s egg. Make it a game, having them guess what might be inside.

Sarah Busby; Styling by H. Camille Smith

Sarah Busby; Styling by H. Camille Smith

Sarah Busby; Styling by H. Camille Smith
Photo By: Sarah Busby; Styling by H. Camille Smith
Photo By: Sarah Busby; Styling by H. Camille Smith
Photo By: Sarah Busby; Styling by H. Camille Smith
Easter Morning
Repurpose the countdown basket to serve as an Easter basket, swapping out the now-empty plastic eggs for assorted goodies.
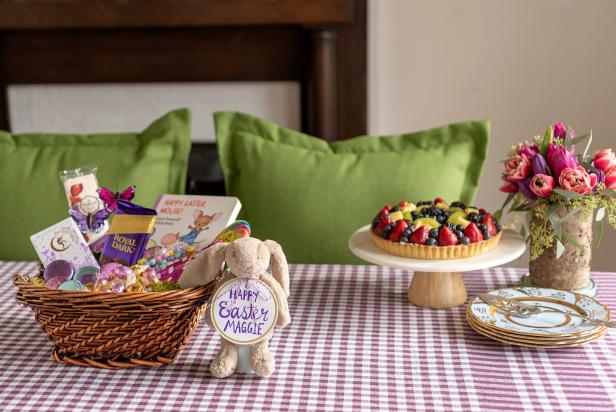
Photo by: Sarah Busby; Styling by H. Camille Smith
Sarah Busby; Styling by H. Camille Smith


