


How to Grout Tile
Learn how to grout the spaces between your tile to achieve a smooth, durable and professional look.

Knowing how to grout tile for a smooth finish is key to getting a professional-looking result.

No matter what type of tile you choose, smooth and durable grout lines are both easy to achieve and easy to tackle yourself. Grout is a mix of cement and water (and sometimes sand or other additives) and is used to fill the lines between tiles. It creates a clean, finished look while adding strength to the surface.
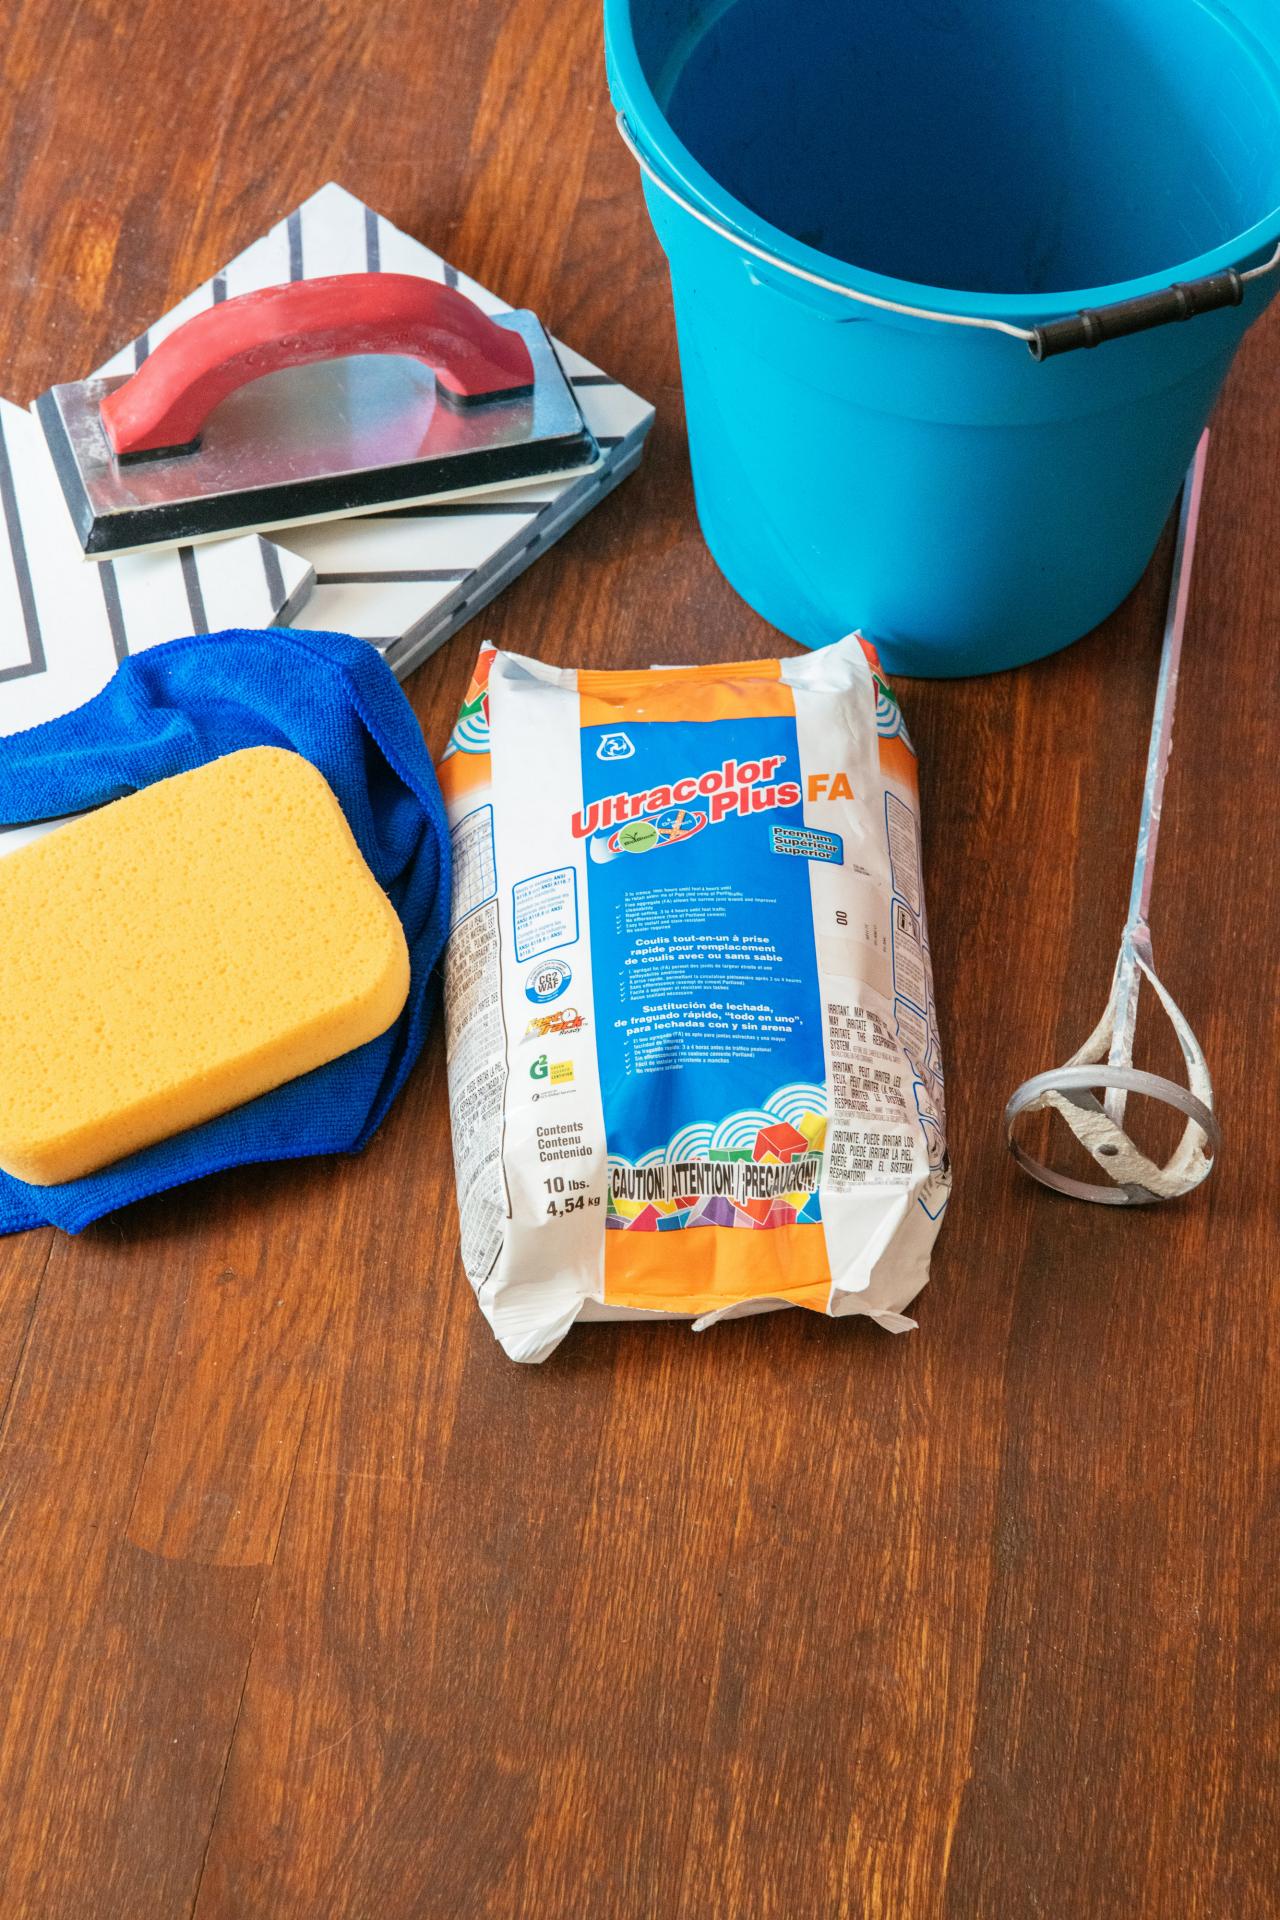
Materials + Supplies
- grout
- mortar bit
- sponge
- painter's tape
- rags
- float
- bucket
- caulk
- grout and tile sealer

Jennie Andrews
Choose Your Grout
Grout comes in multiple varieties, but the two most common are sanded and unsanded. Choosing the type of grout depends on your particular tile job. Sanded grout is made of a substrate with very fine sand added. It is the more durable of the two (the addition of sand reduces cracking), making it a great choice for most flooring applications. Because it is thicker than unsanded grout, however, it should be used in grout lines of greater than 1/8 of an inch. Unsanded grout is thinner and stickier, making it a great choice for vertical installations and smaller grout lines of less than 1/8 of an inch.
Grout also comes in a multitude of colors. Choose a grout that either matches or complements your tile. High traffic areas are often best tiled with a medium or darker grout color. Some tile however, such as concrete tile, is best grouted with white or other very light colors as darker grout can bleed onto the tile.
Grout can be bought in either pre-mixed containers or in powder form that you mix with water.
Prep Grout
Mix grout according to package instructions. Only mix as much grout as you need. Grout dries quickly, so you may want to mix in multiple small batches. Use a drill with a paint and mud mixer for easy mixing and smooth grout. Grout should be about the consistency of peanut butter.

Jennie Andrews
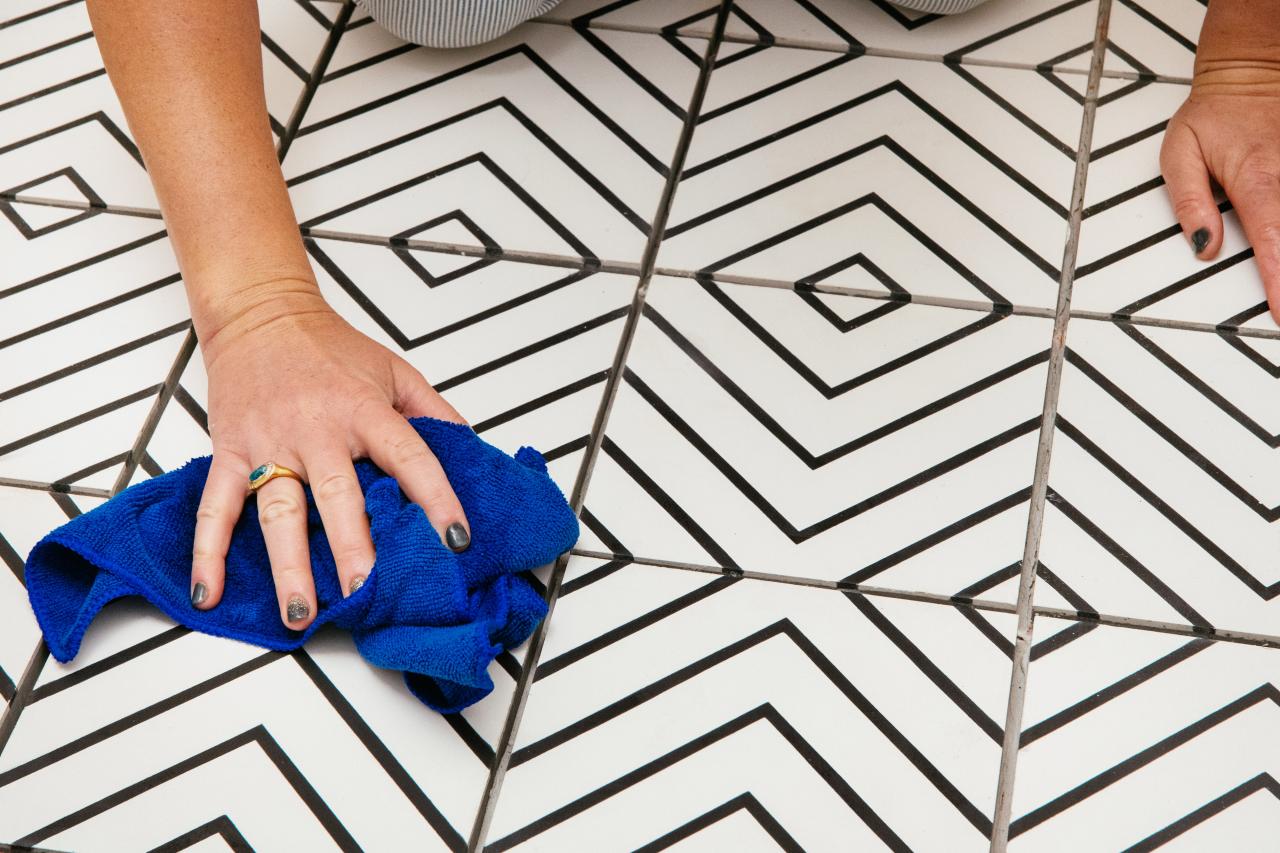
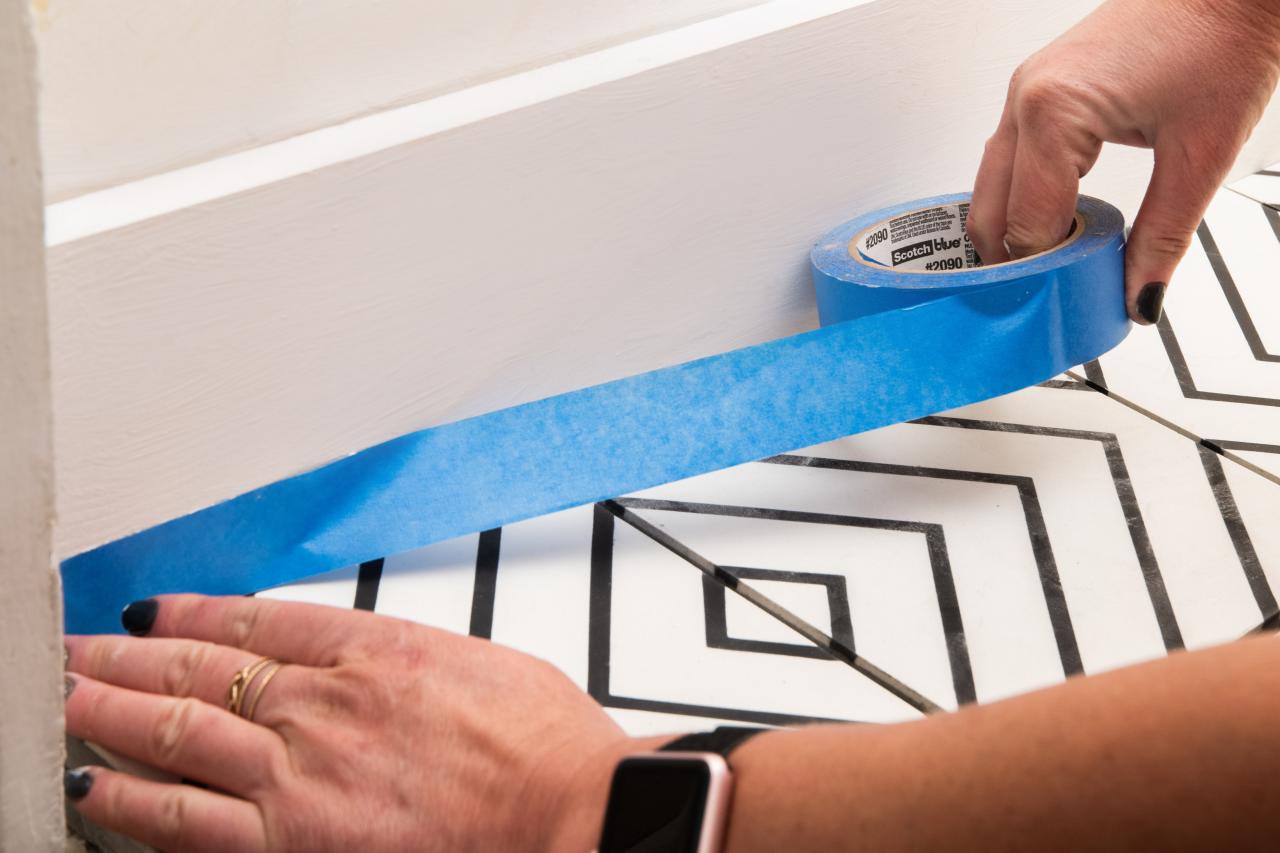
Prep the Surface
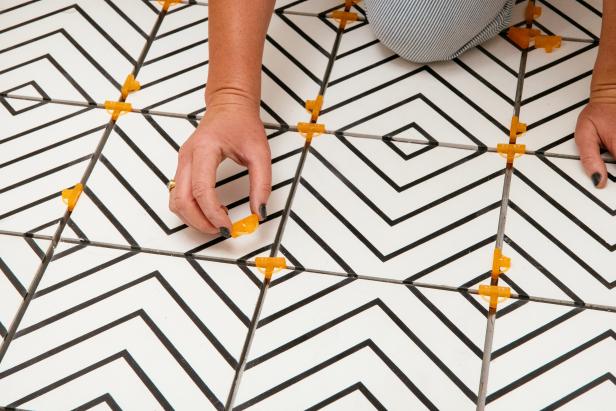
Start with a clean surface and clean grout lines.If you used tile spacers to lay the tile, remove them all before mixing grout. (Image 1) Use a clean, damp rag to wipe any dust and debris away. (Image 2) Protect any painted surfaces by taping along the tile with painter’s tape. (Image 3)
Jennie Andrews

Jennie Andrews

Jennie Andrews
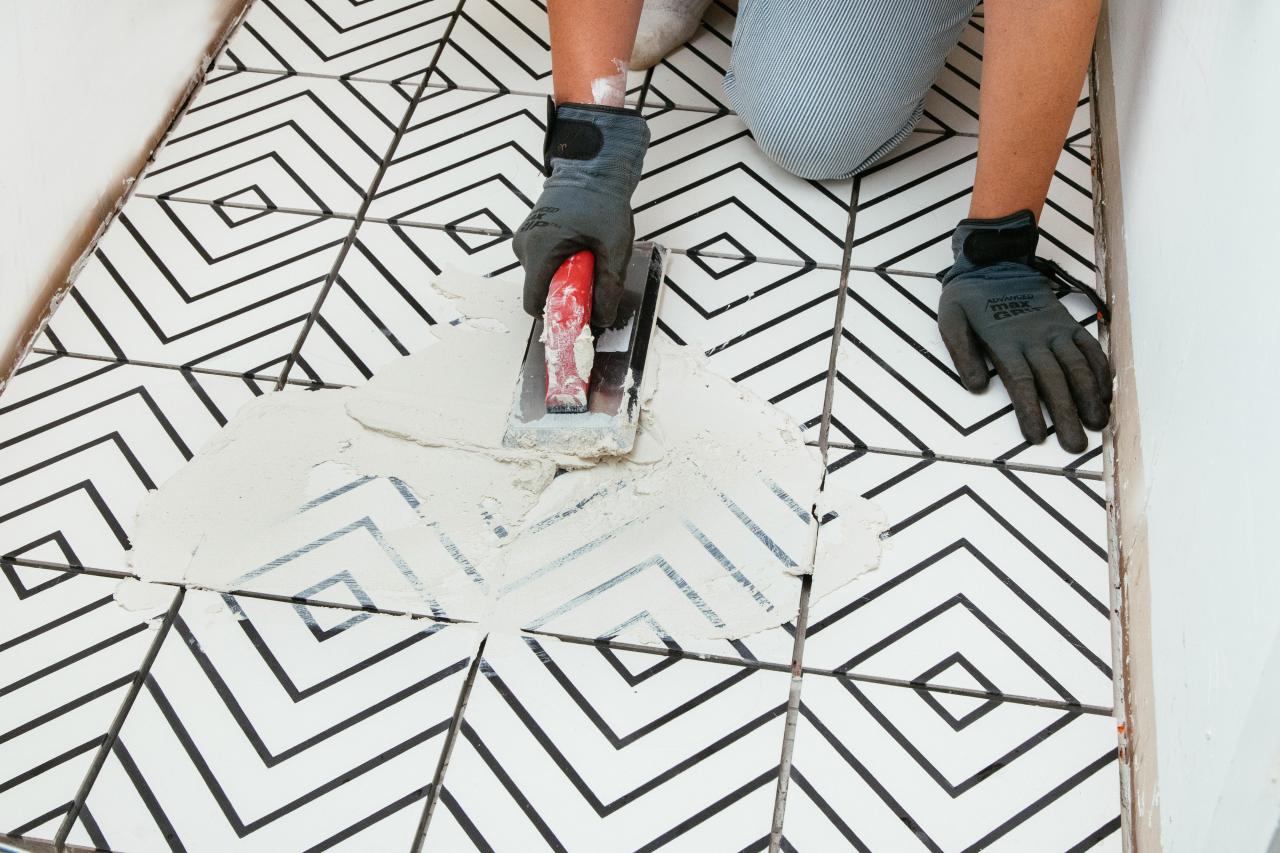
Apply the Grout
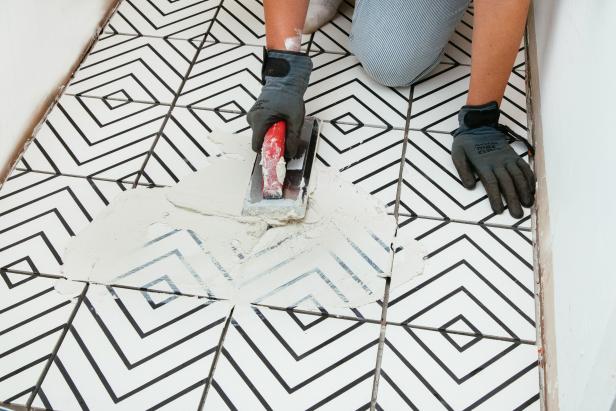
Scoop or pour about a half gallon of grout onto the tile surface. Use the rubber tile float to scoop grout out of the bucket and apply to the tile. Holding the float at about a 45 degree angle, make arc movements spreading the grout across the tile. Use the edge of the float to push the grout down into the grout lines. Continue moving grout around until all grout lines are evenly filled. (Images 1 & 2)
For vertical surfaces apply the grout in an upward motion to keep from dropping grout onto the floor.

Jennie Andrews
Jennie Andrews
Remove Excess Grout
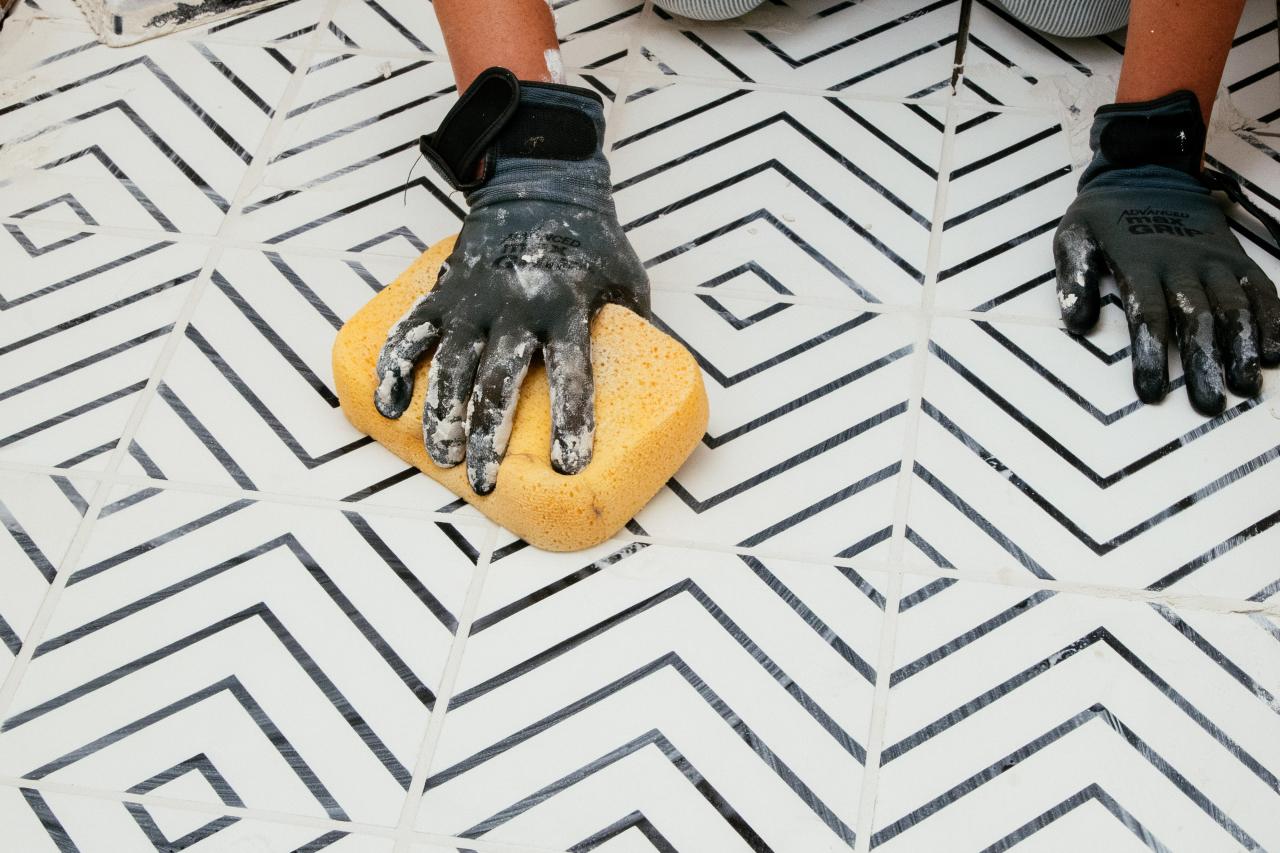
Holding the float at the same 45 degree angle, apply pressure to the edge and scrape excess grout from the tiles. Either move the grout into a new area or return it to the bucket. Remove as much excess grout as possible without removing grout from lines.
Use a large, damp sponge to remove any grout left by the float. Don’t use too much water, and rinse the sponge between passes.

Jennie Andrews
Buff and Seal
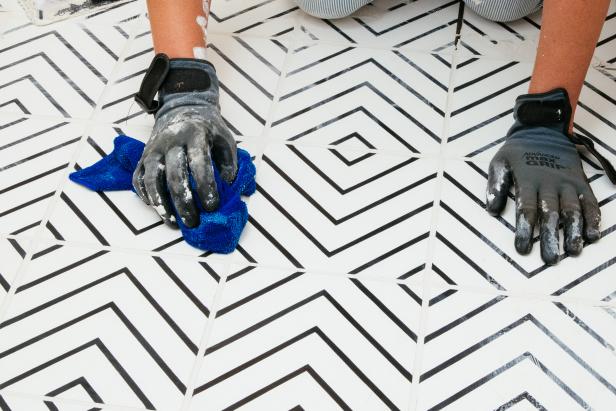
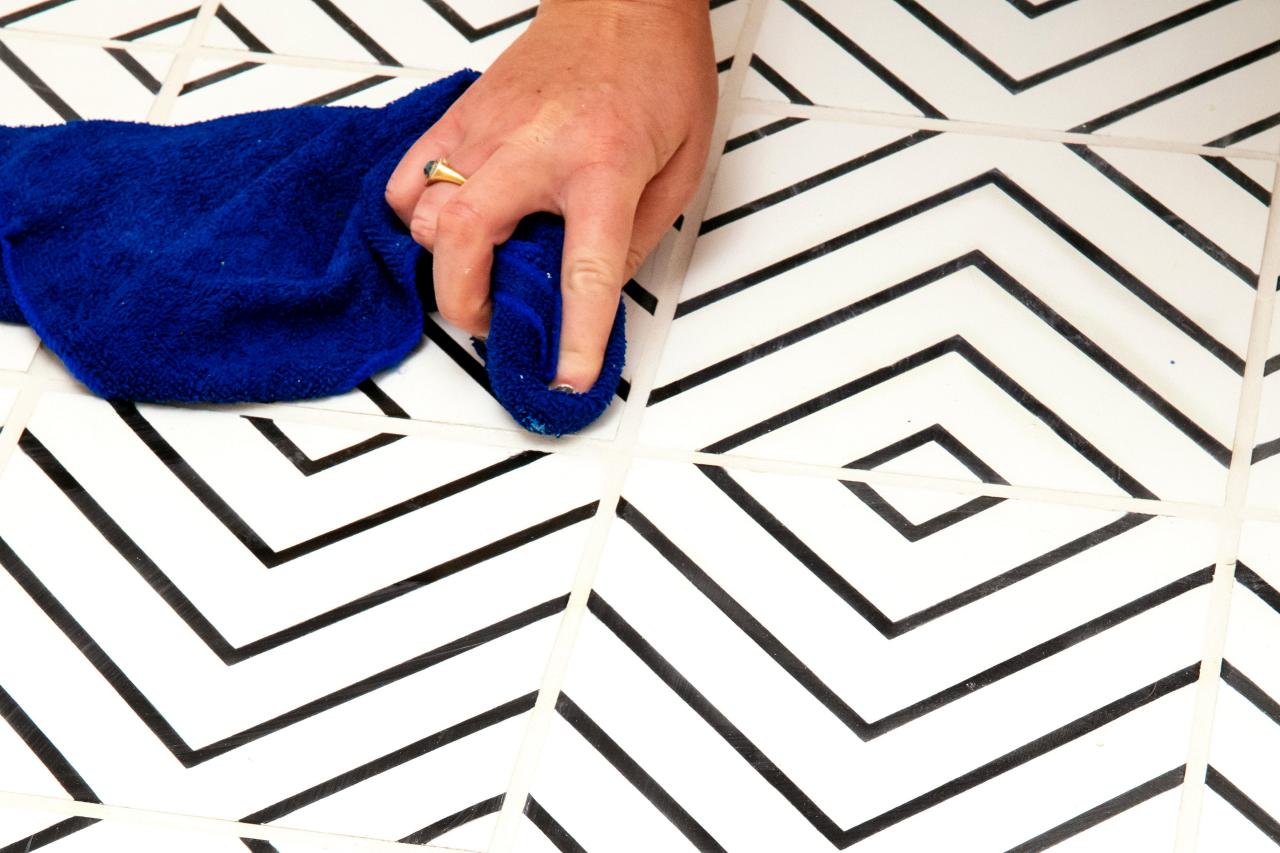
Once most grout is removed and only a haze remains, use a clean, damp, soft rag to buff the tiles to a shine. (Images 1 & 2)
Depending on temperature and humidity, the grout will take anywhere from 24-72 hours to dry and cure completely. Even if it looks dry, walking on grout that hasn’t completely cured can cause cracking down the road.
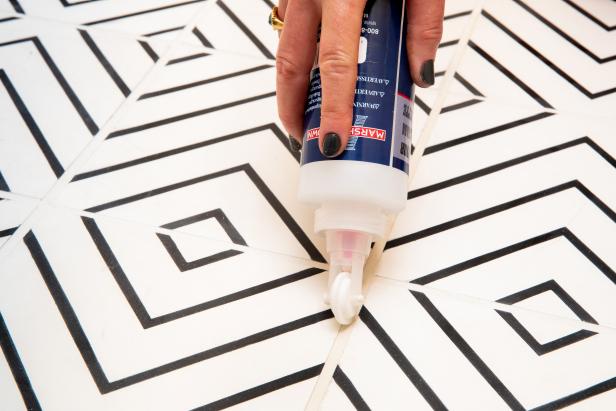
Once it is completely dry, apply a sealer to protect the grout from stains. (Image 3) Sealers also take some time to dry, so it’s best to avoid the area for 48 hours.
Jennie Andrews

Jennie Andrews
Jennie Andrews
Enjoy Your New Tile
Following these simple steps will leave you with beautifully grouted tile with the durability to last years.


