


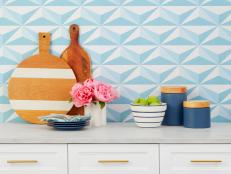
How to Cover an Old Tile Backsplash With Beadboard
If your kitchen backsplash is ready for a facelift but your budget isn't, consider beadboard paneling as an affordable option. It can be installed right over your existing tile, and it's easy and affordable.

Materials Needed
- cleaning supplies
- beadboard paneling
- 1/2” x 1/2” wood trim
- paintable caulk
- clear caulk
- semi-gloss clear coat
- semi-gloss paint
- level
- table saw
- trowel
- spackle knife
- tape
- clamps
- caulk gun
- paintbrush
- roller
Plan and Prepare
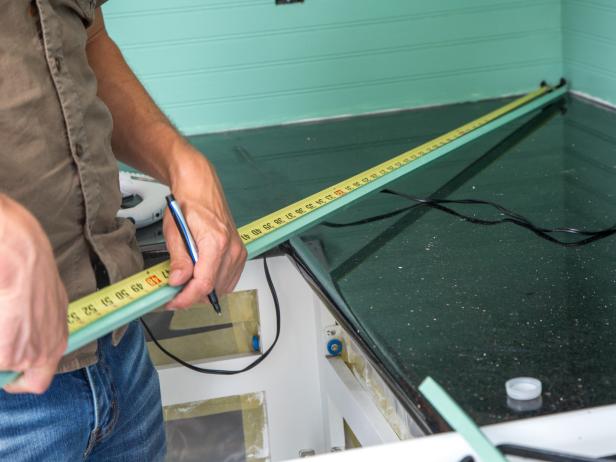
Measure, and draw out a plan for where in your kitchen you want your new backsplash to run. Decide if you want your beadboard panels running horizontally or vertically. If you choose a horizontal pattern, keep in mind you will need to pay attention to the edges to ensure thepattern repeat lines up.
TIP: You’ll also want to check if your counters, cabinets and sink are level. If you find an area isn’t level, keep in mind you’ll have to cut the panel longer or shorter to fit, or cover the small gap with trim.
Clean your existing backsplash until free of oil or stains that may inhibit glue adhesion, and let dry fully before you begin. This will greatly affect your backsplash staying put, so don’t skip this step.

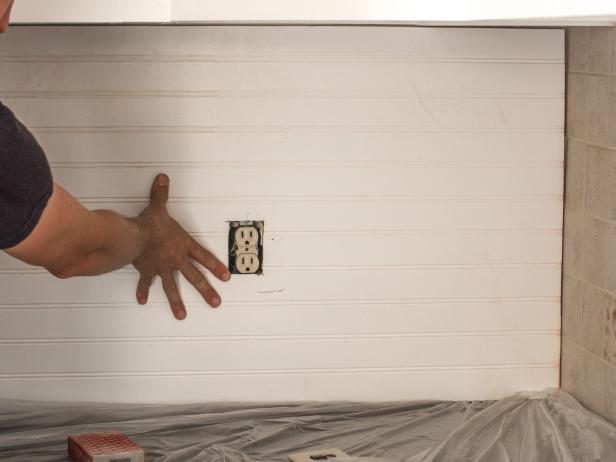
Cut and Check
Using a table saw, with all safety precautions in place, cut the beadboard panels according to the measurements from your plan. Remember to measure and cut holes for your outlets. Check each panel by placing it, without glue, in the spot you have designated for it – this is called a ‘dry fit’. Make any adjustments in size needed.
Step 2: Cut and Check Using a table saw, with all safety precautions in place, cut the bead board panels according to the measurements from your plan. Remember to measure and cut holes for your outlets! Check each panel by placing it, without glue, in the spot you have designated for it – this is called a ‘dry fit’. Make any adjustments in size needed.

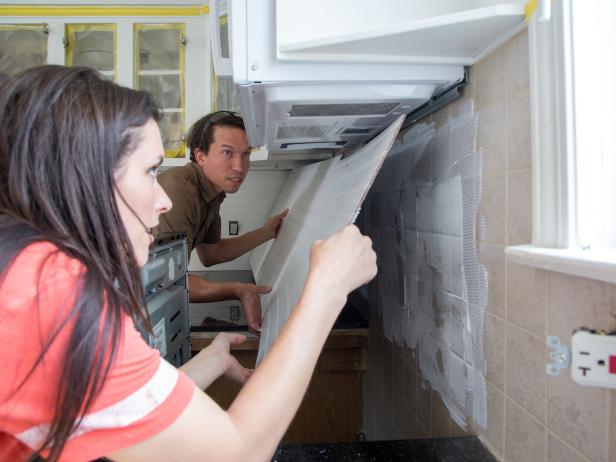
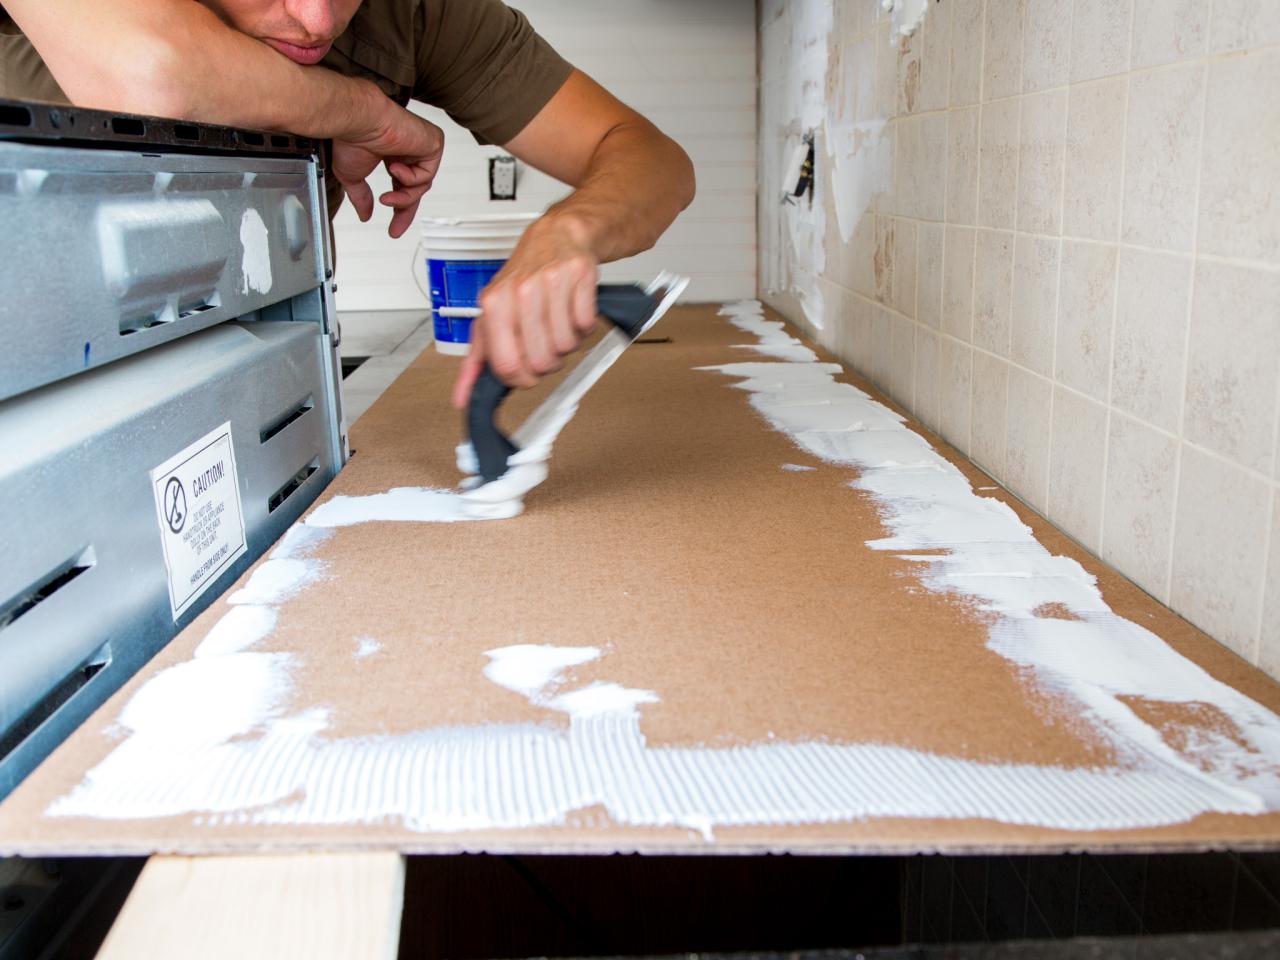
Glue and Press
TIP: It helps to have a friend for this step.
Once you have all the beadboard panels properly cut, use a trowel to spread thin-set glue over each section and then position each panel very closely to the glued surface. Don’t press the panel into the glue until you have also lined up the adjacent panel as well. You can use a spackle knife at the bottom if needed to slowly move each panel into proper alignment.
When all panels are up and aligned, evenly press each panel into the glue, and use a long level to check alignment. It is important to use consistent pressure to keep the panel flat so as not to create uneven placement. If necessary, use sturdy tape or clamps to press and hold areas that are not laying flat until the glue grabs and solidifies, in a few moments.

Paint
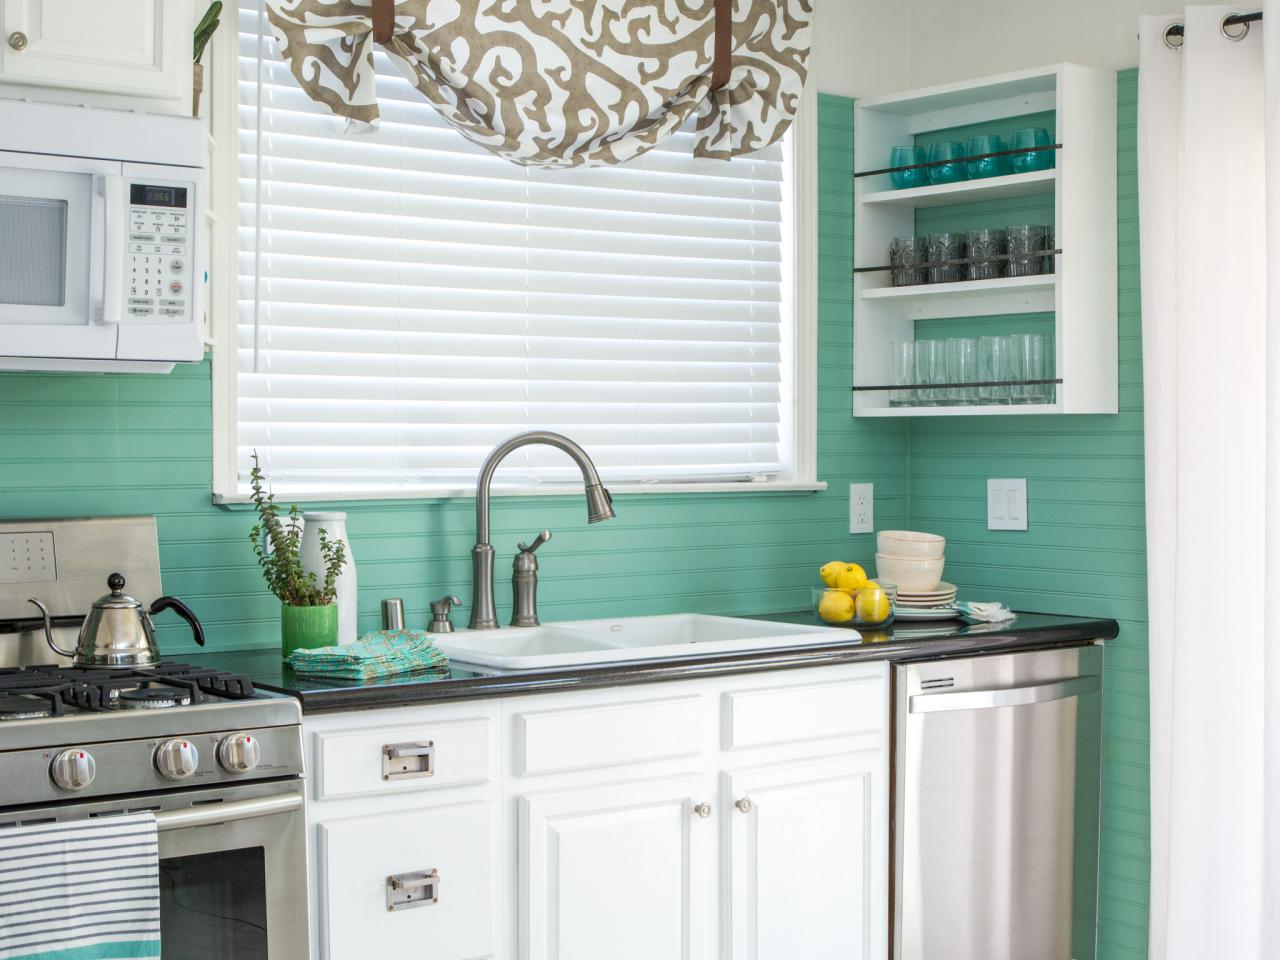
Now you can let your creativity shine through. As long as you use a semi-gloss or gloss paint, you can pick any color that works in your kitchen's color scheme. Be bold! This bright greenish-blue color brings in the ambience of the seashore, and adds a bright counterpoint to the white cabinetry.
Use a small paintbrush first for the smaller grooves of the bead board, making sure to catch any drips. Use a 4” or 6” roller for the rest. It’s always smart to start with pre-primed beadboard to save yourself time and effort. Depending on your work environment, you could paint the beadboard pieces in their finish color before they go up, but because of extremely high temperatures outside, we painted our panels after installation for the best curing.
TIP: I prefer to use a small sample kit for this job – it makes it easy to get into the tiny areas a backsplash naturally has, and you can pop the lid on and save the paint and roller for the second coat.

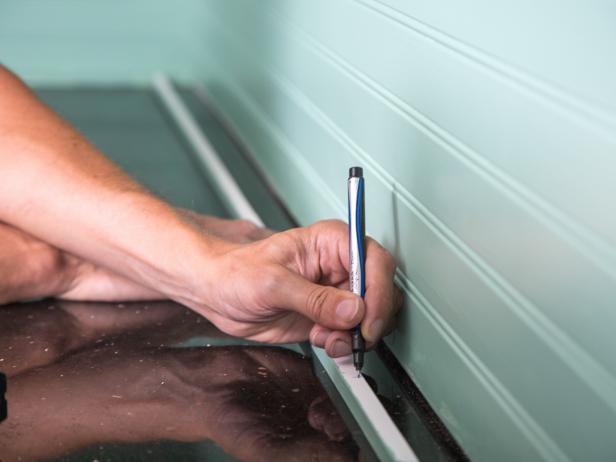
Cut and Apply the Trim
While the paint is drying on the beadboard panels, you can cut and paint the trim. Be sure to refer to the measurements of your plan and double check the trim fit by dry fitting it to the panels.
Once you’re sure of the fit, glue the trim into place and apply a mildew-free kitchen caulk to the bottom of the panel and the trim where it meets the counter.
TIP: Paint all sides of your trim before you install. You can touch it up after installation, but having a sealed piece of wood greatly improves the water resistance of your backsplash over time.
Before and After
You don’t need to finance a whole renovation to get a spectacular newlook in your kitchen. With a few panels of beadboard and a couple of hours, you can turn your tired kitchen into a colorful, updated room without the stress and dust of major demo.
Before

After


