


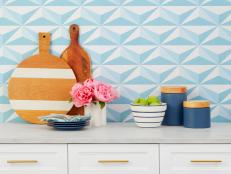
How to Install a Tile Backsplash

Materials and Tools:
bucket
bleach
sponges
laundry detergent
rubber gloves
level
tape measure
grout floats
putty knife
wide trowel
toothed trowel
wet saw or tile cutter
safety glasses
grout
tiles
pre-mixed tile adhesive
caulk and caulking gun
grout sealer
paintbrush
Steps:
1. Clean the surface thoroughly first to remove all grease and residue. Mix together 1/4-cup laundry powder, 1/2-cup bleach and one gallon of water and scrub the wall with a sponge. Wear rubber gloves when scrubbing.
2. Use a putty knife to scrape off stubborn, built-up grease stains
3. Measure the length of the wall and mark the midpoint.
4. Dry-fit the tiles, starting in the middle to get an idea of how things will fit. If you're fitting tiles in below a window, bring tiles up to the bottom of the window. Use a level to extend the window line along the wall.
5. Since the row just below the window will be made up of full tiles, measure the remaining space to the counter to determine how wide to cut the tiles.
6. Put on safety glasses and cut smaller tiles using a wet saw.
7. Spread grout along a section of the wall using a wide trowel. Go back over the grout with a toothed trowel to smooth everything out.
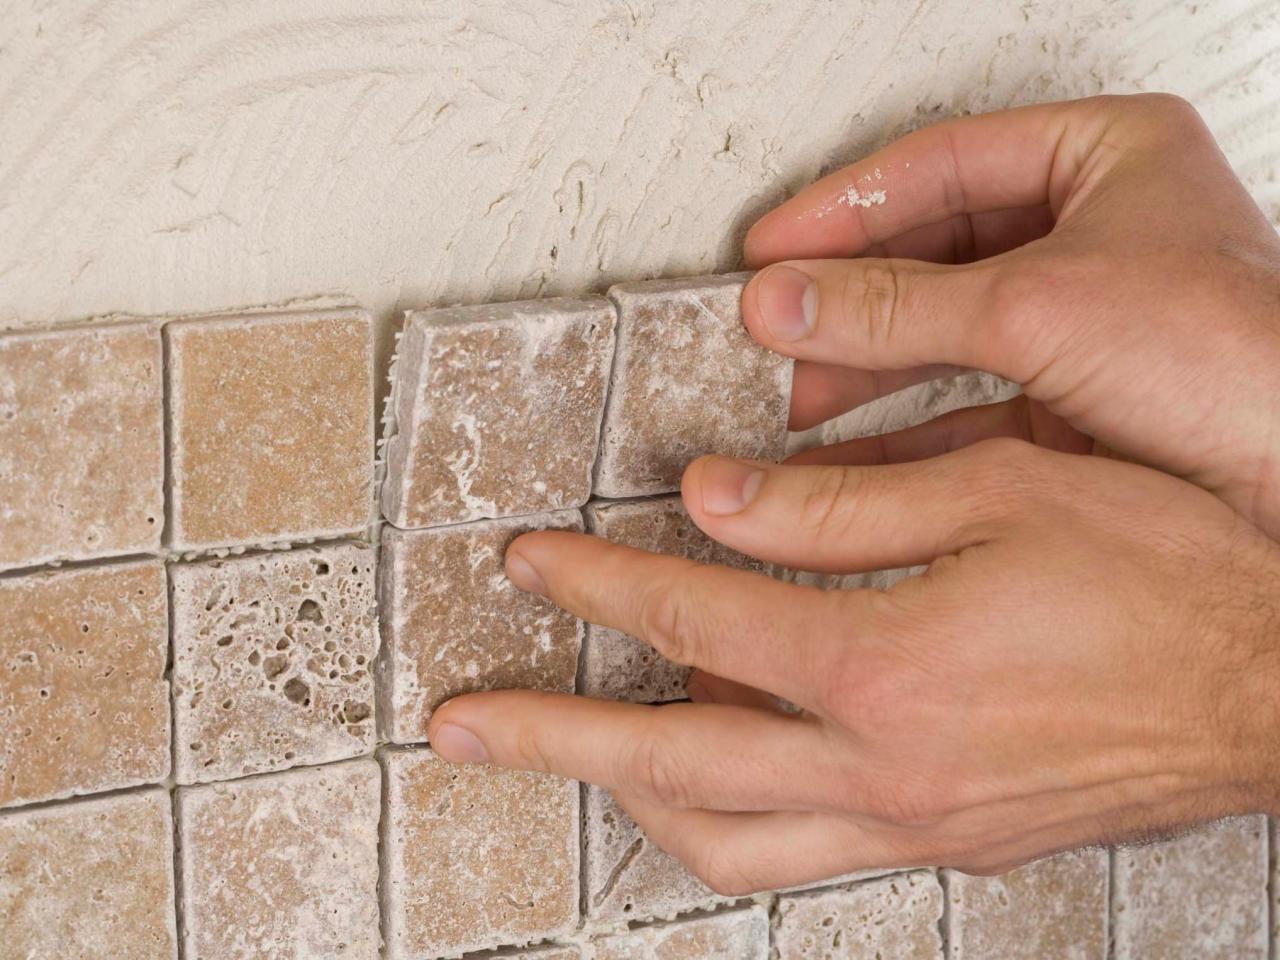
8. Start sticking tiles to the wall. Press and twist just a bit to set each tile in the adhesive. Stagger the tiles to make the pattern more interesting.
9. Once the last piece is in place let the adhesive cure overnight. Come back the next day for a grout party.
10. Apply the grout with a rubber grout float. Hold the float at an angle and force grout into the joints.
11. Don't worry about smearing grout all over the tiles. Come back with a clean grout float and sponge and remove as much as you can.
12. Once all the joints are nice and full of grout, use a damp sponge to remove any remaining grout from the surface of the tiles.
13. Let the grout dry and polish tiles with clean, soft cloth to buff away any remaining haze.
14. Rub a damp sponge along the grout lines for the next few days so the grout cures properly. Also run a bead of caulk along the bottom and top of the tile backsplash.
15. After another week or so, paint the joints with grout sealer.


