


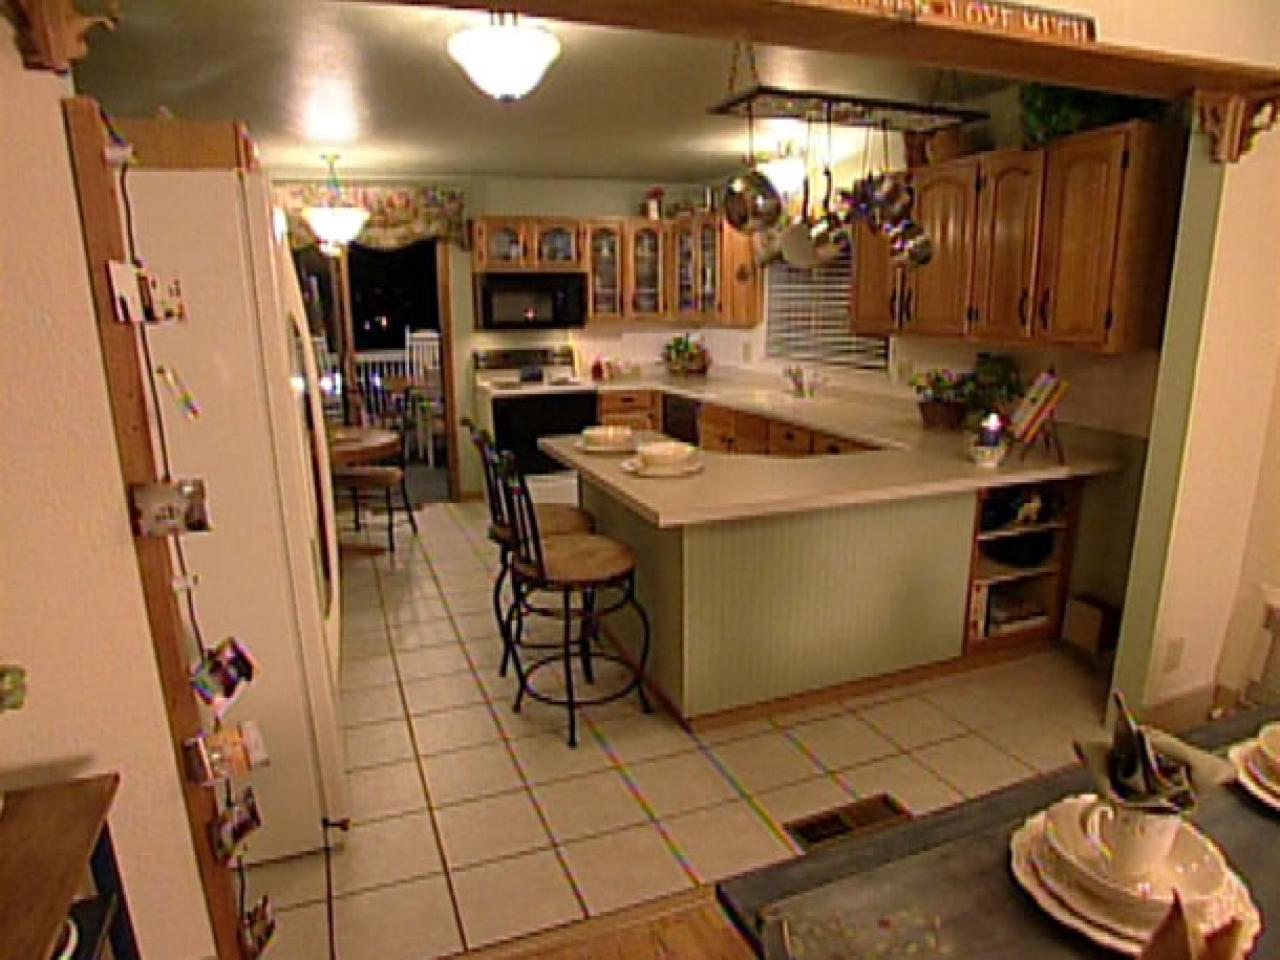
How To: Building a Kitchen Island With Cabinets

Everyone wants more room in their kitchen, and one way to create that space is to add a peninsula. This simple project is easy to build and will expand counter, storage and eating space. The base of the peninsula is constructed from three upper cabinets and one corner cabinet to create an L-shaped addition. Upper cabinets are 12-inches deep and typically found above countertops, but rather than using the typical 24-inch deep lower cabinets, these will take up less room while still creating additional storage.

Materials and Tools:
three 12-inch upper cabinets
one corner cabinet
2x4s for toe kicks
cabinet screws
MDF countertop
laminate
contact cement
spacers
clamps
measuring tape
drill
circular saw
laminate slitter
router and laminate bit
J-roller
contact cement rollers
safety glasses
Steps:

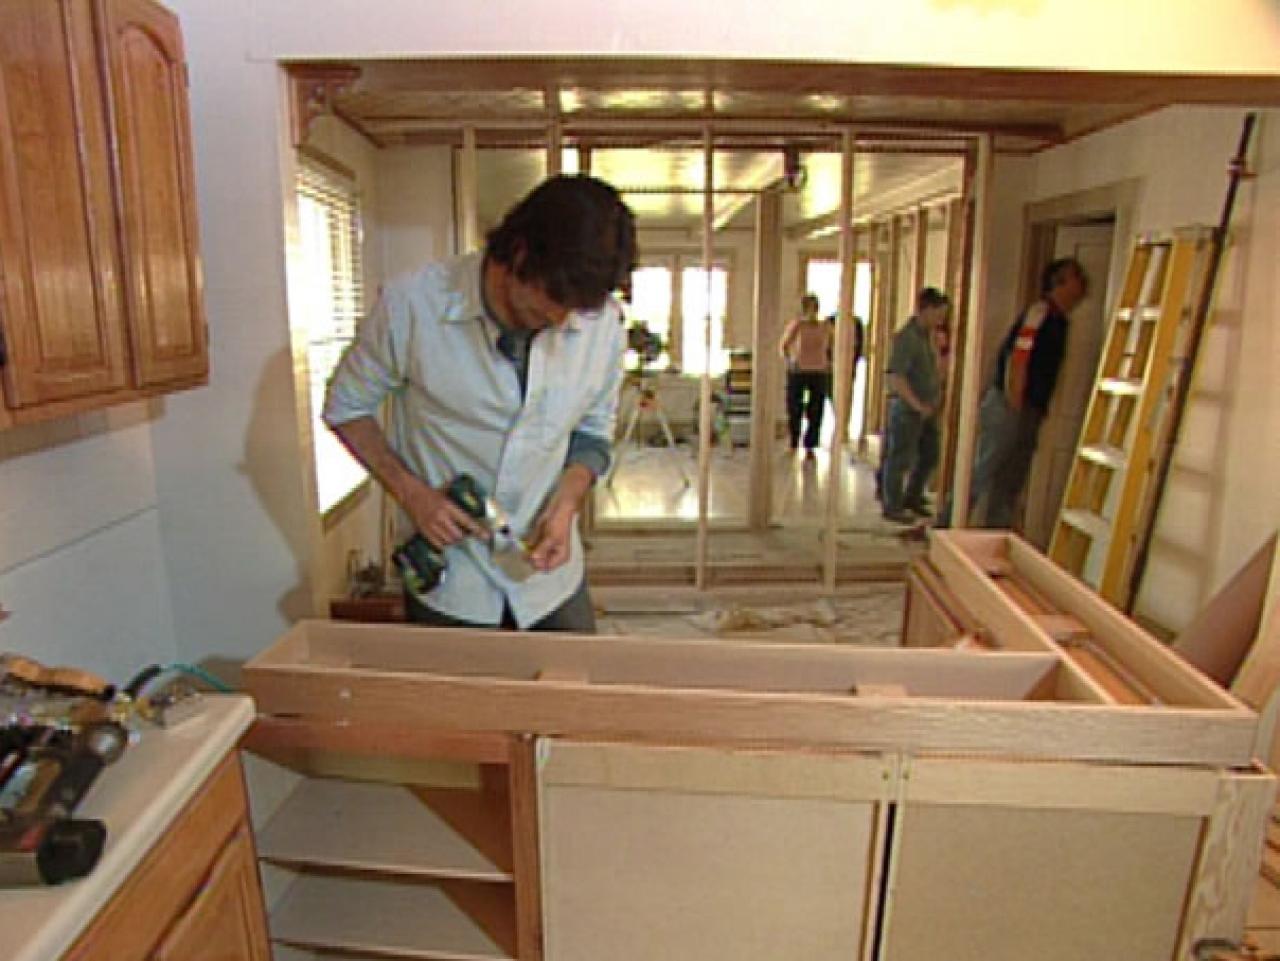
1. Assemble the cabinets upside-down and then measure. Clamp the cabinets together and attach using screws.
2. Since upper cabinets do not automatically come with a toe-kick, one will have to be built. This project calls for an L-shaped toe kick using 2x4s. The toe-kick should be built so it sits 3 inches in on all sides of the cabinets and measures 4 inches high. Place spacers throughout the toe kick over the points where the cabinets meet. Once built, screw the toe-kick spacers to the cabinet.
3. Flip the peninsula right-side-up and place it into position. Screw the new peninsula cabinets into the pre-existing ones.
4. Place the MDF countertop on top of the peninsula cabinets. The countertop should hang 2 inches over the door side and 8 inches over the backside. The overhang on the backside will create added seating space. Attach the countertop by screwing up through the cabinets.

5. Measure the length and width of the countertop and apply to the laminate. You want to add an inch to the measurements, allowing yourself room for error when attaching the laminate to the countertop. Cut the laminate out using a circular saw.
6. Use a laminate stripper to cut laminate for the sides of the countertop. Again, cut an inch larger than actual measurements.
7. Now get ready to place the laminate. Clear the surface and make sure there is no dust or debris. Apply two coats of contact cement to the countertop sides and one coat to the underside of the laminate strips. Allow the contact cement to dry and then carefully put the strips in place. Be aware that once the laminate is in place, it cannot be moved. Roll out any air pockets by using a J-roller.
8. Once it's completely dry, use the router and laminate bit to remove the excess laminate. Place the base of the router on the side of the countertop and move in a left to right motion.

9. When all the excess laminate is removed, it is time to begin working on the countertop. Again, add two coats of contact cement to the countertop and one coat to the underside of the laminate.
10. Once the contact cement has dried, place spacers down on the countertop, no more than a foot apart from each other. Flip the laminate onto the spacers, making sure the laminate is positioned correctly. Remember, once in place, you will not be able to adjust it. Remove the spacers one at a time, and smooth out the laminate with the J-roller.
11. After everything has completely dried, place the base of the router on the countertop and move left-to-right to remove the excess laminate.
12. For a finishing touch, add an appealing backing to the peninsula. Painted beadboard was used in this example.


