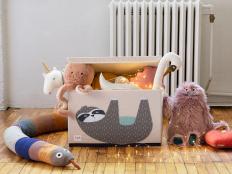
Turn a Galvanized Tub Into Playful Mobile Toy Storage

Give an old square galvanized tub new life as a handy place to stash kids' toys. This easy project creates fun and colorful storage for building blocks or other toys and includes a built-in play surface on top.

Give an old square galvanized tub new life. This simple project makes fun and colorful storage for building blocks or other toys.

DIY Galvanized Tub Storage

Give an old square galvanized tub new life. This simple project makes fun and colorful storage for building blocks or other toys.

Materials Needed

galvanized tub
saw
(1) 1/2" plywood cut to 16-3/4" x 16-7/8"
(1) 1/2" plywood cut to 20-1/8" x 21"
(2) 1"x2"x16-7/8" trim
(2) 1"x2"x18-1/8" trim
(2) 1"x2"x21" trim
(2) 1"x2"x21-5/8" trim
(2) 2’ clamps
1" wood screws
screwdriver
wood putty
sand paper
spray paint
2 handles with screws
four building block base plates
heavy duty spray adhesive
4 large casters
(16) 3/4" wood screws

Note: these measurements fit a standard square galvanized tub. Be sure to check the dimensions of your tub and adjust if necessary.

Cut Boards

Make all of the cuts. Sand the ends as necessary.

To make the top tray, place the 21â   trim pieces flush against the 21â   sides of the plywood. Center the plywood in the middle of the trim pieces with equal amounts of trim on the top and bottom of the plywood. Secure the trim in place with clamps. Use 1â   wood screws to attach the trim to the plywood by screwing through the trim and into the side of the plywood. Use at least 4 screws on each side, sinking them just a bit. Add the 21-5/8â   trim to the opposite sides in the same way, but be sure to insert a screw at both ends of the trim, screwing it into the ends of the previously attached trim. Fill screw holes with wood putty and allow to dry.

DIY Galvanized Tub Storage

To make the top tray, place the 21” trim pieces flush against the 21” sides of the plywood. Center the plywood in the middle of the trim pieces with equal amounts of trim on the top and bottom of the plywood. Secure the trim in place with clamps. Use 1” wood screws to attach the trim to the plywood by screwing through the trim and into the side of the plywood. Use at least 4 screws on each side, sinking them just a bit. Add the 21-5/8” trim to the opposite sides in the same way, but be sure to insert a screw at both ends of the trim, screwing it into the ends of the previously attached trim. Fill screw holes with wood putty and allow to dry.

Construct Top Tray

To make the top tray, place the 21" trim pieces flush against the 21" sides of the plywood. Center the plywood in the middle of the trim pieces with equal amounts of trim on the top and bottom of the plywood. Secure the trim in place with clamps. Use 1" wood screws to attach the trim to the plywood by screwing through the trim and into the side of the plywood. Use at least 4 screws on each side, sinking them just a bit. Add the 21-5/8" trim to the opposite sides in the same way, but be sure to insert a screw at both ends of the trim, screwing it into the ends of the previously attached trim. Fill screw holes with wood putty and allow to dry.

Repeat the process for the bottom tray beginning with the 16-7/8â   trim and finishing with the 18-Â¼â   trim. When the putty has dried, sand the trays. Pay special attention to the corners, taking away any sharp edges for safety.

DIY Galvanized Tub Storage

Repeat the process for the bottom tray beginning with the 16-7/8” trim and finishing with the 18-¼” trim. When the putty has dried, sand the trays. Pay special attention to the corners, taking away any sharp edges for safety.

Construct Bottom Tray

Repeat the process for the bottom tray beginning with the 16-7/8" trim and finishing with the 18-1/4" trim. When the putty has dried, sand the trays. Pay special attention to the corners, removing any sharp edges for safety.
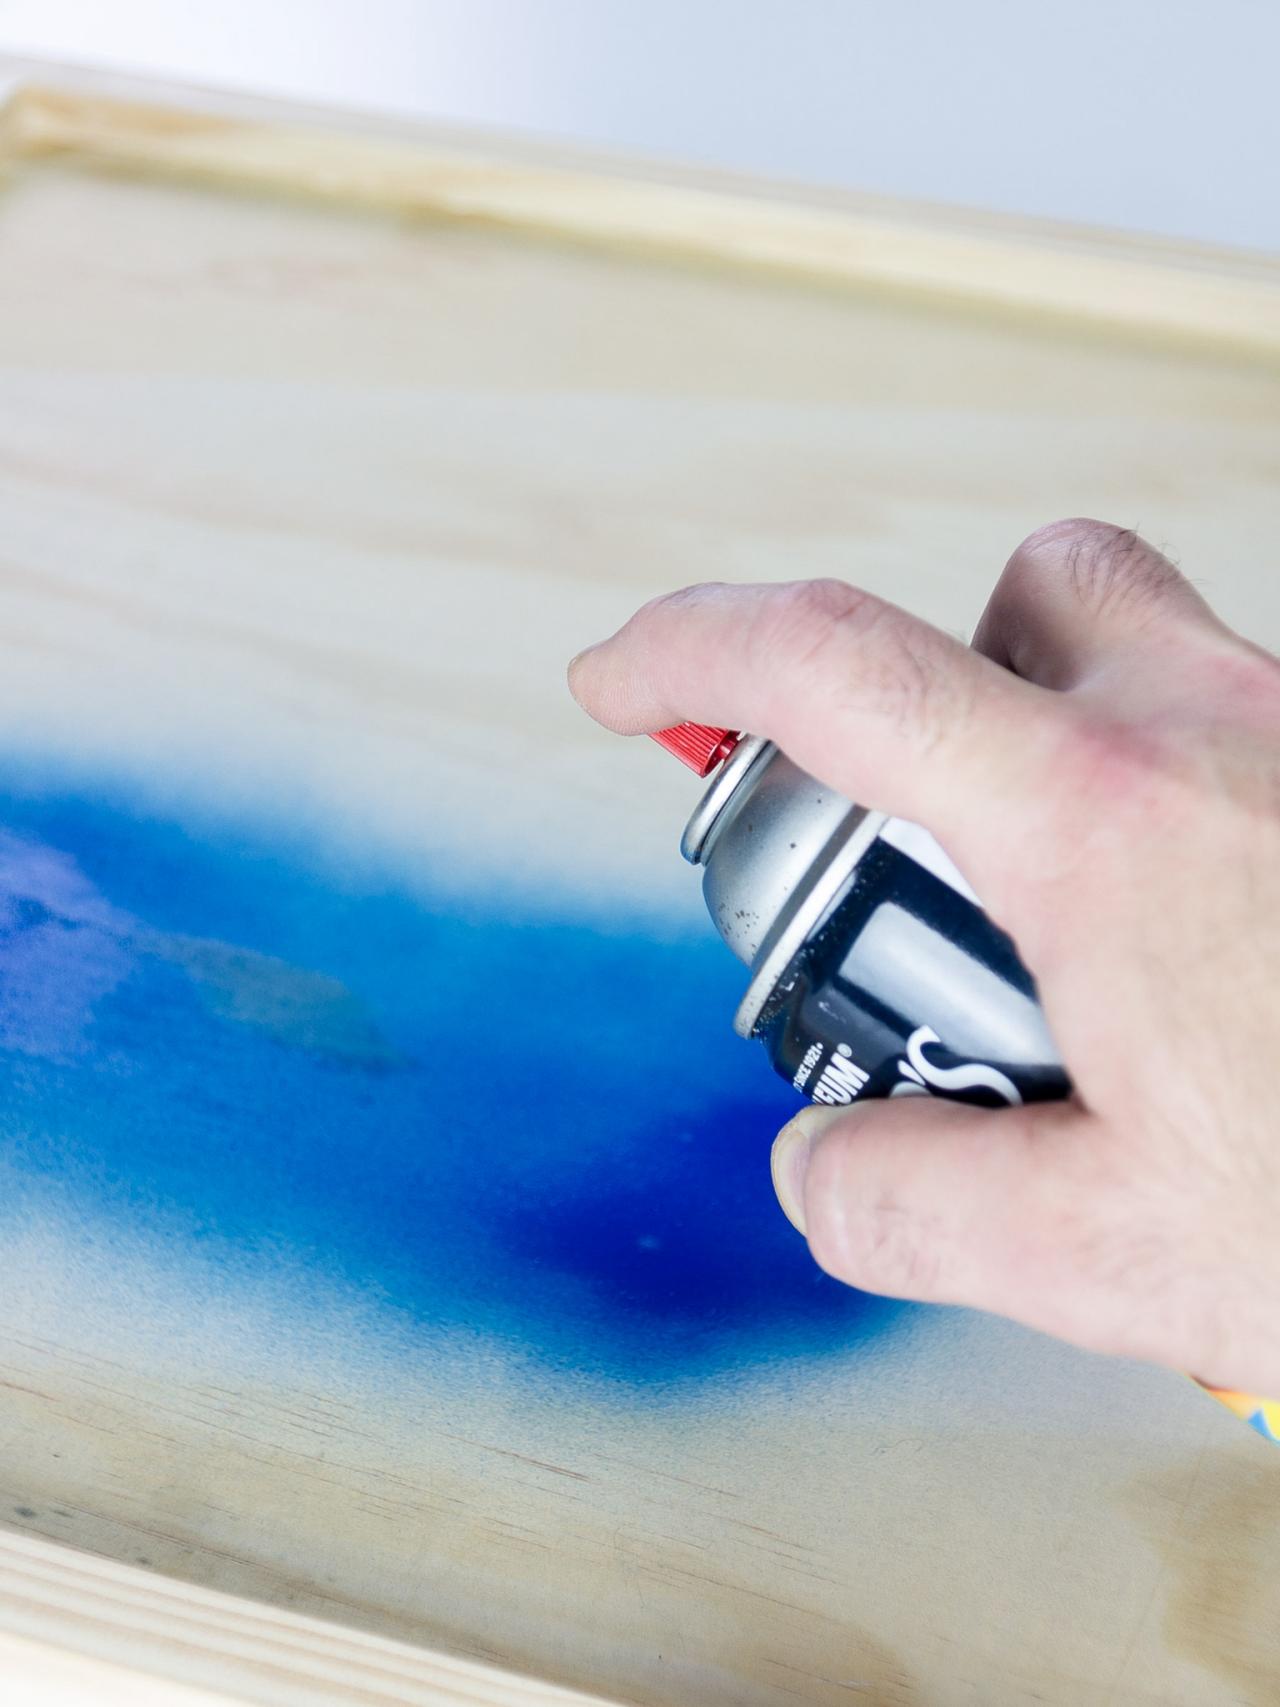
Repeat the process for the bottom tray beginning with the 16-7/8â   trim and finishing with the 18-Â¼â   trim. When the putty has dried, sand the trays. Pay special attention to the corners, taking away any sharp edges for safety.

DIY Galvanized Tub Storage

Repeat the process for the bottom tray beginning with the 16-7/8” trim and finishing with the 18-¼” trim. When the putty has dried, sand the trays. Pay special attention to the corners, taking away any sharp edges for safety.

Paint

Spray paint both trays and allow to dry completely. Sand lightly with fine grit paper or steel wool. Add additional coats as necessary.

Spray paint both trays and allow to dry completely. Sand lightly with fine grit paper or steel wool. Add additional coats as necessary.

DIY Galvanized Tub Storage

Spray paint both trays and allow to dry completely. Sand lightly with fine grit paper or steel wool. Add additional coats as necessary.

Add Casters

Add casters to the bottom by placing the mounting plates flush in the corners. Secure with 3/4" screws.

Add casters to the bottom by placing the mounting plates flush in the corners. Secure with Â¾â   screws.

DIY Galvanized Tub Storage

Add casters to the bottom by placing the mounting plates flush in the corners. Secure with ¾” screws.

Add Handles

Add handles to the sides of the top tray centered vertically and horizontally on opposite sides of the tray.

Add handles to the sides of the top tray centered vertically and horizontally on opposite sides of the tray.

DIY Galvanized Tub Storage

Add handles to the sides of the top tray centered vertically and horizontally on opposite sides of the tray.

Get Top Tray Ready for Play

Add building square base plates by spraying the back side of the plates and top tray surface with heavy-duty spray adhesive. Press the two surfaces together. Place books on top of the building square base plates for weight until the adhesive sets. 

Add building square base plates by spraying the back side of the plates and top tray surface with heavy duty spray adhesive. Press the two surfaces together. Place books on top of the building square base plates for weight until the adhesive sets.

DIY Galvanized Tub Storage

Add building square base plates by spraying the back side of the plates and top tray surface with heavy duty spray adhesive. Press the two surfaces together. Place books on top of the building square base plates for weight until the adhesive sets.

Assemble and Enjoy

Assemble the storage unit by placing the tub on the bottom tray with casters. Then fill the tub with building blocks and add the top tray. Note: the top tray can be flipped and the smooth side used for coloring, crafts or homework. 

Give an old square galvanized tub new life. This simple project makes fun and colorful storage for building blocks or other toys.

DIY Galvanized Tub Storage

Give an old square galvanized tub new life. This simple project makes fun and colorful storage for building blocks or other toys.

Next Up

Build Your Own Multifunctional Storage Cubby

Ample storage is a must for every home. This rolling cubby was designed to be a multifunctional storage piece for parents, pet owners, crafters or homeowners at every stage of life. The open cubbies make it easy to stash away or grab backpacks, shoes, pet supplies, kids' toys or any other necessities you need to keep at hand in the mudroom, living room, playroom, closet or garage. 

How to Install Timeless Rail-and-Stile Wainscoting

Wainscoting wall treatments are a classic way to add architectural interest to any room. Consisting of horizontal rails and vertical stiles, this relatively easy woodworking project is based on a design found in historic homes, and is sure to lend old-home charm to builder-basic new spaces. 

Turn an Old Coffee Table Into an Upholstered Storage Ottoman

This stylish storage ottoman makes a great coffee table, provides extra seating and is a cushy place to prop up your feet at the end of the day. The handy lid lifts to reveal plenty of storage for throws, kids' toys or board games.

Short on Space? Turn a Closet Into a Homework Station

Need a dedicated space for online learning or to encourage homework focus? Follow these easy steps to turn a standard closet into a roomy, well-organized workstation with kids needs in mind.

15 Best Stuffed Animal Storage Solution Ideas

Put those cuddly companions in their place, once and for all, with our favorite toy bins, baskets, bookshelves and hammocks.

14 Best Coffee Tables With Storage for Every Living Room

You can never have too many hiding places for your stuff. Check out our top-rated coffee table picks with unmatched style and ample storage.

Turn an Old Dresser Into Playful Toy Storage

Put a fresh new spin on an old wooden dresser with open shelving, unexpected hardware and a playful use of color.

Design With Multipurpose Furniture

Learn how experts use storage and get tips to outfit your living room with function and style.

DIY Colorful Wall-Mounted Stuffed Animal Storage

Keep the clutter off the floor by transforming wall shelves and elastic into colorful and kid-friendly storage for stuffed animals.

Tips for Maintaining an Organized Living Room

These simple tips for organizing your main gathering space will put the family back in your family room.

Go Shopping

Get product recommendations from HGTV editors, plus can’t-miss sales and deals.

Follow Us Everywhere

Join the party! Don't miss HGTV in your favorite social media feeds.