


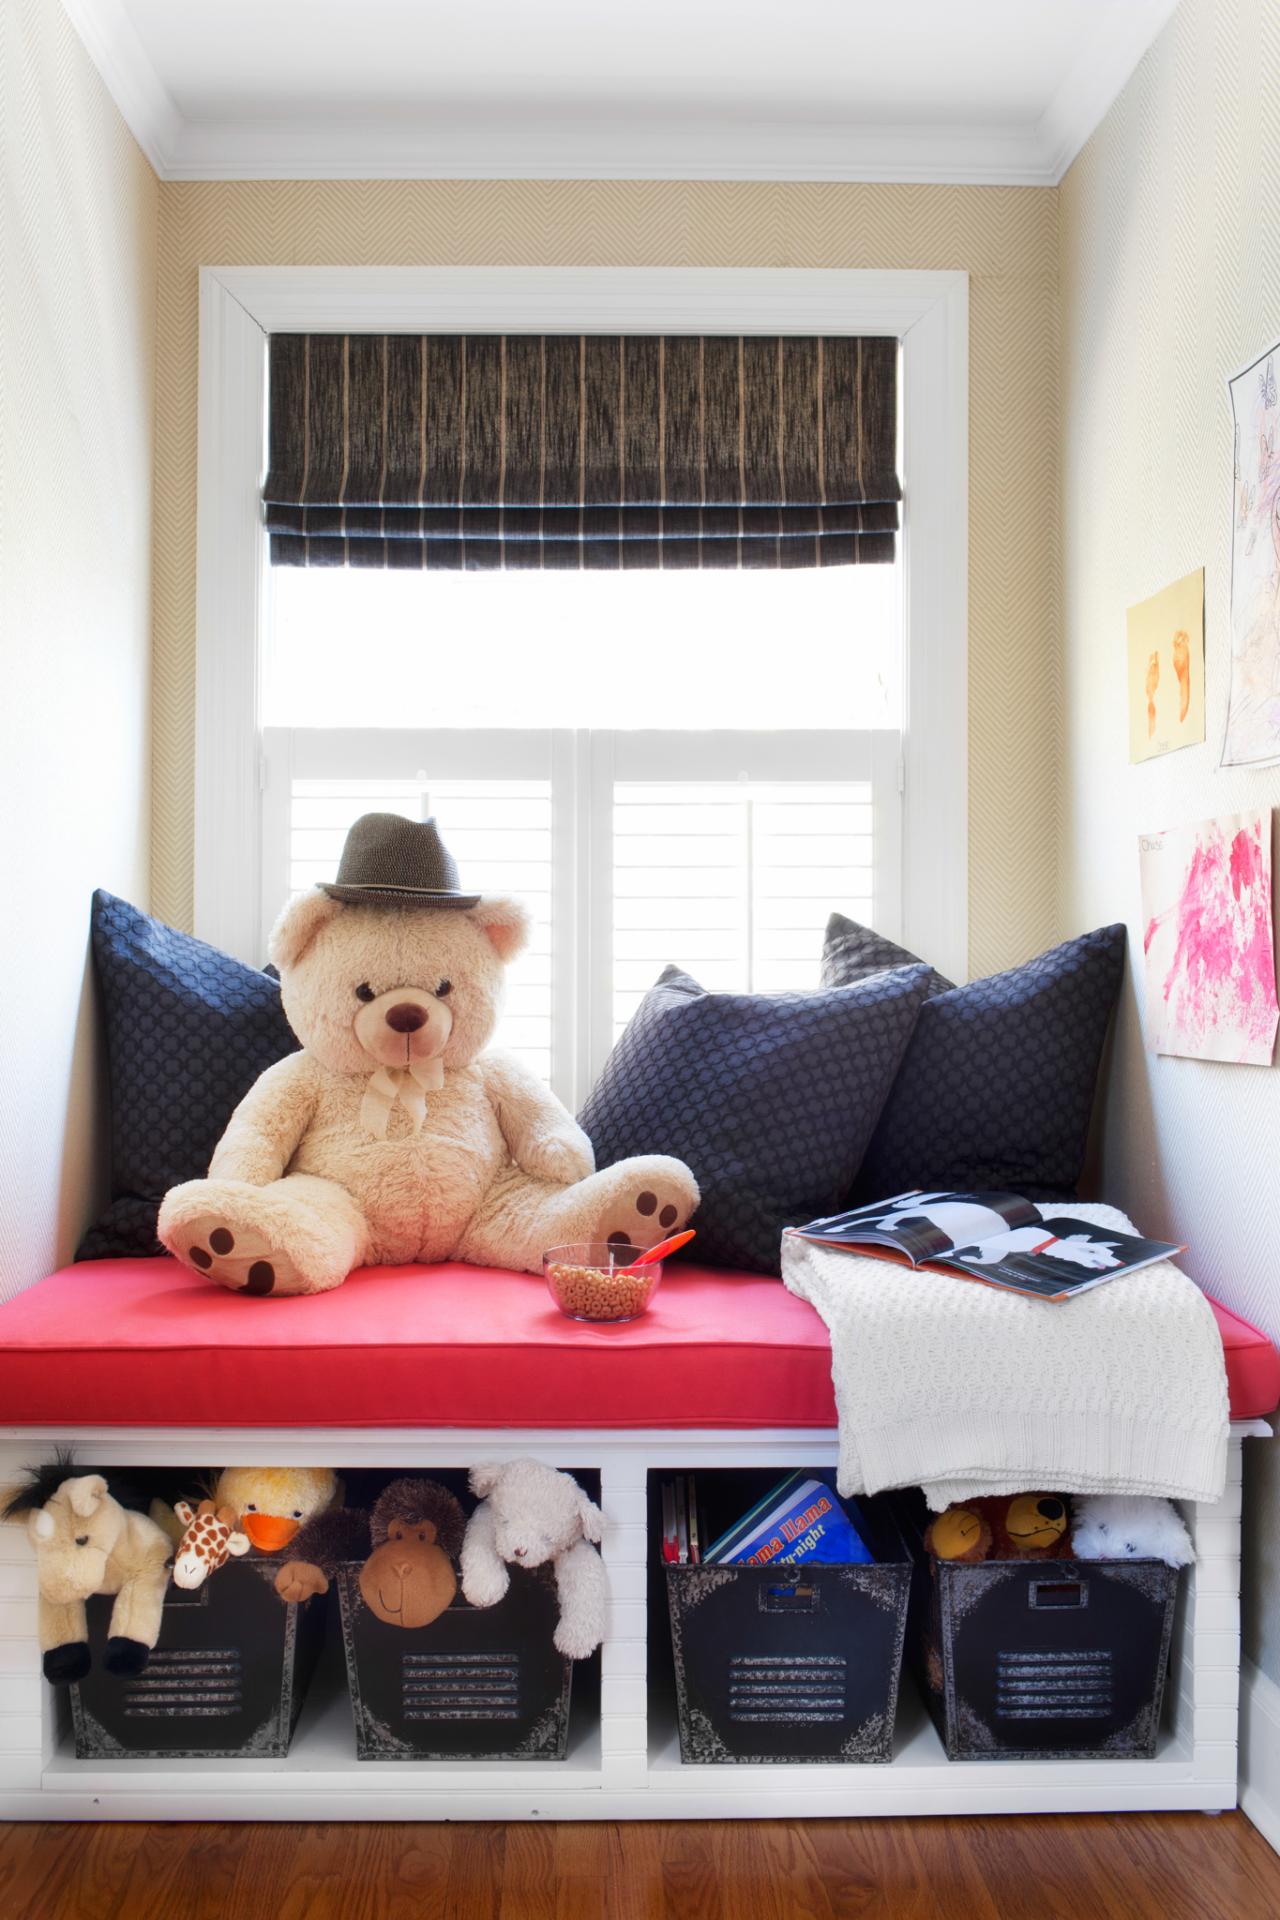
Make a Window Seat With Toy Storage


Materials Needed:
- 8' long 2x2 poplar strips
- 1/4" drill bit
- drill
- woodworking clamps
- 3" wood screws
- HVLP (high-volume, low-pressure) paint sprayer
- semigloss latex paint
- chop saw
- table saw
- wood glue
- orbital sander
- dust mask
- 4x8 beadboard planks
- nail gun
- nails or brads
- measuring tape
- pencil and notepad
- 4x8 sheets of paint-grade plywood
- damp cloth
- wood putty and putty knife
Determine Dimensions
Use measuring tape to find the necessary width and depth of window seat based on size of window and available floor space. Tip: While width and depth will vary, a good finished seat height to use is 18-20 inches.
Cut and Assemble Frame Panels
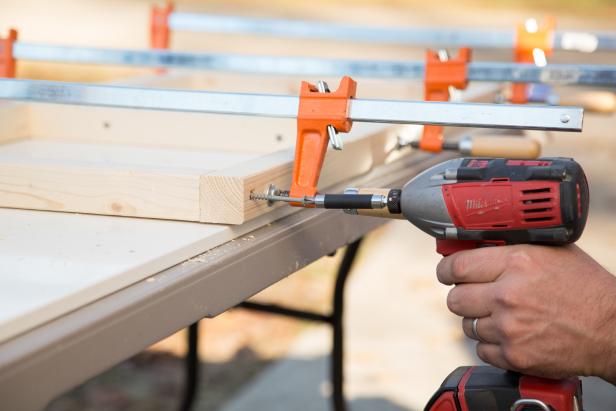
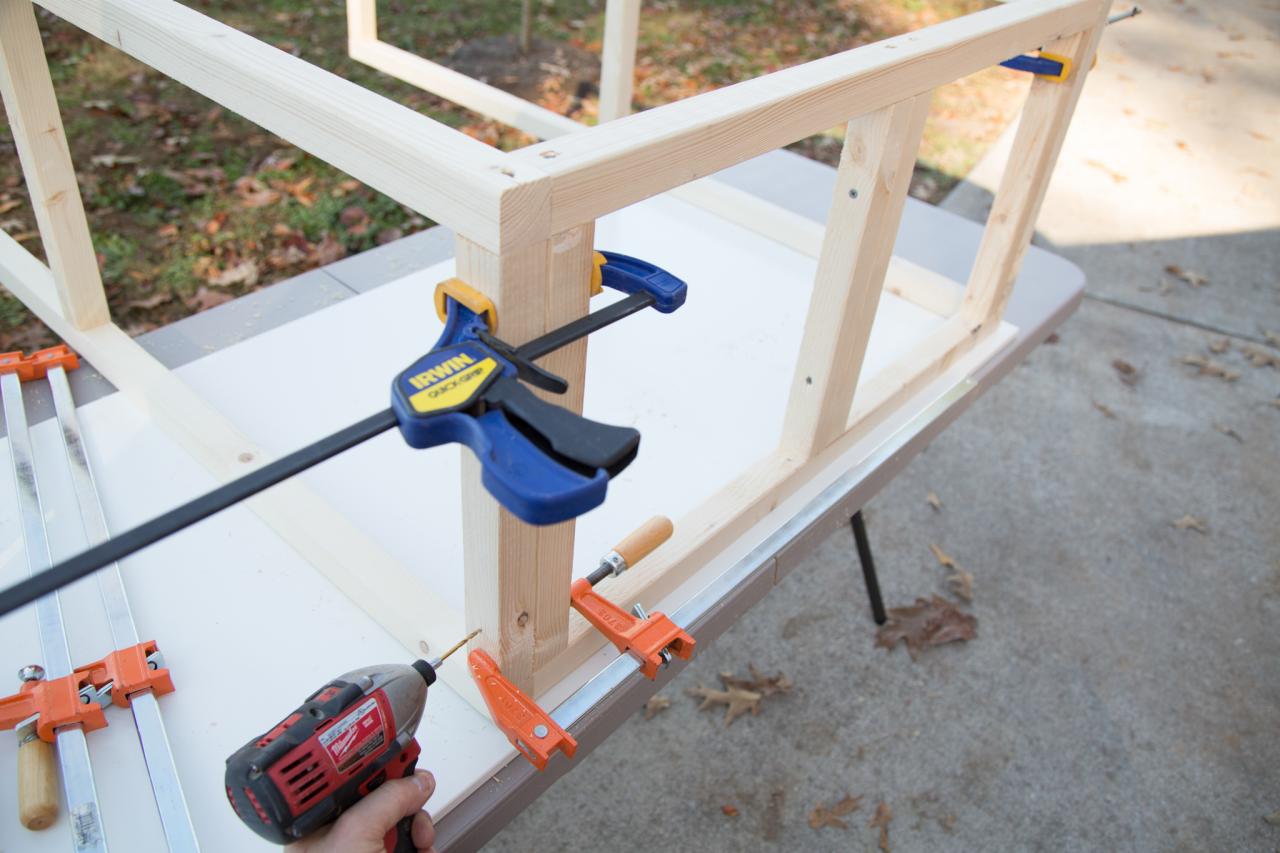
Based on dimensions, cut 8-foot-long 2x2 poplar strips to size using chop saw (Image 1). The base will be built as four separate panels which will later be joined together. Each depth panel will have two identical horizontal pieces, one along the top and one along the bottom, as well as three vertical pieces, one placed on each end and one centered in the middle. Each width panel will have two identical horizontal pieces, one along the top and one along the bottom, as well as four vertical pieces, one on each end and two butted up against one another in the center. Once all pieces are cut to size, build frame panels by laying out each piece, holding them in place with woodworking clamps, then creating pilot holes drilled through the horizontal pieces and into the vertical pieces using 1/4" drill bit. Next, secure vertical and horizontal pieces of frame to one another using 3-inch wood screws (Image 2).

Attach Frame Panels Together
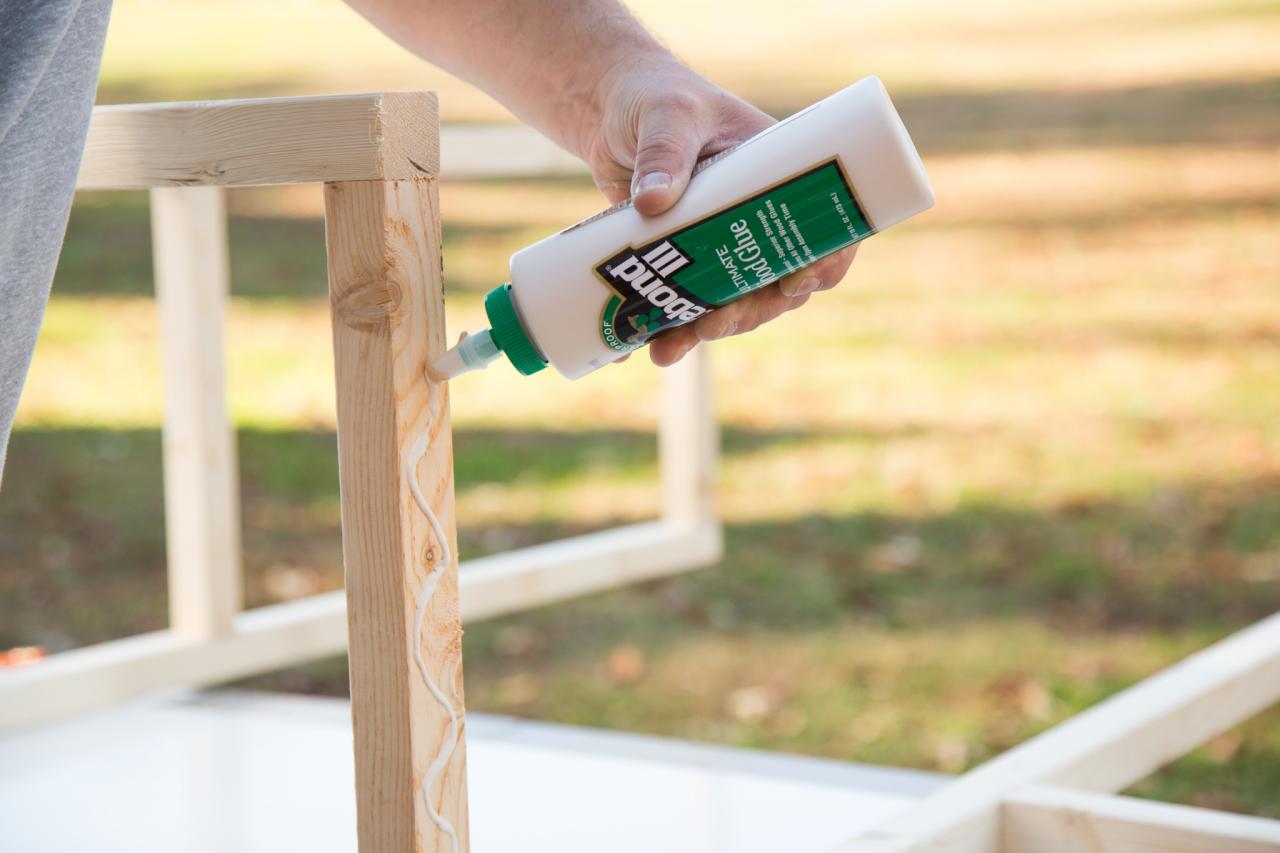
Once all frame panels have been constructed, place them against each another on a flat, level surface. Add wood glue to the outside edges of the width panels and the inside edges of the depth panels (Image 1). Next, fasten all panels together with woodworking clamps, allowing at least three hours for glue to cure (Image 2).


Mark and Cut Beadboard Planks
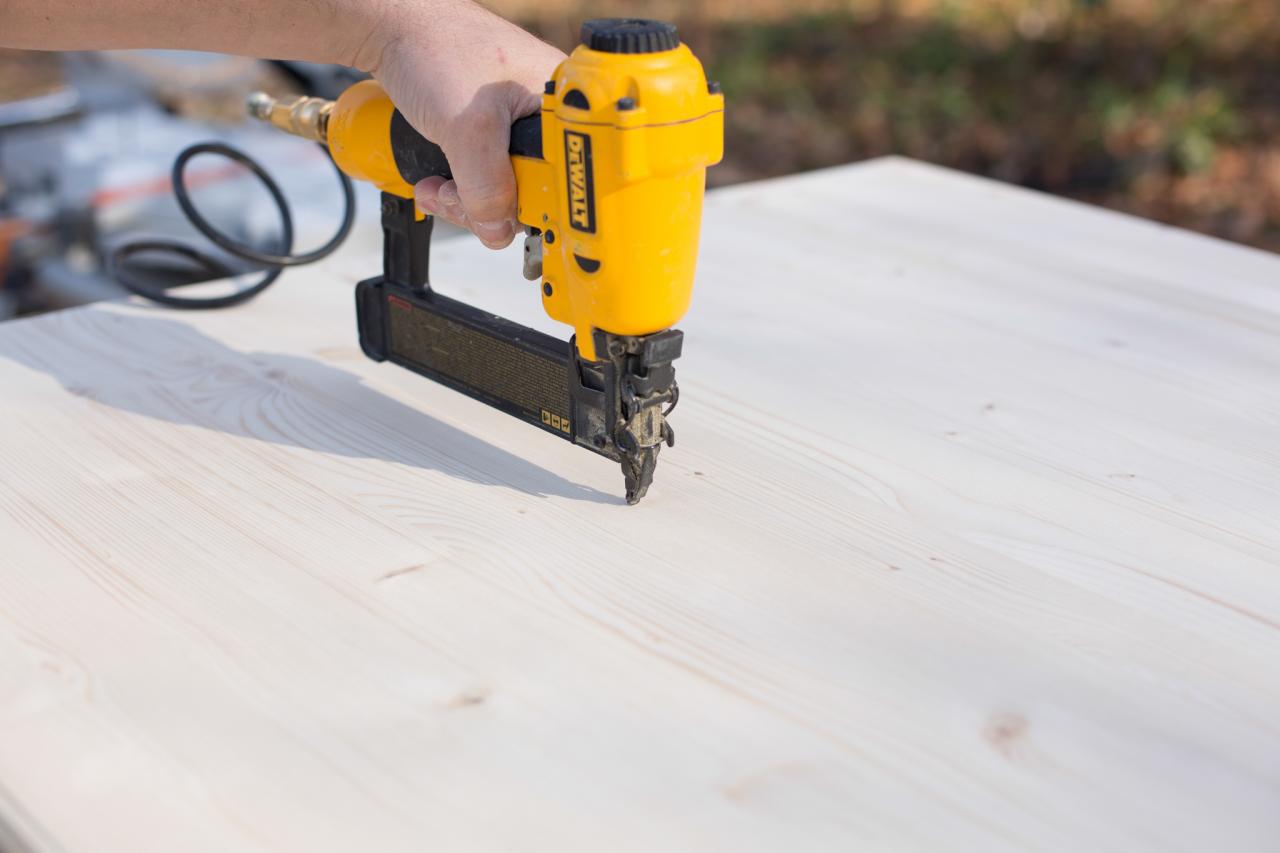
Use a measuring tape to determine the interior and exterior dimensions for the side and central base panels. Referring to these dimensions, cut 4" by 8' beadboard planks to size with chop saw, mitering the corners for a seamless look where side pieces meet the fascia (Image 1). Next, add wood glue to the back of each beadboard plank, then secure with a nail gun (Images 2 and 3). Repeat until frame panels are completely covered with beadboard.


Cut Plywood Base Inserts and Top
Referring to interior dimensions of the base, cut two pieces of plywood to size using table saw. Place each piece inside along the front and back strips of 2x2 poplar, then secure with nail gun. Next, cut a top piece of plywood to size using table saw, then attach along all four sides of frame using nail gun. Fill holes made by brads or nails with wood putty. Allow at least one hour for wood filler to dry.

Sand and Paint
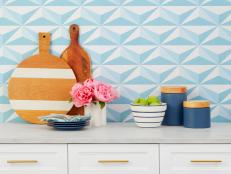
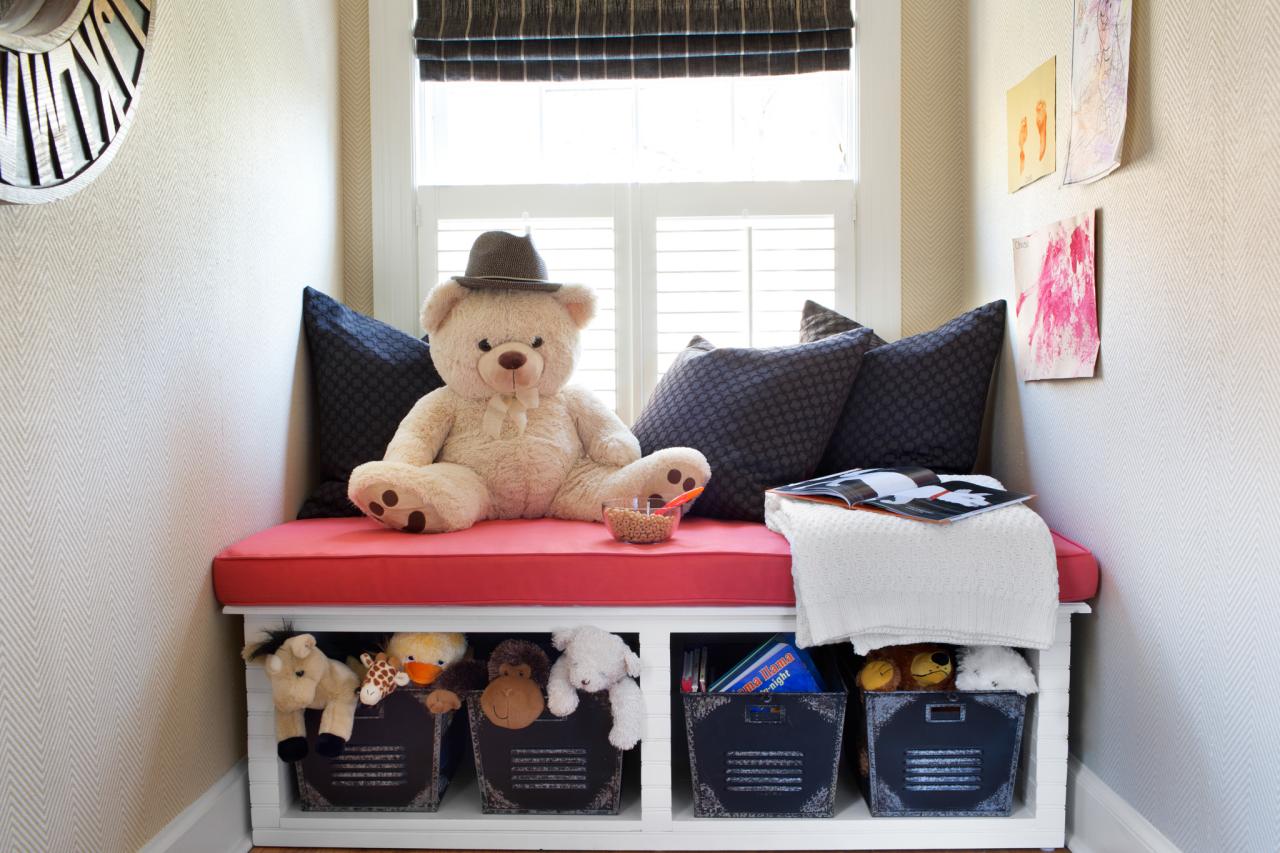
Once wood filler has dried, use orbital sander to smooth all surfaces. Wipe away dust with damp cloth. Next, in a well-ventilated area, cover floor with drop cloth, then add two even coats of semigloss paint to all surfaces of the window seat using HVLP sprayer, moving back and forth in a slow, controlled manner. Allow one full day for paint to dry before adding cushions or pillows and baskets for storage.


