


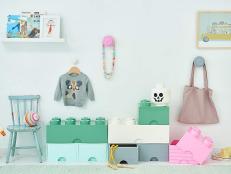
Turn an Old Dresser Into Playful Toy Storage


Materials Needed:
- wooden dresser
- drill or screwdriver
- orbital sander
- sanding pads
- HVLP paint sprayer
- high-gloss latex paint
- drawer pulls or coat hooks
- chop saw with miter setting
- 8' planks of 1X5" pine
- wood filler
- putty knife
- precut piece of 1" plywood
- pencil or marker
- measuring tape
- 3" wood screws
- 2" angled paintbrush
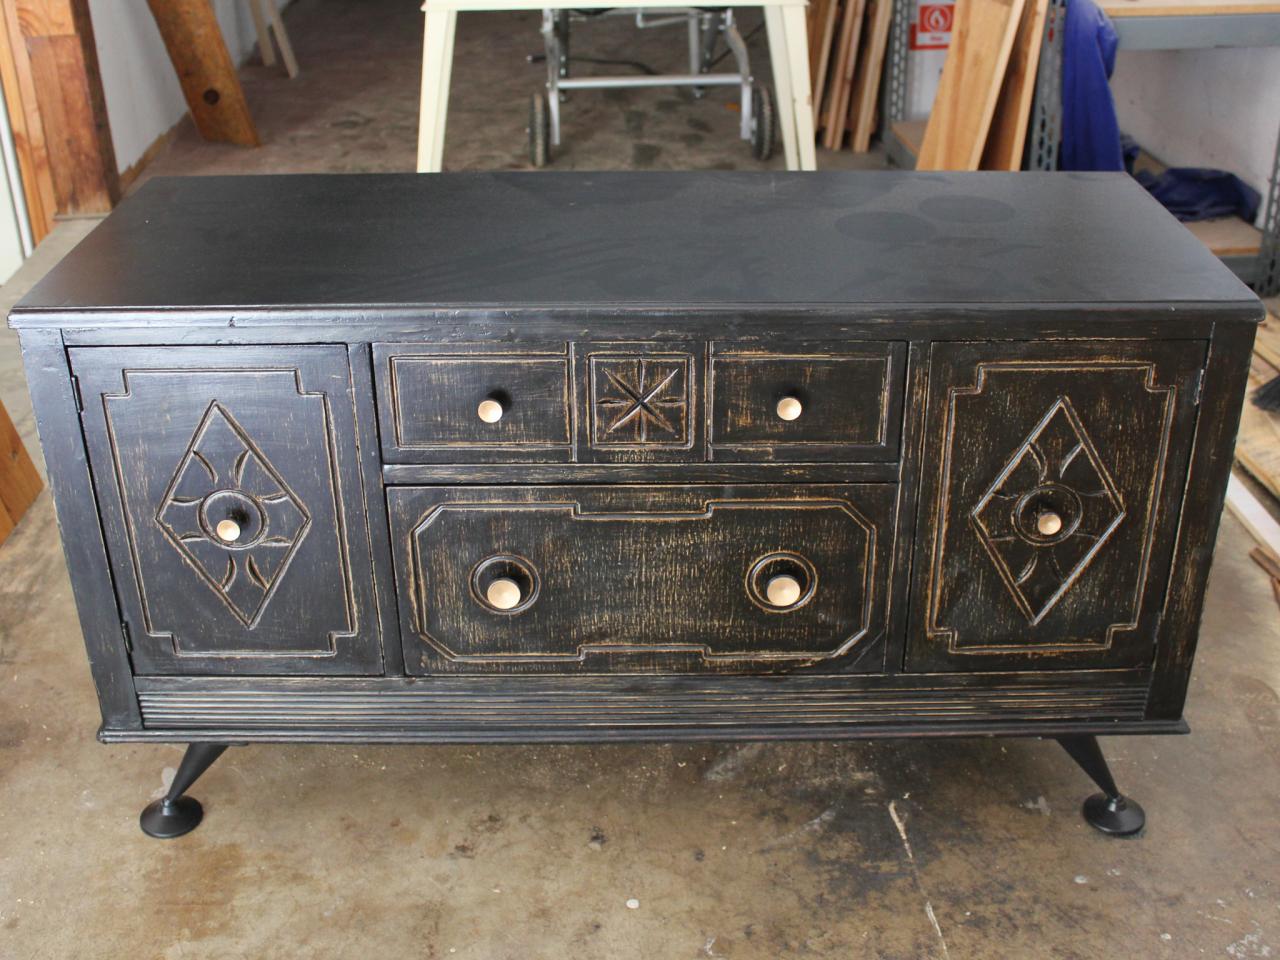
Choose the Right Dresser
Search thrift stores and online trading websites for a wooden dresser with a combination of cabinet doors and drawers deep and long enough to accommodate games, toys and electronics. A dresser with long, low-profile drawers is ideal for storing board games. Aim for dimensions of at least 18” deep and 24” tall if you plan to house and conceal gaming systems alongside books and DVDs.

Remove Door and Drawer Hardware
Using a drill or screwdriver, loosen screws from drawer pulls or knobs, then remove from dresser.

Remove Legs
In order to utilize the updated dresser for board games, toys and gaming systems, it’s wise to replace legs with a solid base that can hide cords from view. Remove the existing legs using a screwdriver or drill.

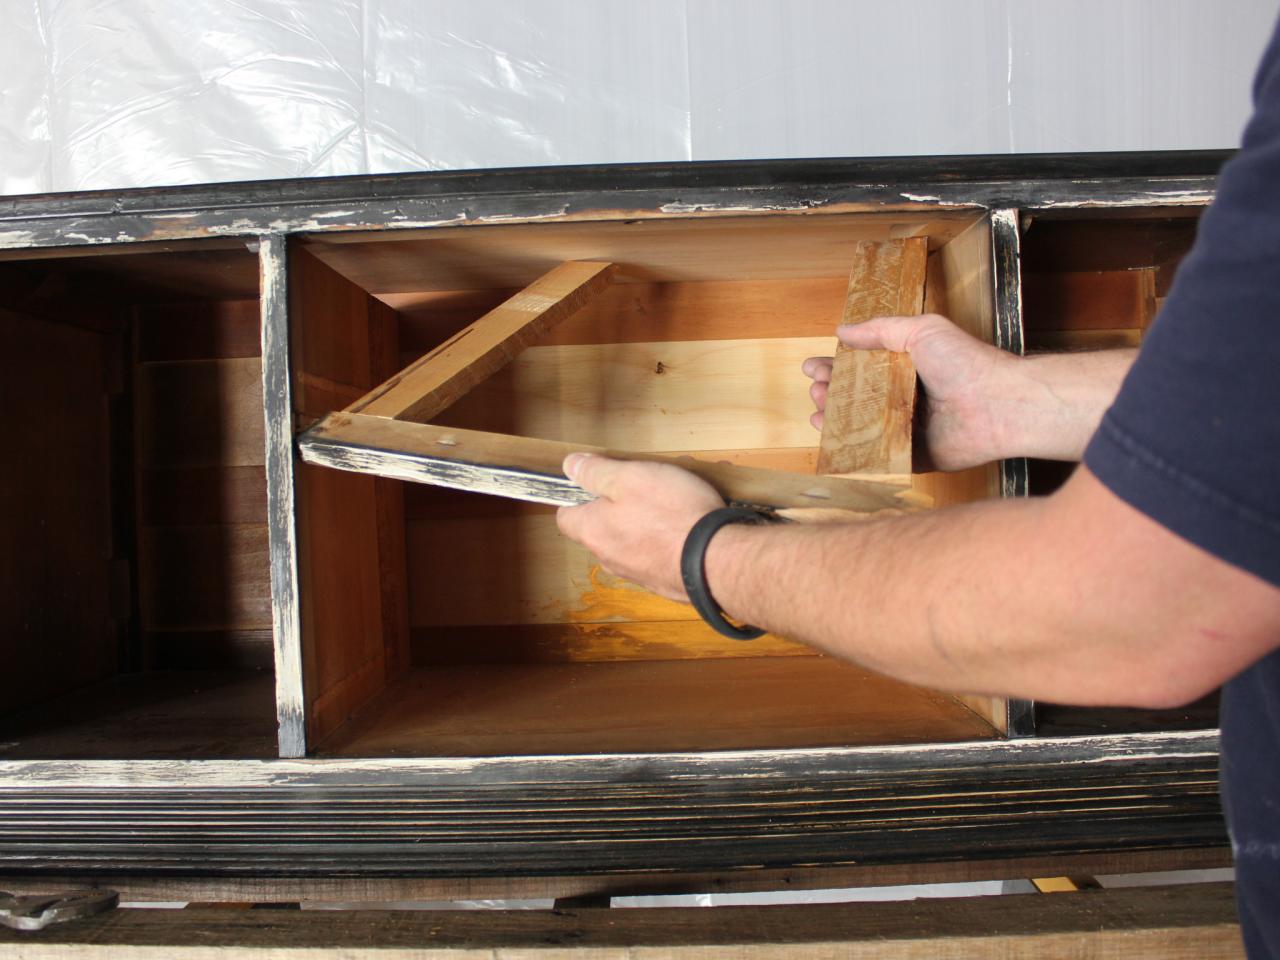
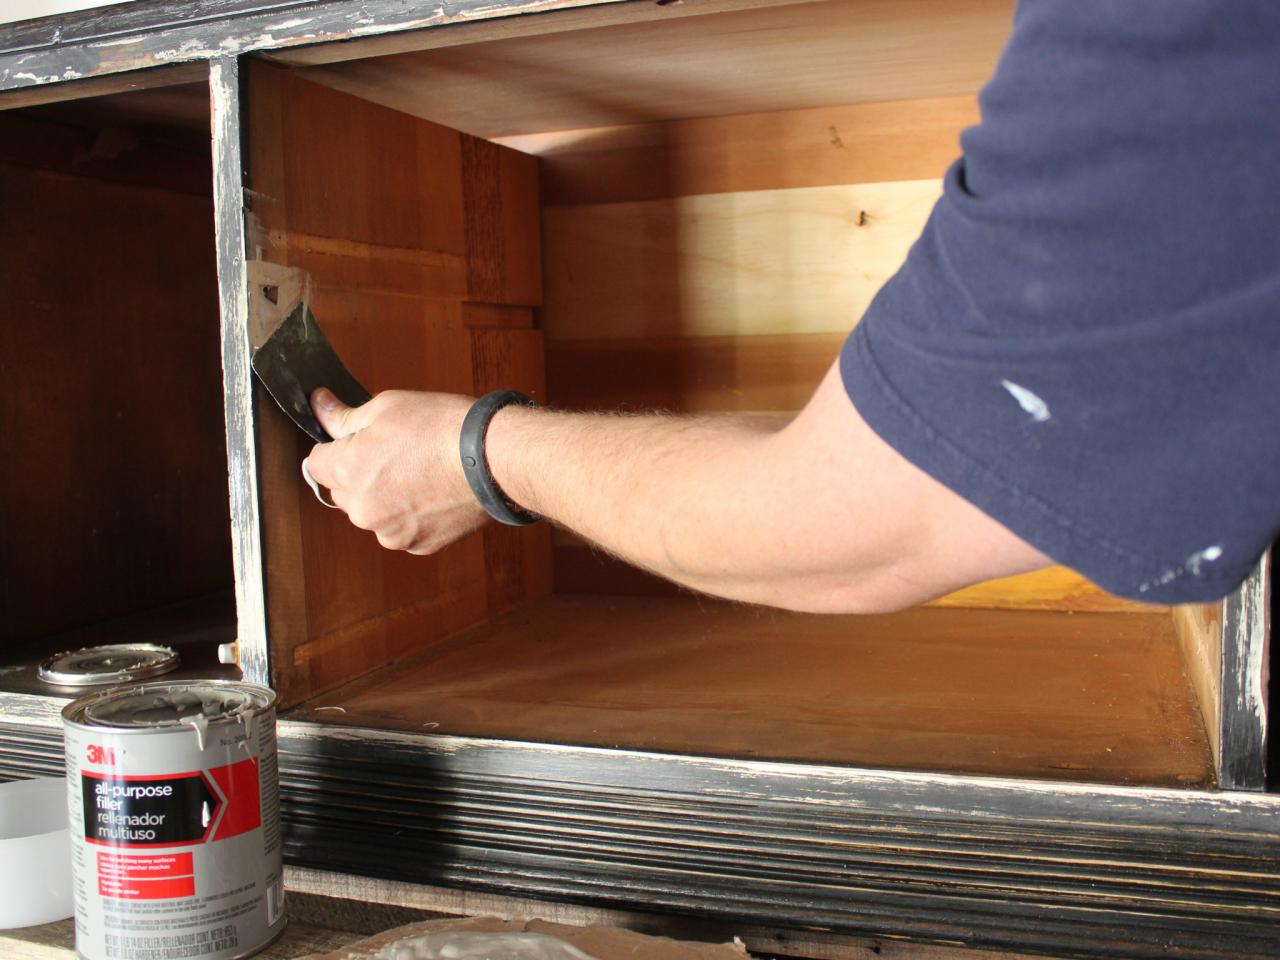
Remove Drawers
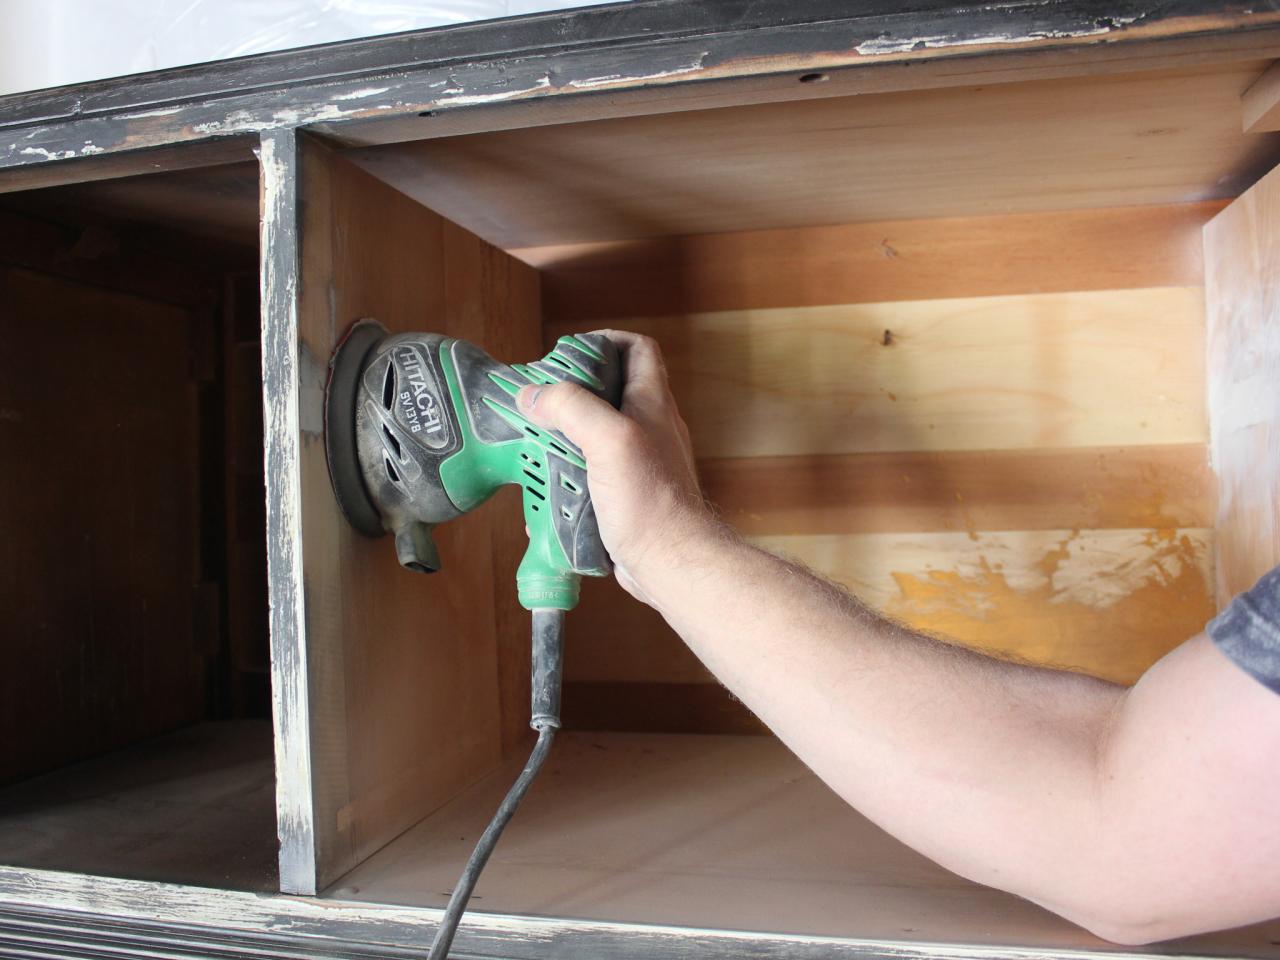
Removing drawers creates open storage perfect for housing board games and books. To properly dismantle drawers, pull them out from their casing, then remove the casing by knocking it loose with a hammer and pulling out in several pieces. Use wood filler to fill holes and gaps created by the dismantling of the drawer casing. Once wood filler has dried, sand it down using orbital sander and sanding pads.


Install Open Shelving
Use a measuring tape to determine proper depth and width needed for open shelving. Depending on the number of shelves needed, have 1” thick paint-grade plywood cut to size at the home improvement store, then install plywood with basic shelf brackets using drill and screws.


Measure, Mark, Cut and Assemble Base
A simple base to conceal gaming wires can be quickly and easily made by cutting 8’-long planks of 1X5” pine to size, then assembling as a box. To do this, measure and mark length and depth of dresser, subtracting approximately 6” so that the base will be inwardly recessed. Referring to measurements, cut base to size using chop saw. Next, assemble four sides together using either the nail gun and brads or the drill and screws. Create mitered corner supports by cutting scrap pieces of 1X5” pine with chop saw using miter setting, then attach in all four corners using a nail gun and brads or drill and screws. Attach base to bottom of dresser with 3” wood screws drilled up through the bottom of the base and into the wooden frame of the dresser.


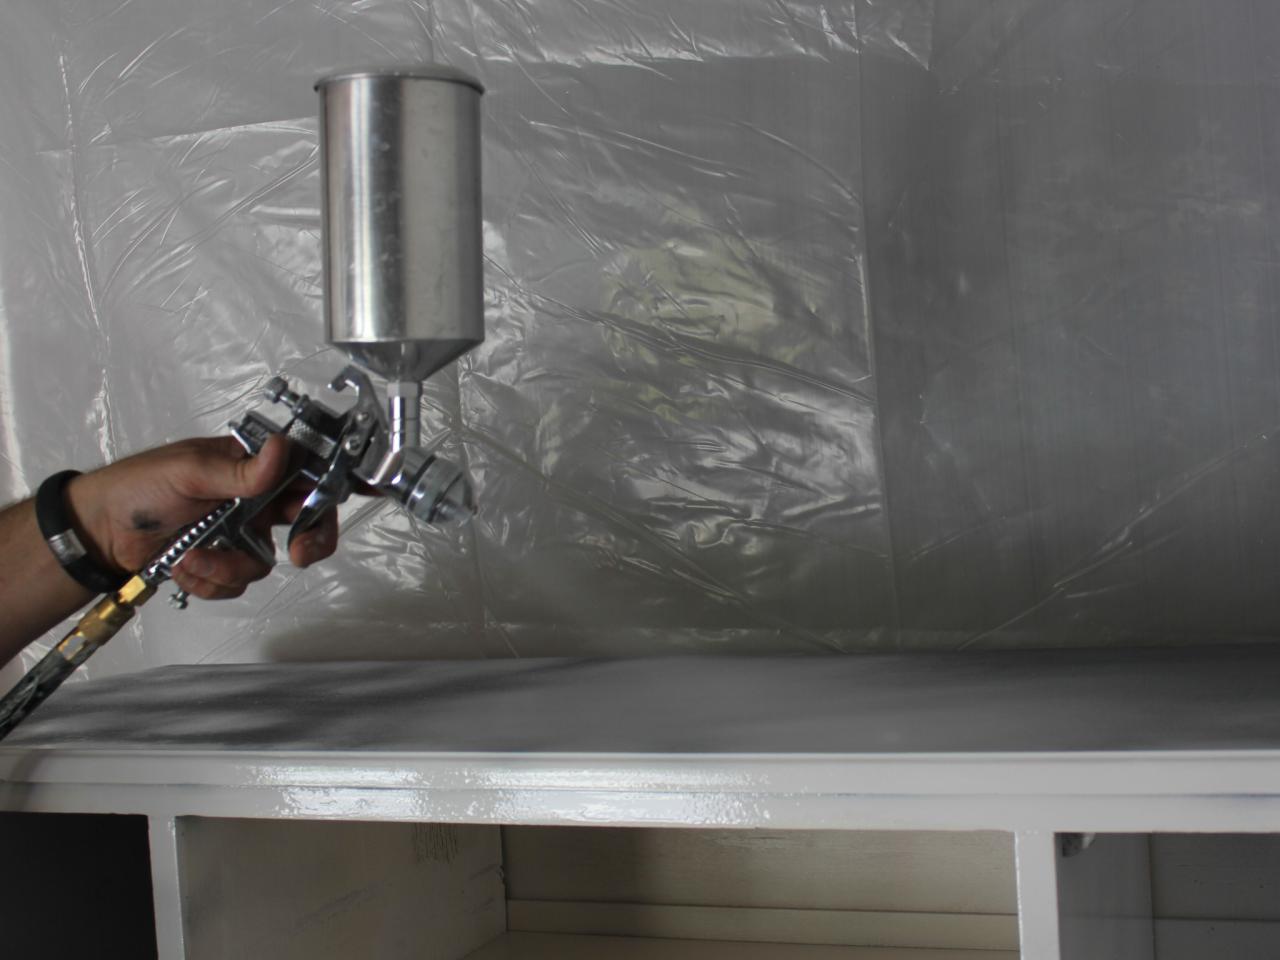
Spray Primer
In a well-ventilated area, protect all surfaces with plastic sheeting, then place dresser on a raised, elevated, level surface. Add an even coat of primer with HVLP sprayer, keeping tip 8” from surface of dresser and moving back and forth in a slow, controlled manner.

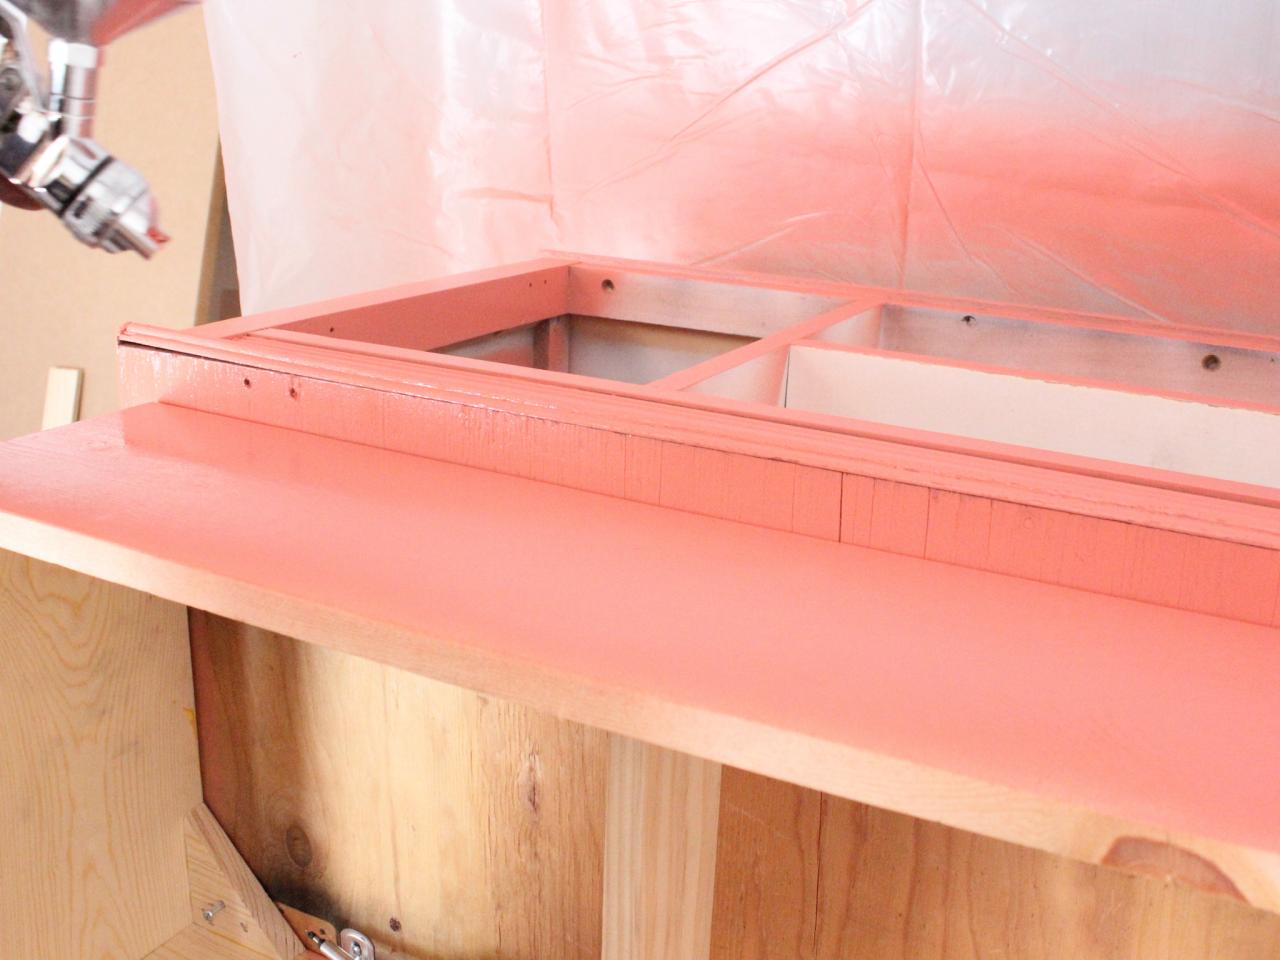
Spray Top Coat
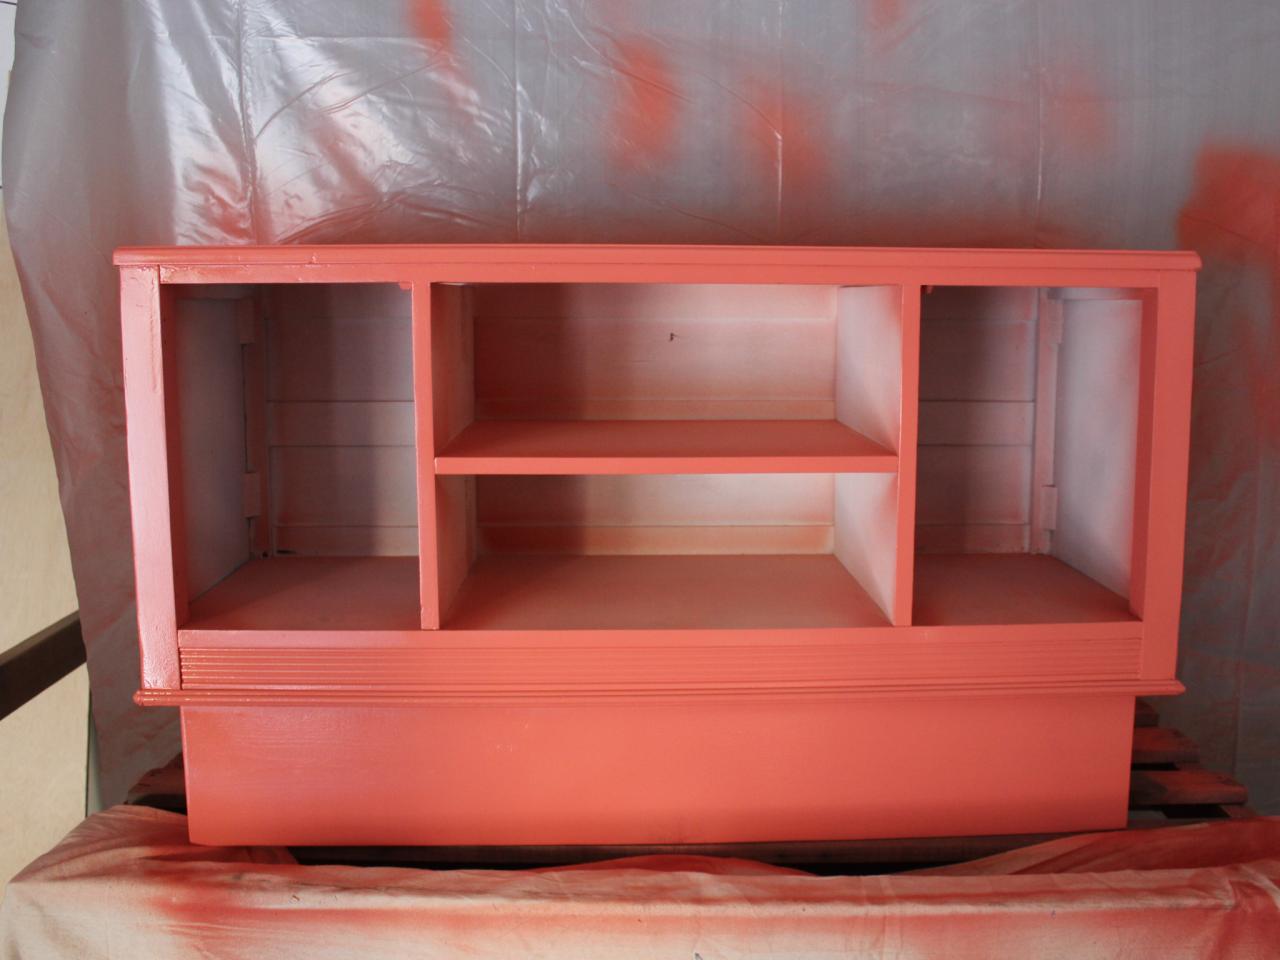
Allow at least 3 hours for primer to cure, then apply two even top coats with HVLP sprayer. Once top coat is dry, touch up any overspray along the shelves and interior of dresser using 2” angled paintbrush.
Tip: For a two-tone look, consider using one color for the shelves and dresser interior and another for the exterior.


Add New Hardware
For an unexpected touch, consider using coat hooks instead of pulls or knobs. To attach chosen hardware, use screws inserted through existing holes of cabinet door fronts, then attach securely using drill or screwdriver.

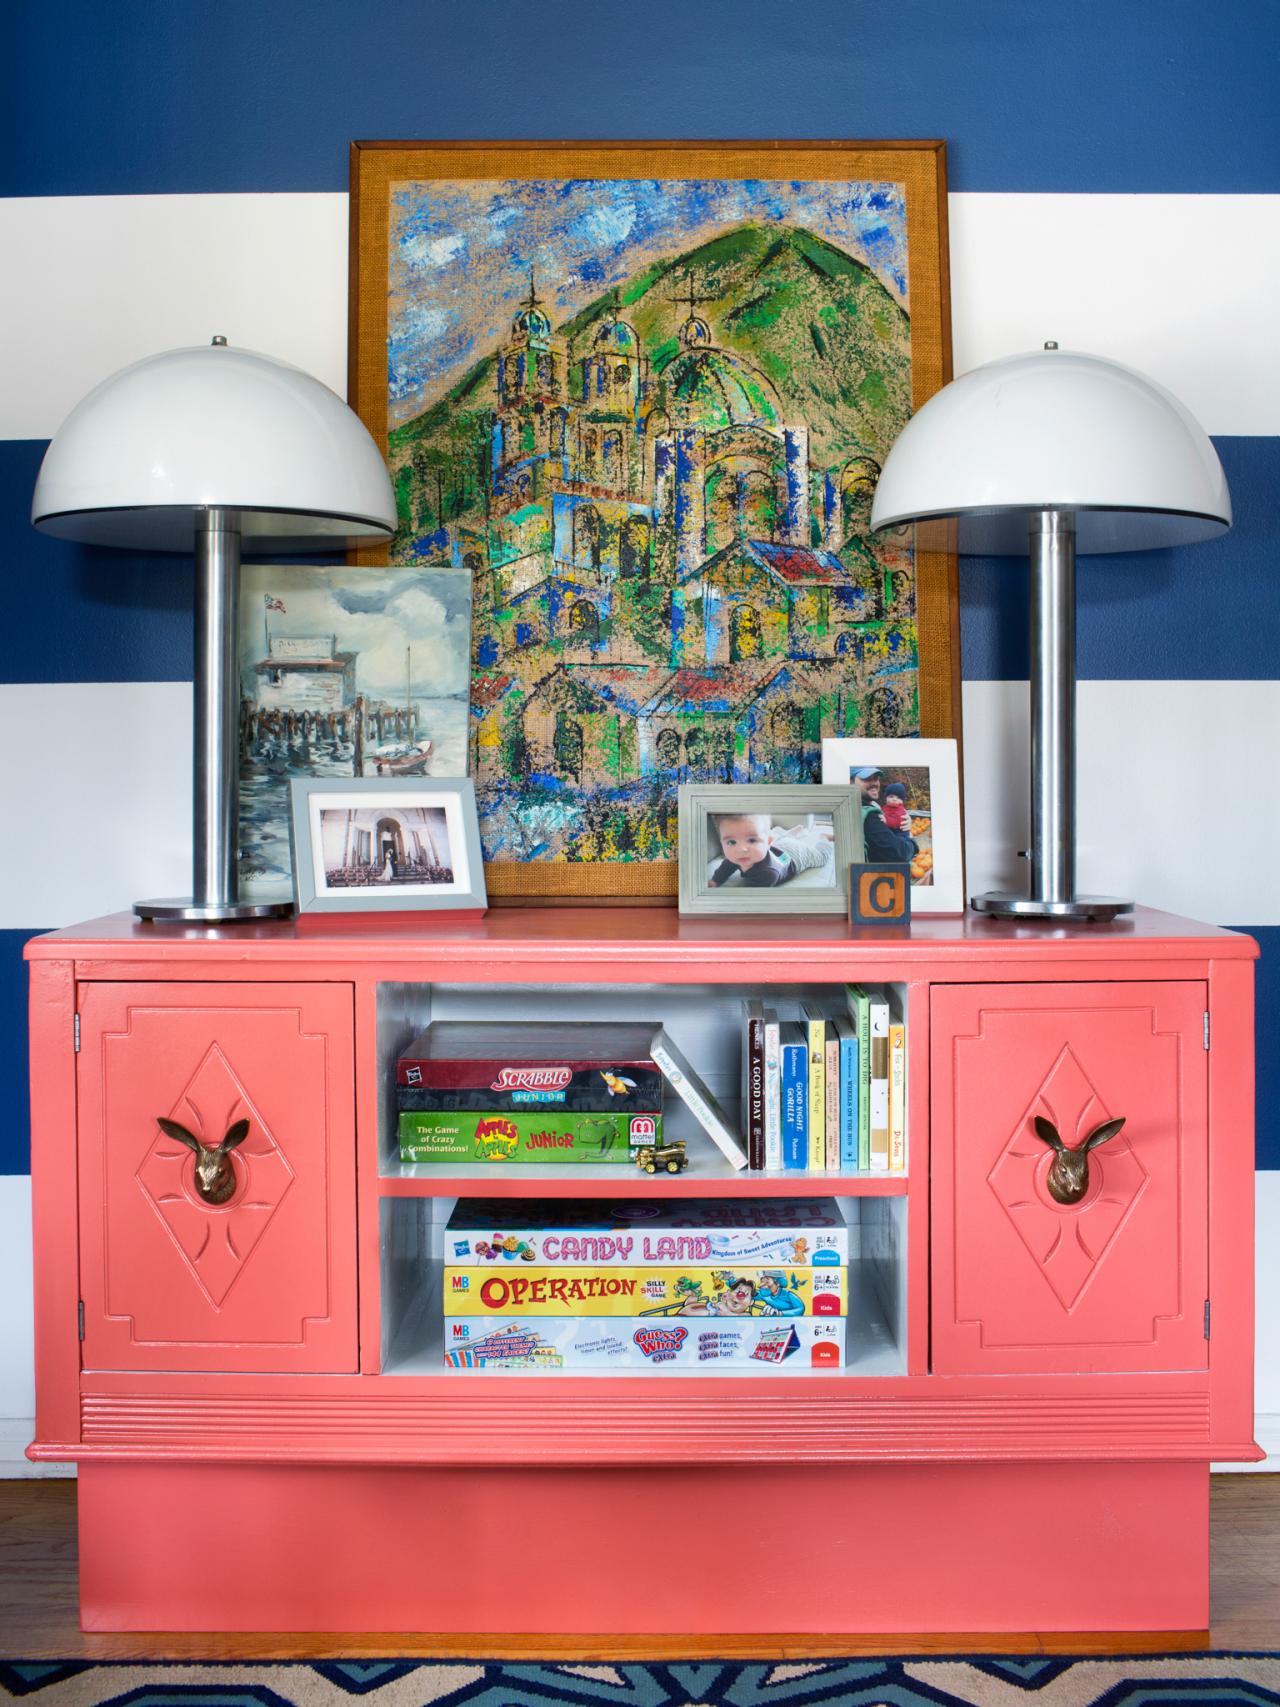
Enjoy the Finished Cabinet
Fill the cabinet with electronics, board games, books and more to add colorful, functional storage to any room.


