


How to Upgrade Ready-to-Assemble Bookshelves


Materials Needed:
- ready-to-assemble bookshelves
- tape measure
- pencil and notepad
- semi-gloss paint
- paintbrush
- paint roller and cover
- paint pan and liner
- 1x2 MDF trim
- nail gun
- extension cord
- drop cloth
- chop saw
- medium-grit sanding block
- spackle and putty knife
- caulk and caulk gun
- utility knife
- safety hinge
- drill
- hammer
- tacks
- damp cloth
Measure and Mark Wall
Use tape measure to determine proper width, height and depth for bookshelf placement. Transfer measurements to wall with pencil. Next, measure location of outlets, air conditioning vents and light switches in relation to wall, jotting dimensions on notepad with pencil.
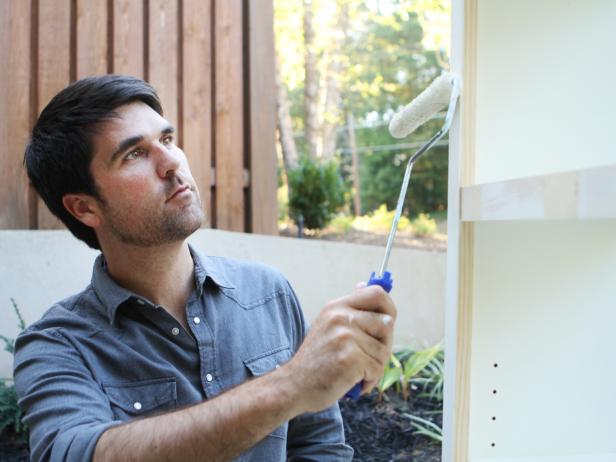
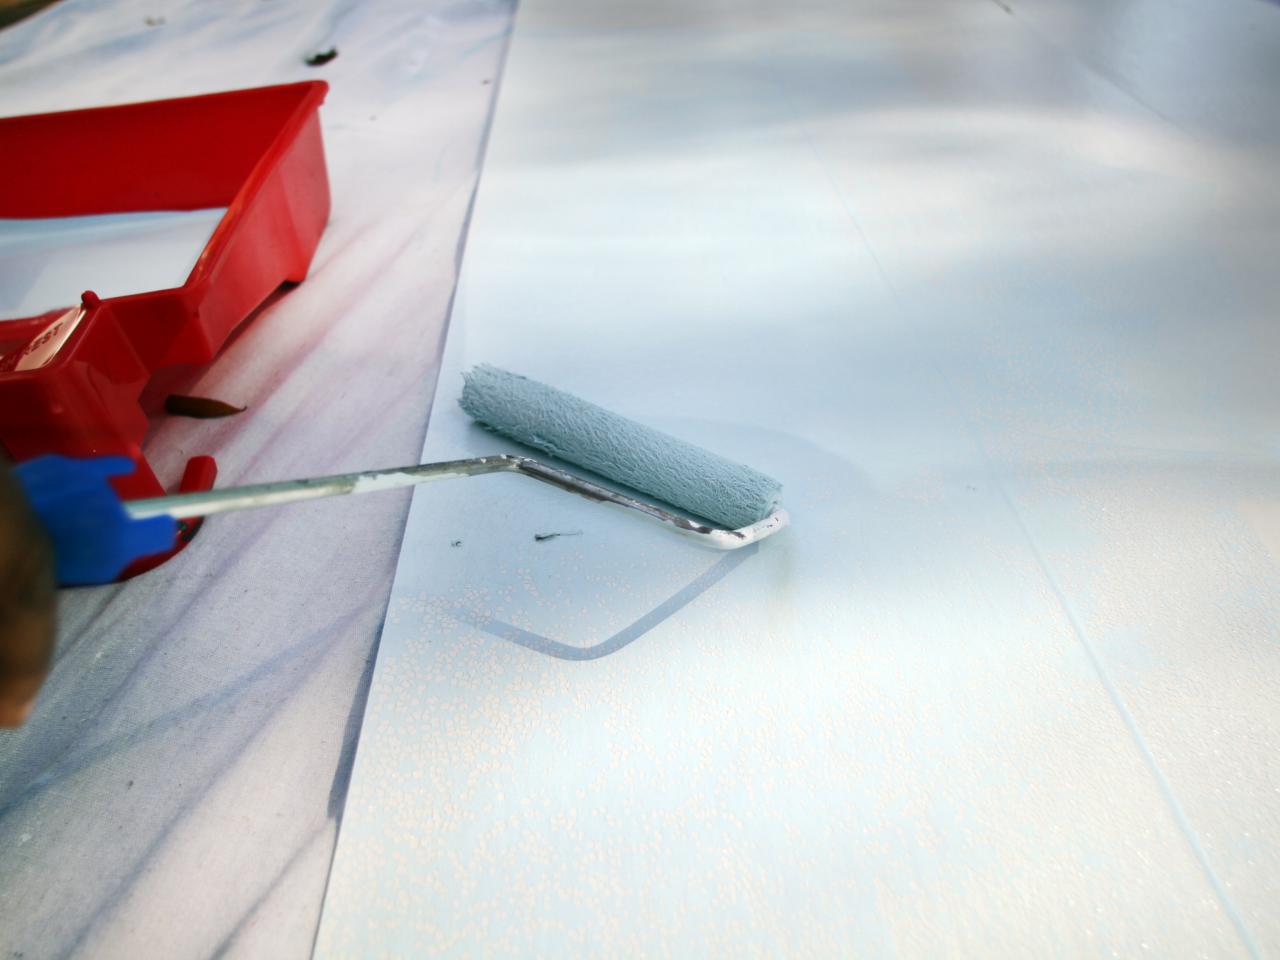
Prep and Paint Back Panels
Lay bookshelves' back panels out on a long, flat surface. Referring to dimensions on notepad, measure, then cut holes into back panel to accommodate outlets, air conditioning vents and light switches. Pour paint into paint pan, then cover back panel with two coats of finish color, allowing paint to fully dry between coats.

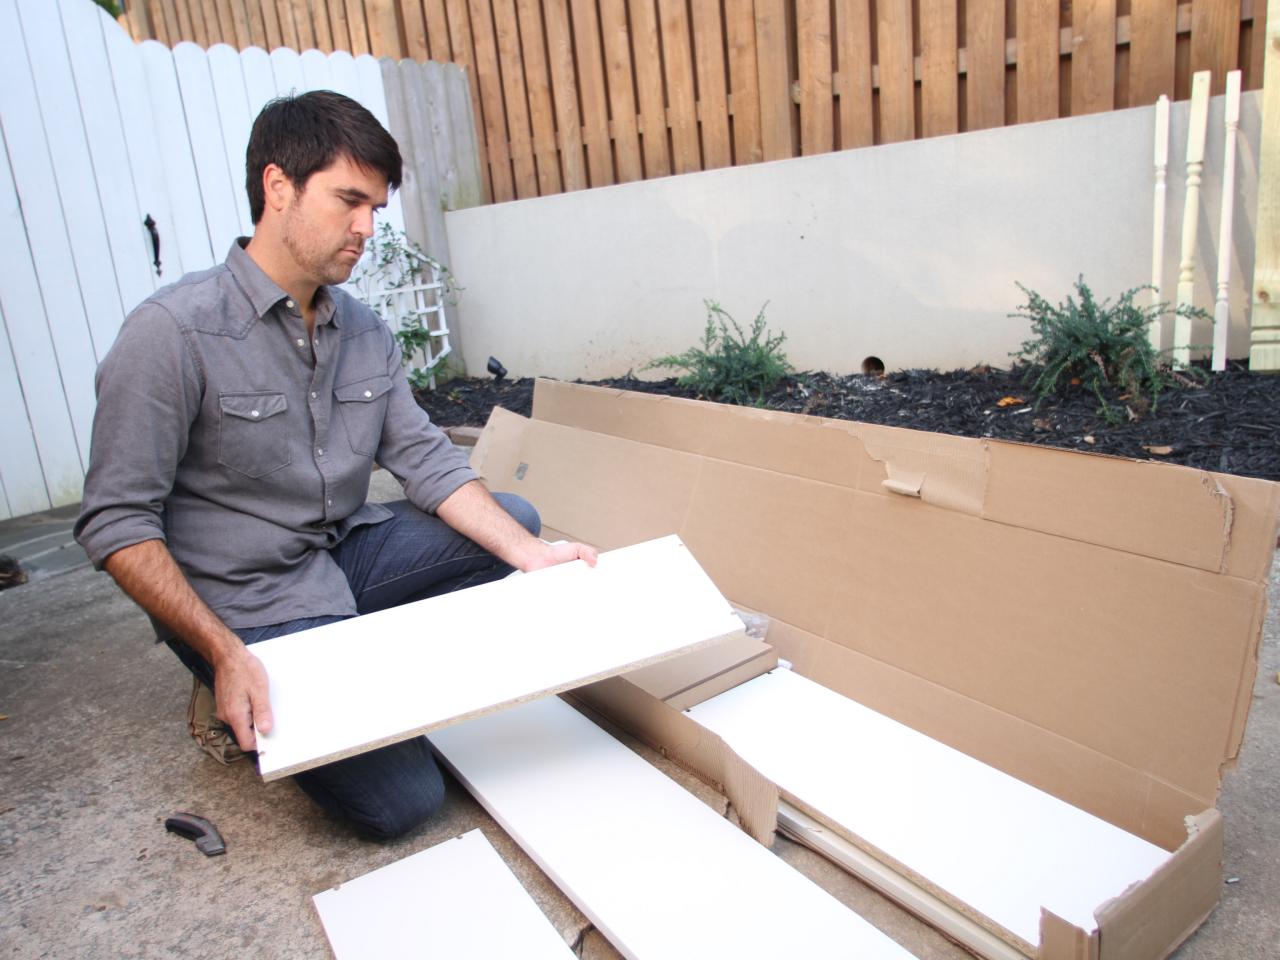
Assemble and Position Bookshelves
Remove bookshelf pieces from box and assemble following manufacturer's instructions. When working with multiple bookshelf units, be sure to place each shelf at the same level from left to right. Next, attach painted back panels to shelves using hammer and tacks. Place bookshelves against wall assuring outlets, air conditioning vents and light switches are lined up with cutouts in back panels. Assure stability by fastening top of each bookshelf to studs in wall with screws using safety hinge and drill.


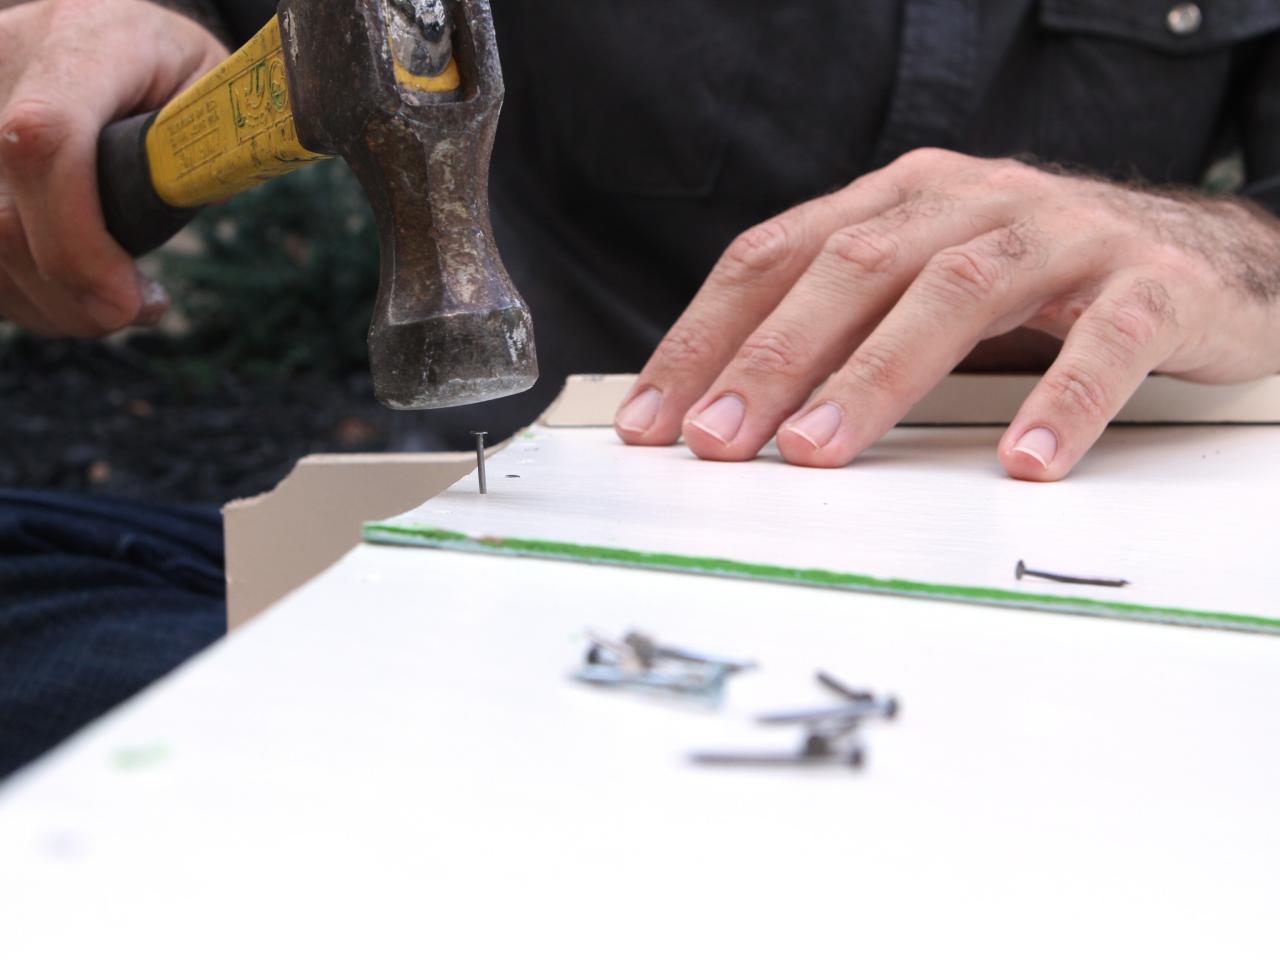
Cut and Attach Trim
Use tape measure to determine horizontal and vertical spacing of all shelves, marking dimensions down on notepad with pencil. Referring to dimensions, mark 1x2 MDF trim with pencil, then cut to size with chop saw, mitering any necessary corners. Next, hold each cut piece of MDF up to front of bookshelves and attach with nail gun.

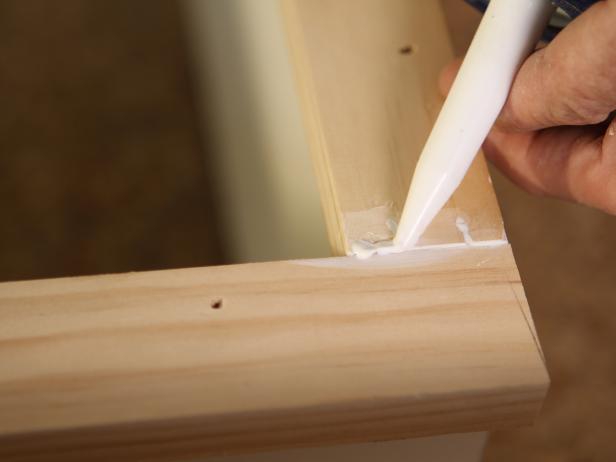
Spackle and Paint
Once all trim is attached to front of bookshelves, fill any nail holes with spackle using putty knife and any gaps with caulk using caulk gun. Wipe away dust with damp cloth to assure clean surface. Sand lightly with medium-grit sanding block, then paint trim same color as bookshelf.


