


How to Build a Ledge Bookshelf
Learn how to build narrow floating shelves that are perfect for a kid’s room or living area, or any small space.
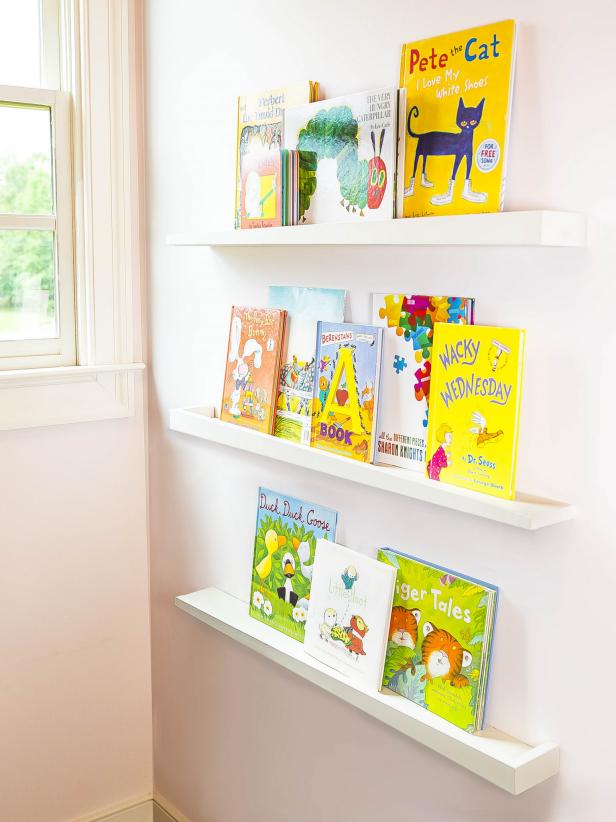

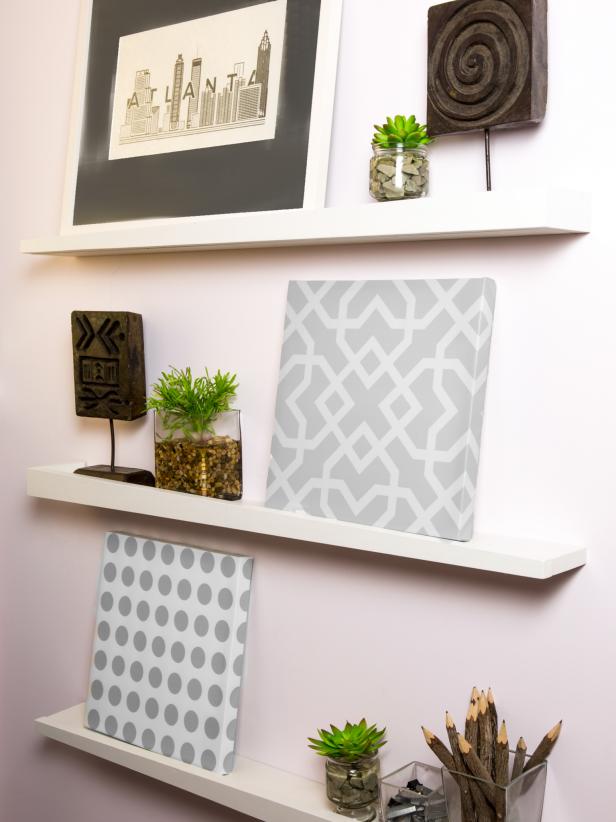
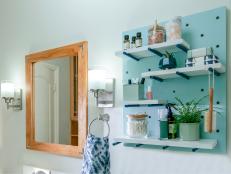
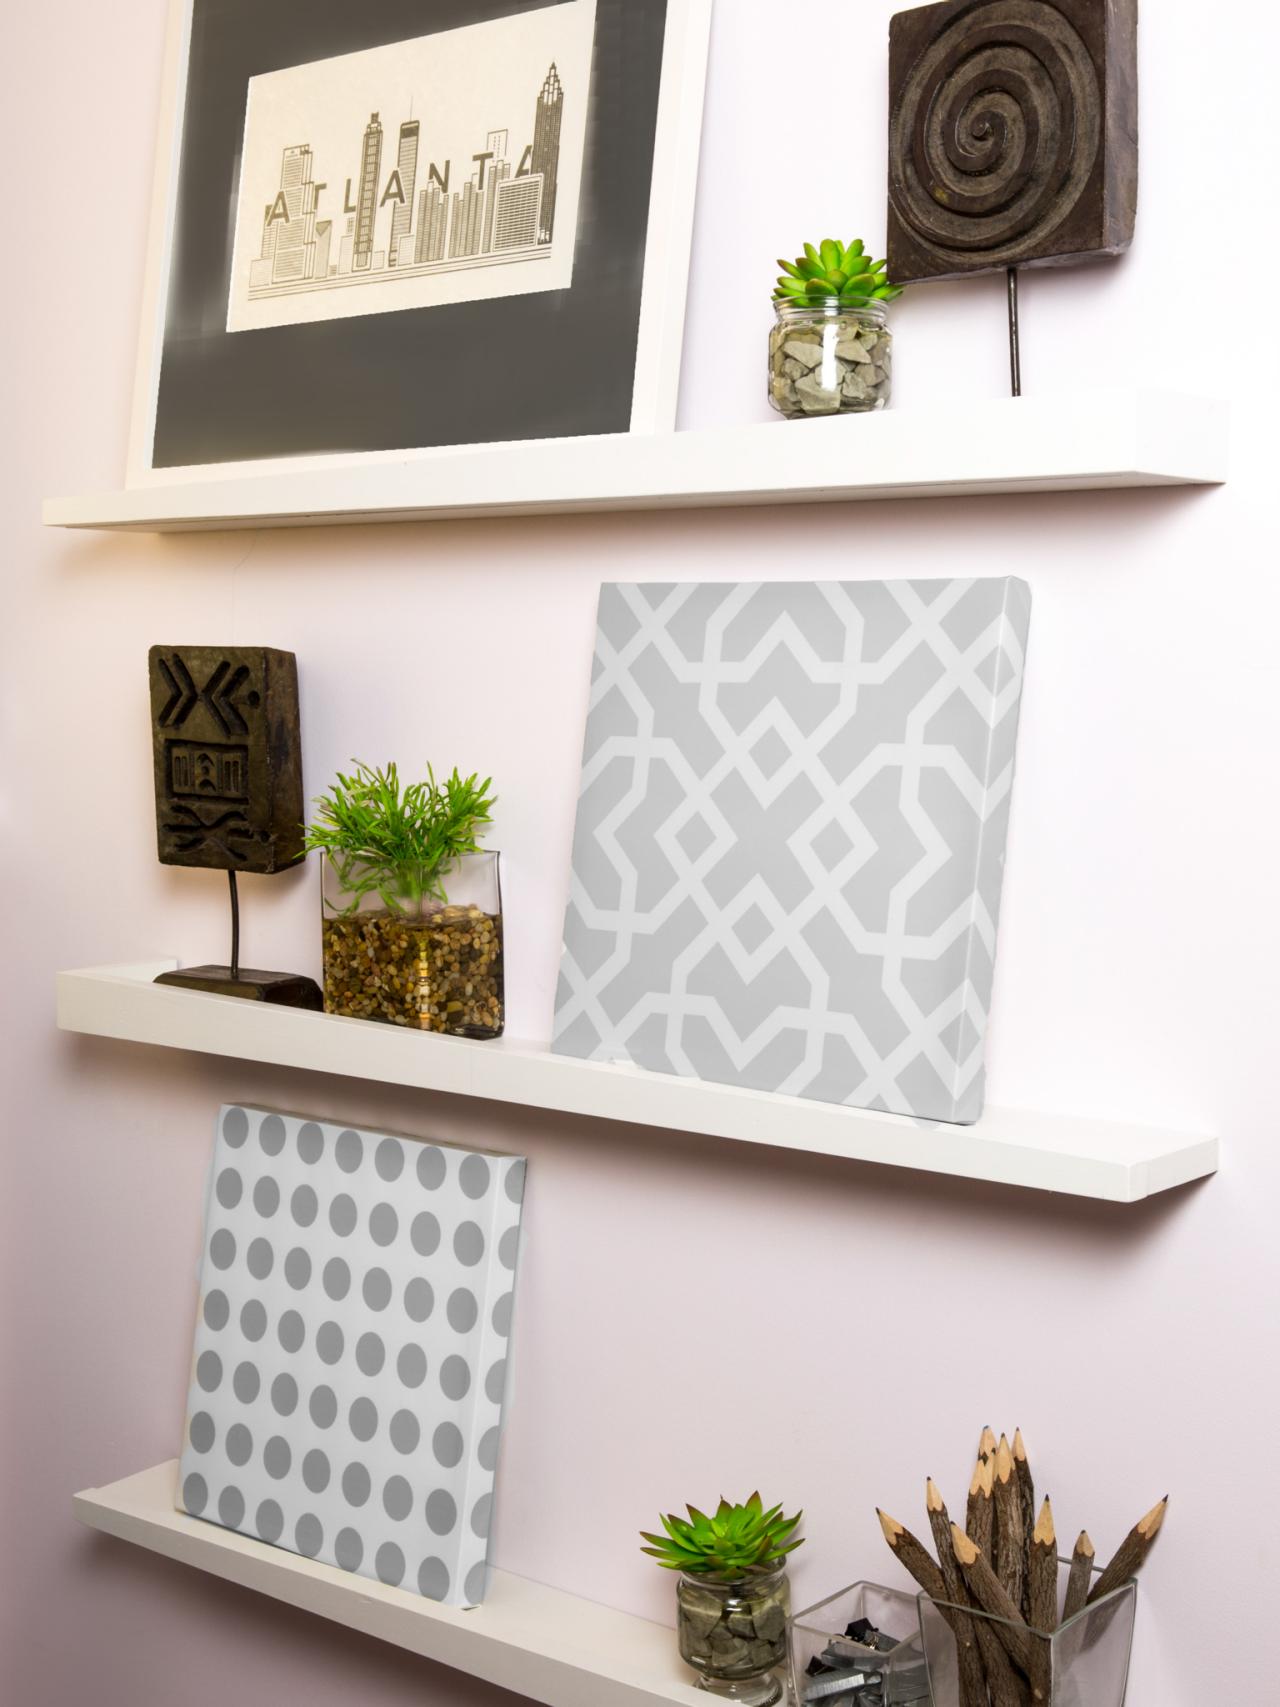
Short on space? These narrow shelves don’t take up a lot of room, and they provide display space for books, knickknacks or artwork. These instructions are for one single shelf.
Tools and Materials
- 3/4" thick poplar board 3” x 8’
- 1/2” poplar dowel 48”
- (4) 2" cabinet screws
- paint
- chop saw
- circular saw or table saw
- trim nail gun
- drill
- 1/2" forstener bit
- 1/8" drill bit
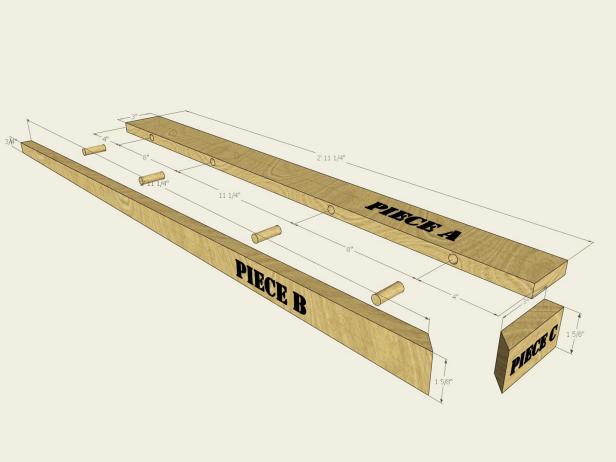
Cut List:
- Piece A - bottom base: (1) 35-1/4" x 3"
- Piece B - front face: (1) Cut tapered front poplar board with one mitered end and one straight end.
- Piece C - sides: (1) Cut mitered side poplar board to the dimensions shown.
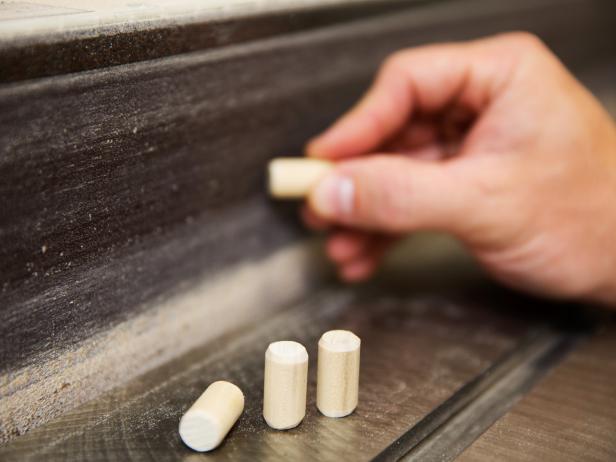
- Piece D - connecting dowels: (4) Cut poplar dowels to 1" long.
Step 1: Cut Wood
Cut Piece A, B, C and D according to the cut list. Remember, the front piece is a tapered cut with a dimension of 3/4" on one side and 1-5/8" height on the other.

Step 2: Sand Wood
Sand all the wood to smooth the edges of all sides. Sand dowels only on the ends to a very slight taper for easy placement into holes.
Step 3: Mark Layout
Stand Piece A and Piece B together as shown and mark centerlines for dowel holes according to the layout shown below.

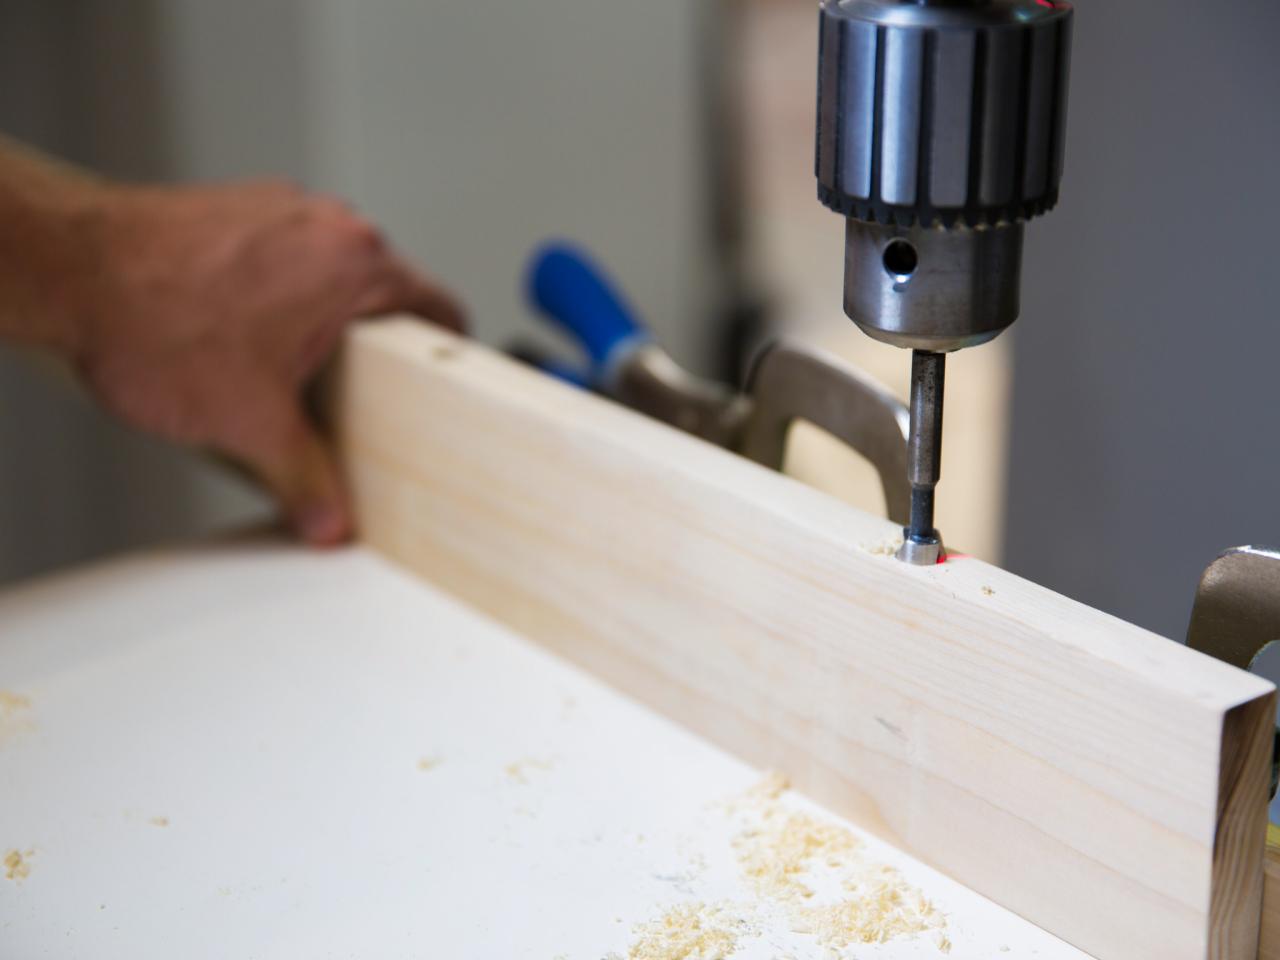
Step 4: Drill Base Piece
Using a 1/2" Forstner bit and a drill or ideally a drill press, to drill four matching holes. Drill holes 1/2" deep on Piece B and 1-1/2" deep on Piece A. Try to make these holes as straight as possible.

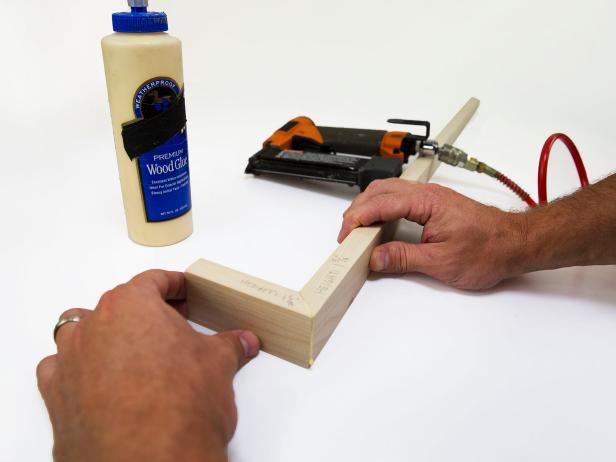
Step 5: Attach Sides to Face Frame
Glue and nail Piece B to Piece C along the miter joint.
Step 6: Adhere Dowels to Face Frame
Glue four dowels (Piece D) into Piece B ensuring they are pressed into the bottom of the 1/2" deep hole.

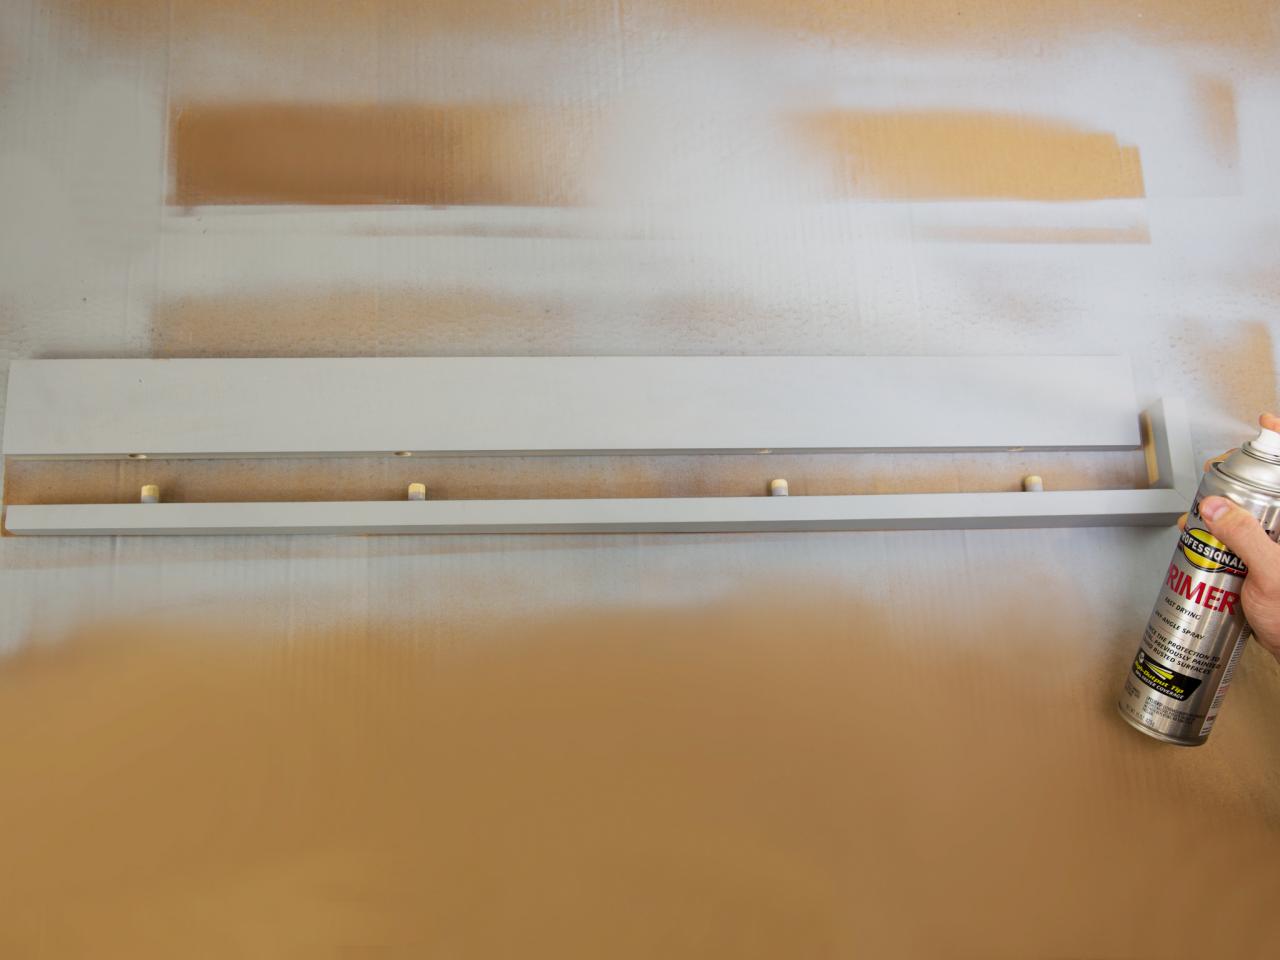
Step 7: Finish or Paint
Prefinish Piece A and the new assembly of Piece B and C separately on all sides with the finish or paint of your choice.

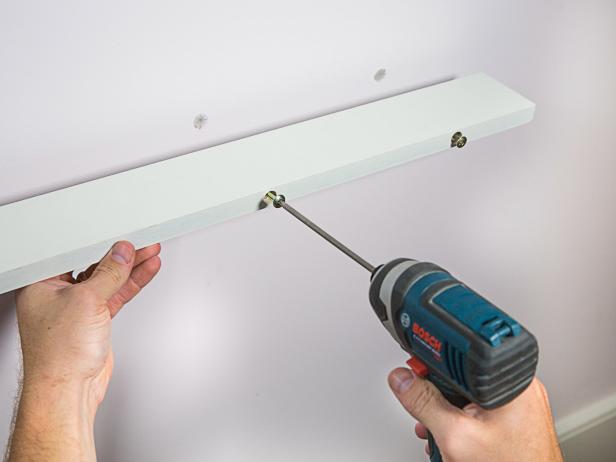
Step 8: Attach Base to Wall
Use a 1/8" drill bit to pre-drill a pilot hole in all four holes in Piece A. Use 2" screws and wall anchors to attach Piece A to the wall at the desired location.
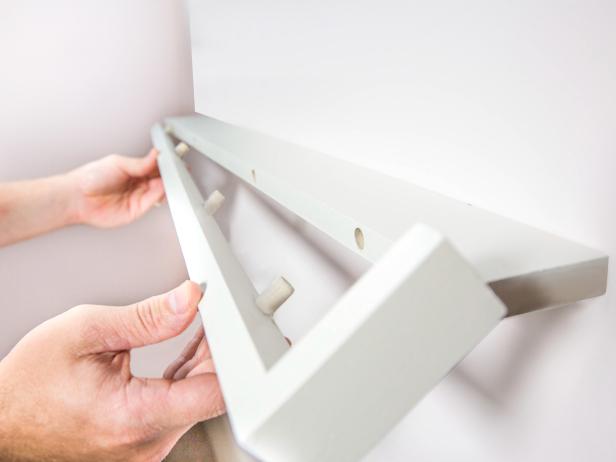
Step 9: Attach Face Frame to Base
Place the assembly of Piece B and C onto Piece A (that is already mounted to the wall). Do not put glue on the dowels, as this allows for removal of the shelf later, if needed, while still concealing the fasteners.
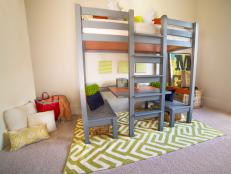
We built these shelves for a child's bedroom. But they are so versatile they can be used in any room of the home.


